How to Replace iPhone 5 Speaker: Step-by-Step Guide
Duration: 45 min.
Steps: 15 Steps
Ready to give your iPhone 5 speaker a fresh start? This guide’s got you covered! If your phone’s tunes are playing it shy, or your ringtone’s MIA, it’s time for a speaker swap. Let’s get this party started!
Step 1

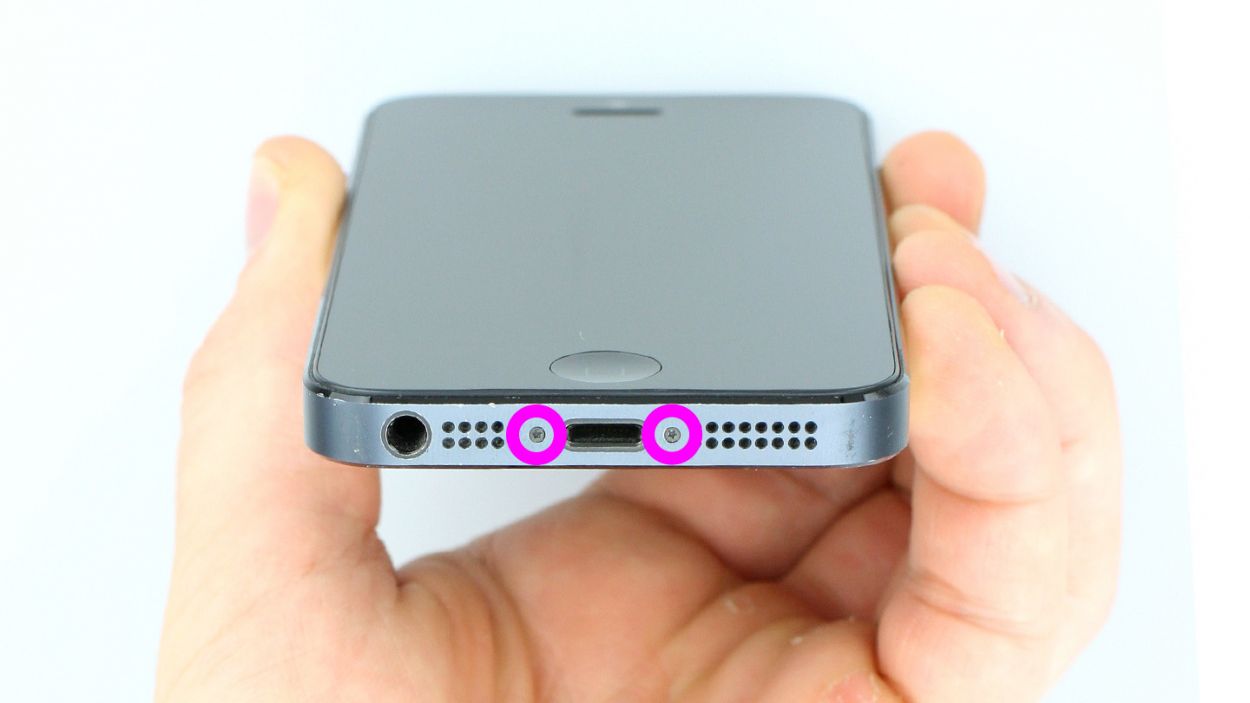
– Grab your trusty pentalobe screwdriver because it’s showtime for your iPhone 5!
– Next up, get ready to remove the two pentalobe screws nestled at the bottom of your phone’s enclosure, right to the left and right of the Lightning connector. Don’t forget to drop those screws into the same section of your organizer tray to keep things tidy! 2 x 3.6 mm pentalobe screws are the stars of the show here.
Step 2

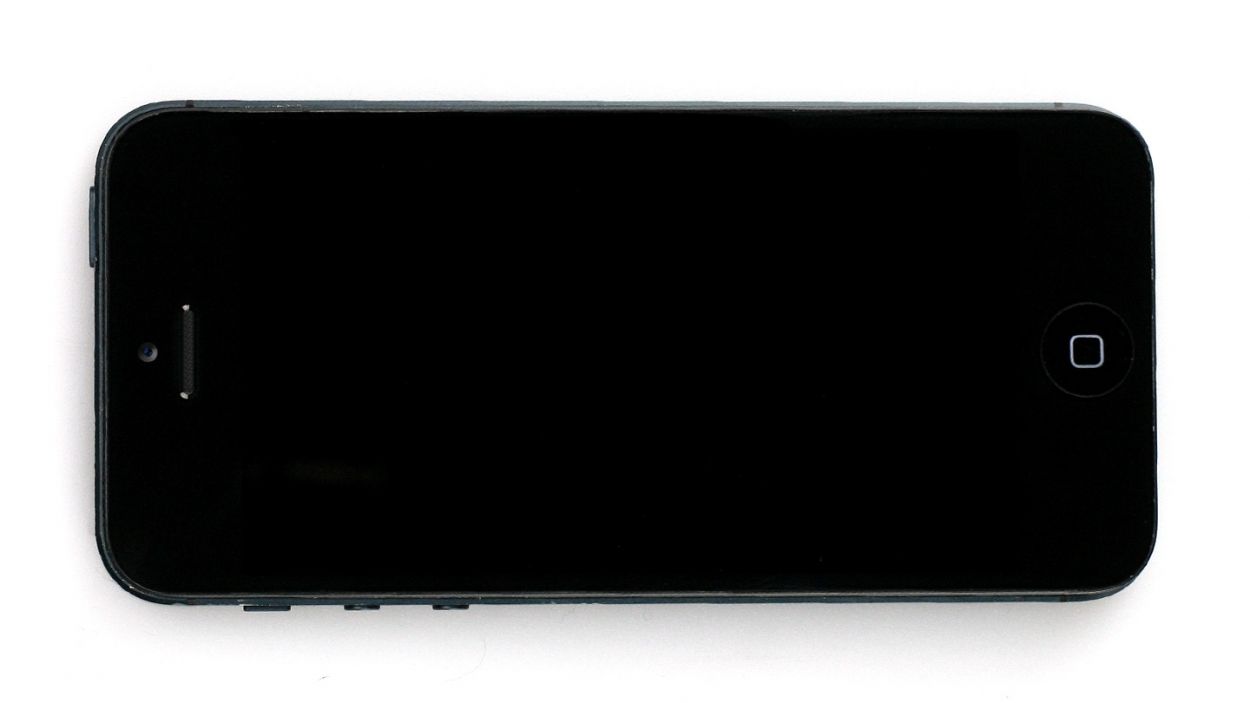
– Find a cozy, clean spot for your iPhone 5 to chill out and avoid any scratches on the back.
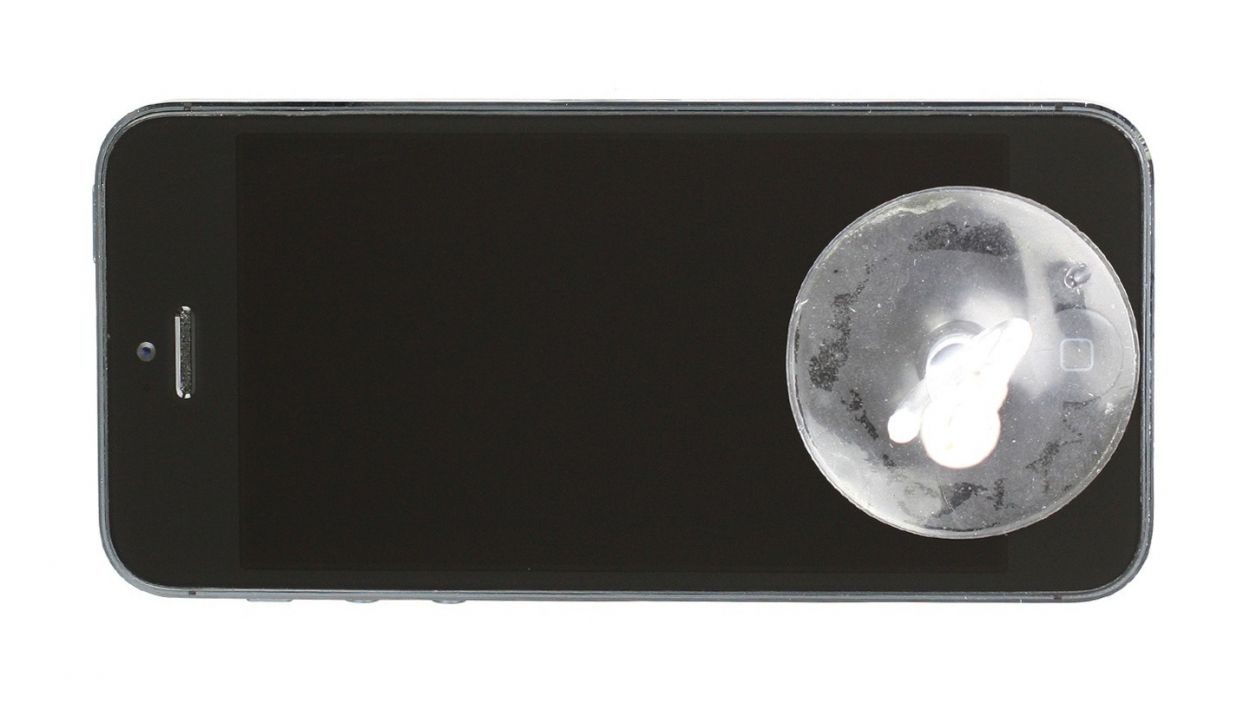
– Grab a suction cup and a hard plastic pick to lift the front panel. If the screen’s got a serious crack situation, just give it a makeover with some packing tape first.
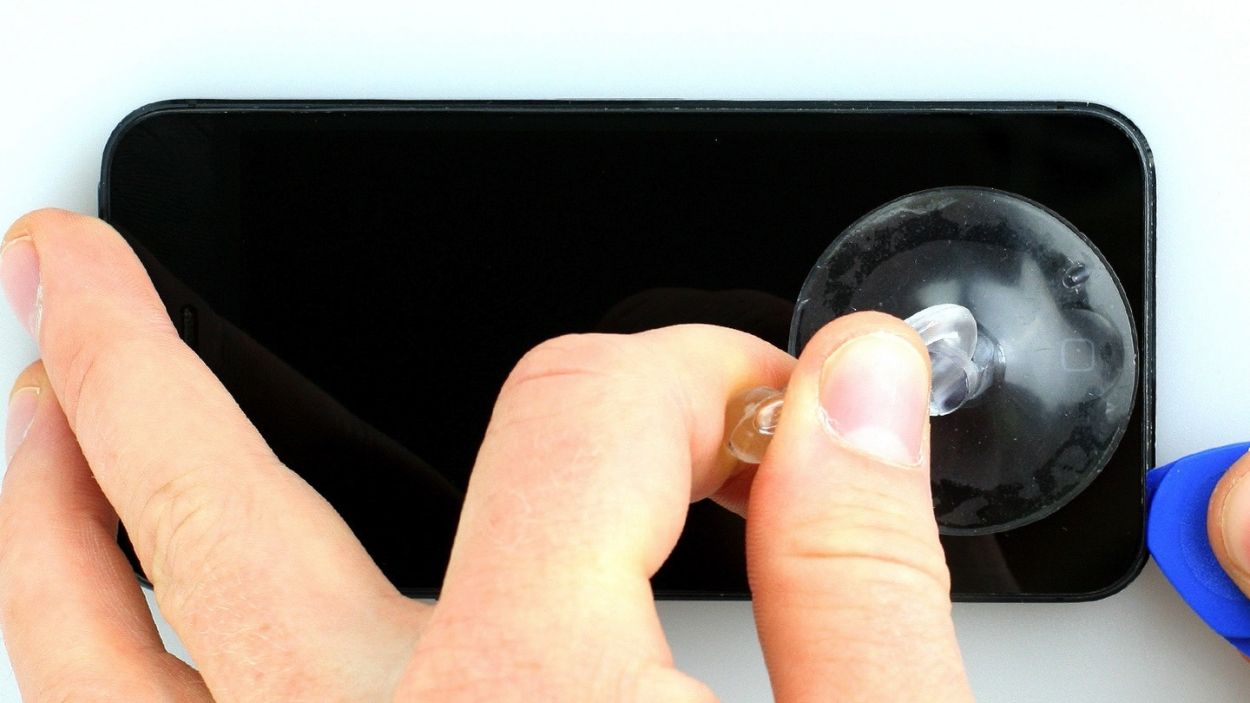
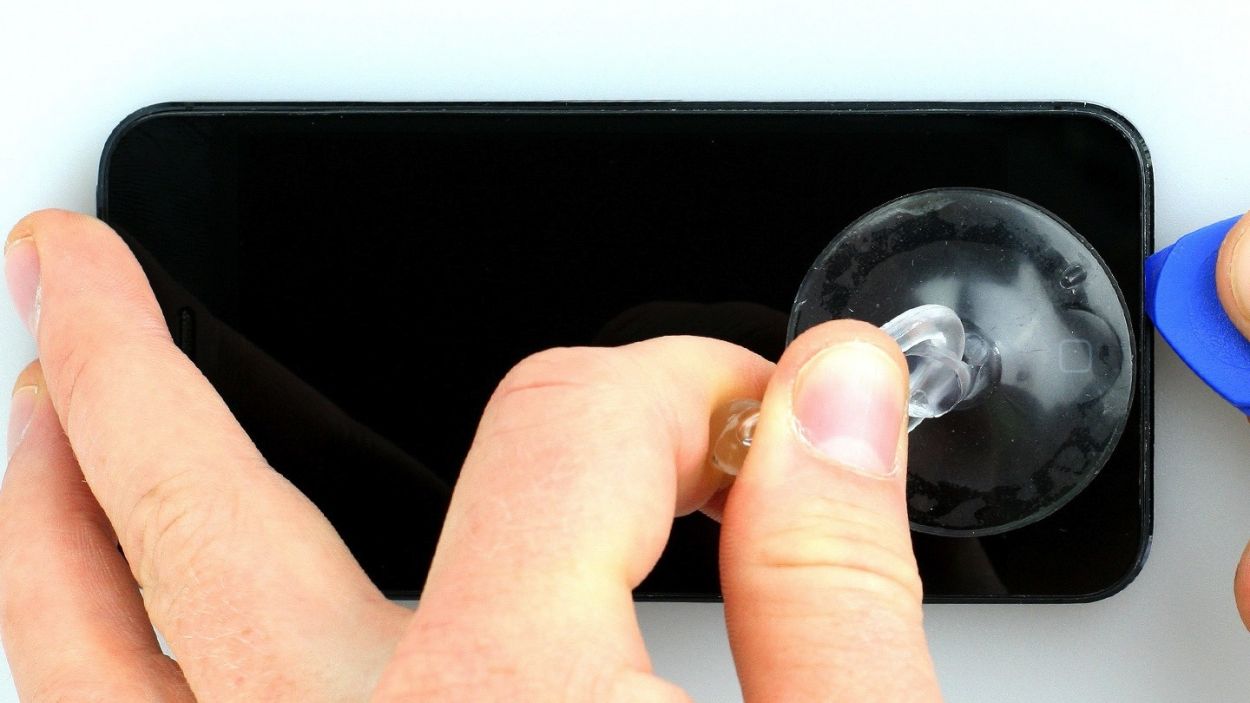
– Position that suction cup right over the Home button (if you can) or just next to it (check out figure 1). As you lift the screen with the suction cup, slide the hard plastic pick between the aluminum frame and the display frame, applying a little pressure on the aluminum frame itself. Use the pick to gently lift the screen too (see figures 2 and 3). You might have to try a few times, but don’t worry, you’ve got this!
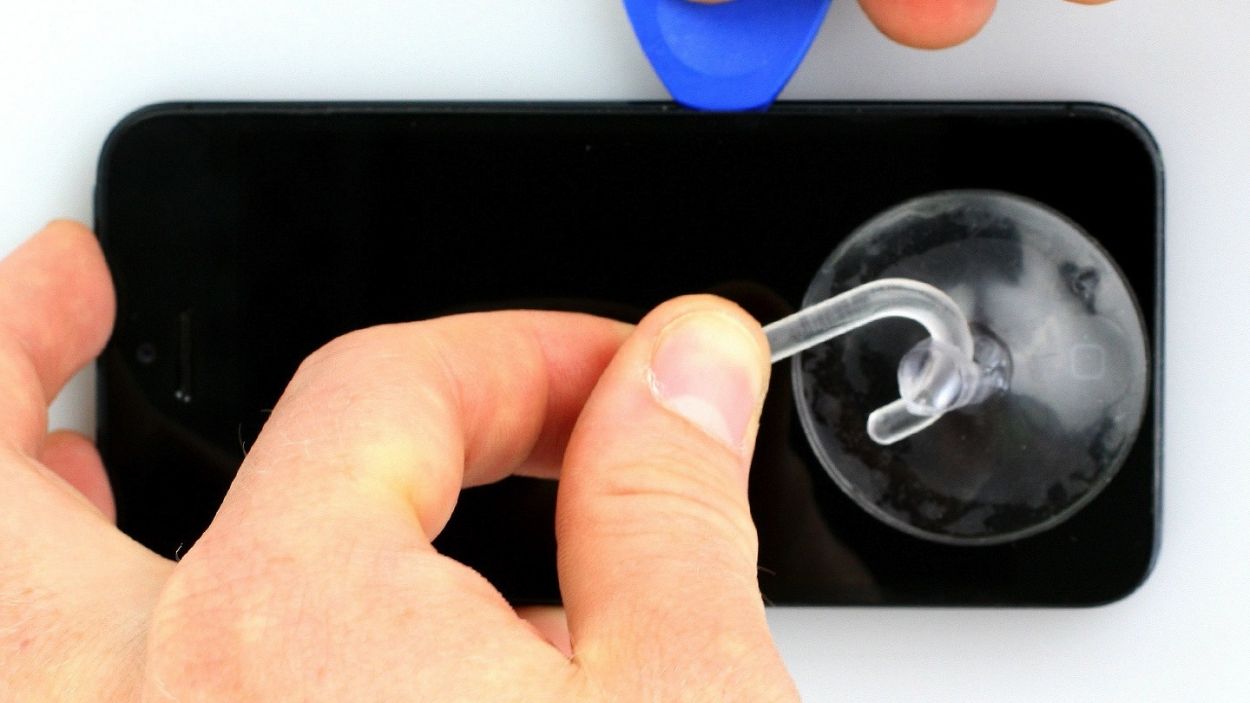
– Once you get the screen lifted a bit (see figure 4), work your magic around the edges to loosen it on both sides (see figure 5).
– When the display is fully free, gently flip it up from the Home button. Just remember, the display cables are still snug with the logic board (next step, here we go)!
Step 3
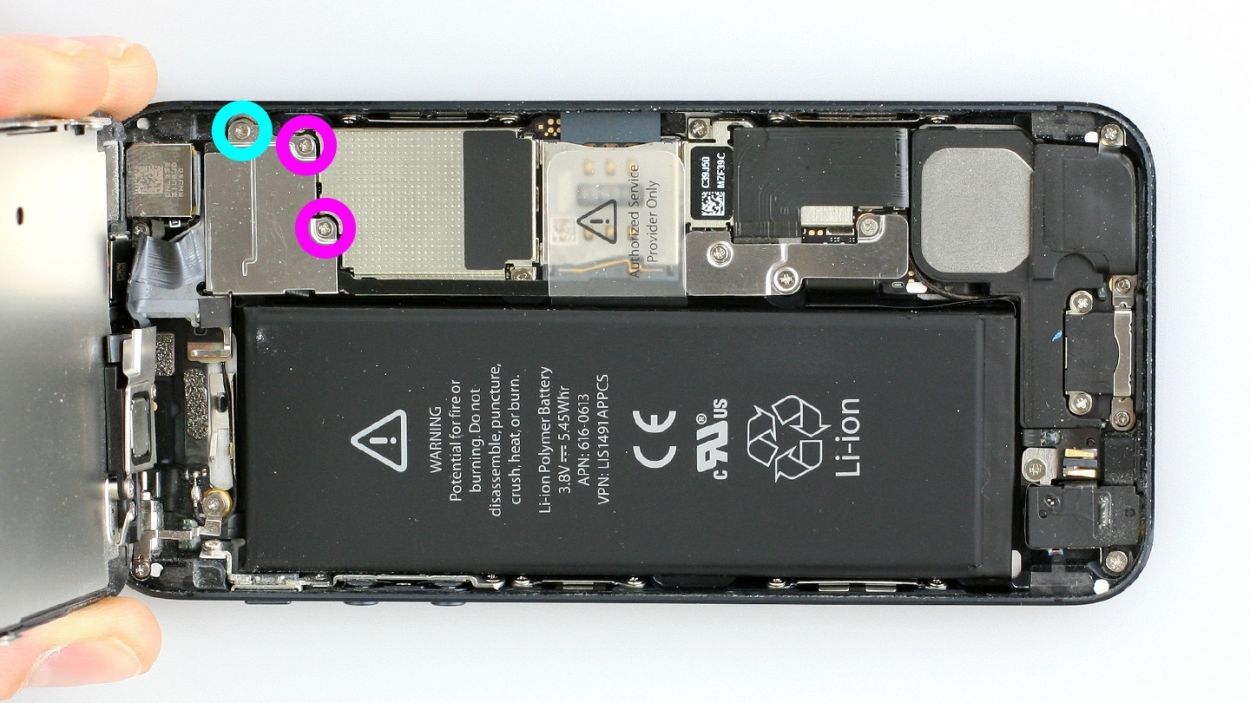

– First, let’s tackle those three Phillips screws holding down the silver cover (check out figure 1 for a visual!). Make sure to stash those screws in the same compartment of your organizer tray so they don’t go on a little adventure. You’ll need 2 x 1.2 mm Phillips screws and 1 x 1.7 mm Phillips screw (which, by the way, is not magnetic).
– Now, it’s time to disconnect the three connectors (see figure 2). Just a friendly reminder to be super careful here!
– Take your spudger and gently slide the pointed tip just below the contact, then lift it up. Watch out for those resistors soldered onto the logic board—don’t want to break them! In newer models, they’re protected by a black plastic film. You’ve got this! Just remember: LCD, Touchscreen, Front camera/sensor/earpiece.
Step 4
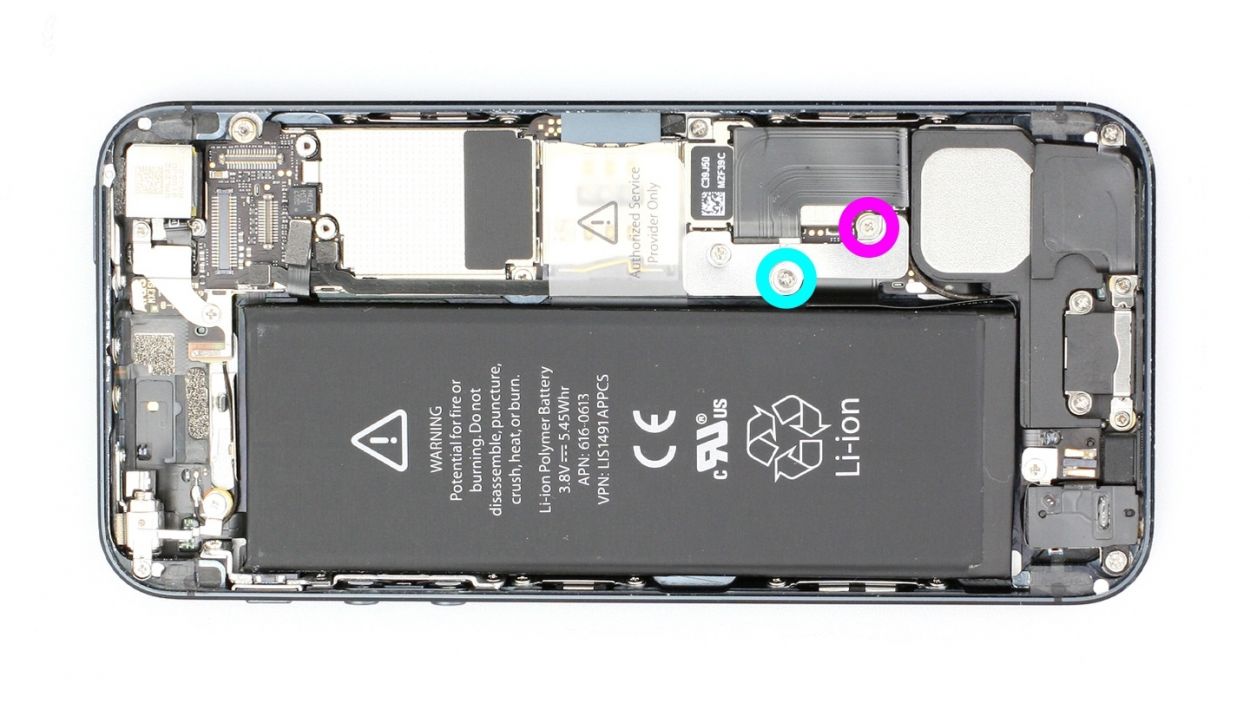
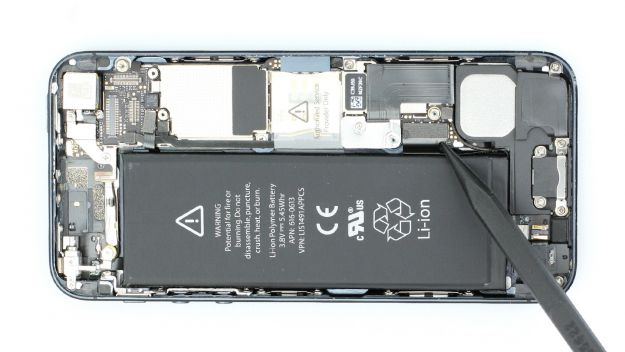
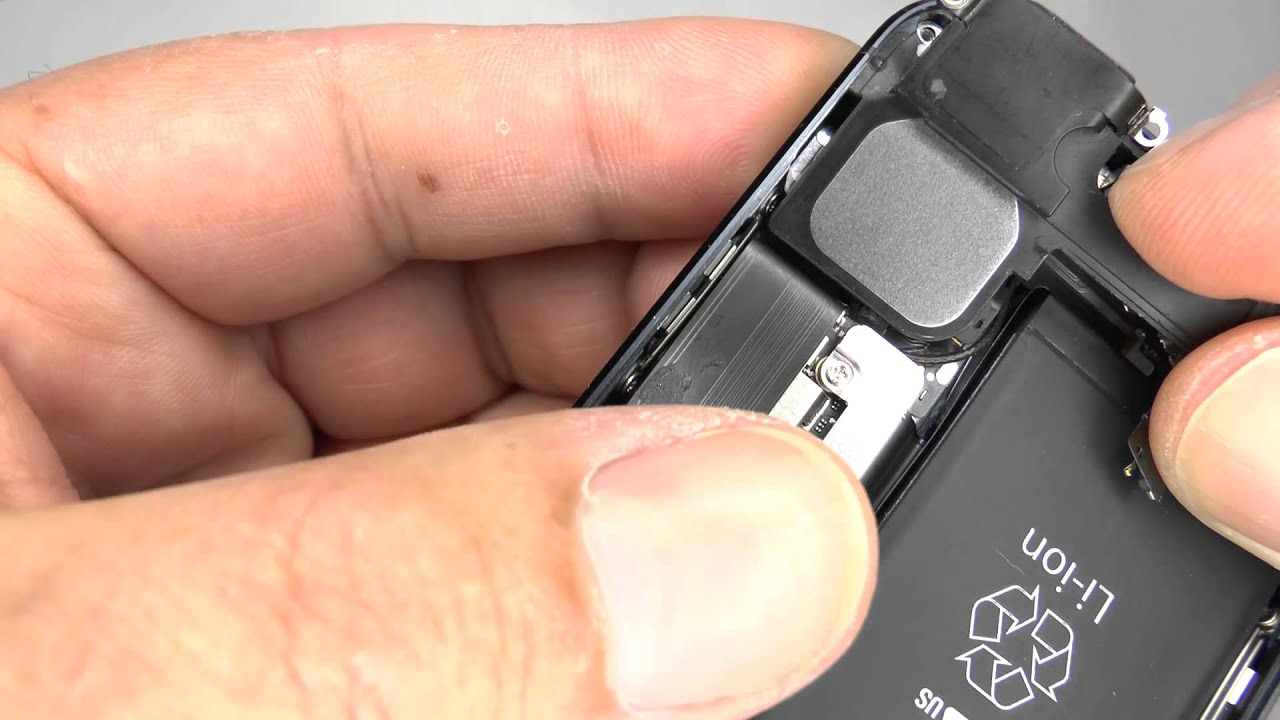
– Grab your Phillips screwdriver to tackle those screws on the battery connector (check out figure 1 for guidance). Once you’ve got them off, gently lift the cover with your trusty spudger (figure 2). Oh, and don’t forget to keep all the tiny parts together in one spot of your organizer tray—let’s keep it neat and tidy! You’ve got 1 x 1.8 mm Phillips screw (funnel head) and 1 x 1.7 mm Phillips screw to keep track of.
– Now, let’s carefully lift off that battery connector! Just slide the pointed tip of your ESD spudger in gently below the connector (figure 3). If you find yourself without a spudger, your fingernail can also do the trick. Easy-peasy!
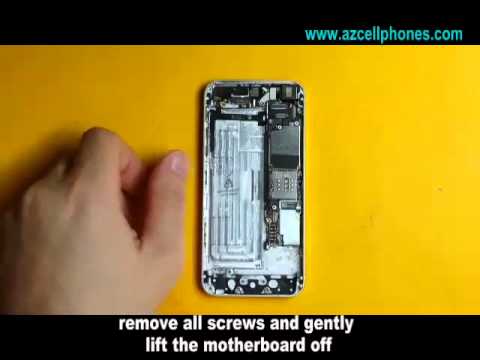
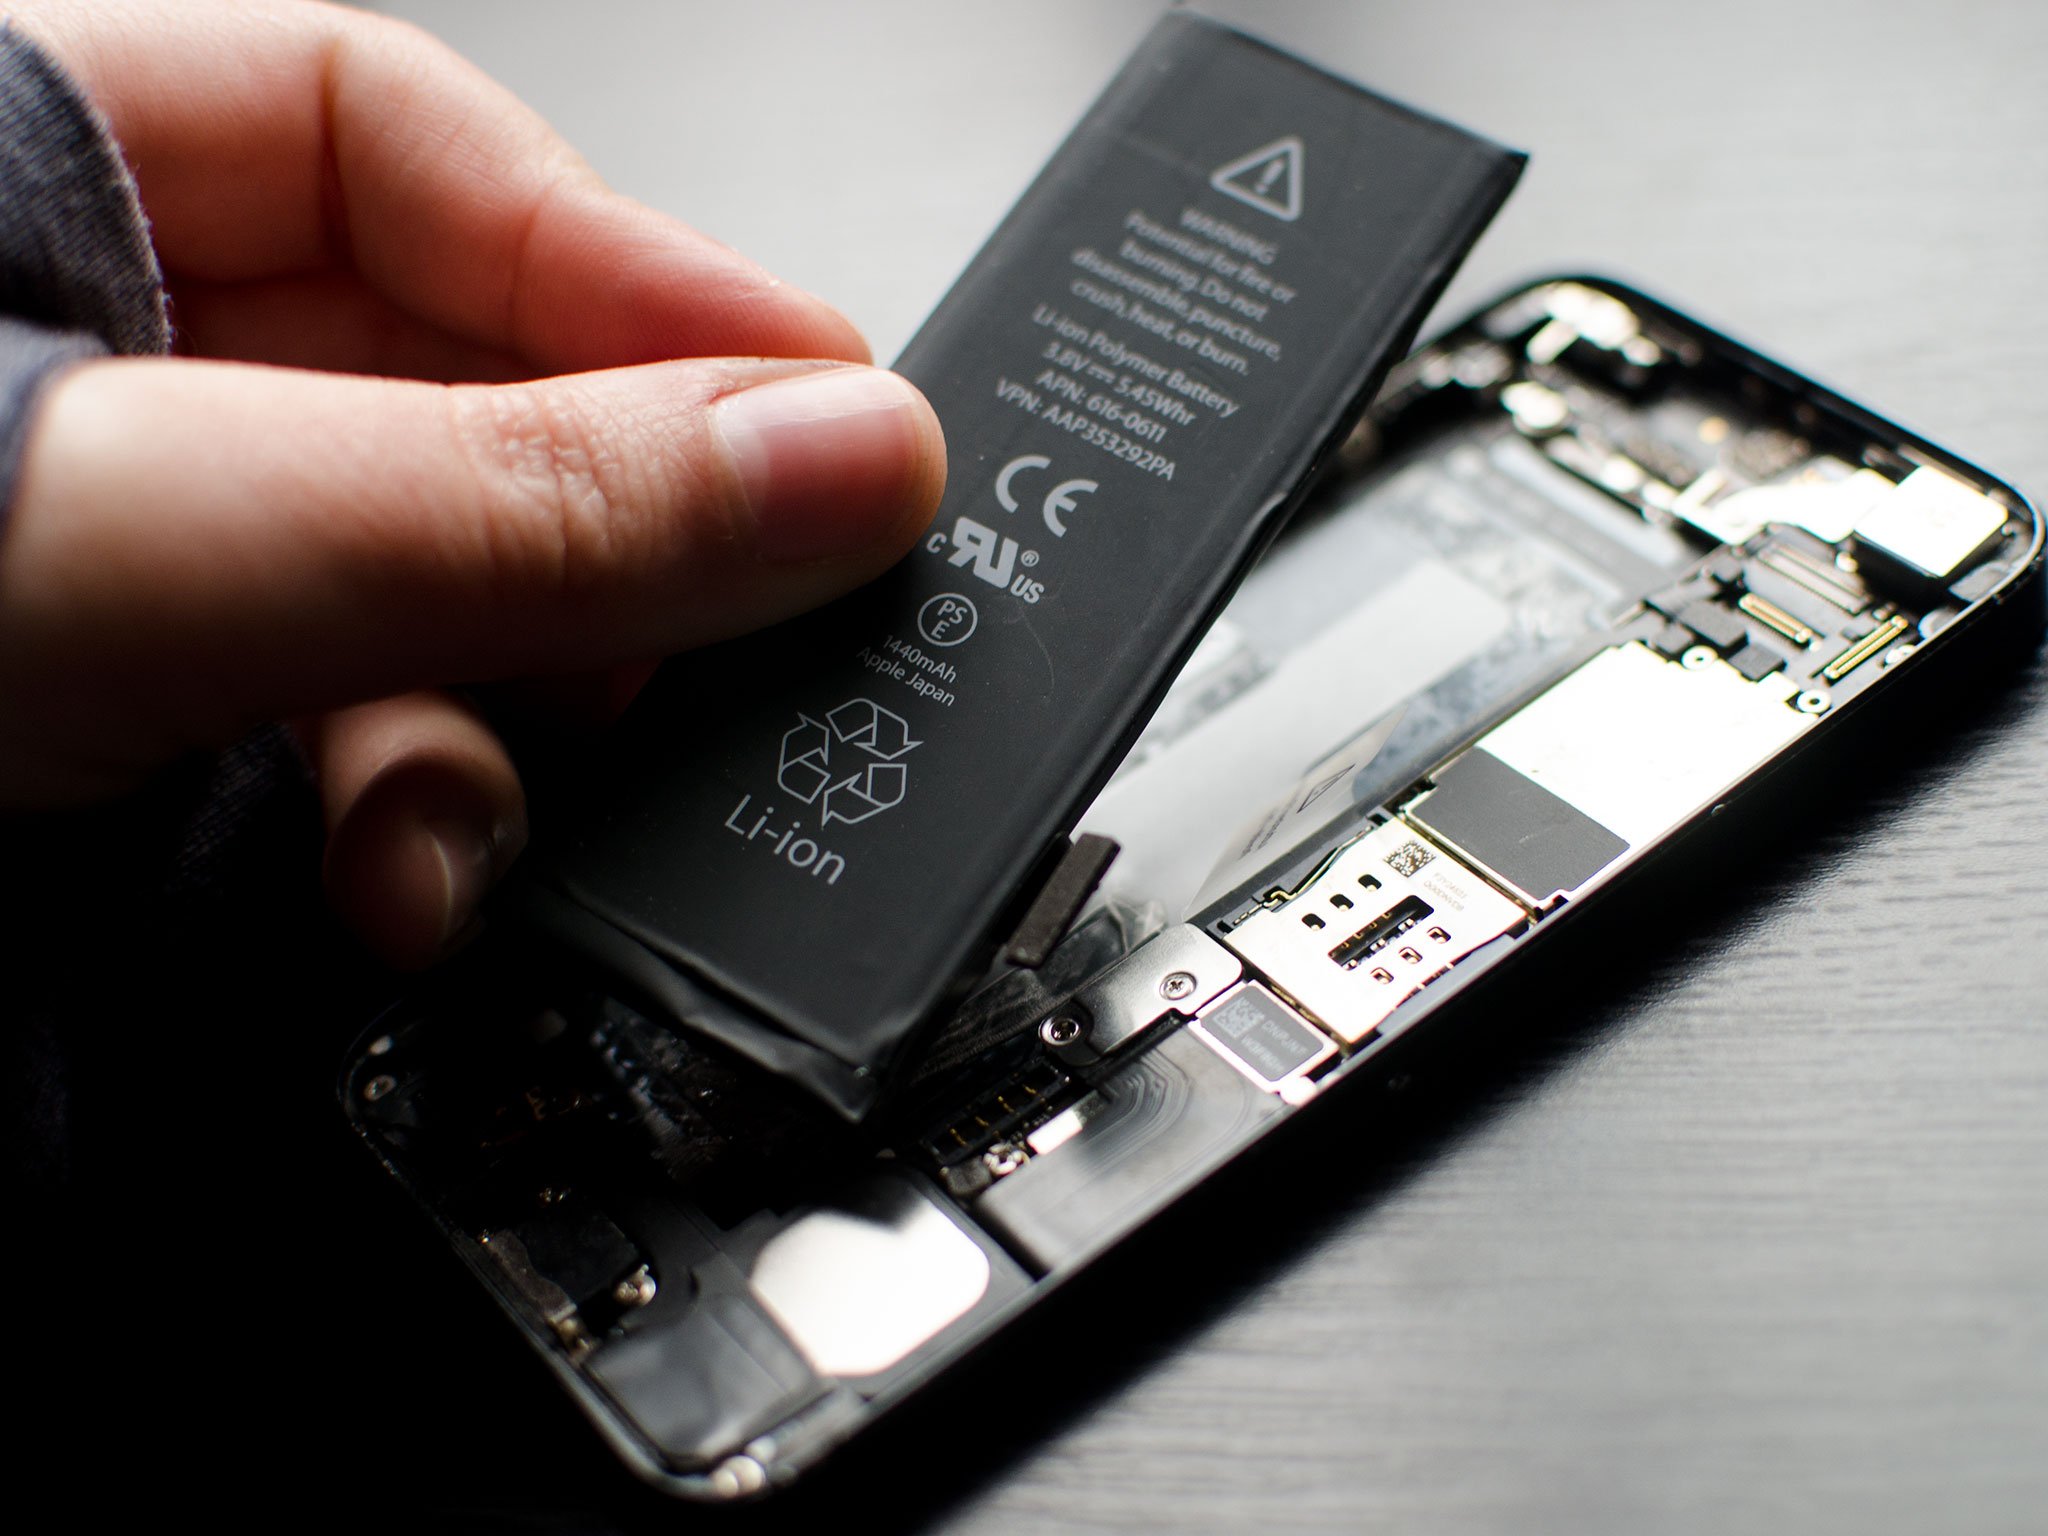
Step 5

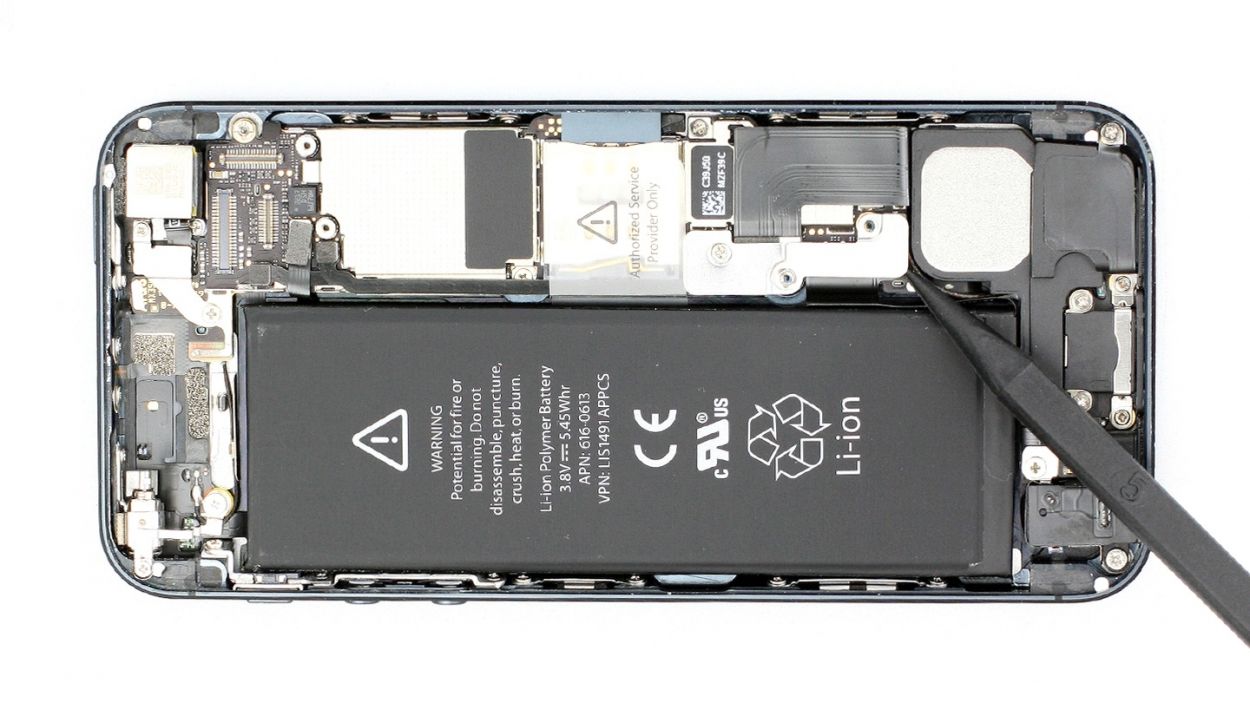
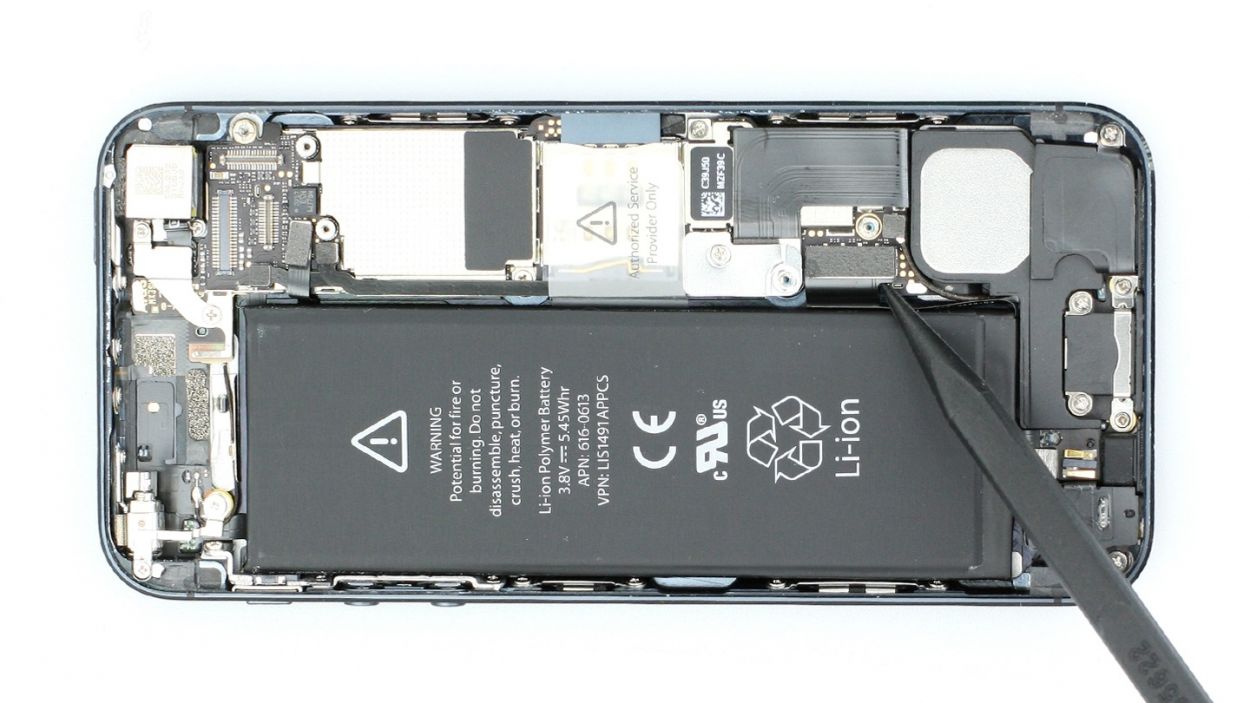
The logic board is very sensitive. You can also lift the battery from the other side.
– Now remove the battery. It’s sometimes glued firmly in place. Insert the flat end of the spudger into the space between the battery and the logic board, and carefully lift the battery.The logic board is very sensitive. You can also lift the battery from the other side.If the battery’s really stuck on, use other leverage points to the right and left of the original spot to pry it off. If you still can’t detach the battery, you can use a heat gun to slightly warm the glue from the outside and soften it.
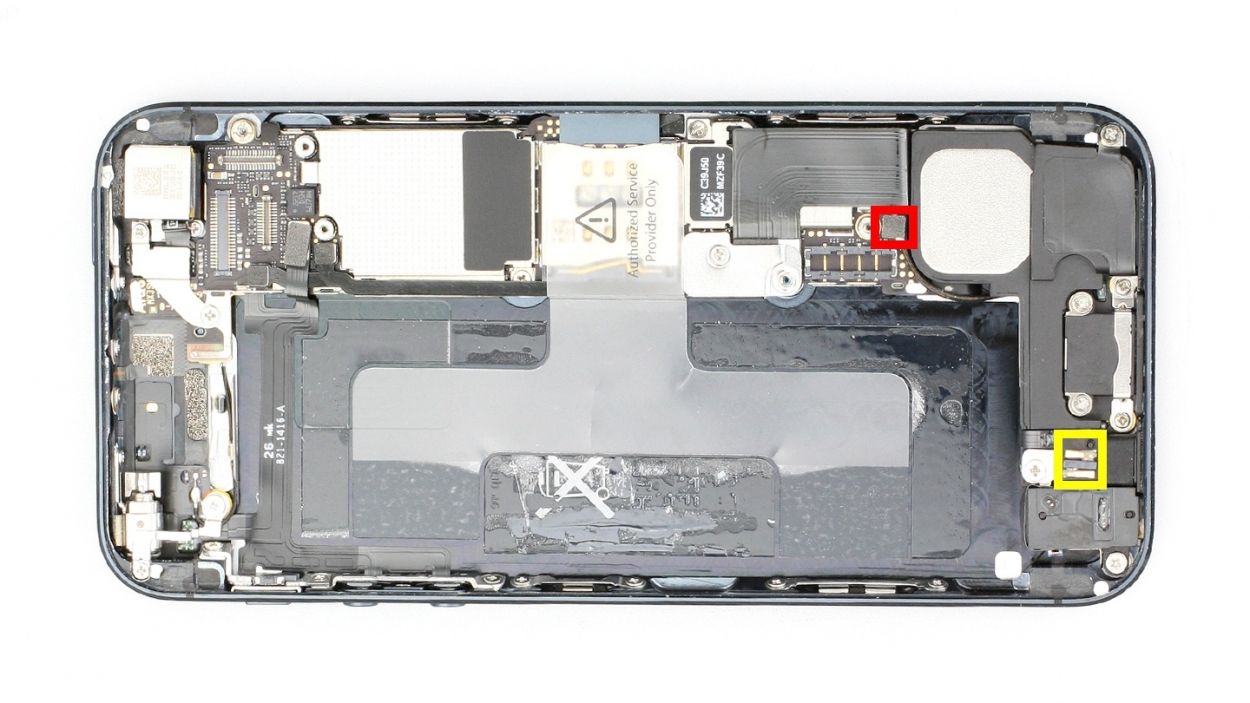
Step 6
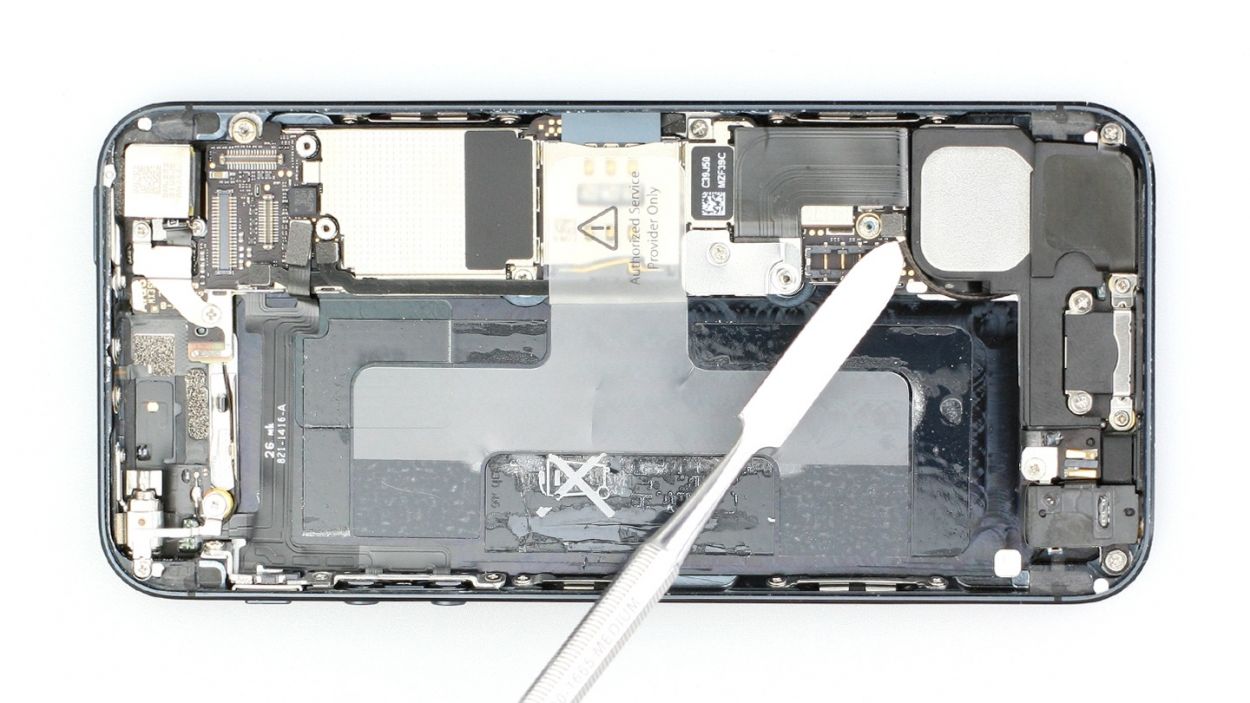
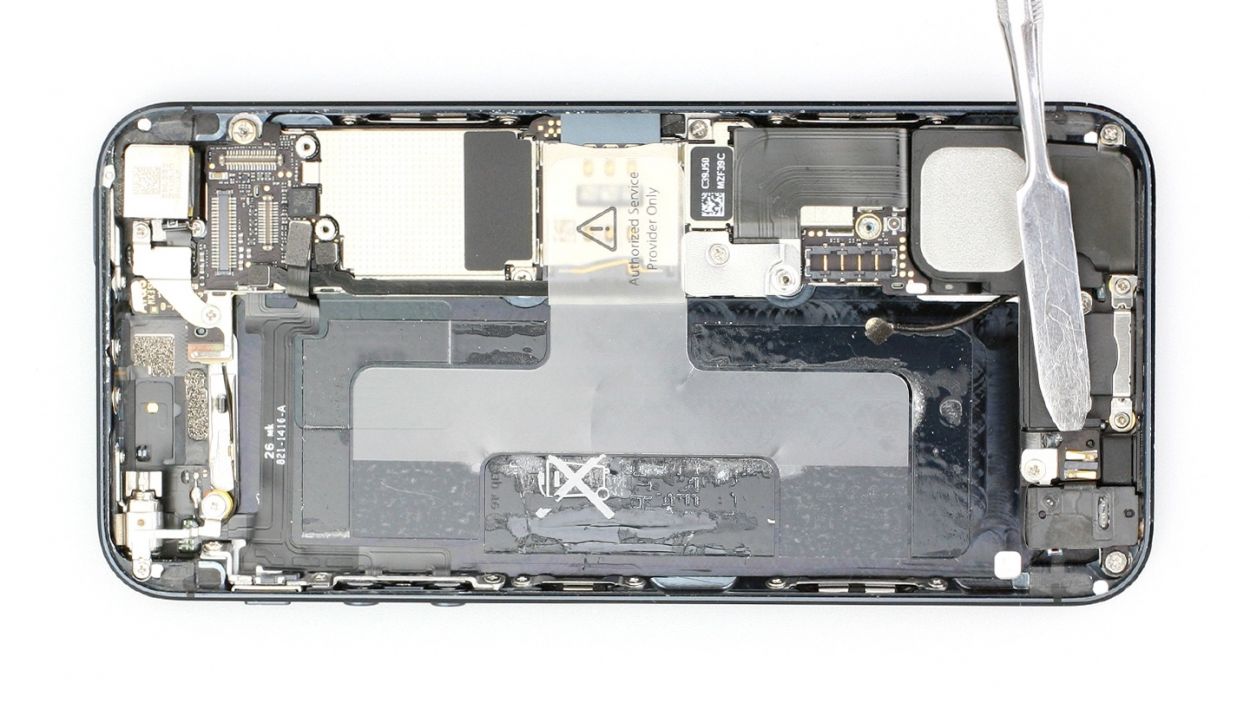
– First, gently coax off that antenna connector using your trusty laboratory spatula (check out figure 1 for guidance).
– Next, grab that laboratory spatula again to carefully peel away the Home button contact cable, which is just a bit glued down (see figure 2).
Step 7
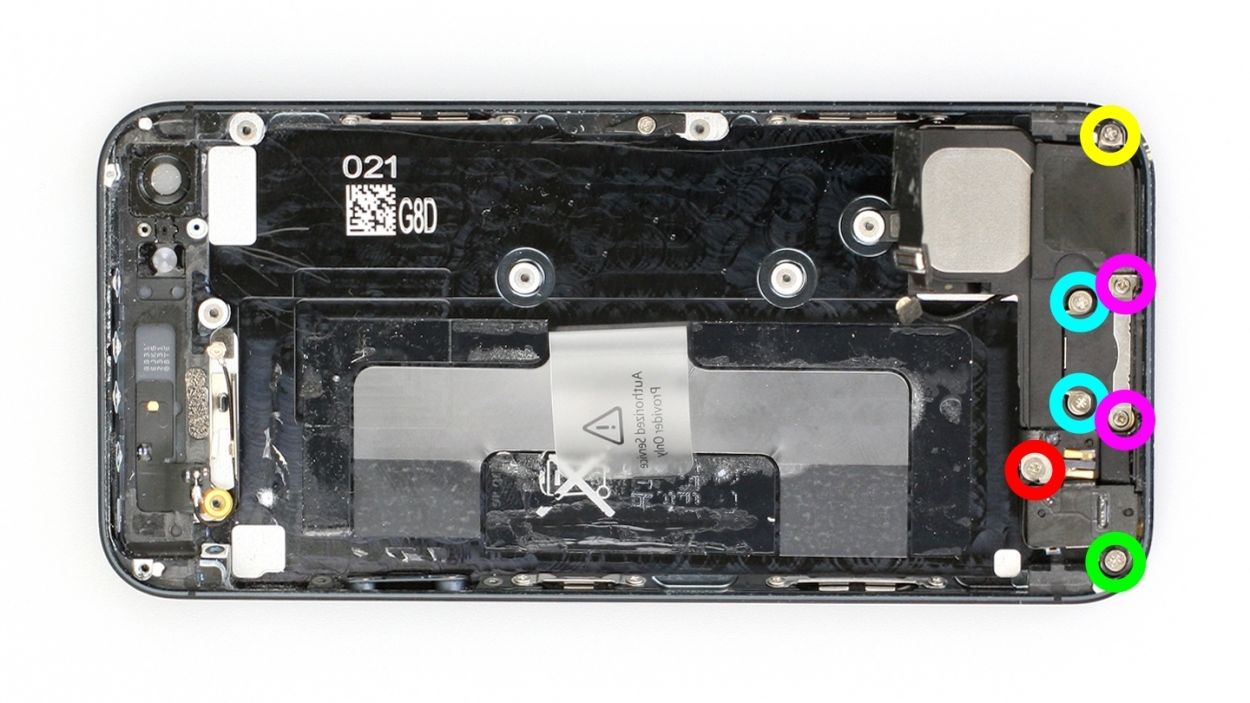
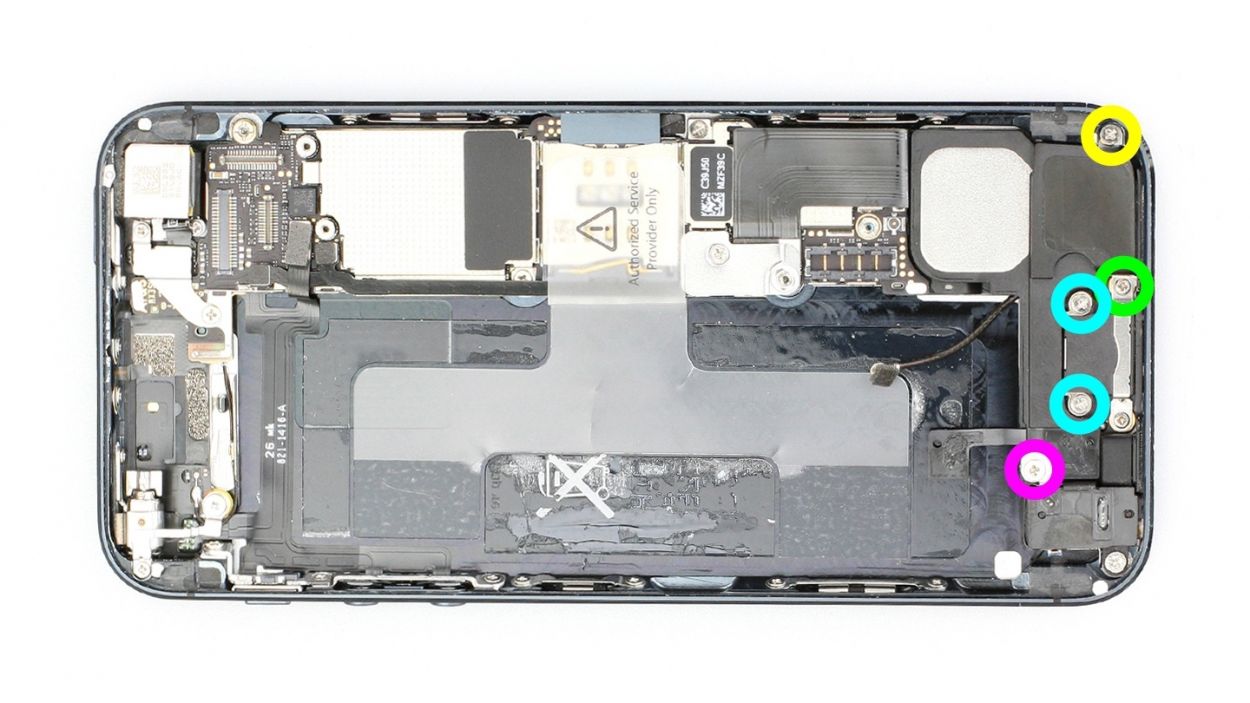
– Now remove the following five Phillips screws. Put the screws in different compartments of your organizer tray so you can easily identify them later.2 x 1.4 mm Phillips screw2 x 3.1 mm Phillips screws1 x 2.7 mm Phillips screw1 x 2.7 mm Phillips screw1 x 2,4 mm Phillips-Schraube
Step 8

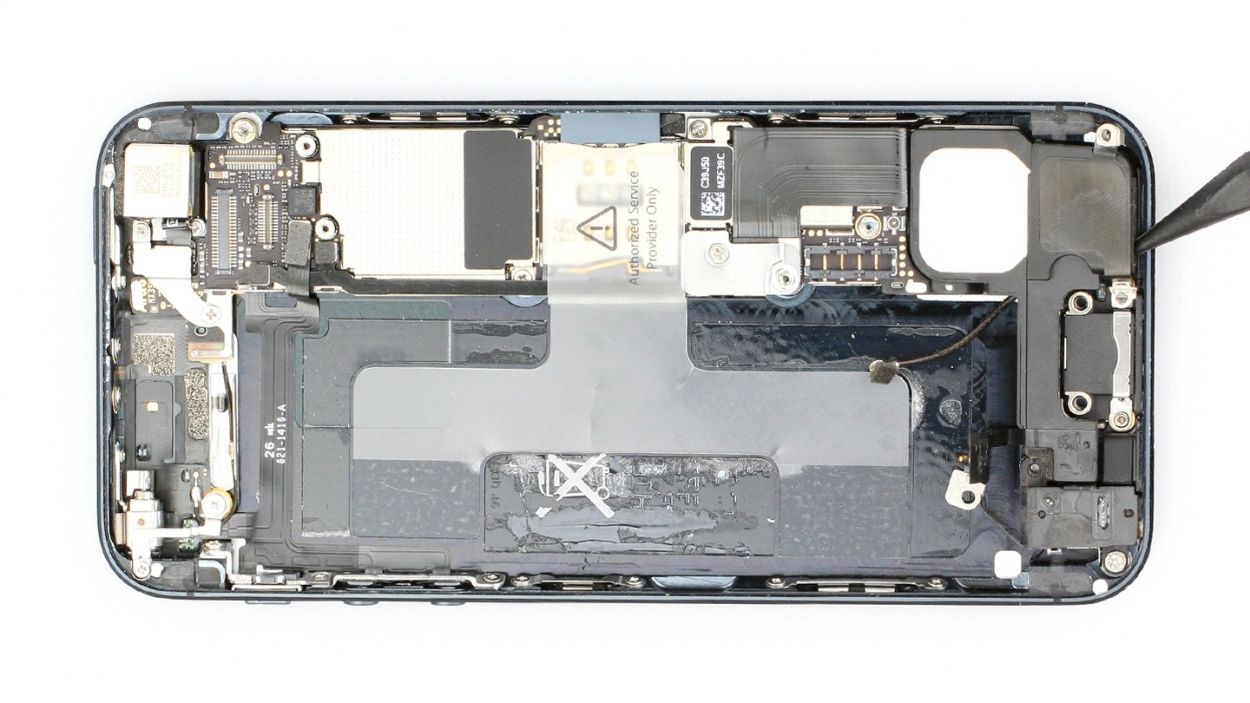
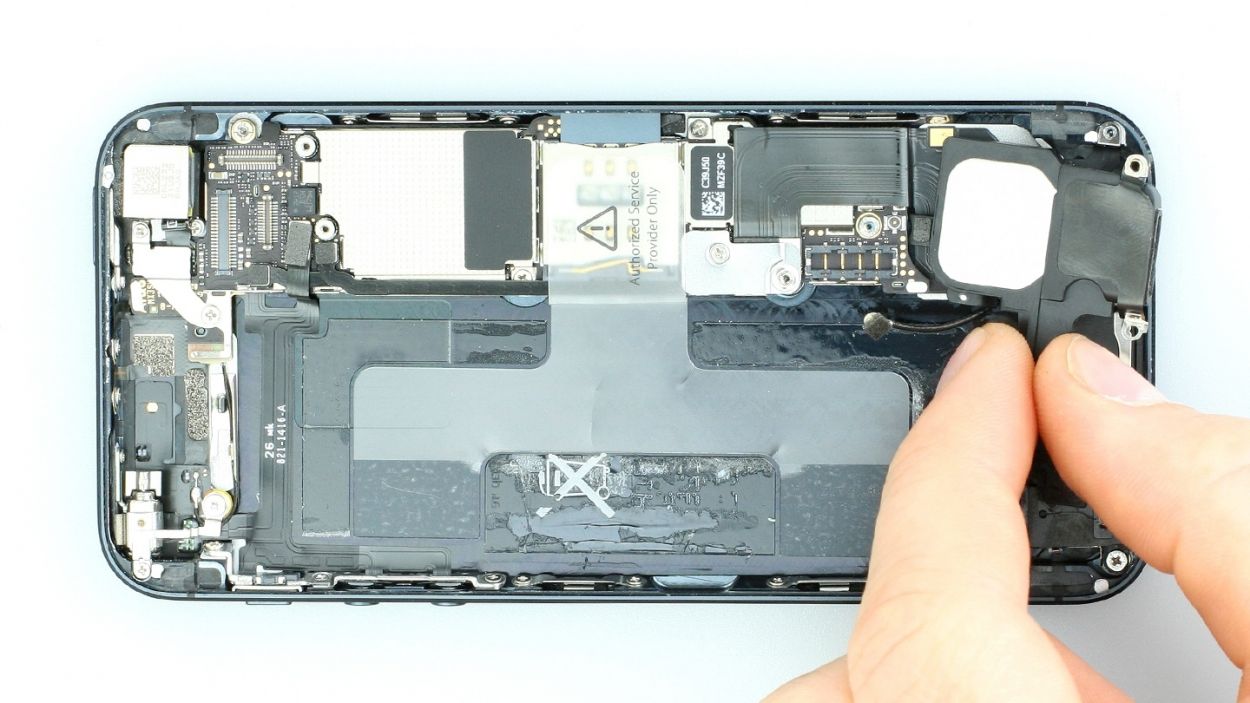
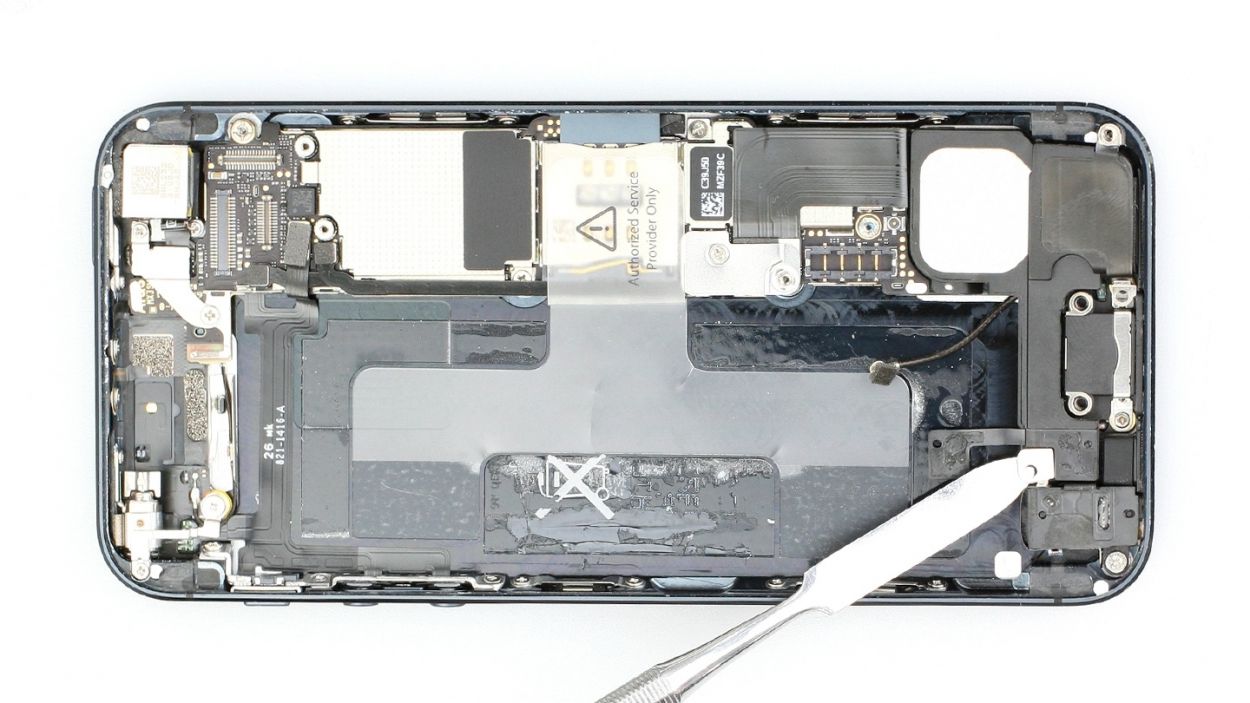
– First, gently detach the shiny silver cover that’s cozying up to the cable (check out figure 1 for some visual help).
– Now, it’s time to give that speaker a little lift (see figure 2)! Carefully pull it out by hand (figure 3). Just a heads up, part of it might be cozied under the logic board, so you’ll want to turn the speaker sideways to ease it out. Take it slow and easy to avoid stressing the logic board too much.
Step 9
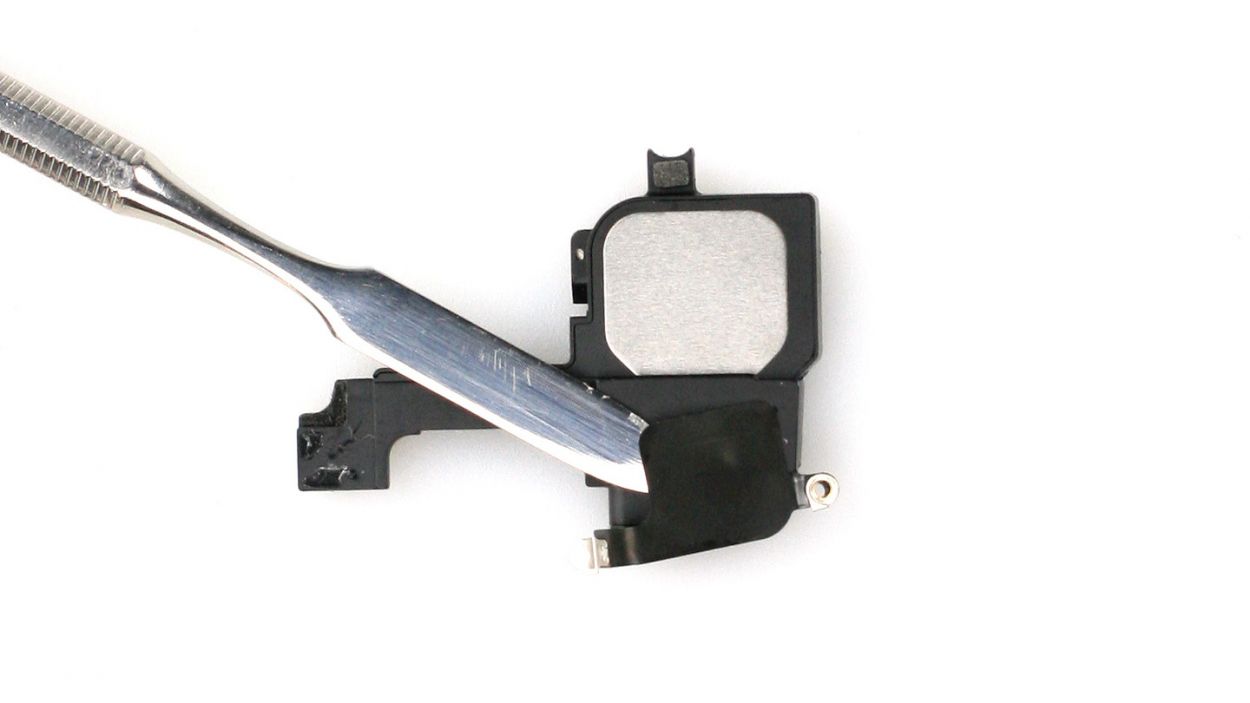
– Time to give that antenna a new home! Carefully transfer the antenna from the old speaker to the new one.
– Since the antenna is glued on, use your trusty laboratory spatula to gently detach it and then stick it onto the new speaker. You’ve got this!
Step 10

– Give that speaker a little twist to get it back into its original spot (check out figure 1 for a visual!).
– Next, pop on the shiny silver cover that’s attached to the cable (see figure 2).
– Now it’s time to secure those Phillips screws once more (see figure 3). You’ve got 1 x 2.8 mm Phillips screw, 2 x 3.3 mm Phillips screws, 1 x 1.4 mm Phillips screw, and 1 x 2.9 mm Phillips screw ready to go!
Step 11
– Carefully connect the antenna connector.
– Then stick the Home button contact cable back on.
Step 12

– Now put the battery back in the iPhone and position it as close to the logic board as possible.
– Click the battery connector back into place.
– Then put the cover on and screw it in.1 x 1.8 mm Phillips screw (funnel head)1 x 1.7 mm Phillips screw
Step 13
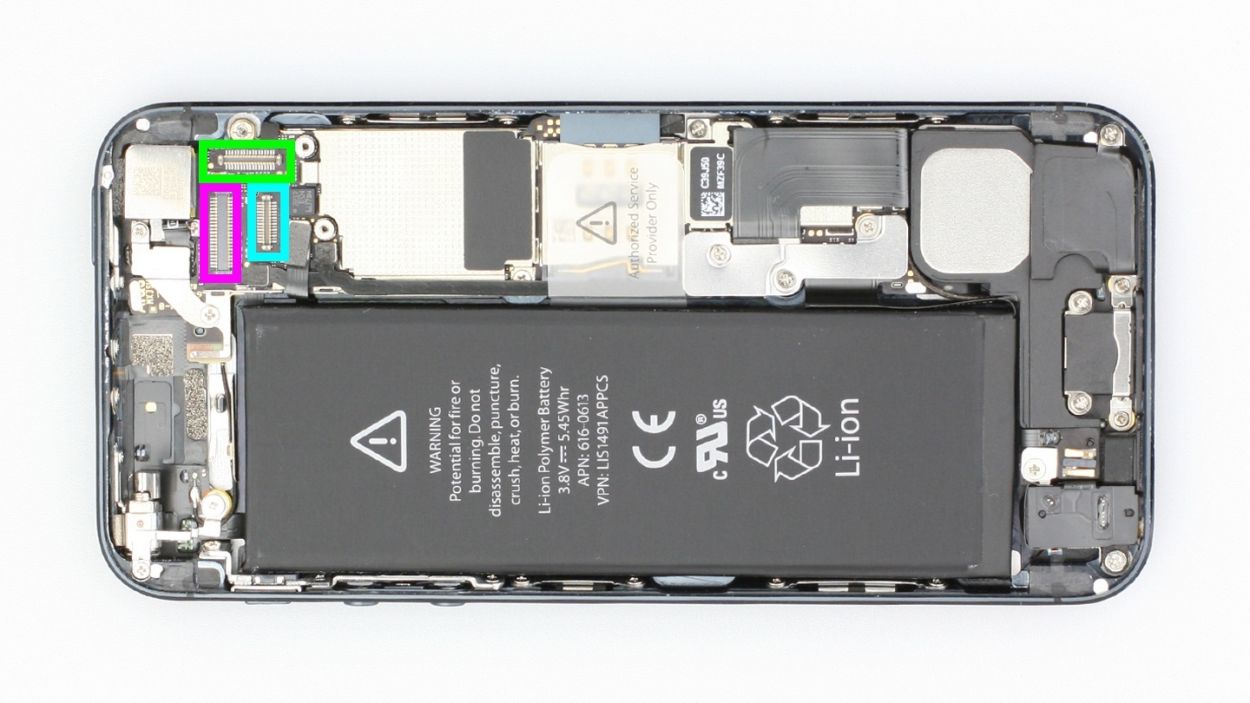

– Now reconnect the connectors (see figure 1). The LCD connector sometimes comes undone when you connect the touchscreen connector.LCDTouchscreenFront camera/sensor/earpiece
– Reattach the battery connector and fix the coverplate again.
– Start your iPhone as soon as the connectors are securely attached. Check the function of the LCD, touchscreen, proximity sensor, front camera and earpiece.
– Now attach the cover and screw it in place (see figure 2).2 x 1.2 mm Phillips screws1 x 1.7 mm Phillips screw (not magnetic)
– Then carefully fold down the screen. Make sure that the edge of the screen where the cables are clicks into place properly. Now carefully press the screen on toward the Home button until it’s properly installed in the frame. (See figure 3).
Step 14
– Now screw in the two pentalobe screws at the bottom of the enclosure.2 x 3.6 mm pentalobe screws
Step 15

Heads up! When you disconnect the battery from your device, your iPhone will take a little trip back to 1:00 a.m. on 1/1/1970. Make sure to set the time again, or you might experience some hiccups when trying to connect to the cellular network.
– Time to get your iPhone back on schedule! Sync it with iTunes or hop on a WLAN network and hang tight until it sets the right time.
– Pop out that SIM tray, give the SIM card a little love, and reinsert it like a pro.
– Flip on airplane mode for a quick sec and then turn it back off. You’re almost there!