iPhone 11 Lightning Connector Replacement Guide: Step-by-Step DIY
Duration: 90 min.
Steps: 25 Steps
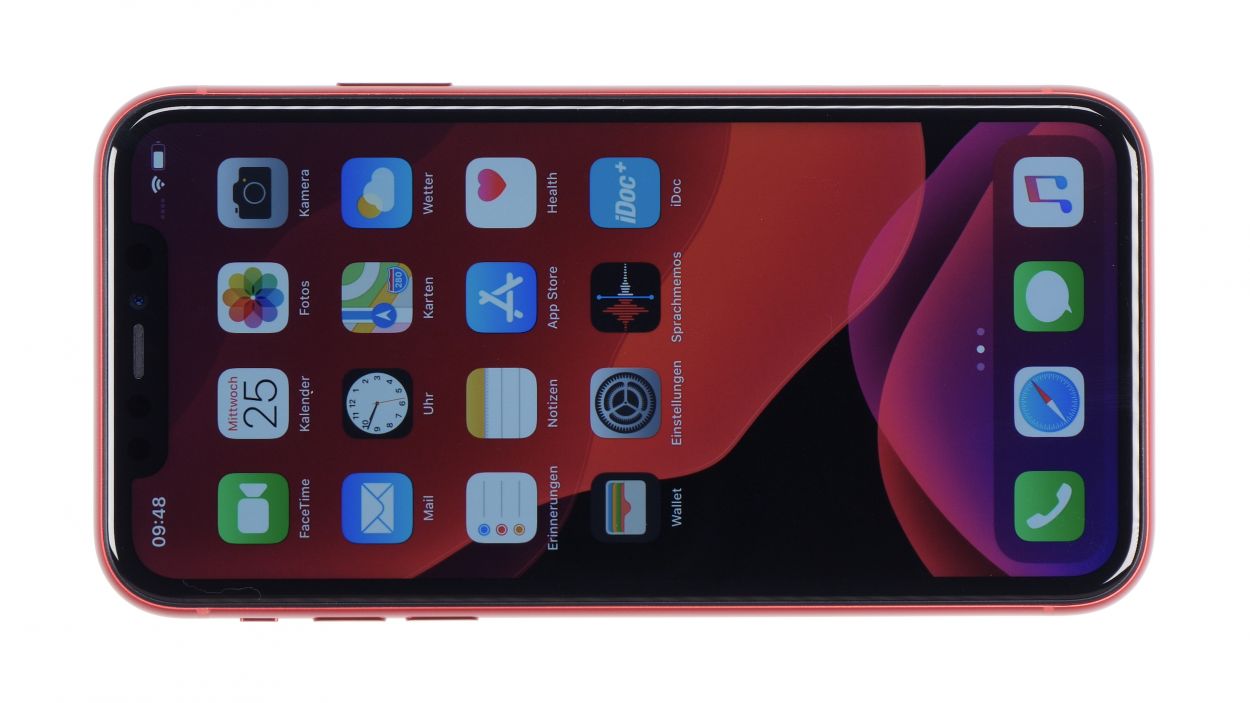
If your Lightning connector is acting up, it might be a sign that the component is on the fritz. This connector is the backbone of your iPhone’s lower half, linking together the speaker and Taptic Engine, plus housing the microphones that keep your calls crystal clear. But don’t worry! With our step-by-step repair guide, you’ll have your iPhone 11 back in tip-top shape in no time. Just make sure to set aside some time, and don’t forget to back up your iPhone first—better safe than sorry! Typically, all your data will stick around.
Step 1
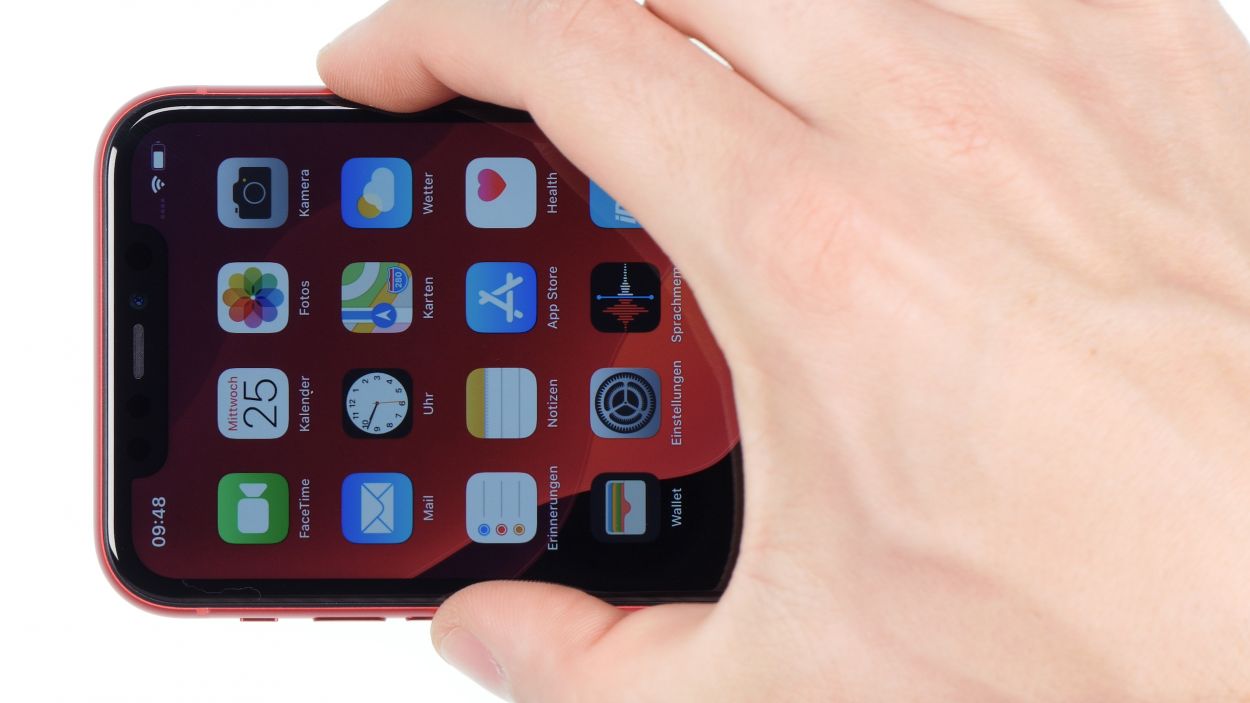
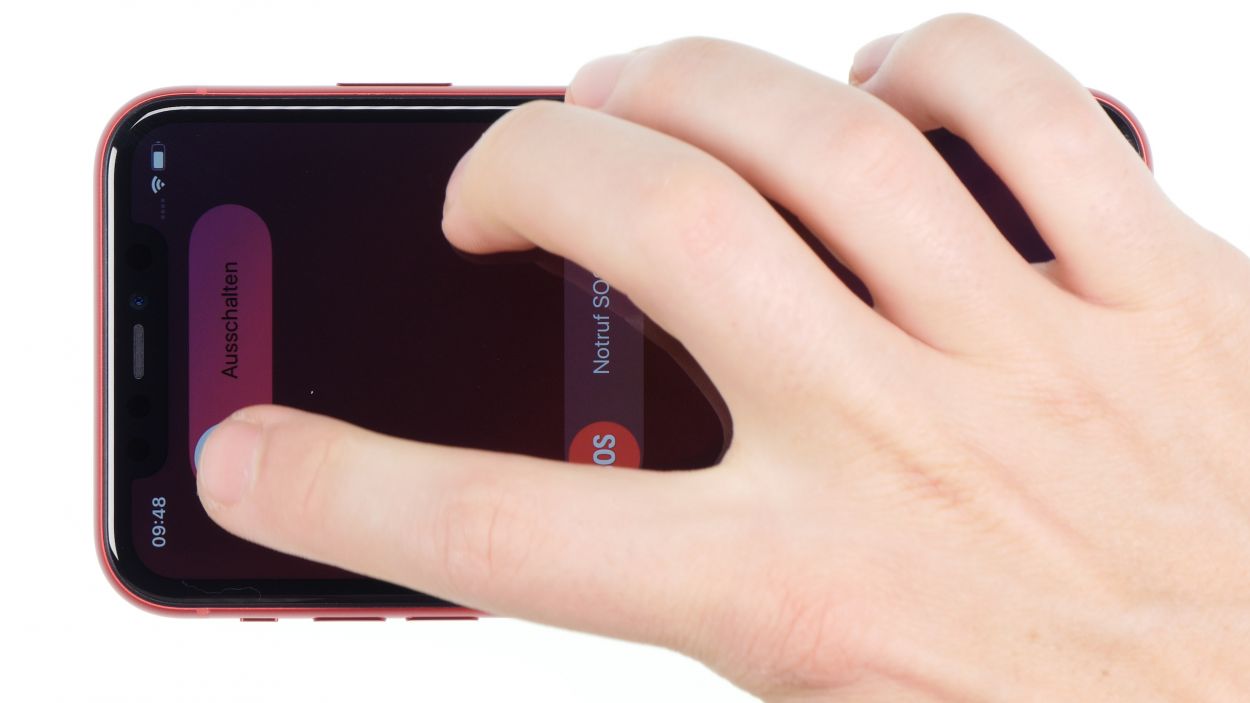
– Alright, champ! First things first: let’s give your iPhone 11 a little break. Power it down completely – hold down the power button and a volume button for about 3 seconds.
– See that ‘slide to power off’? Swipe it and watch your phone take a chill pill for about 10 seconds. We’re all about keeping things cool and safe at Salvation Repair!
Step 2
2 × 6,8 mm Pentalobe
Once you pop that device open, the IP68 dust and splash protection will take a little vacation. So, keep it away from the water and dust bunnies!
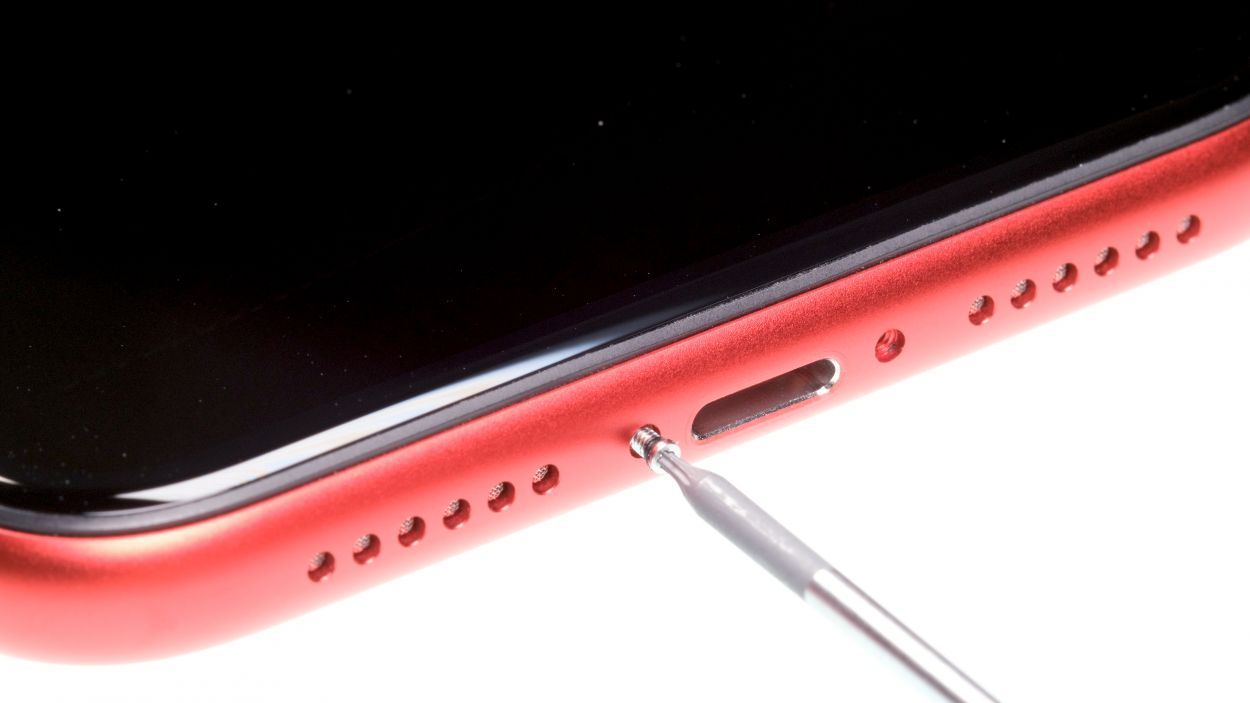
– Alright, let’s get down to business! On the bottom side of your iPhone 11, to the right and left of that trusty Lightning connector, you’ll spot two Pentalobe screws just waiting to be removed. Go ahead and unscrew both of them—then make sure to pop them onto your magnetic pad so they don’t go wandering off!
Tools Used
Step 3
– Alright, let’s set the stage! Gently lay your iPhone 11 on a soft, clean surface to keep that back looking pristine.
– To get that screen up, you’ll need a suction cup, a hard plastic plectrum, and a trusty hairdryer. If your glass is looking a bit rough, slap on a strip of parcel tape first to keep those pesky splinters at bay.
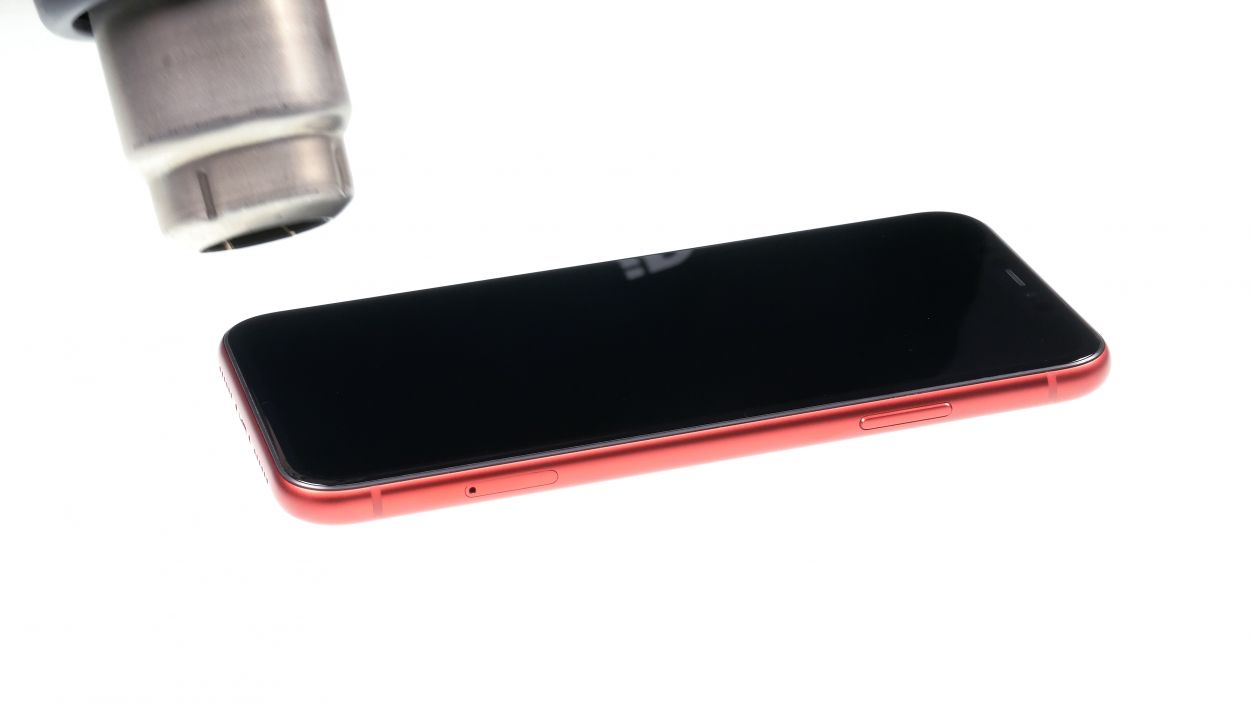
– Now, warm up the edge of the display with your hairdryer to about 60° C (140° F) to loosen that adhesive.
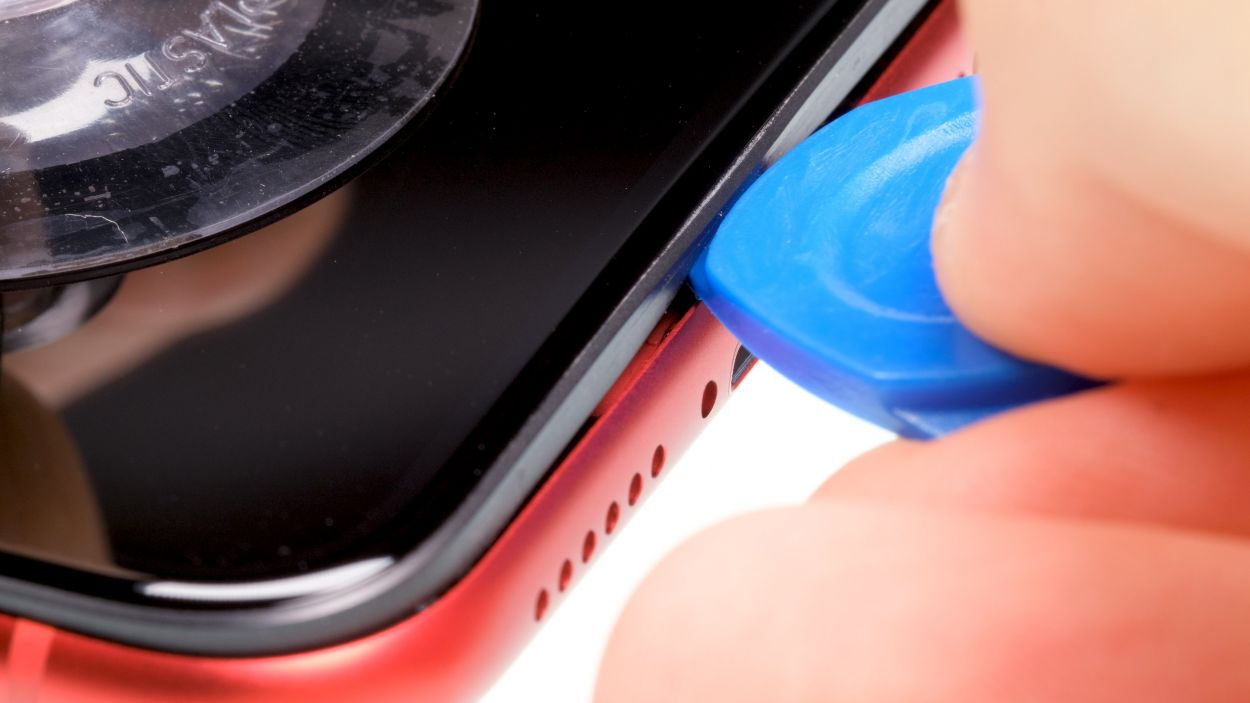
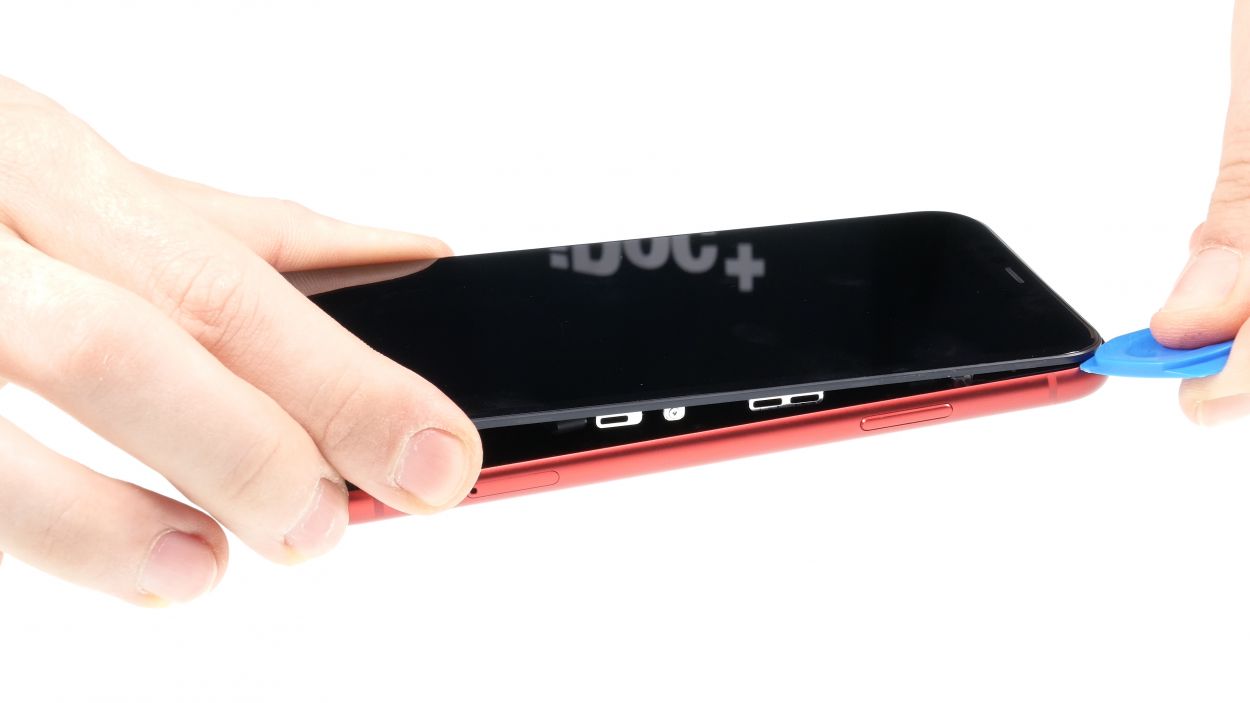
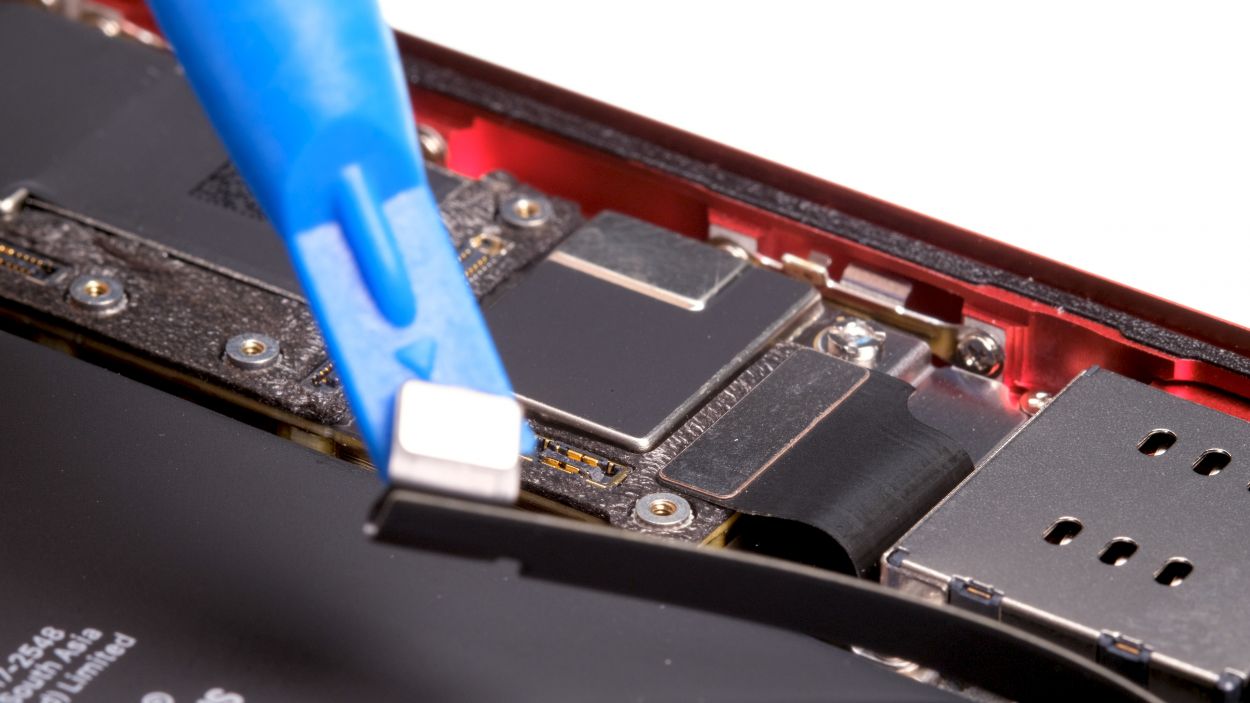
– Time to work your magic! Stick the suction cup on the lower edge of the iPhone. Use the key ring on the suction cup to lift the display while you slide the hard plastic plectrum between the case and display frame. Press down on the case frame as you go. To fully remove the display adhesive, make sure to glide that plectrum all the way around the iPhone.
Hey there! Just a friendly reminder: when you’re using that tool, keep it to about 5mm deep inside the device. We want to avoid any accidental damage to the delicate components inside your iPhone. This is super crucial near the standby button, where those sensitive flex cables from the display hang out. Let’s keep everything safe and sound!
You can also use an iFlex instead of the hard plastic plectrum. However, this can leave scratches on the frame.
Tools Used
- heat gun to heat parts that are glued on so they’re easier to remove.
In most cases, you can also use a hairdryer.” rel=”noopener”>Heat gun - Pick Set
- iFlex Opening Tool
- VAKUPLASTIC Suction Cup
Step 4
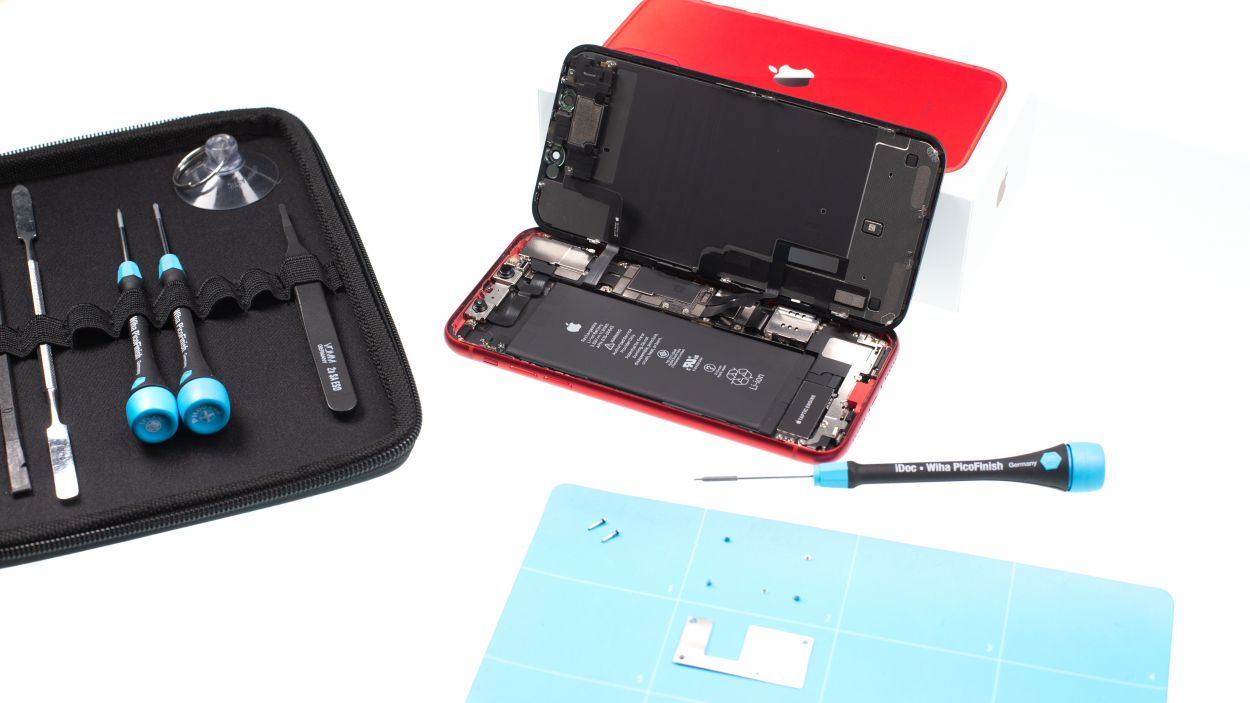
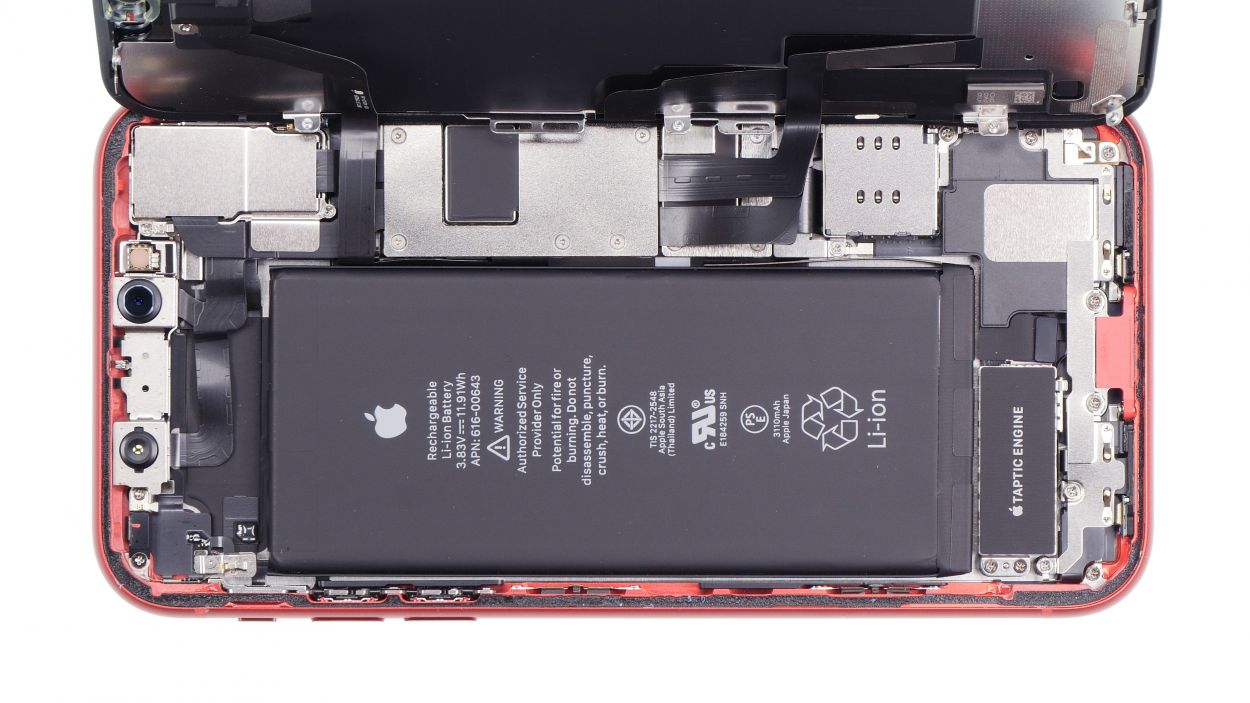
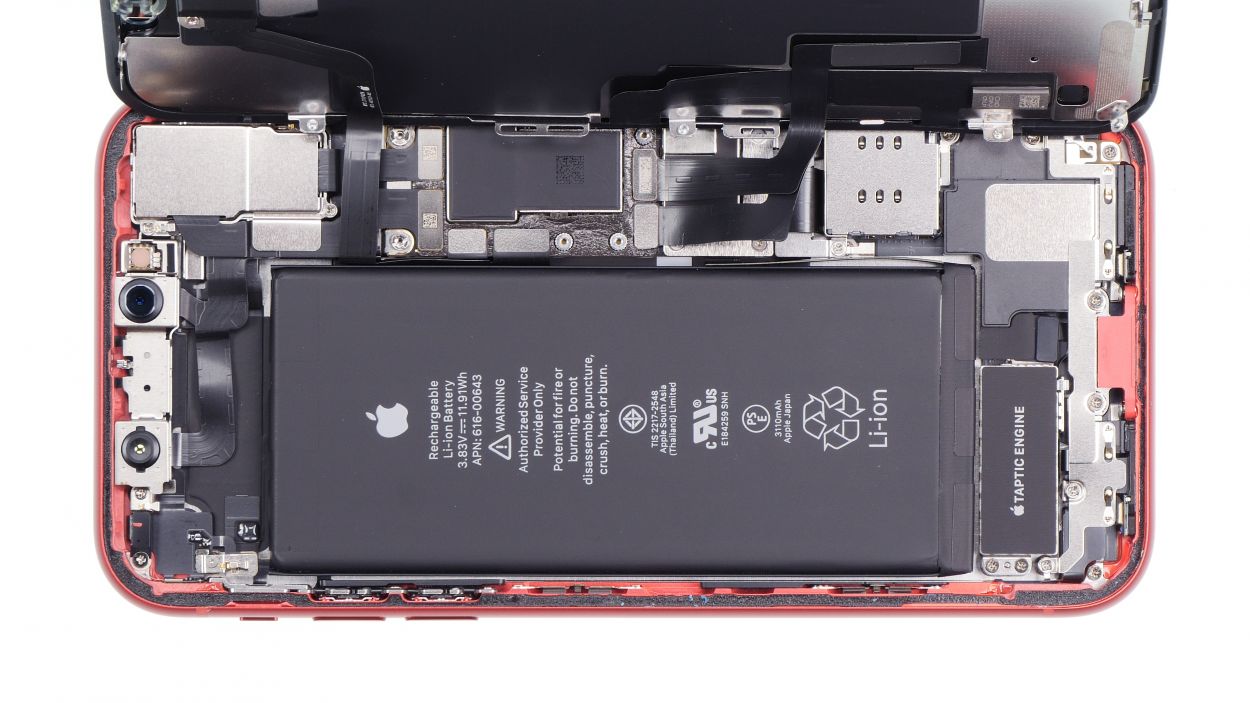
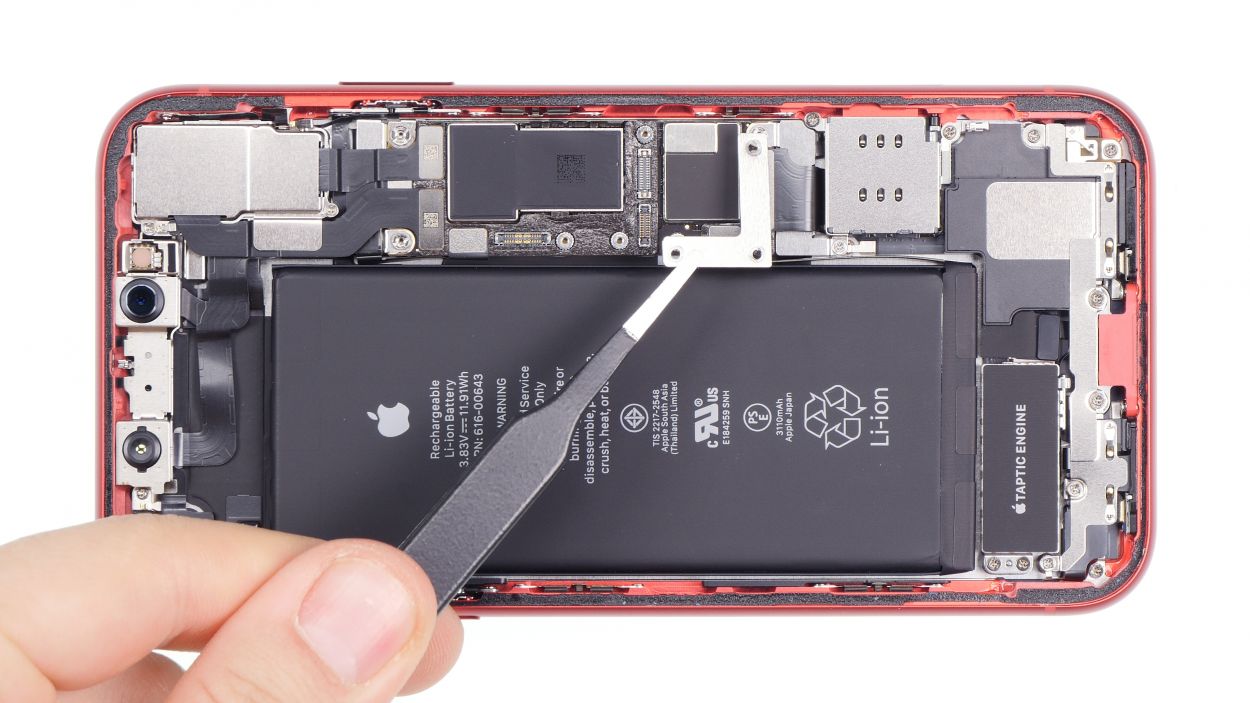
– Grab your Y-type Y000 screwdriver and get ready to tackle those Y-type screws holding the metal cover in place. Once you’ve got them out, make sure to gather all the little parts and place them on your magnetic mat—no one likes a rogue screw wandering off!
5 × 1,1 mm Y-Type
Touch connector
LCD connector
Earpiece connector
With the iPhone 7, Apple decided to shake things up by introducing Y-type screws! You might have heard them called Tri-Point or Tri-Wing, but let’s set the record straight—those names are a bit off. When it’s time to tackle these screws, make sure you’ve got the right screwdriver handy to keep those heads in perfect shape. Happy repairing!
Tools Used
Step 5
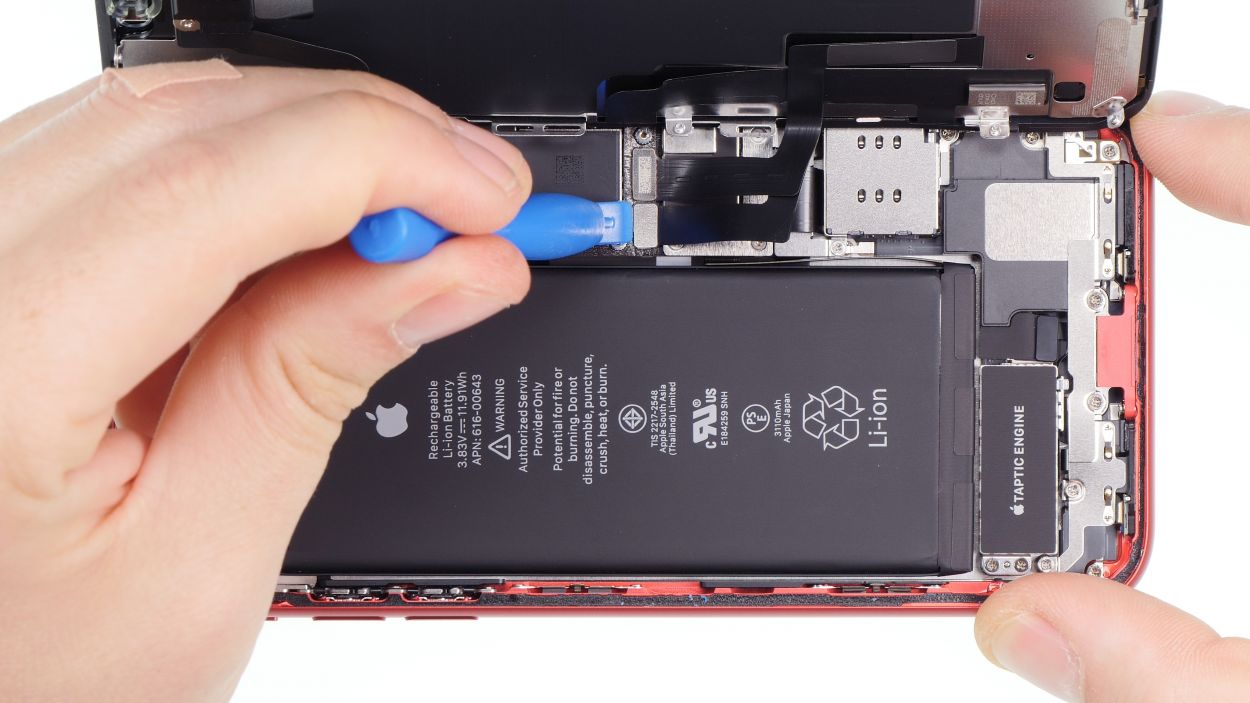
3 × 1,1 mm Y-Type
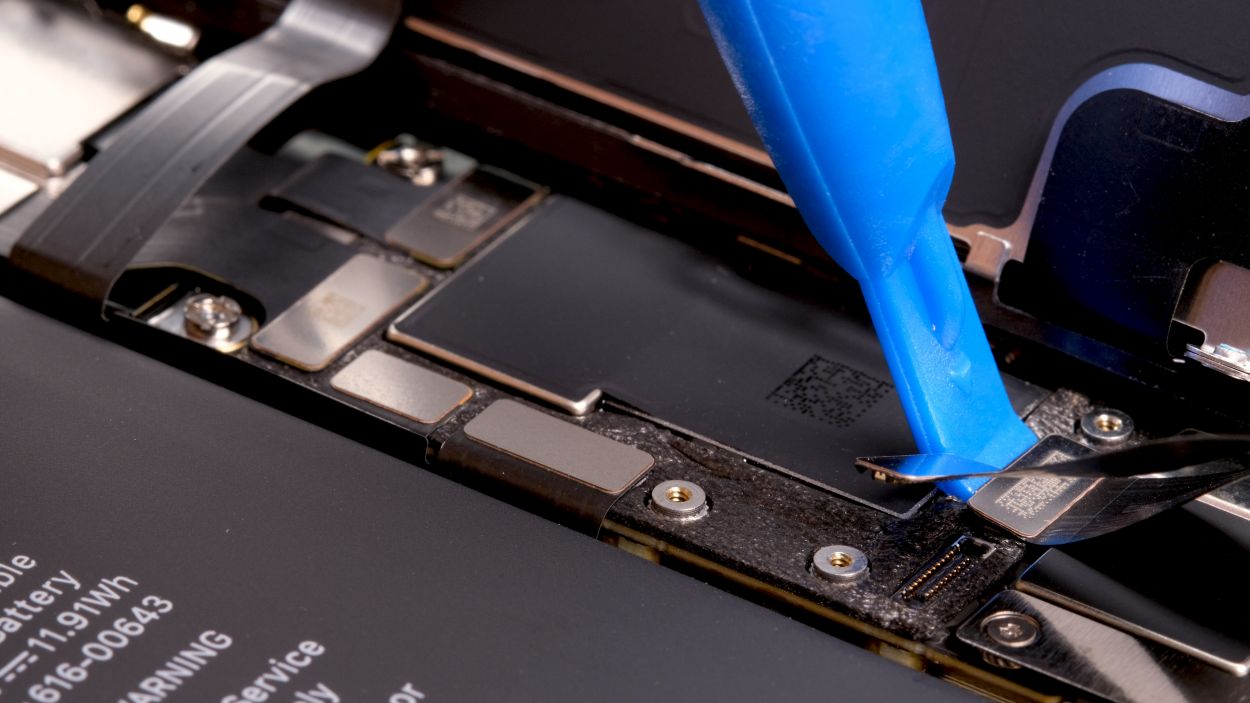
Battery connector
