iPhone 11 Pro Max Pentalobe Screws Replacement Guide
Duration: 45 minutes
Steps: 1 Steps
Hey there! Just a friendly heads-up: tackling this repair might require some patience and a little finesse. If you run into any bumps along the way, no worries! You can always schedule a repair and let the pros handle it. You’ve got this!
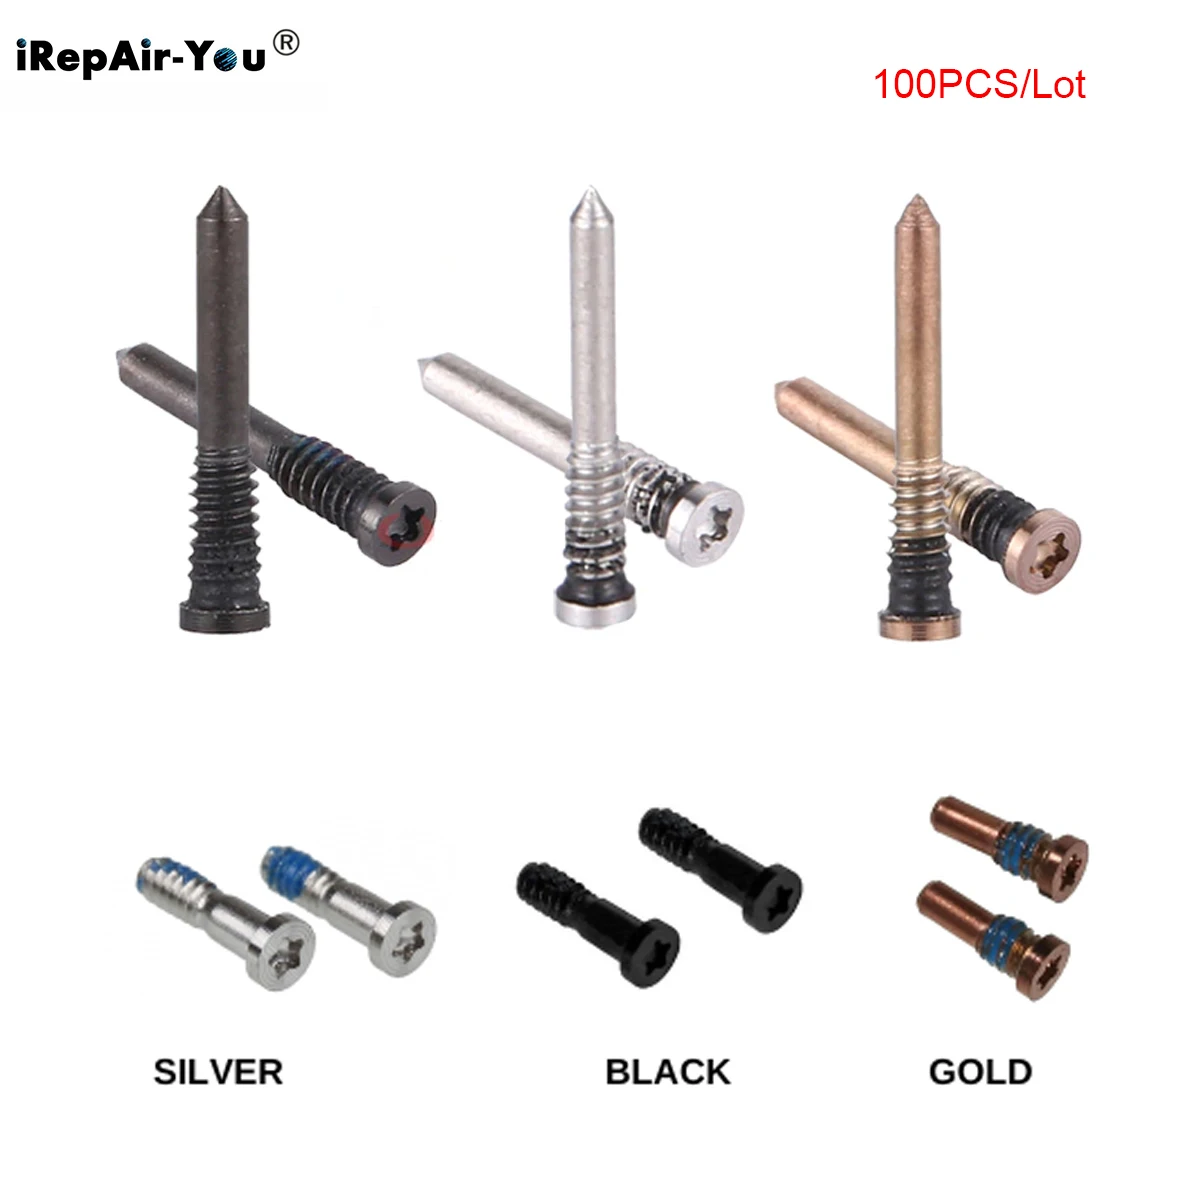
Ready to dive in? Let’s tackle those two screws holding the iPhone 11 Pro Max display panel in place! These little guys are the only screws you’ll find on the outside of your phone. They sport a unique five-point design that’s all Apple, so grab your trusty P2 pentalobe driver to get them out. If you need help, you can always schedule a repair.
Step 1


Hey there! Before diving in, make sure to run that iPhone battery down to below 25%. A fully charged lithium-ion battery might just throw a party of fire and/or explosion if it gets a little too punctured. Safety first, right?
Opening up your iPhone’s display? Just a heads up, it might mess with those waterproof seals. Make sure you’ve got some replacement seals on hand before diving in, or be extra careful to keep it away from any liquids if you decide to put it back together without swapping them out.
– First things first, make sure your iPhone is powered down before we dive into the disassembly fun!
– Next up, grab your trusty pentalobe screwdriver and remove those two 6.7 mm-long screws at the bottom edge of your iPhone. Easy peasy!