iPhone SE Front Camera Sensor Cable Replacement Guide
Duration: 30 min.
Steps: 13 Steps
Welcome to your guide on swapping out that pesky front camera/sensor cable on your iPhone SE! If your front camera is playing hard to get, the aperture is stuck, or your photos are looking like they were taken through a foggy window, it’s time for a change. Even if your screen isn’t dimming during calls anymore, fear not—this cable replacement will set things right. And if your microphone has decided to take a vacation during videos or FaceTime, replacing this cable will bring it back to life. Let’s dive in and get your iPhone SE back to snapping those perfect selfies!
Step 1
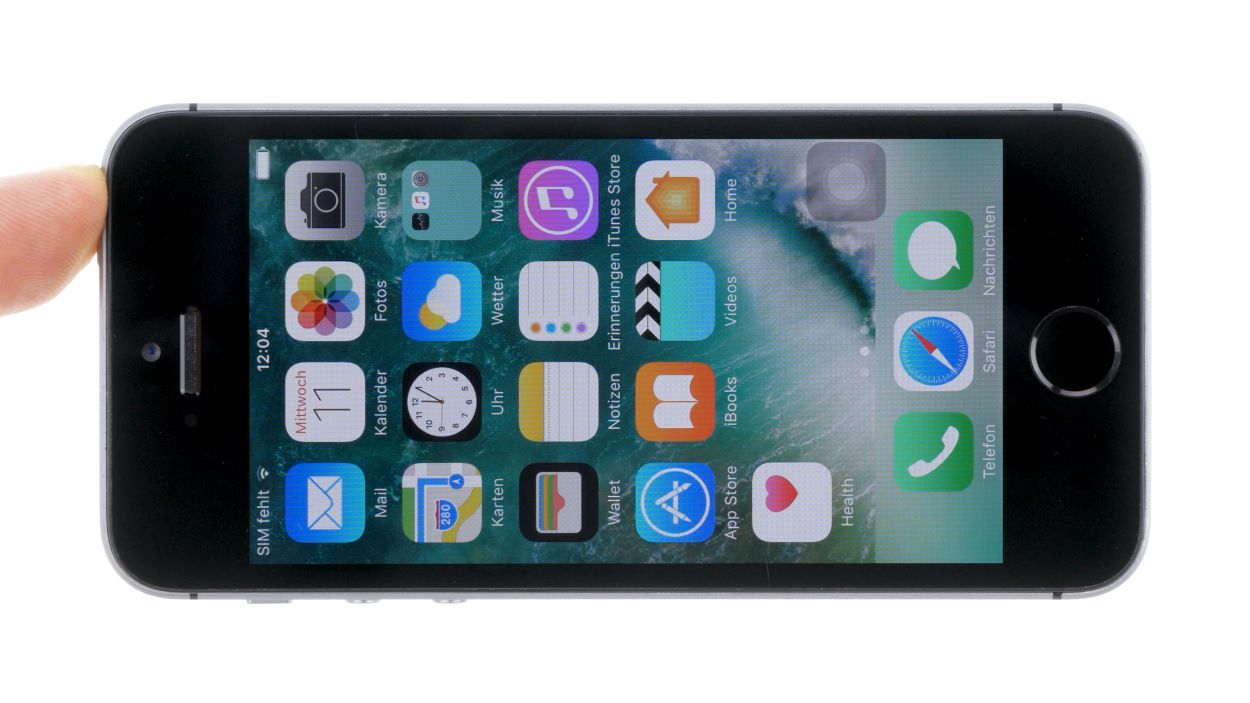
– First things first, let’s power down your iPhone completely to keep it safe during the repair. No one likes surprises, right?
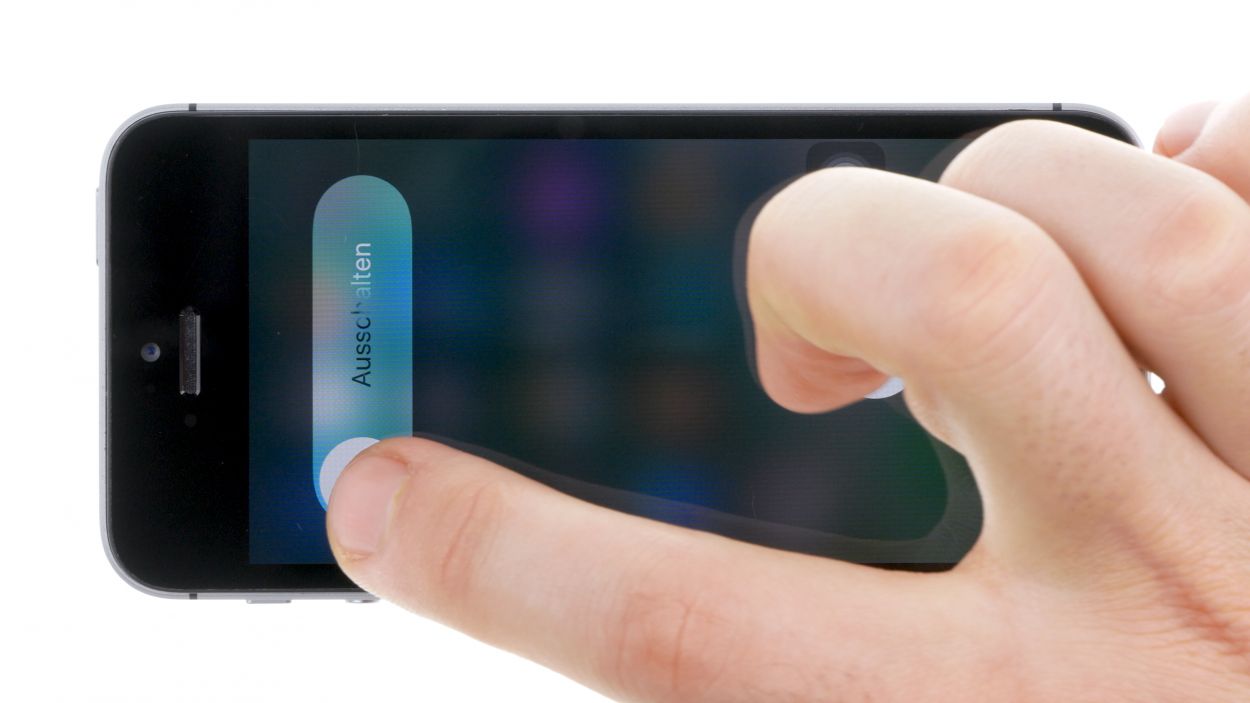
– Go ahead and press the standby button for about three seconds until that nifty slider pops up.
– Now, give that slider a gentle swipe from left to right. Your iPhone will take about ten seconds to shut down completely. Hang tight!
Step 2

2 × Pentalobe
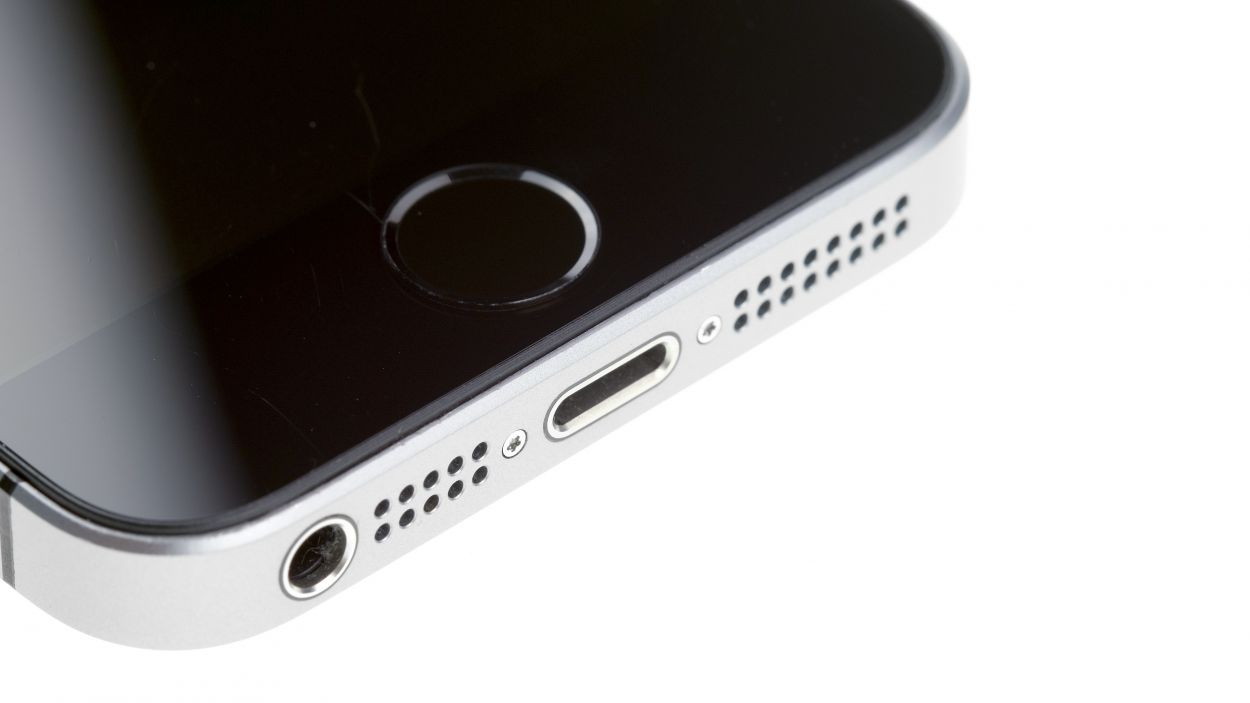
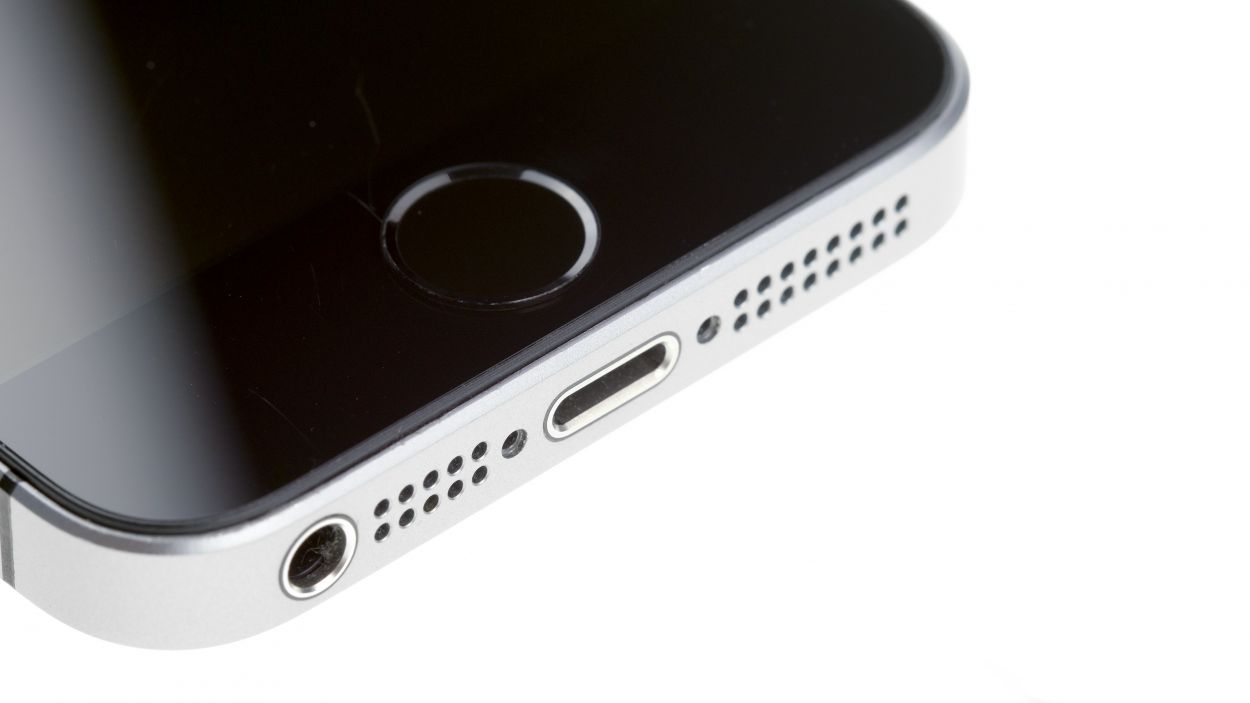
– Grab your trusty pentalobe screwdriver to get into the heart of your iPhone SE.
– Carefully remove the two pentalobe screws at the bottom of the enclosure, located snugly on either side of the Lightning connector. And hey, don’t forget to keep those screws safe in the same box!
Step 3
Watch out for sharp edges from broken glass—let’s keep those fingers safe!
– Place your iPhone SE on a soft, clean surface to keep that back from getting scratched up—no one likes a scratched phone!
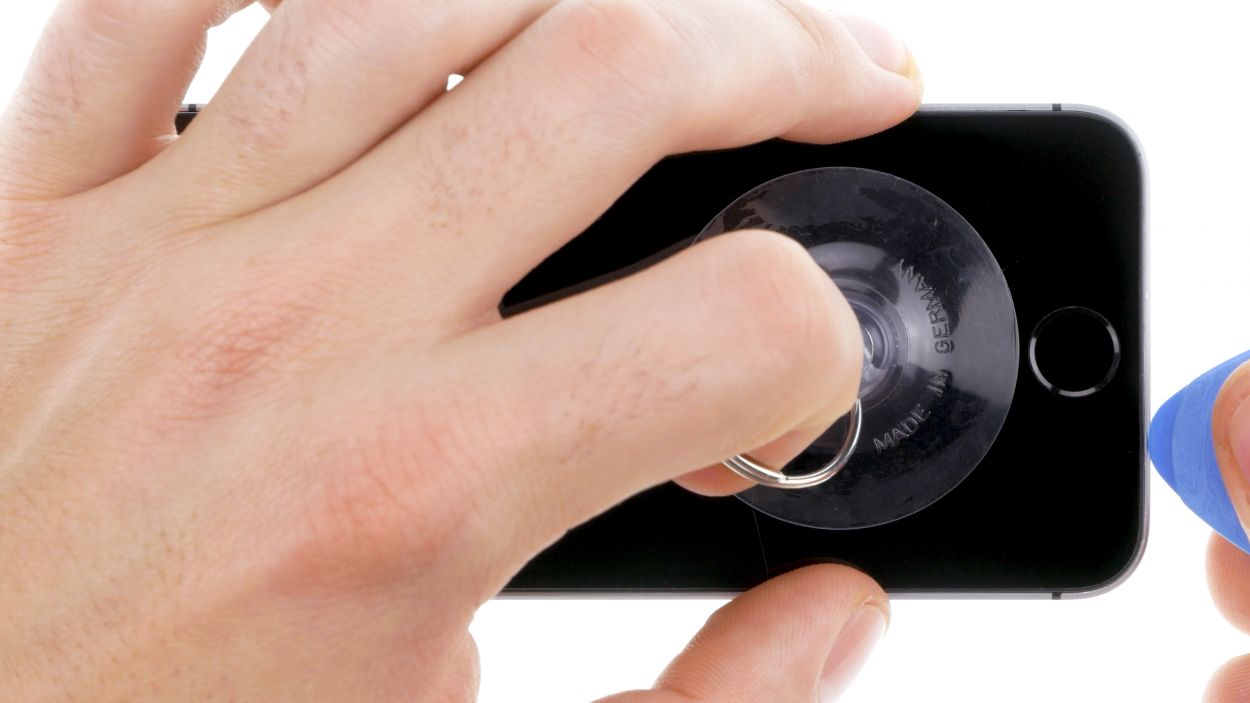
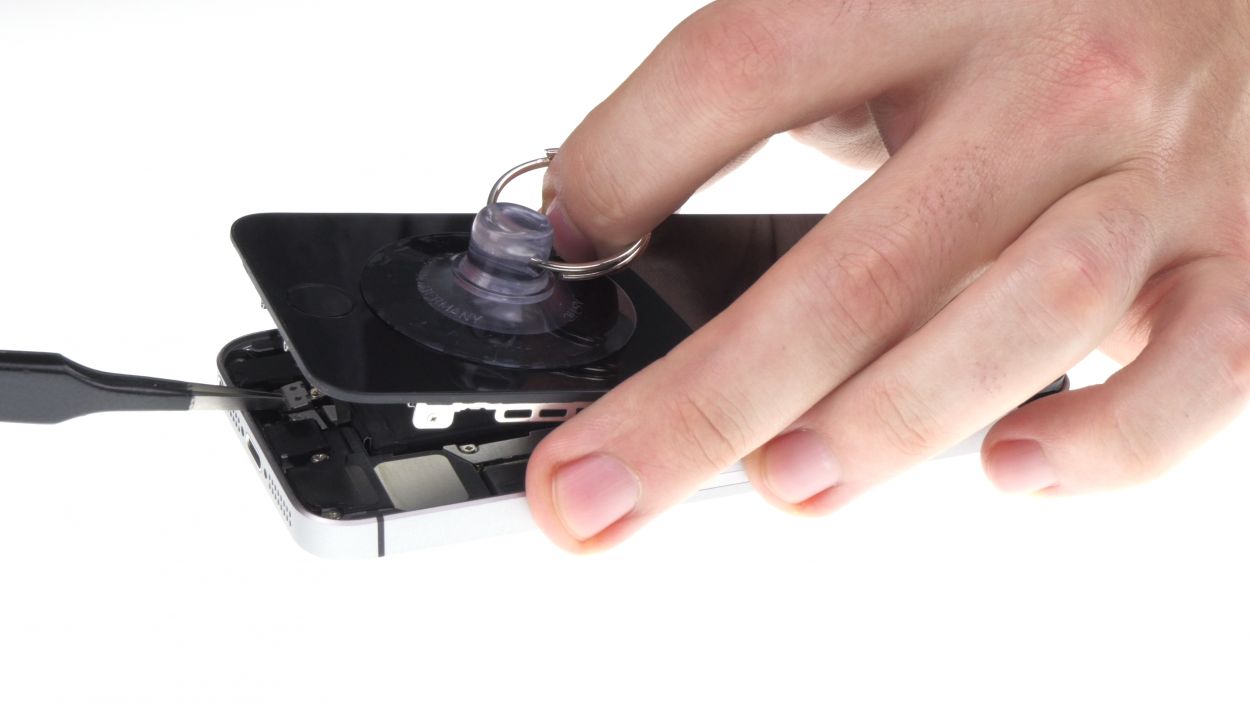
– To lift the display, grab a suction cup and a hard plastic pick. If your screen is looking like a jigsaw puzzle, cover it with tape before proceeding. Safety first—let’s avoid any glass injuries!
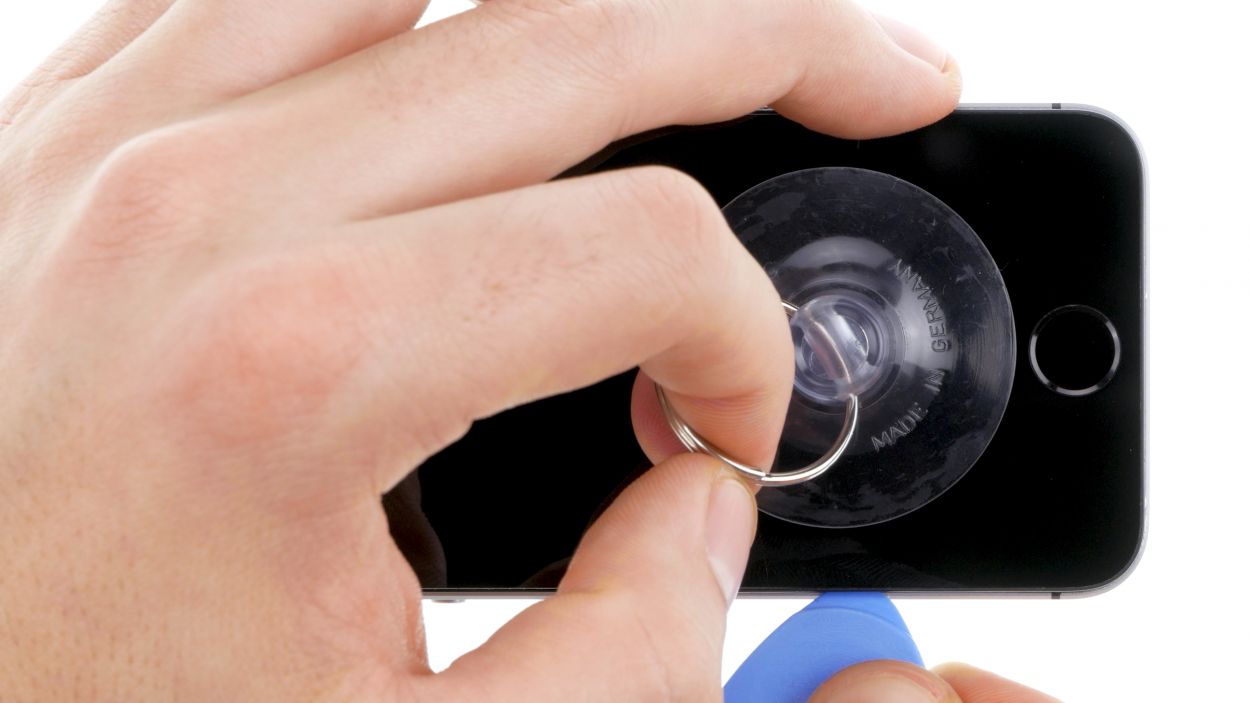
– If you can, position the suction cup over the Home button (if not, just pop it next to it). While you’re lifting the display with the suction cup, use the hard plastic pick to gently press down on the aluminum frame. Slide that pick between the aluminum frame and the display. This might take a few tries, but you’ve got this!
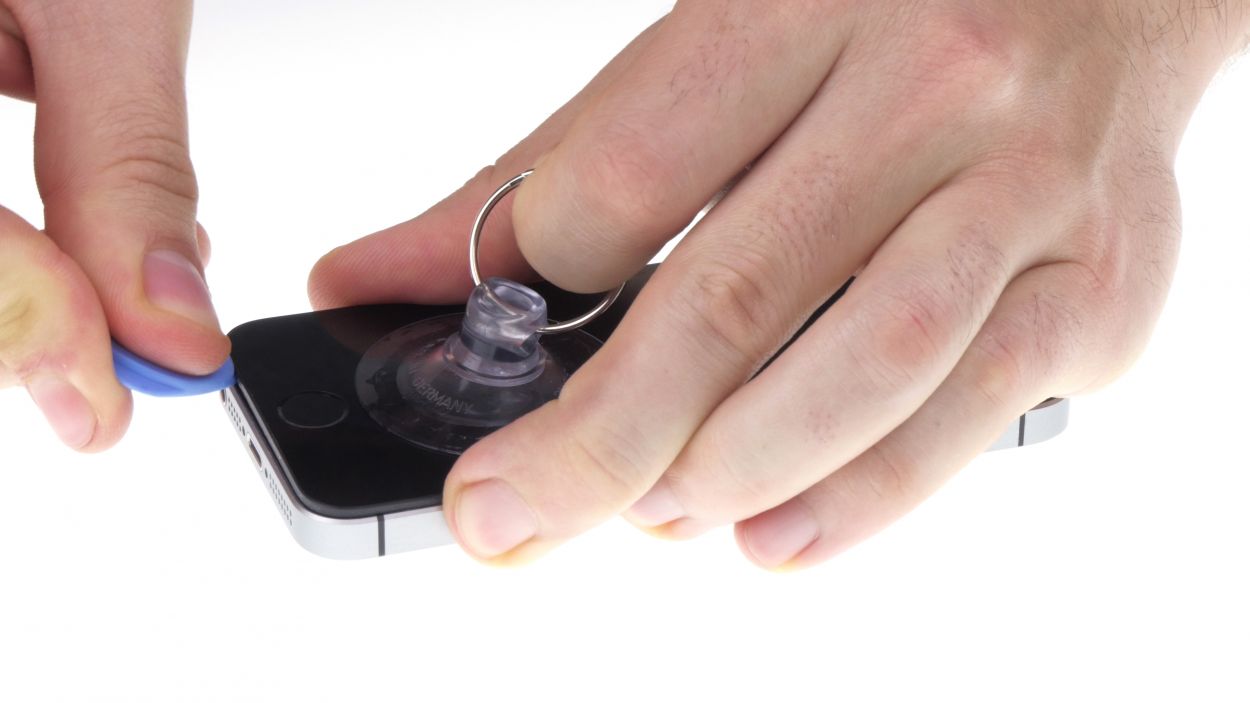
– Once you see a little gap between the two parts, gently twist the pick to open it up a bit more.
– As soon as you can lift the display a few millimeters, carefully work your way around the edges until it’s loosened on both sides. Just a heads up—don’t remove the display completely yet. We need to disconnect the Home button first!
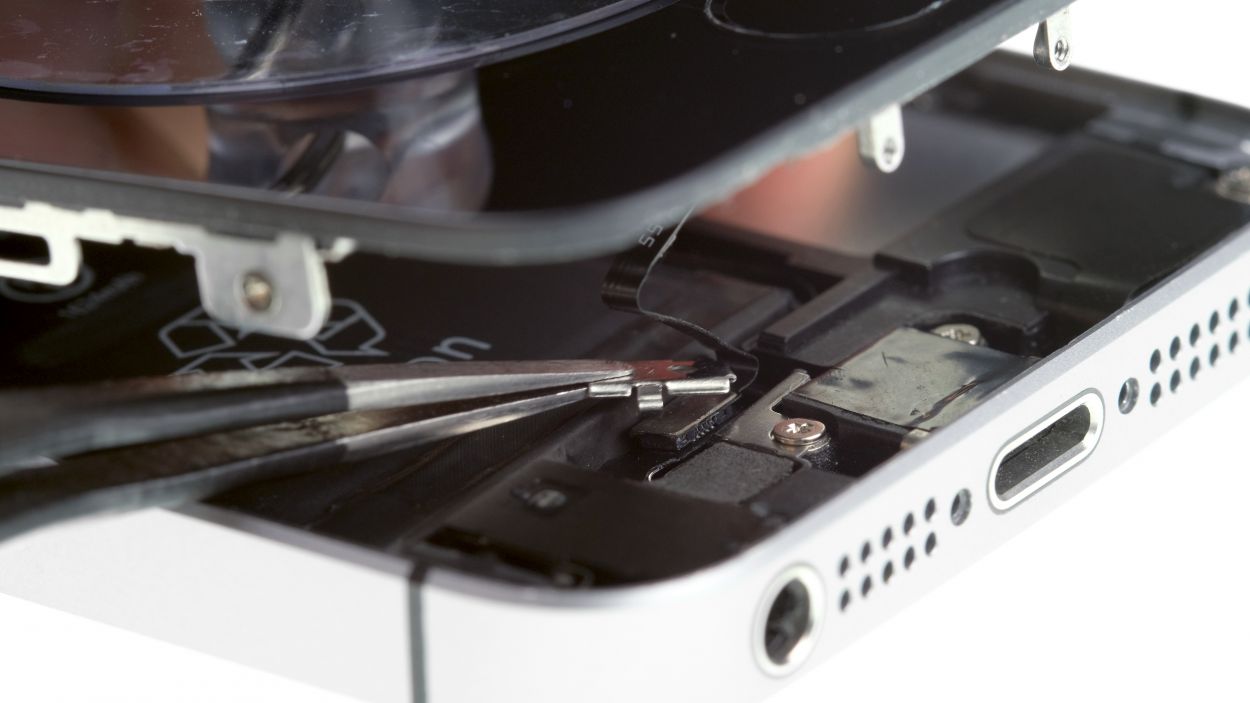
– There’s a metal cover blocking the Home button. Use a pair of tweezers to carefully detach that cover.
– Once the cover is off, you can disconnect the Home button from the flexible flat Lightning cable. Easy peasy!
Step 4

2 × 1.5 mm Phillips
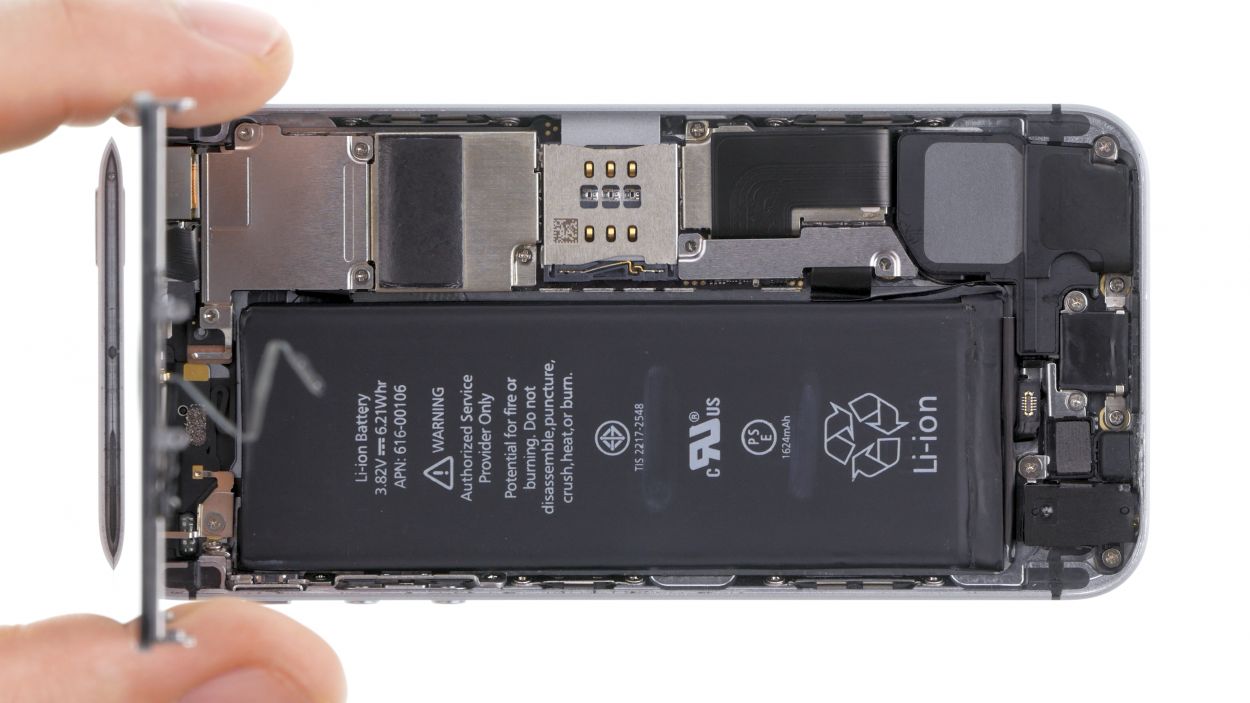
– Underneath a cover, you’ll find the battery contact and the flexible flat Lightning cable contact. This cover is held in place by two Phillips screws. Use your trusty Phillips screwdriver to remove those screws, then gently lift the cover with a pair of tweezers. Remember to keep all the parts together in the same compartment of your organizer tray!
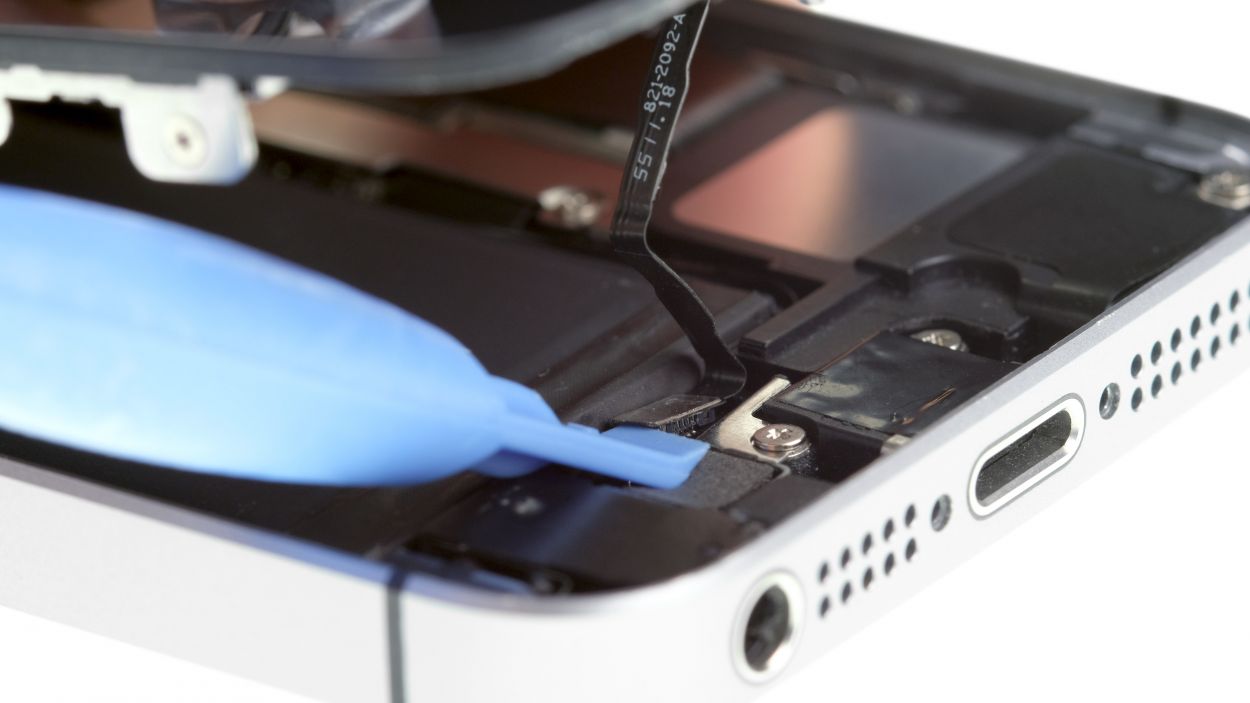
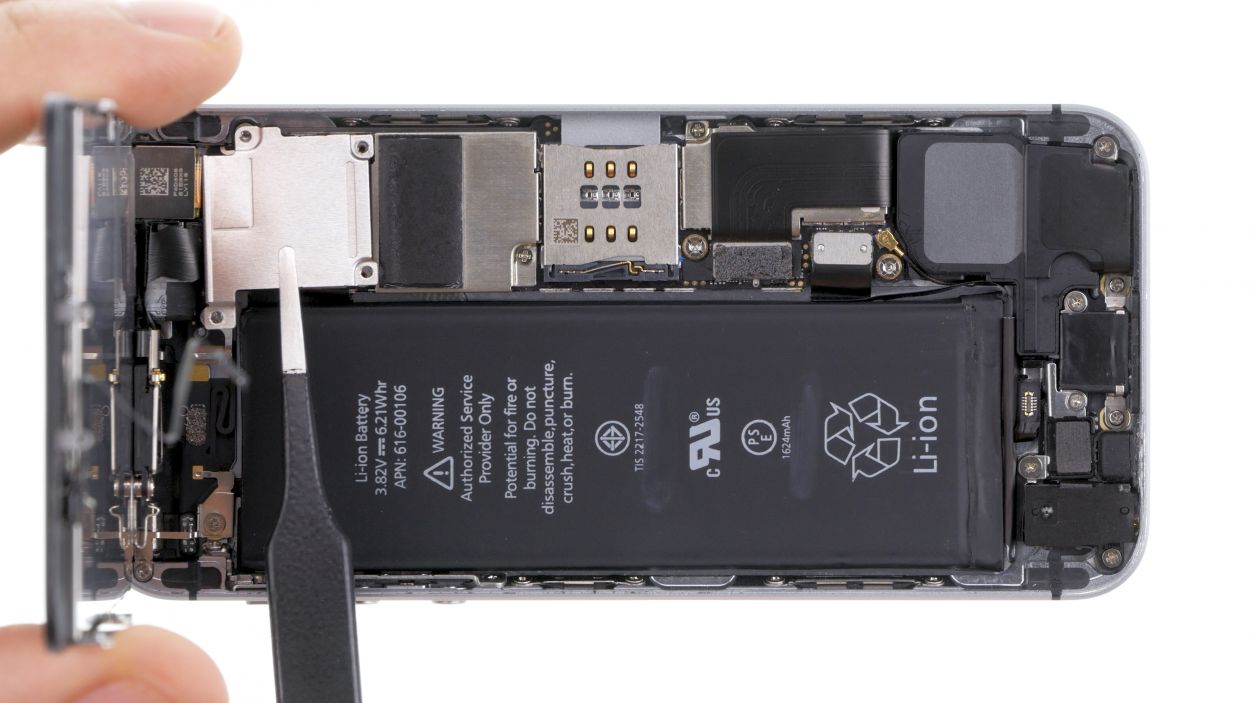
– Next up, let’s carefully detach the battery contact using your spudger. Just slide the pointed tip of the spudger slightly beneath the connector. If you don’t have a spudger handy, your fingernail will do the trick too!
Step 5
1 × 1.4 mm Phillips
1 × 1.5 mm Phillips
2 × 1.1 mm Phillips
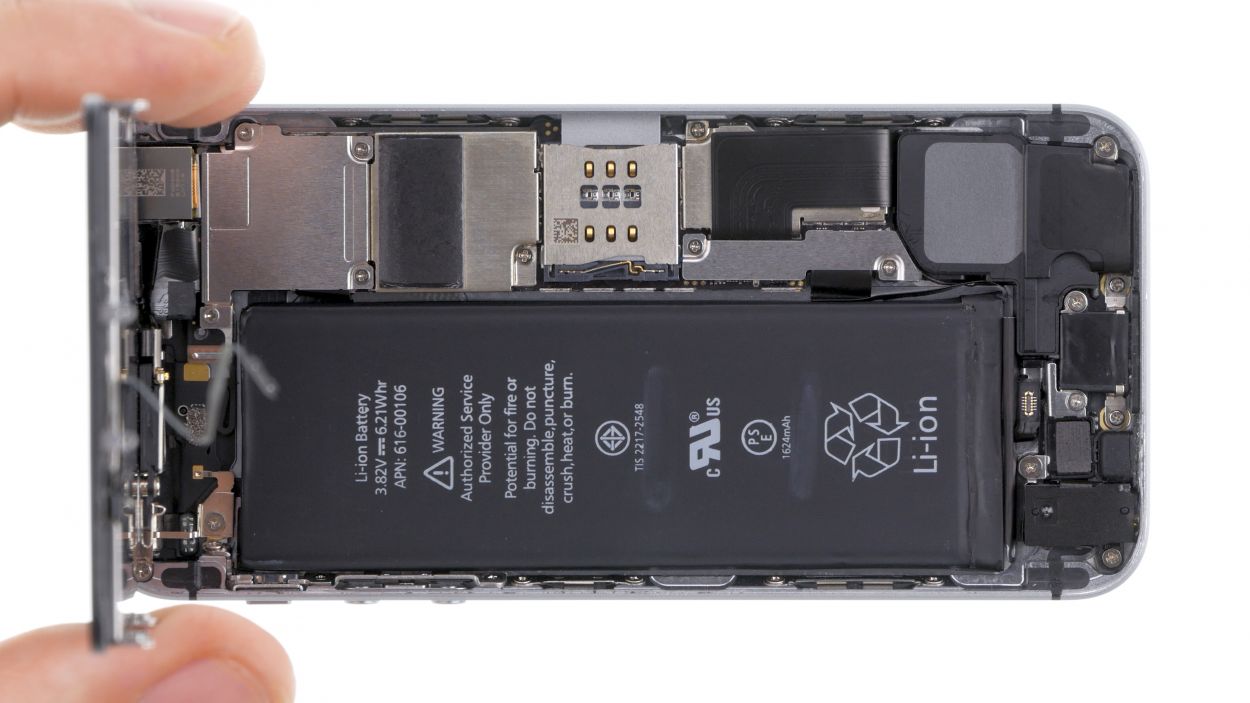
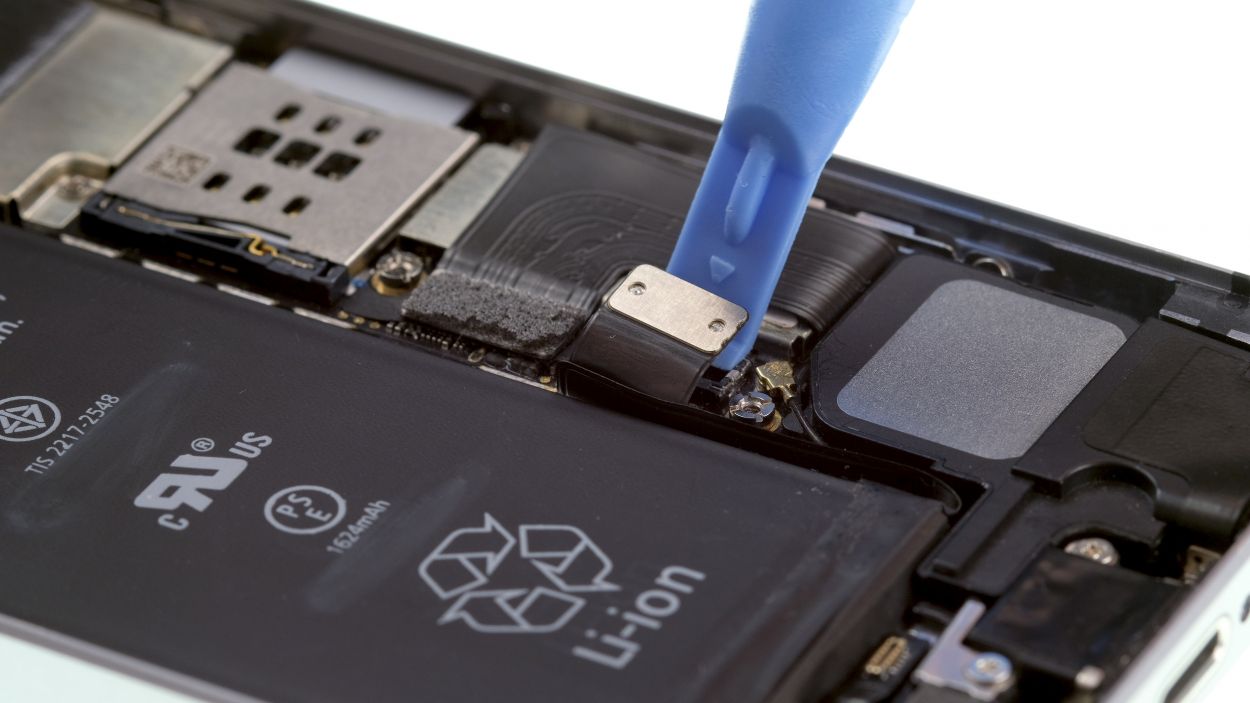
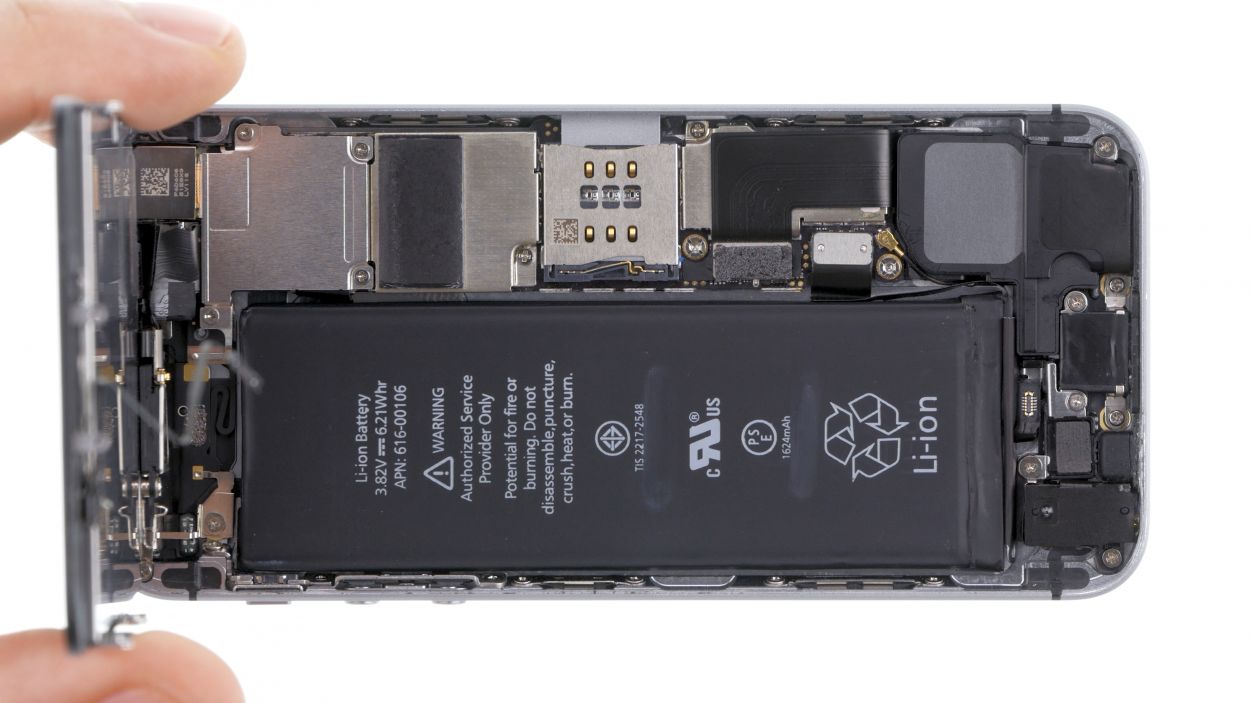
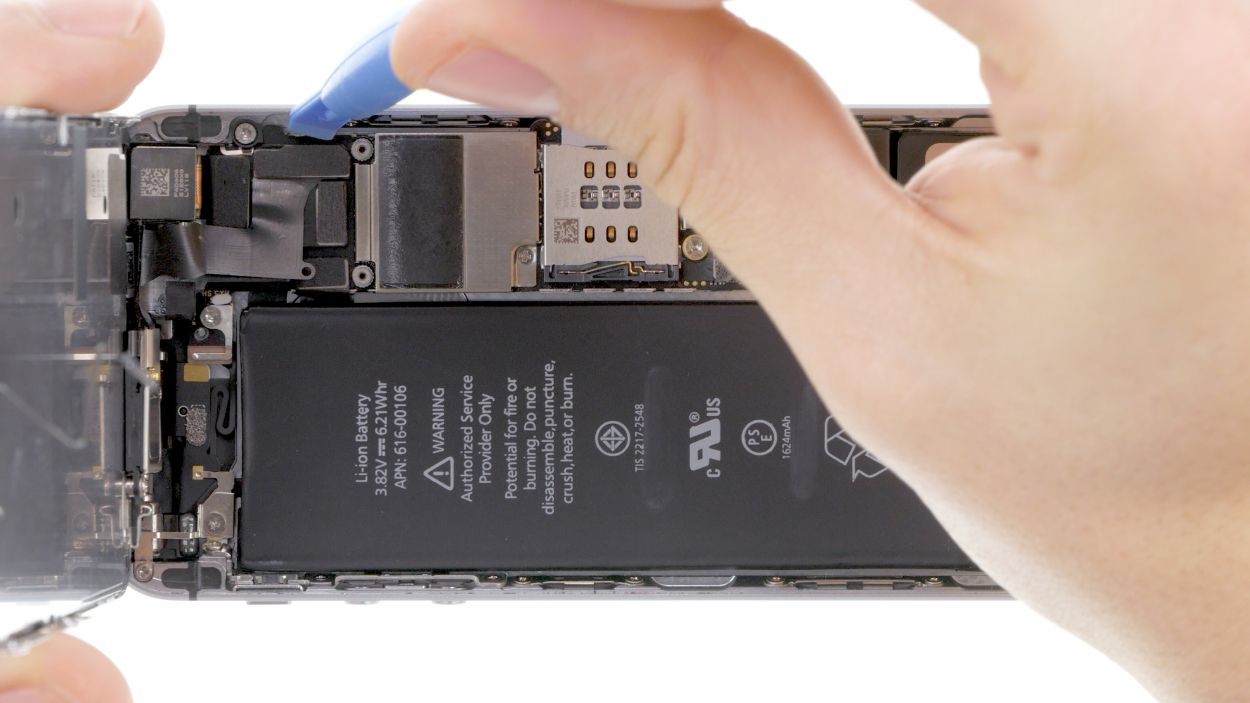
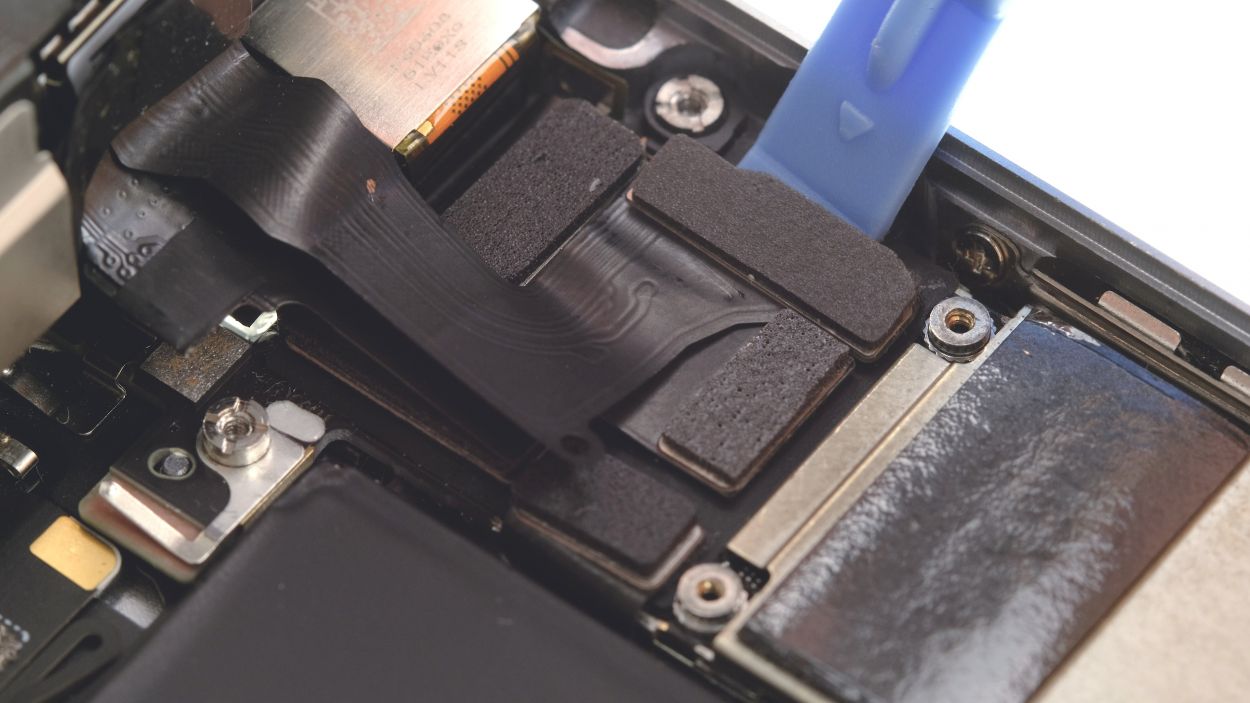
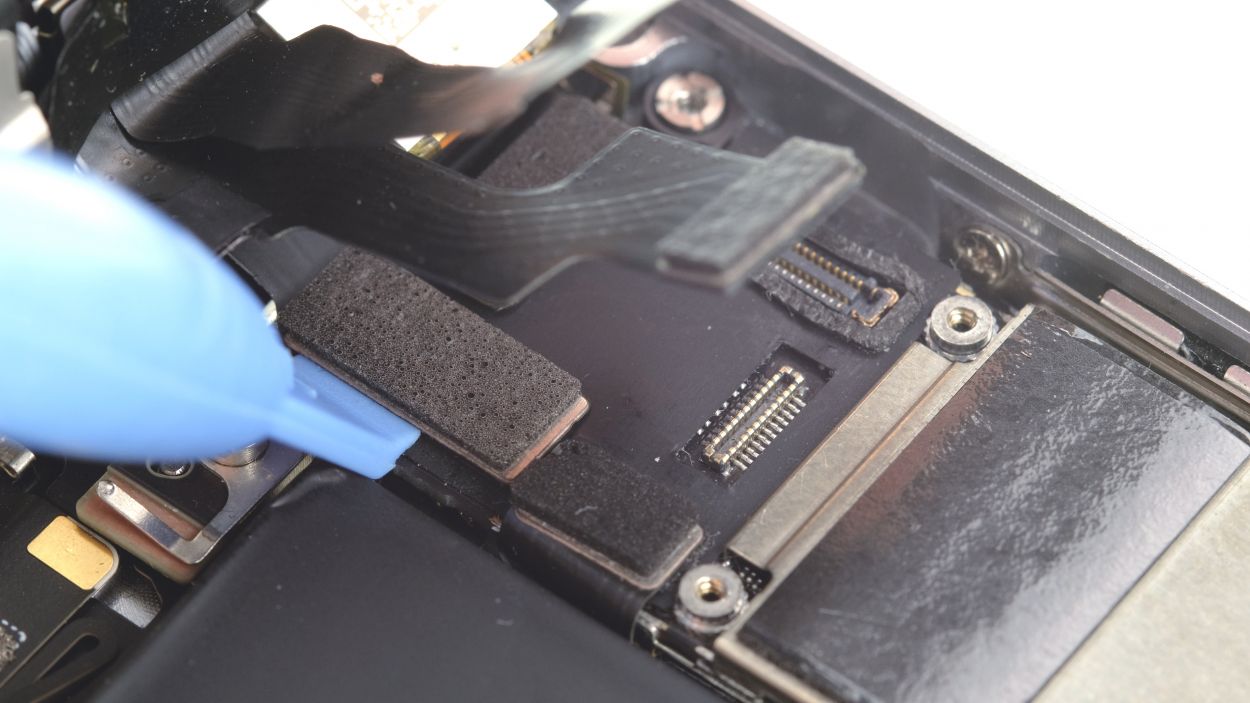
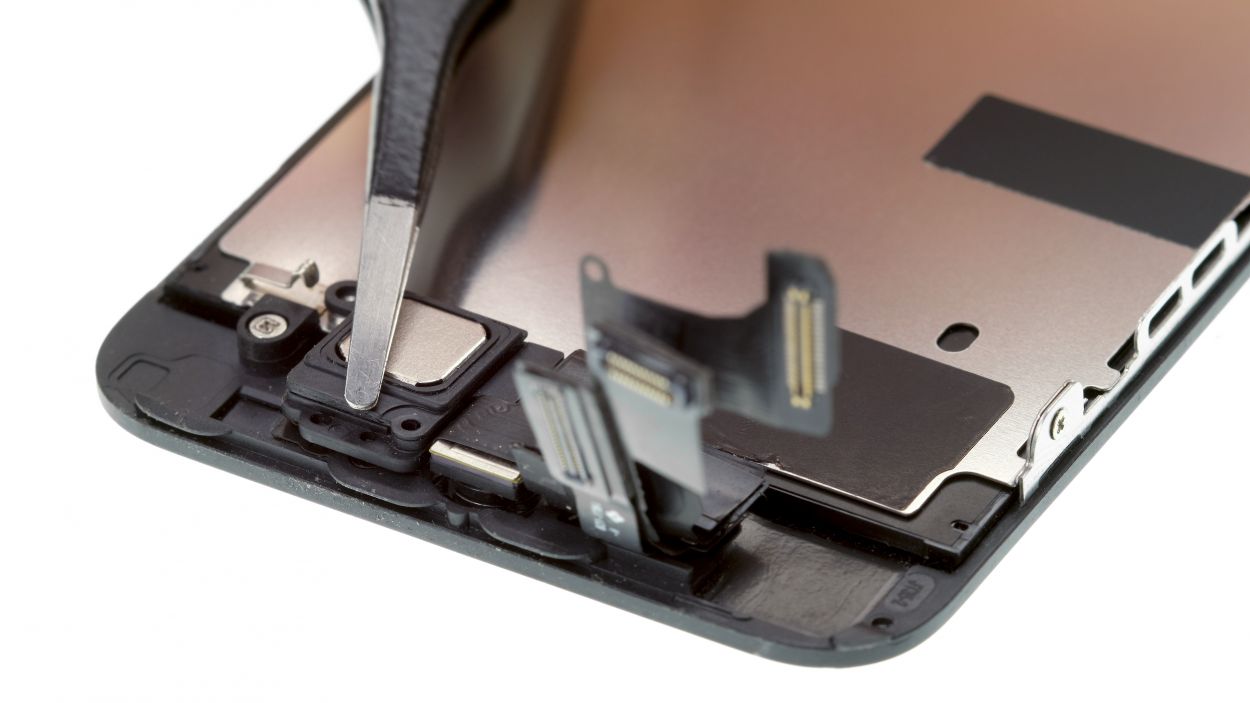
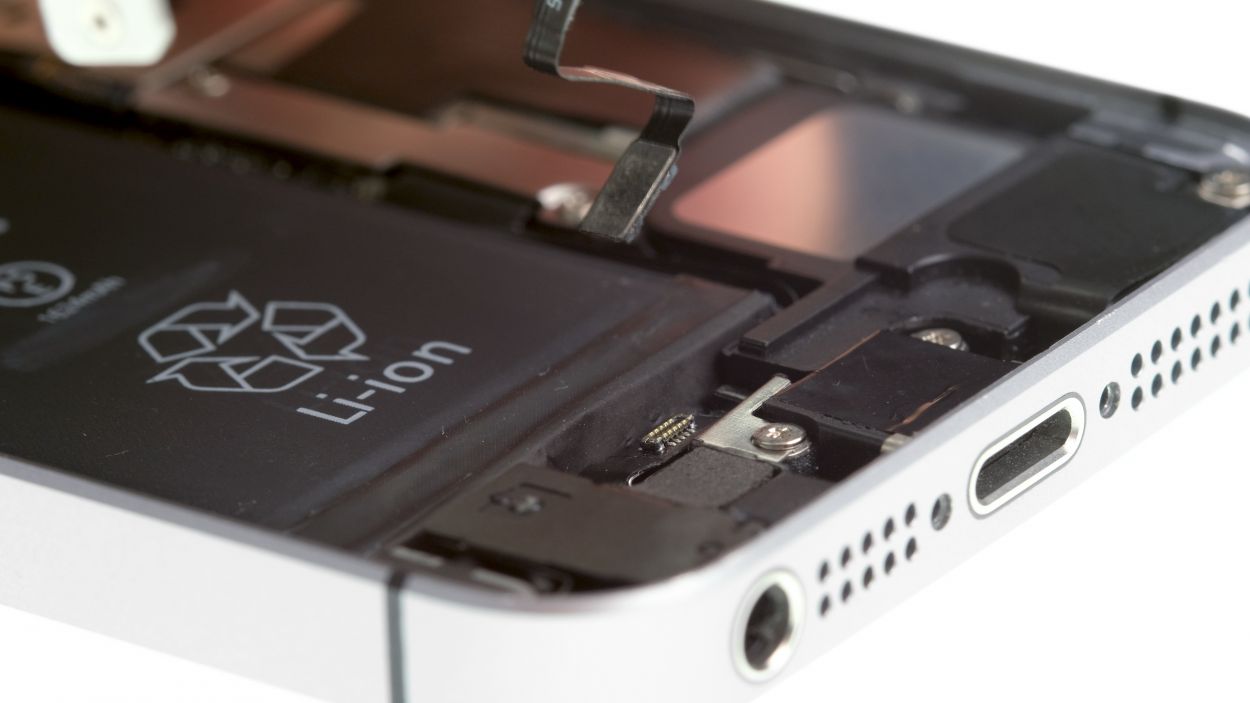
– To kick things off, remove those four Phillips screws from the shiny silver cover. Make sure to stash them in a safe spot so they don’t wander off! After that, give the cover a gentle lift to pop it off.
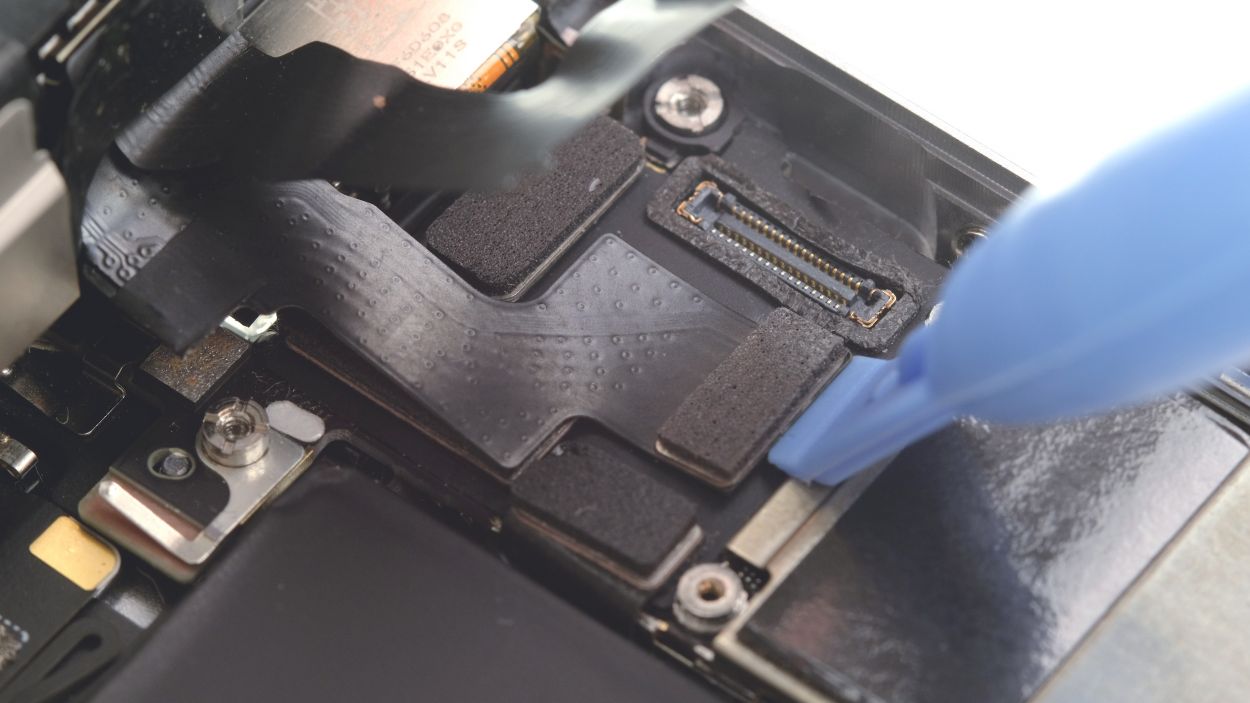
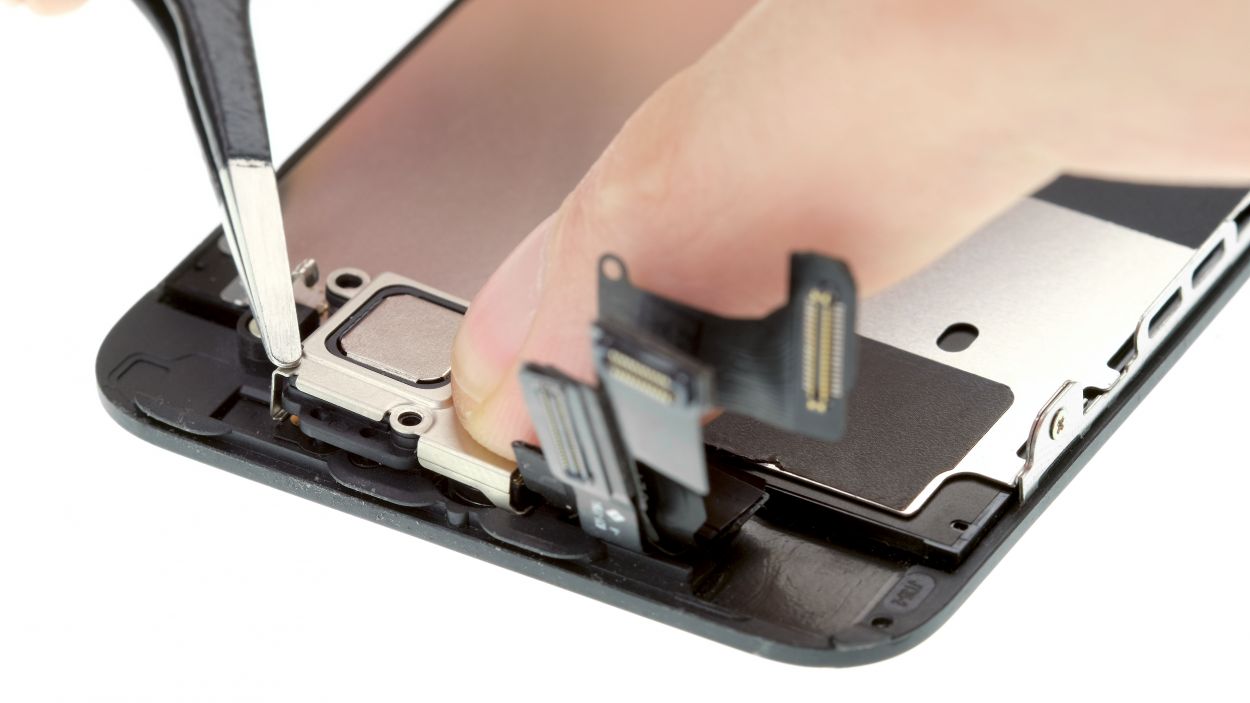
– Next up, it’s time to disconnect the three overlapping connectors in the order shown in the picture. Take it slow and steady! Use the pointed tip of your spudger to carefully slide it just under each connector and lift it up. You’ve got this!
Step 6
1 × 4.0 mm Phillips
1 × 2.2 mm Phillips
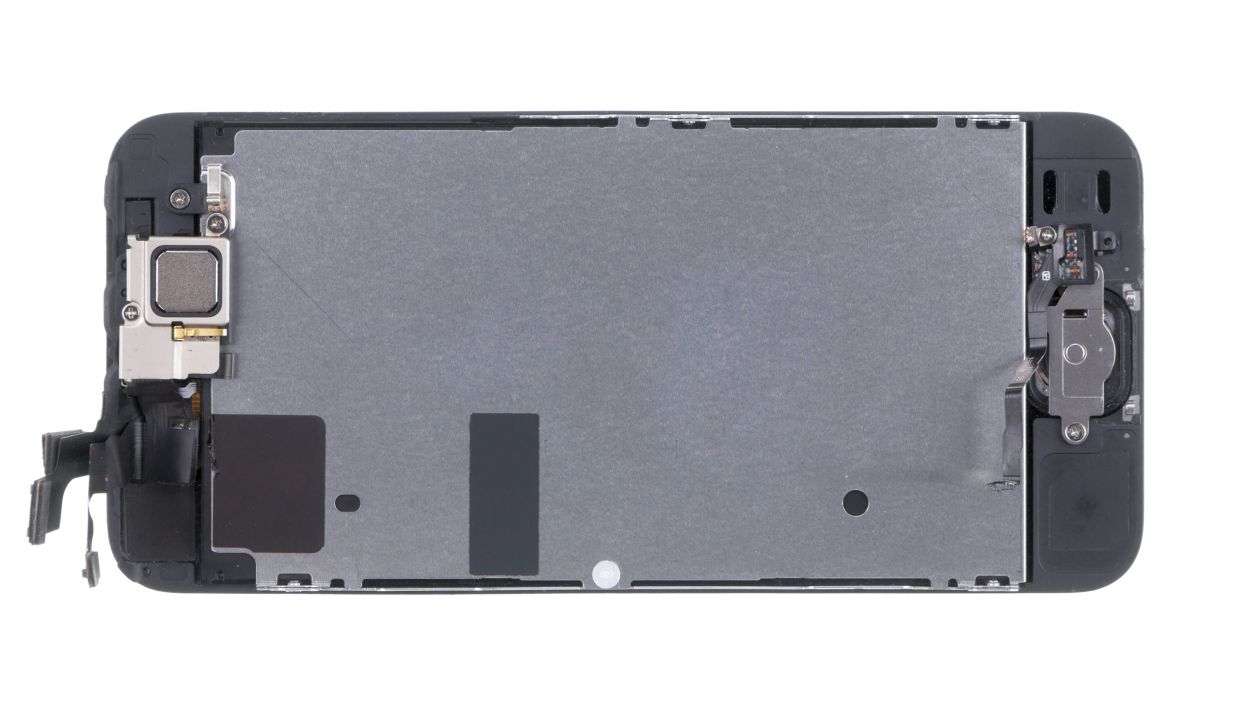
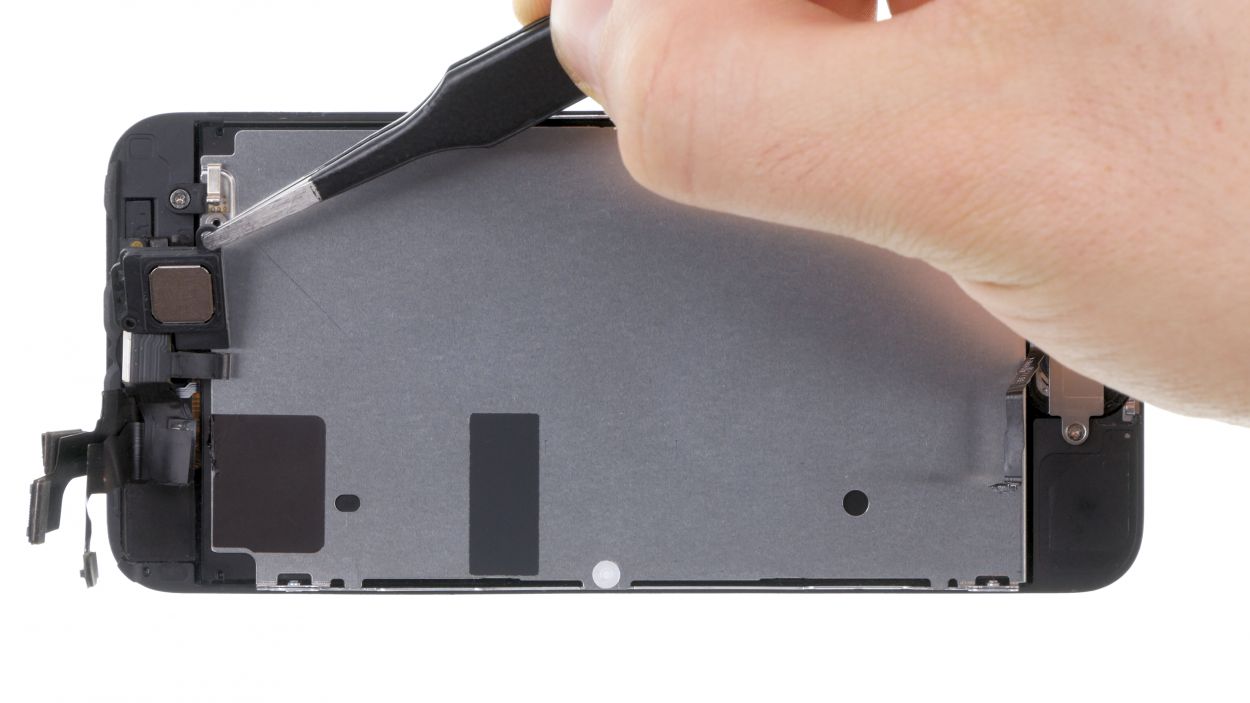
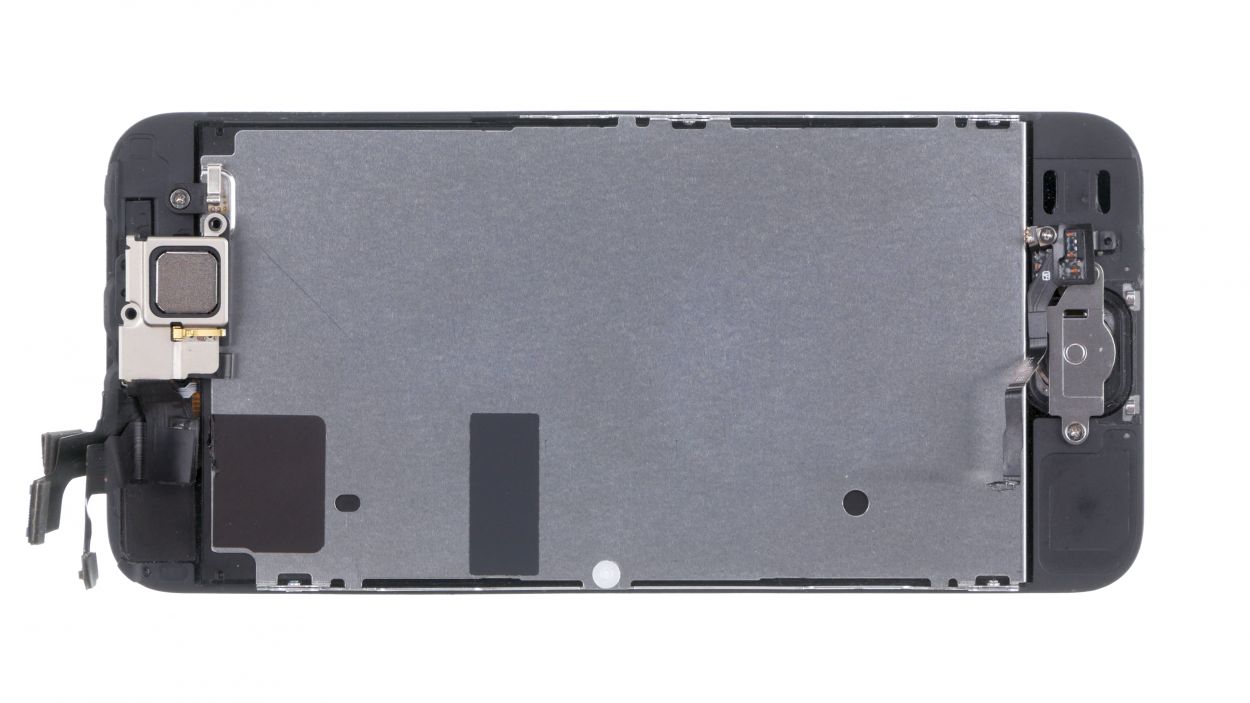
– The earpiece is nestled right on the back of the display unit. Start by unscrewing those two Phillips screws from the cover of the earpiece and stash them in your trusty container.
– Next, gently lift off the cover and keep it safe with the screws you just removed.
– Now, it’s time to say goodbye to the earpiece—carefully take it out!
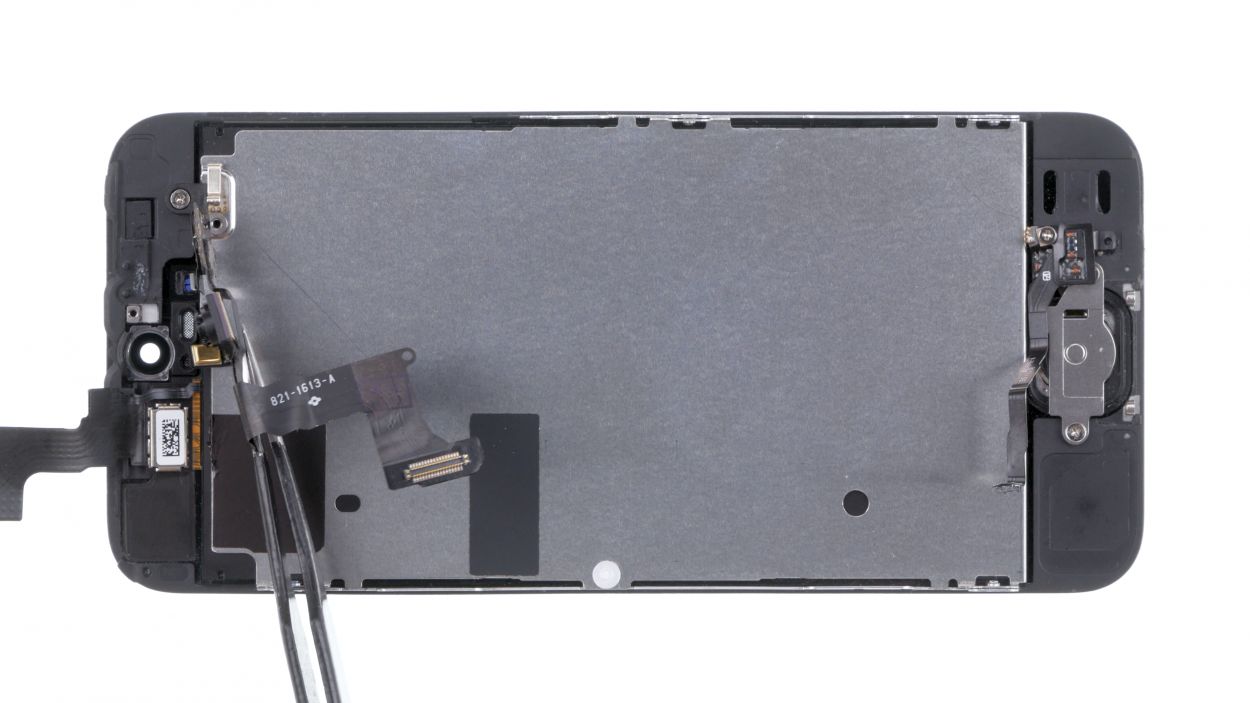
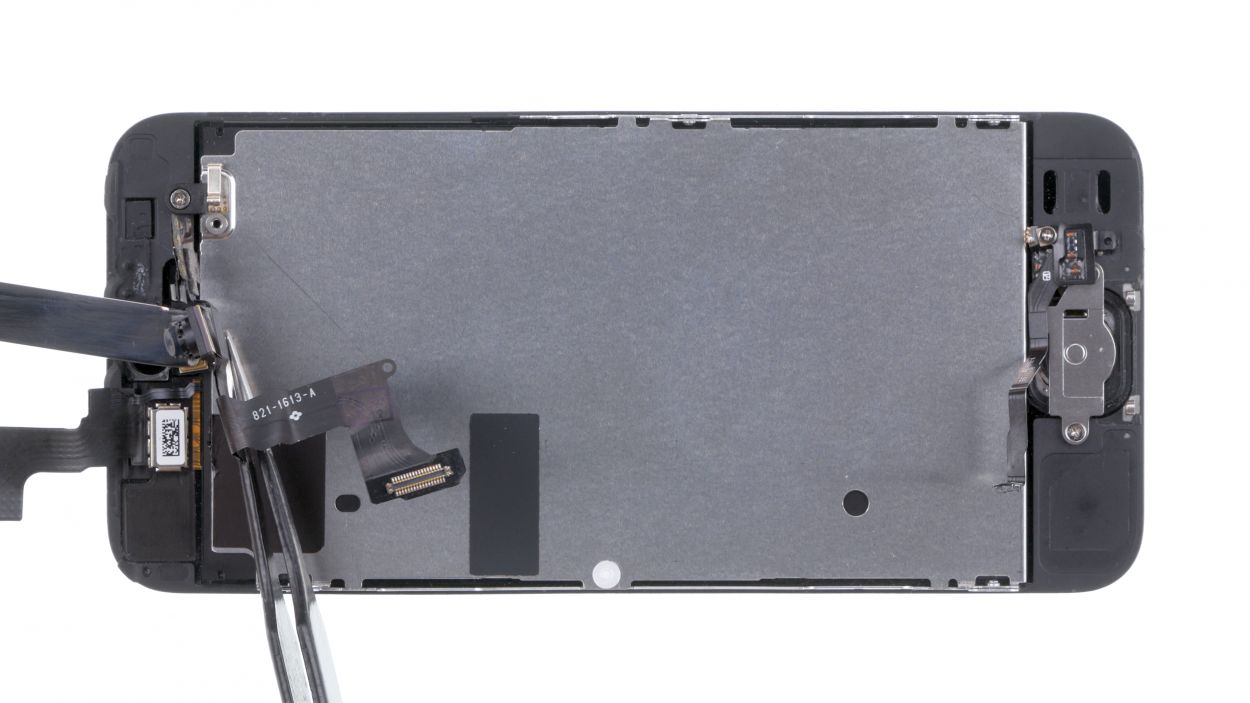
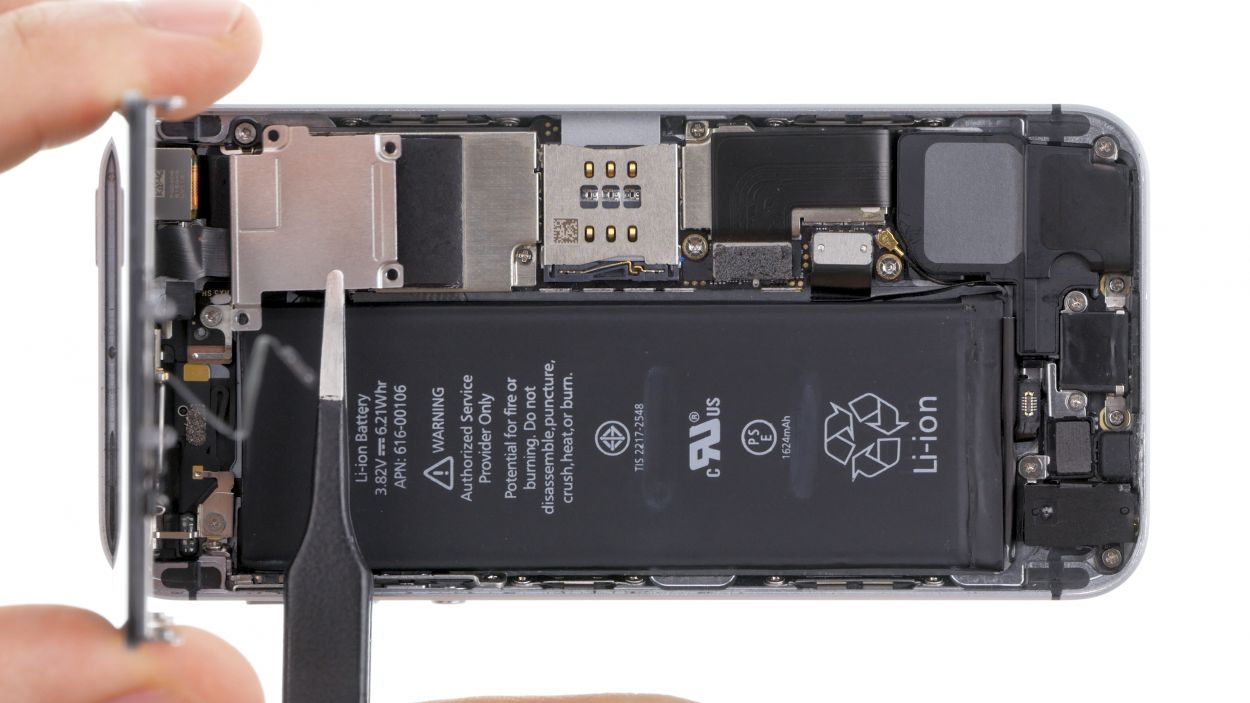
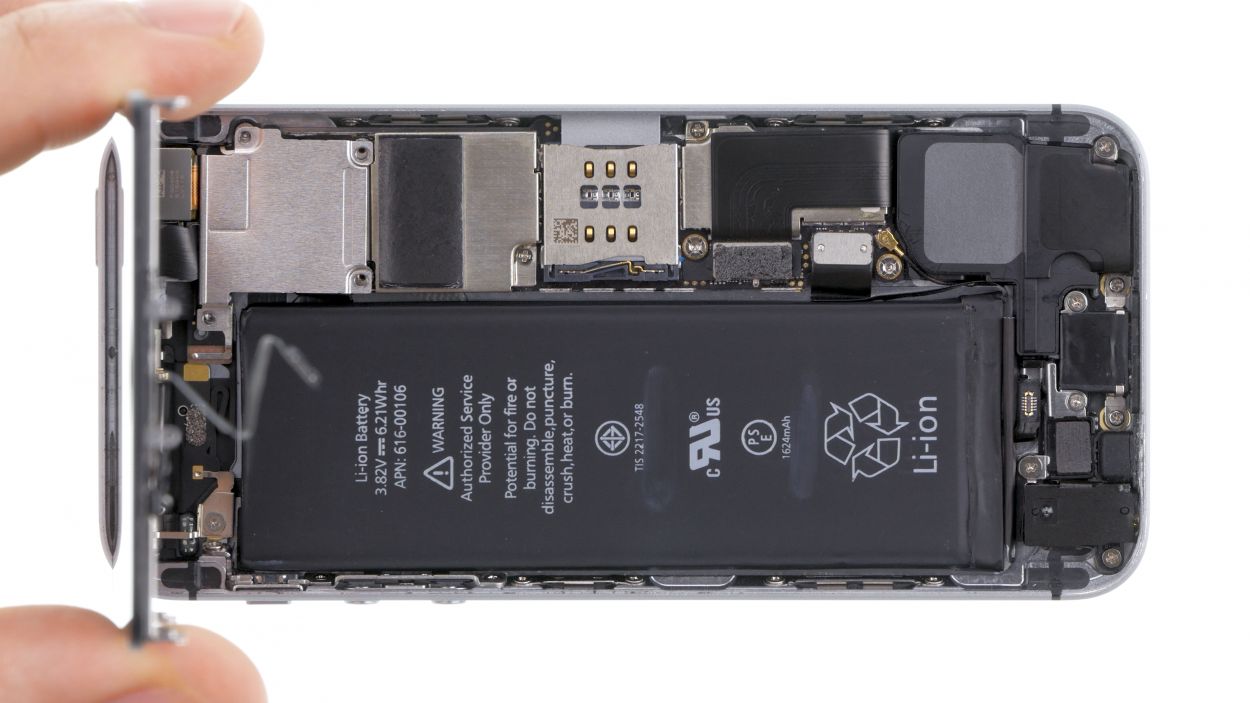
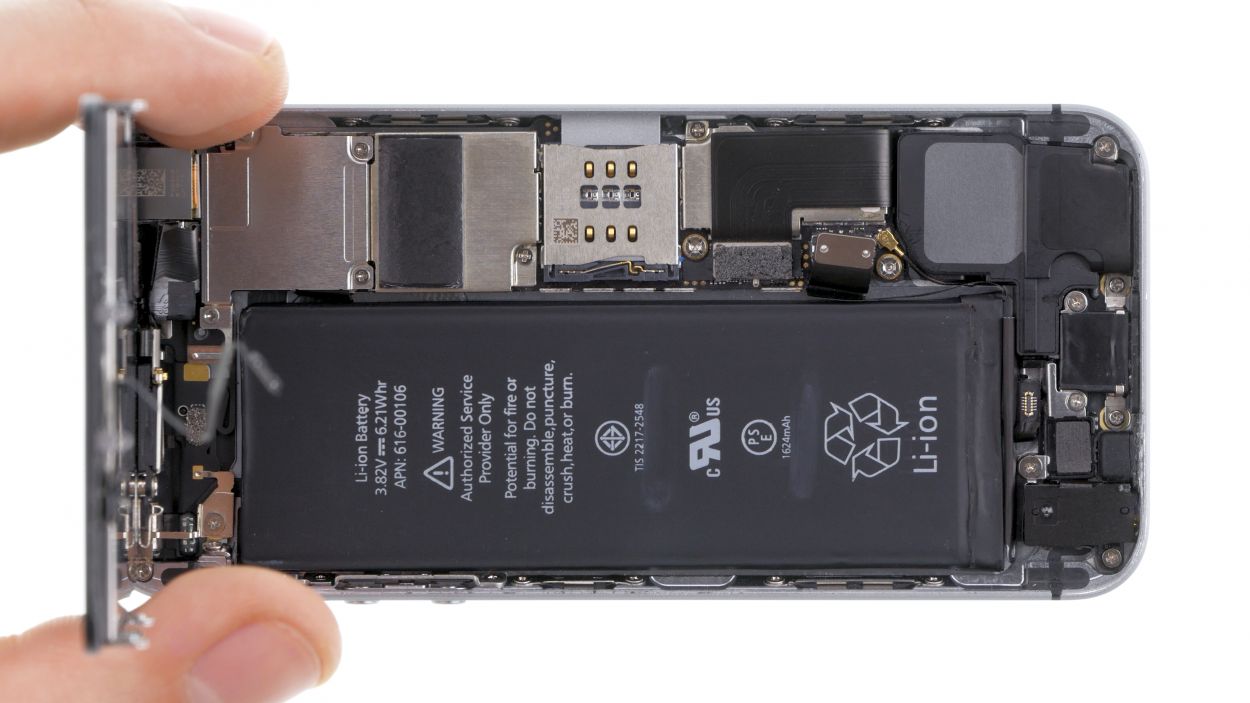
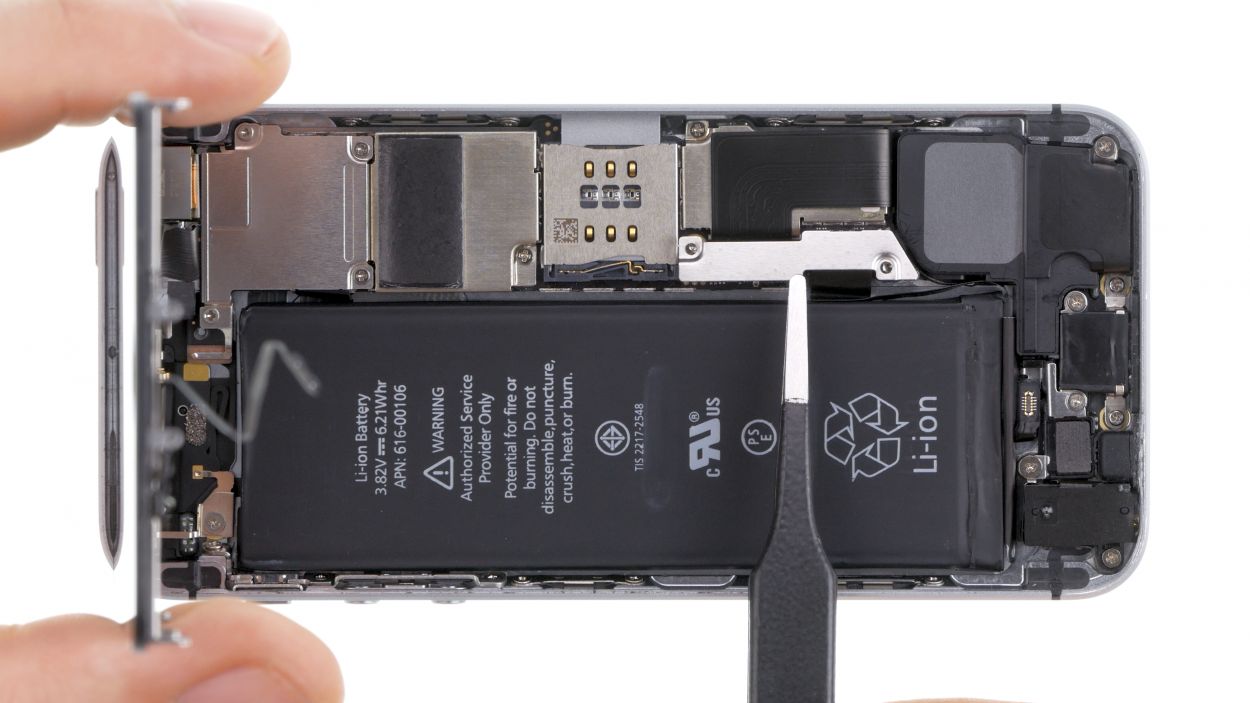
Step 7
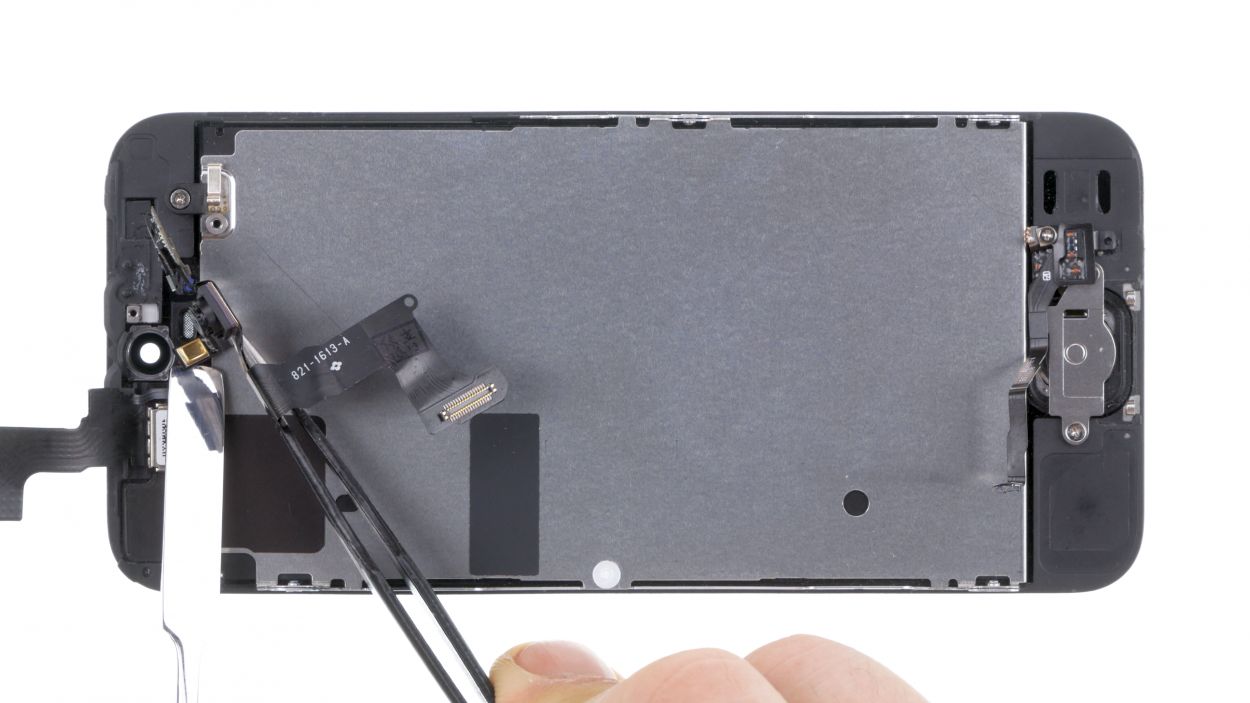
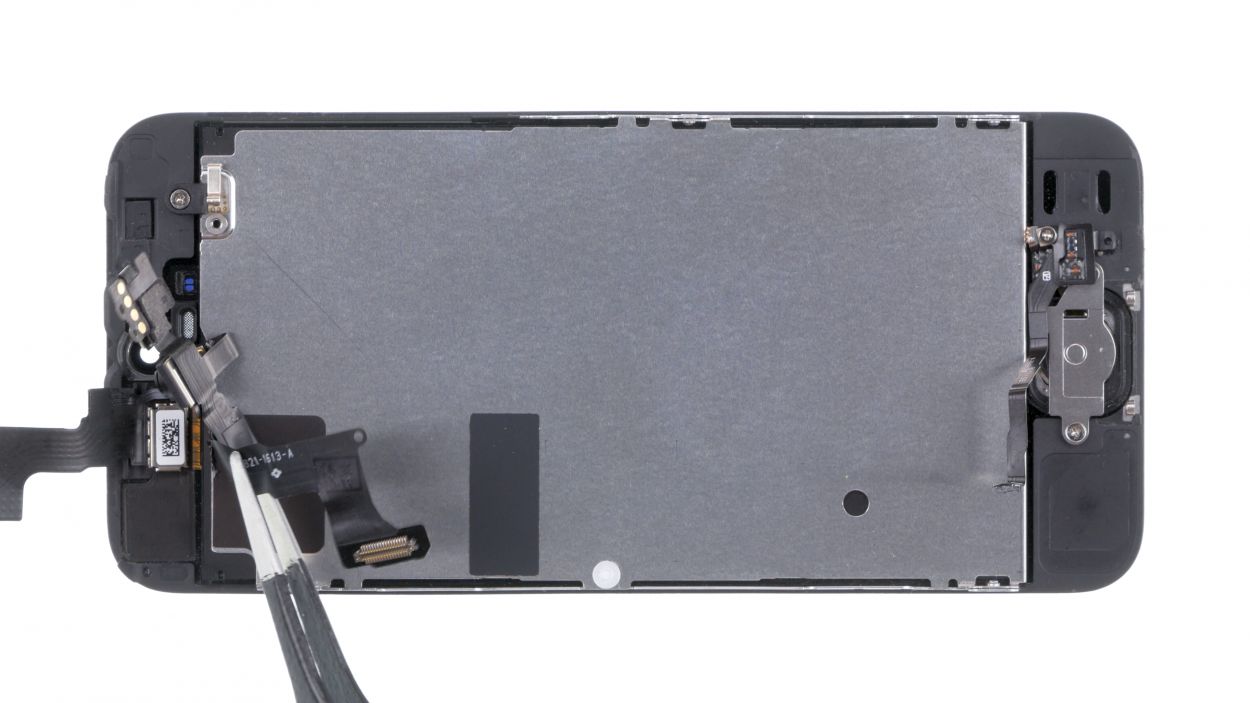

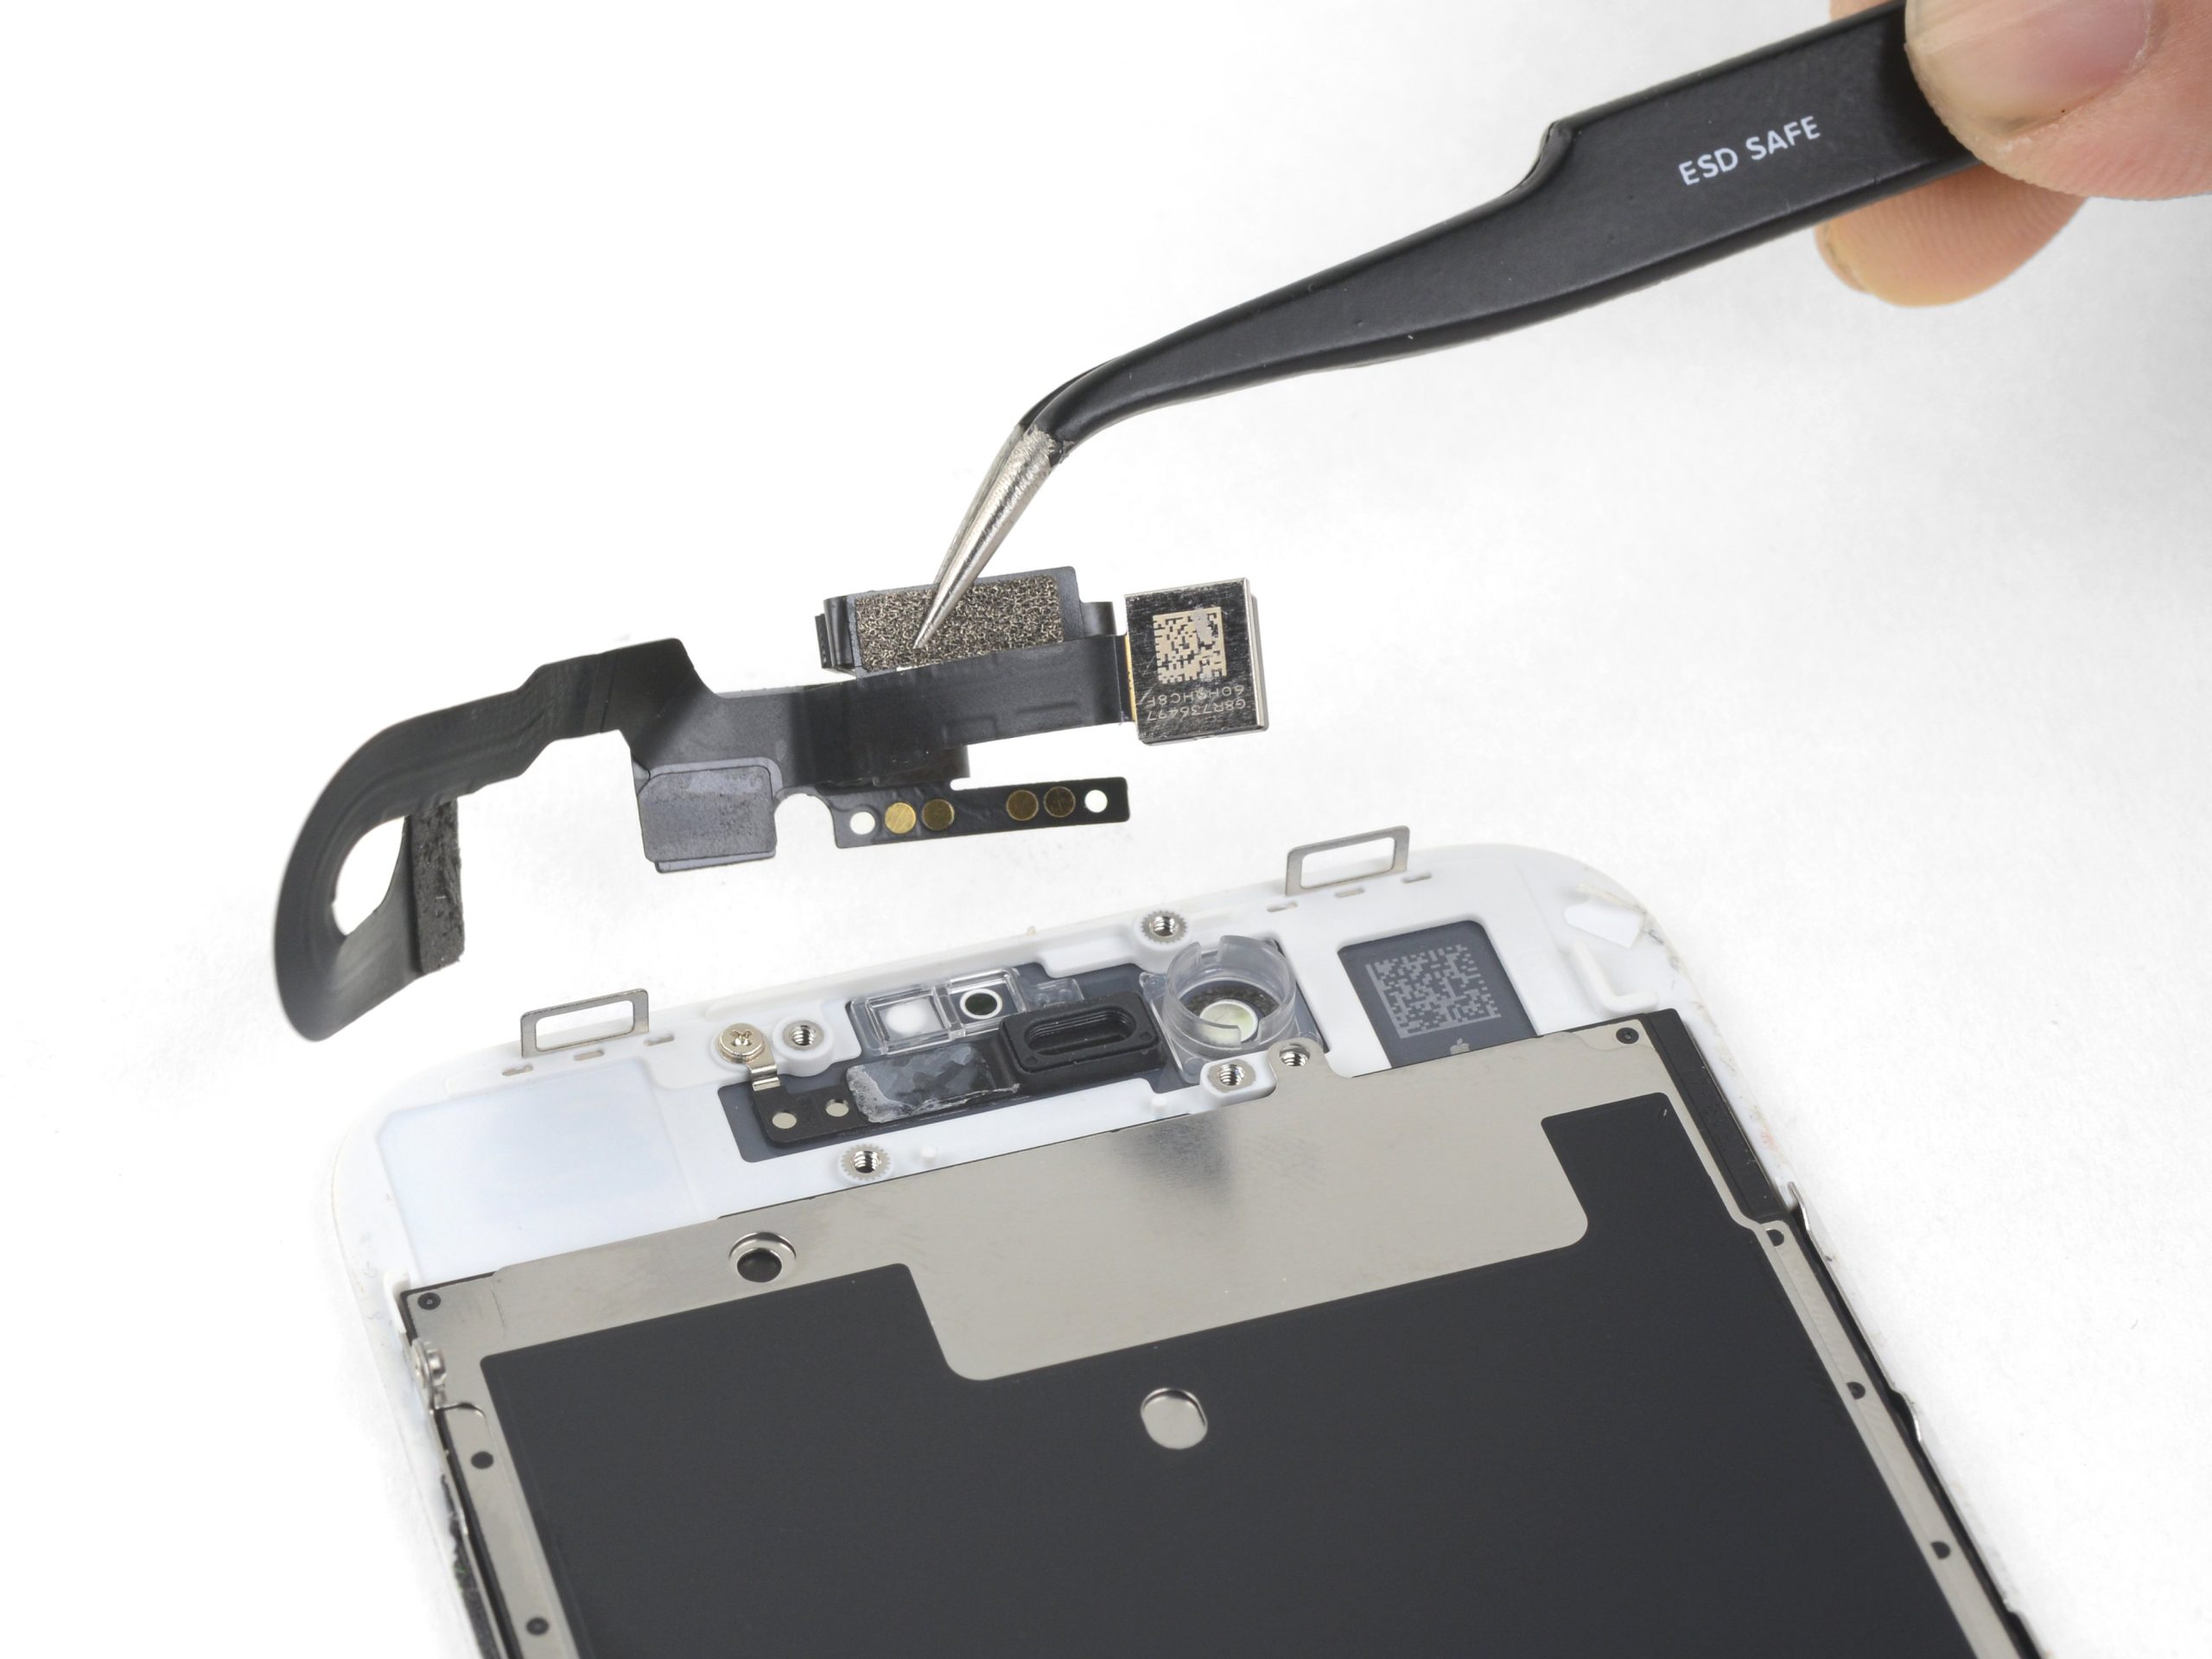
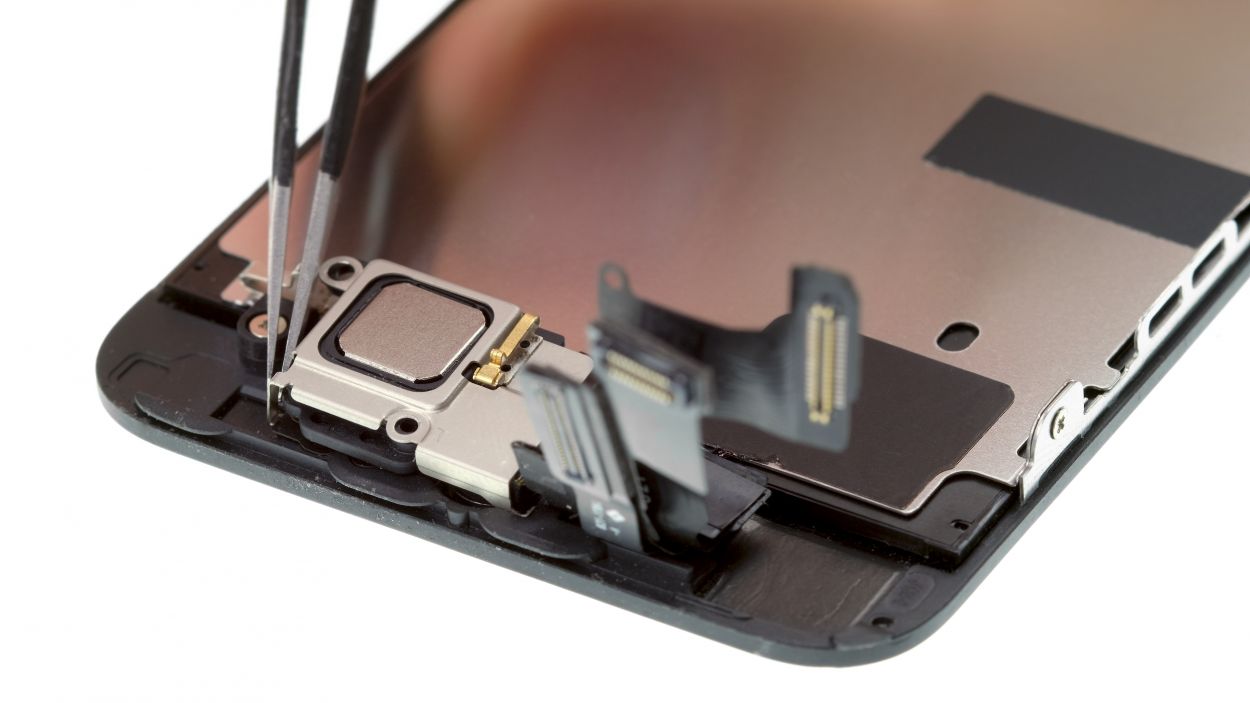
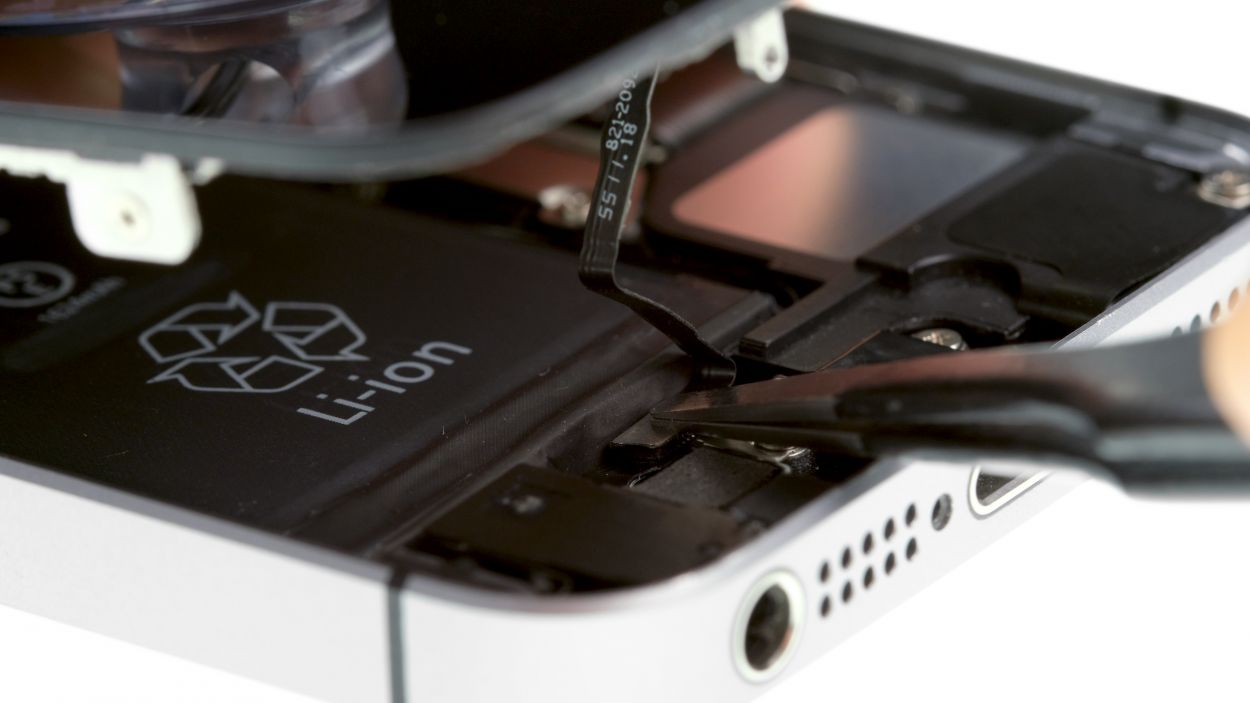
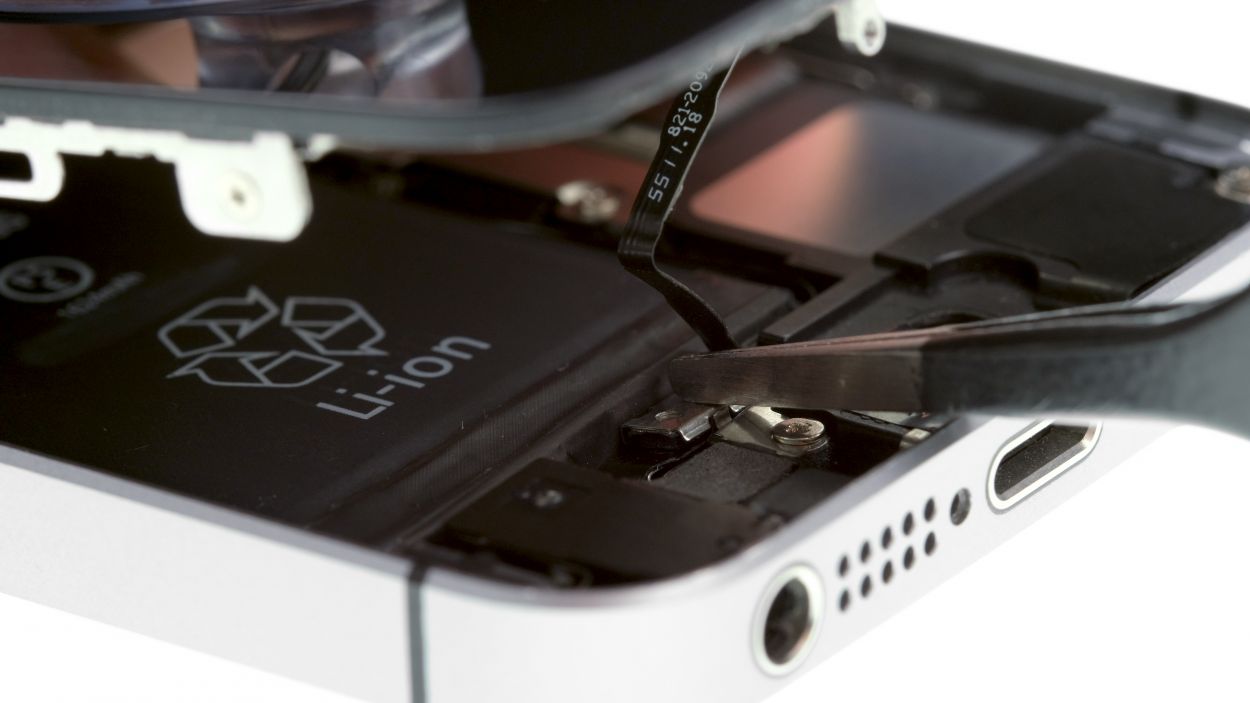
– Let’s tackle the cable set removal in a couple of fun steps! First, gently lift those sensors by sliding the spudger underneath the ribbon cable right where the earpiece hangs out. It’s just a little stuck with some light glue, so be careful!
– Now, you can lift the cable set and fold it over towards the rear panel. Don’t forget to carefully detach the ambient microphone using your trusty tweezers. You’re doing great!
Step 8

Getting the flexible flat cable in the right spot is key! If it’s not just right, your front camera and proximity sensor might not be on their A-game.
– First, gently press the ambient microphone into the cozy little hollow in the rubber to keep it snug and secure.
– Next, connect the front camera and the sensors to their designated brackets. Give them a little press with your spudger to ensure the glue does its job. Just a friendly reminder—make sure that flexible flat cable is positioned just right, or the front camera and proximity sensor might not be ready to shine!
Step 9
1 × 4.0 mm Phillips
1 × 2.2 mm Phillips
Heads up! The screws come in different lengths, so keep them sorted. Mix them up, and you might end up with one pressing against the display glass—definitely not a good look!
– Time to pop that earpiece back into its cozy spot on the front camera’s flexible flat cable! Once it’s snug, don’t forget to put the cover back on.
– Now, grab your Phillips screwdriver and tighten those screws. Just a friendly reminder to ensure the front camera is perfectly centered on the display. If it needs a little nudge, go for it!
Step 10


– Reconnect those connectors! Sometimes it takes a couple of tries to get that display connector just right, so be gentle and avoid bending them.
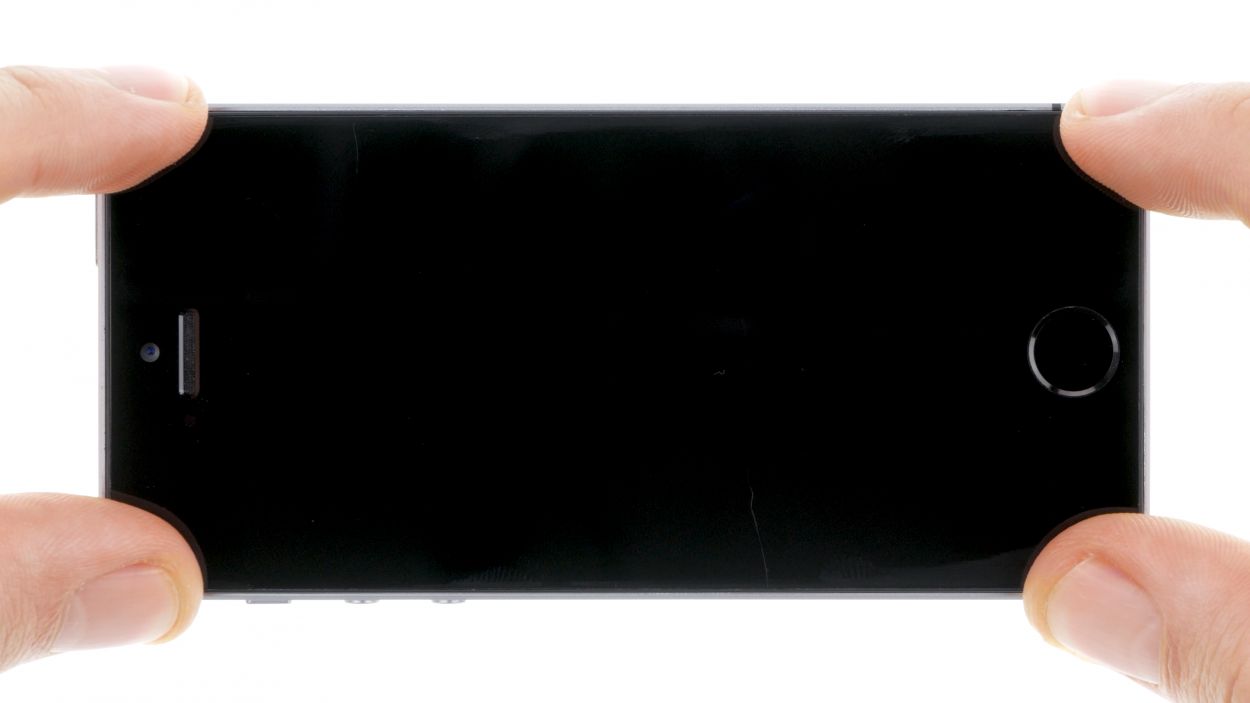
– Once everything is snug, power up your iPhone! Check if the LCD, touchscreen, proximity sensor, front camera, and earpiece are all working smoothly. If the connectors aren’t seated properly, you might see some funky stripes on the display or parts of the touchscreen might decide to take a break.
– Time to put the cover back on and screw it in place. You’ve got this!
Front camera flex
LCD
Digitizer
1 × 1.4 mm Phillips
1 × 1.5 mm Phillips
2 × 1.1 mm Phillips
If those display connectors are feeling a bit shy and don’t connect just right, you might spot some funky stripes on your screen or notice that parts of the touchscreen are taking a break from working. Let’s make sure everything is snug!
Step 11
2 × 1.5 mm Phillips
– Time to get that battery contact snugly connected to the logic board! Just slide it into place and make sure it’s nice and secure.
– Once that’s done, pop the cover back on and fasten it with those two Phillips screws. You’re almost there!
Step 12
– Slide that display into the enclosure at the top edge where the connection cables are waiting to party. Make sure it clicks into place like it’s meant to be there!
– Before you can connect your device to the display, let’s get that Home button cozy with the Lightning connector and secure them with the cover. Teamwork makes the dream work!
– Gently press the display towards the Home button until it fits snugly in the frame. We want it to be flush, like a perfect fit in a puzzle!
Step 13
2 × 3.8 mm Pentalobe
– Alright, time to get those two pentalobe screws snugly fit at the bottom of the enclosure. Let’s make sure everything’s in place!