iPhone X Screen Replacement Guide: Fix None Issues with Step-by-Step Tutorial
Duration: 45 min.
Steps: 18 Steps
If your iPhone X’s LCD is flickering or the touch isn’t working, it’s definitely time for a display swap! In this easy-to-follow photo guide, we’ll walk you through the steps to replace that faulty display all by yourself. Good luck with your repair! If you find this guide helpful, we’d love to hear your positive feedback. Remember, if you need a hand, you can always schedule a repair with us at Salvation Repair!
Step 1
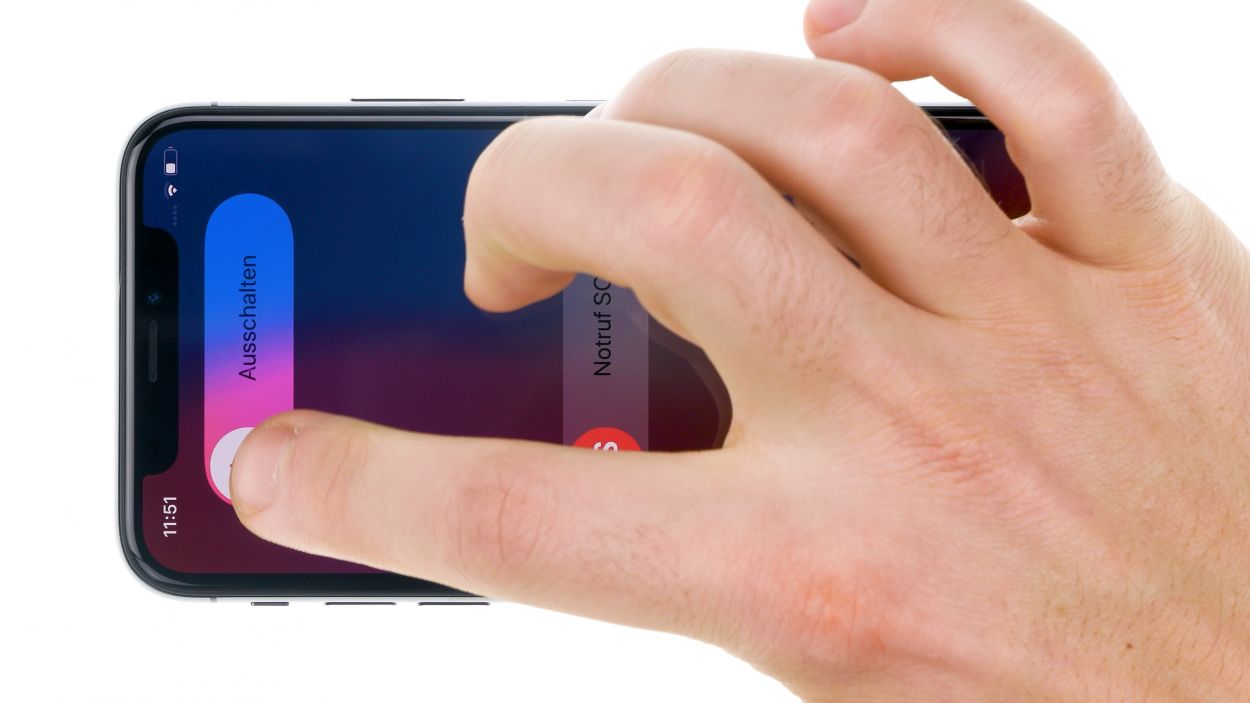
– Before you roll up your sleeves for some repair magic, make sure your iPhone X is powered down to keep it safe from any mishaps. Just press the standby button and one of the volume buttons together for about three seconds. Easy peasy!
– When you see the “Power Off” slider waddle onto the screen, swipe it from left to right. In about 10 seconds, your iPhone will be completely off and ready for some TLC!
Step 2
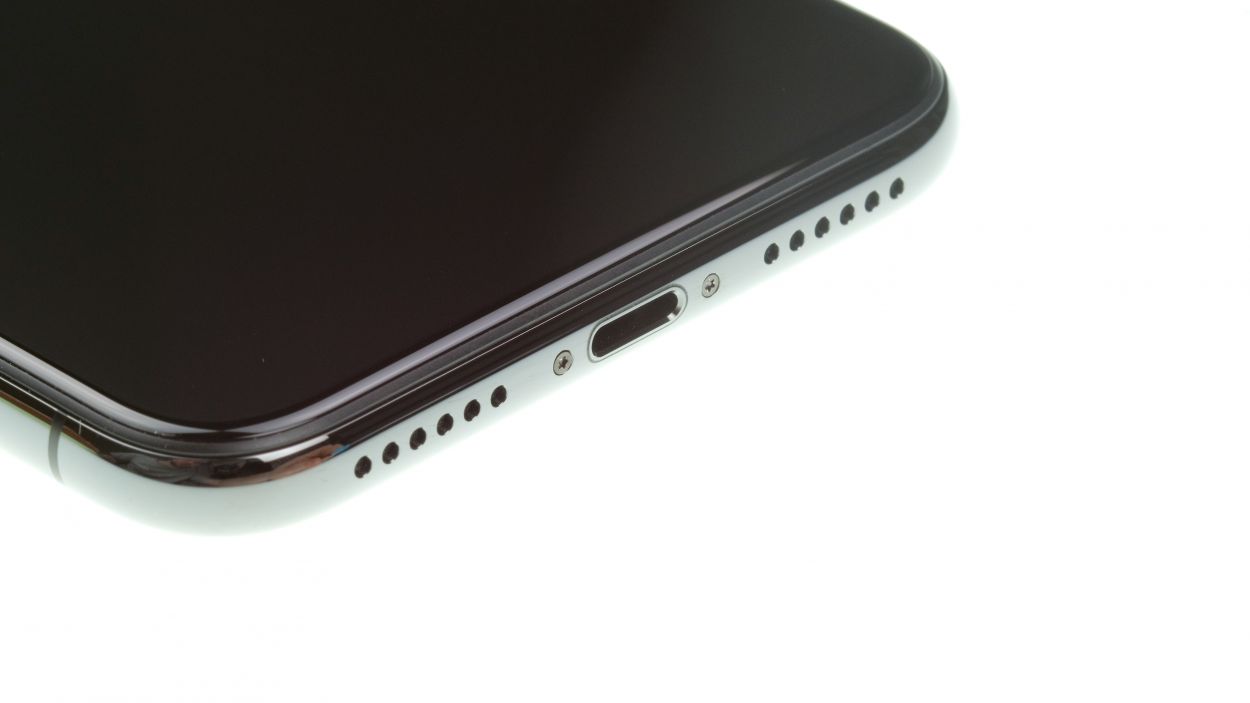

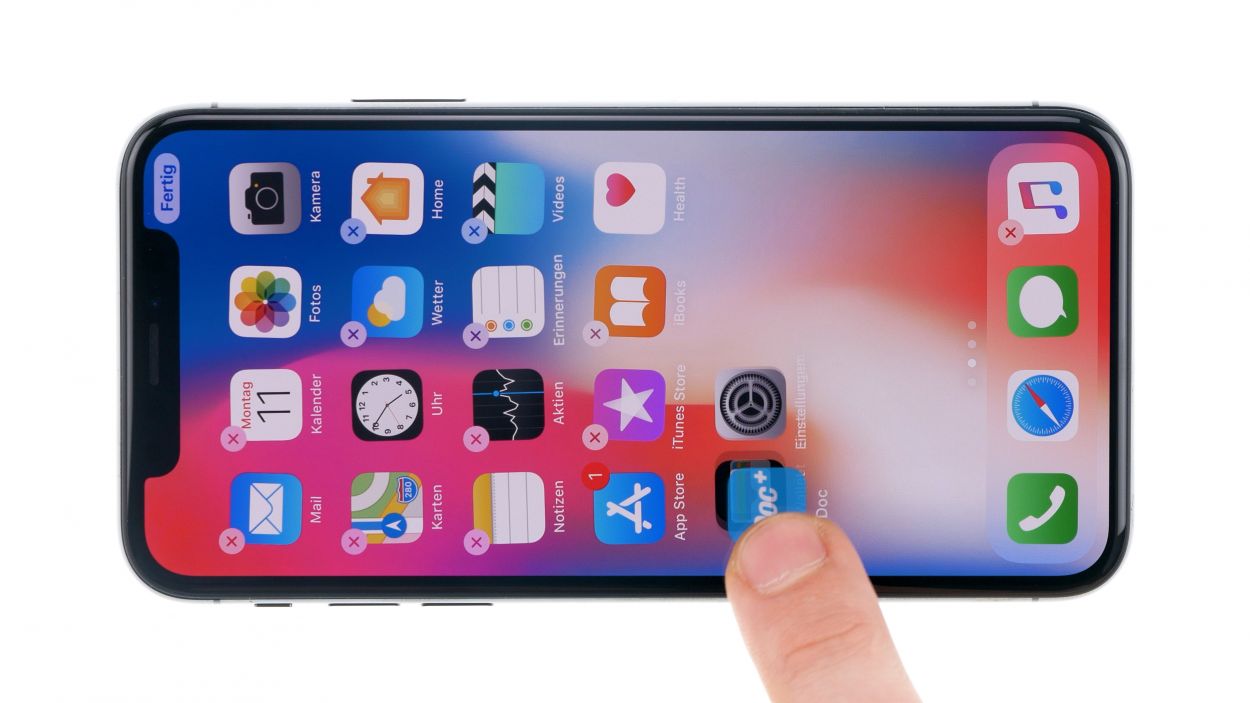
– Unscrew the two pentalobe screws that are hanging out to the left and right of the Lightning connector, and make sure to stash them safely in your screw storage box. We wouldn’t want them to go on an adventure without you!
2 × 6,8 mm Pentalobe
To ensure that you do not lose any of the removed components and screws, we recommend that you use a screw storage box. For this purpose, you can for example convert an old sewing box. We use a high-quality magnetic pad for our repairs, on which the removed components can also be arranged in the same way as they were installed in the telephone. This way you know exactly where each screw was located, which makes it much easier for you to assemble later.
Tools Used
Step 3
A good rule of thumb is to give your device just enough heat so it’s comfy to touch, but not so much that it feels like it’s auditioning for a hot springs role!
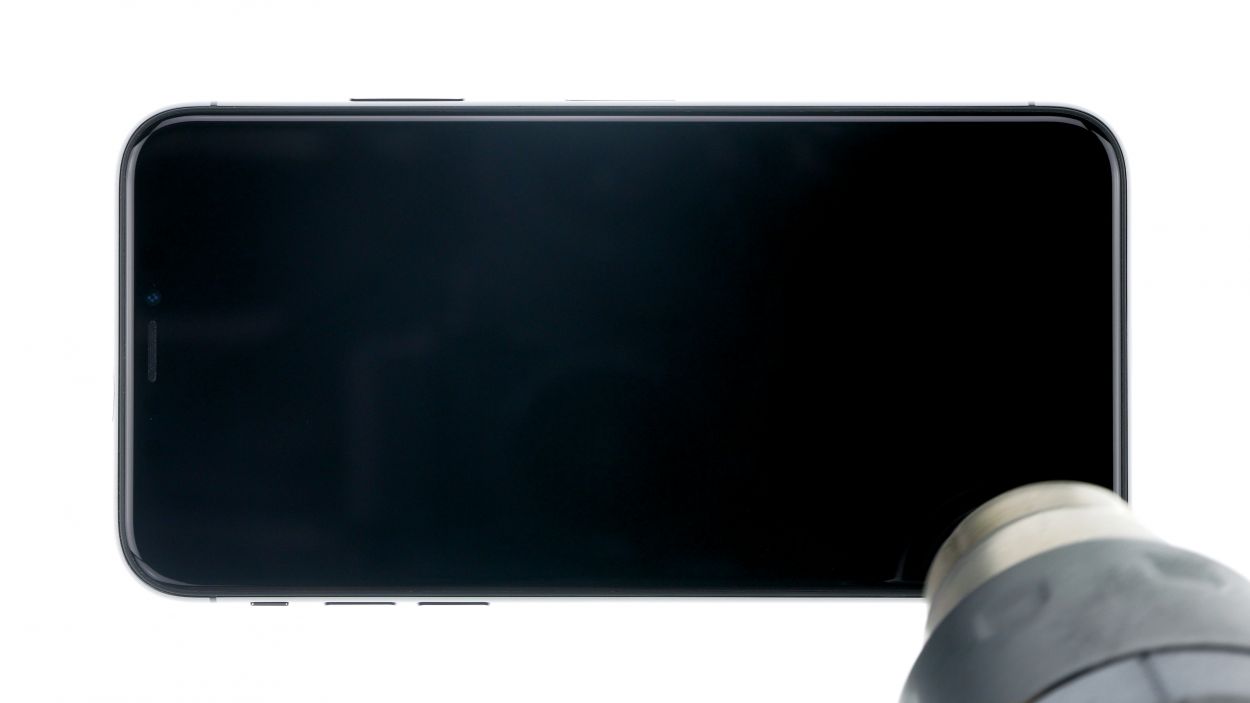
– Gently set your iPhone X on a soft, clean surface—let’s give that back a little pampering to avoid scratches when we pop off the display!
– Next up, grab a hot air tool, whether it’s a heat gun or a trusty hairdryer, and glide it smoothly along the glued edge of the display. We’re just warming things up without turning your phone into a sauna!
Tools Used
- heat gun to heat parts that are glued on so they’re easier to remove.
In most cases, you can also use a hairdryer.” rel=”noopener”>Heat gun
Step 4
Opening your iPhone X is like stepping through a magic door—once you do, it can’t promise to stay dry anymore. The warranty for keeping that IP67 dust and splash protection also takes a hike!
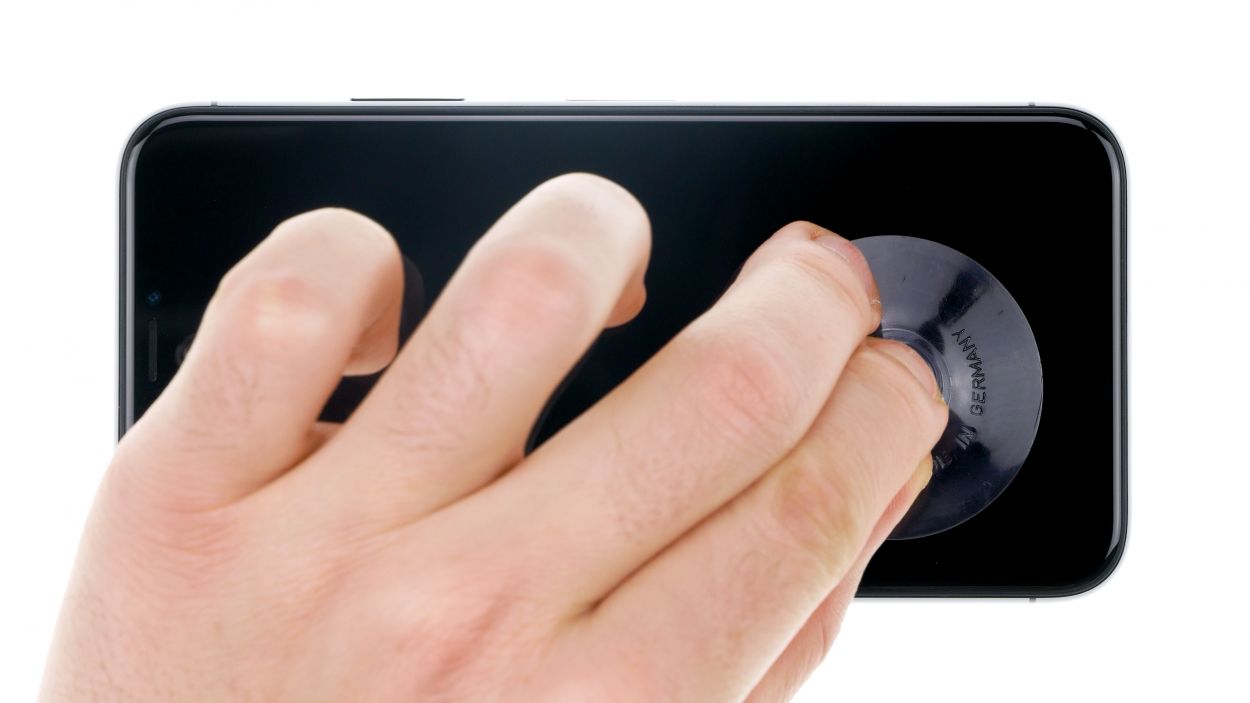
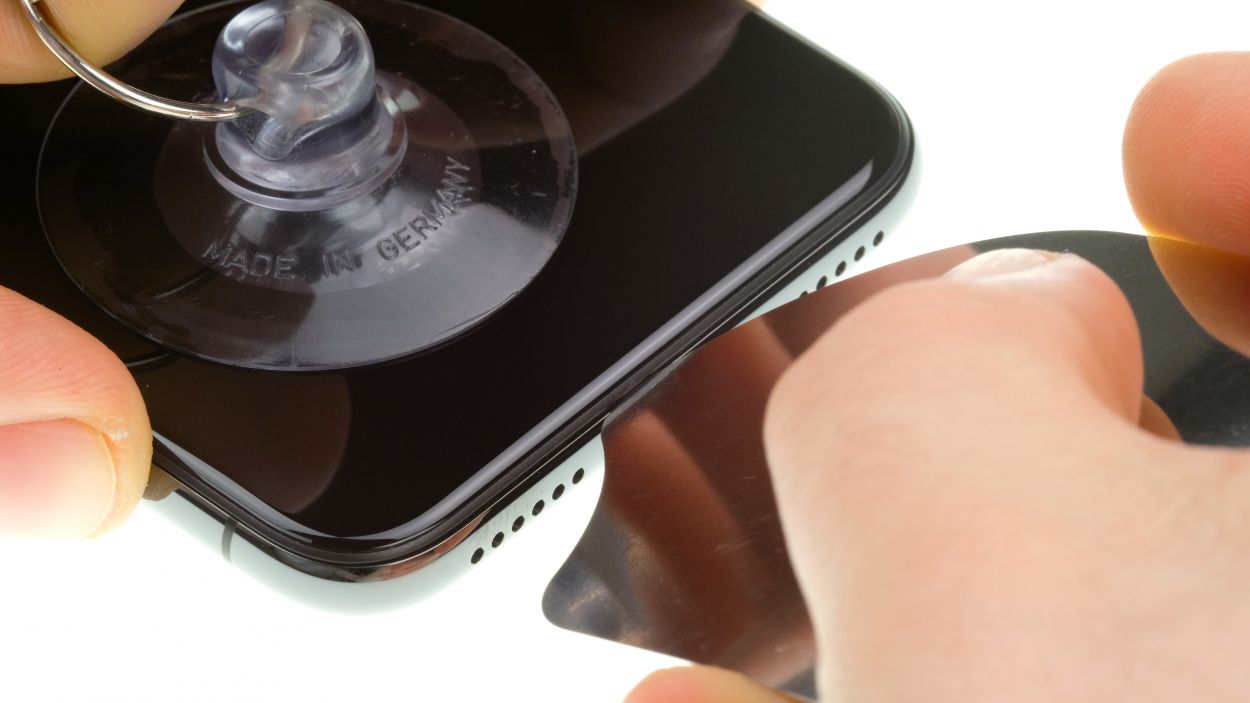
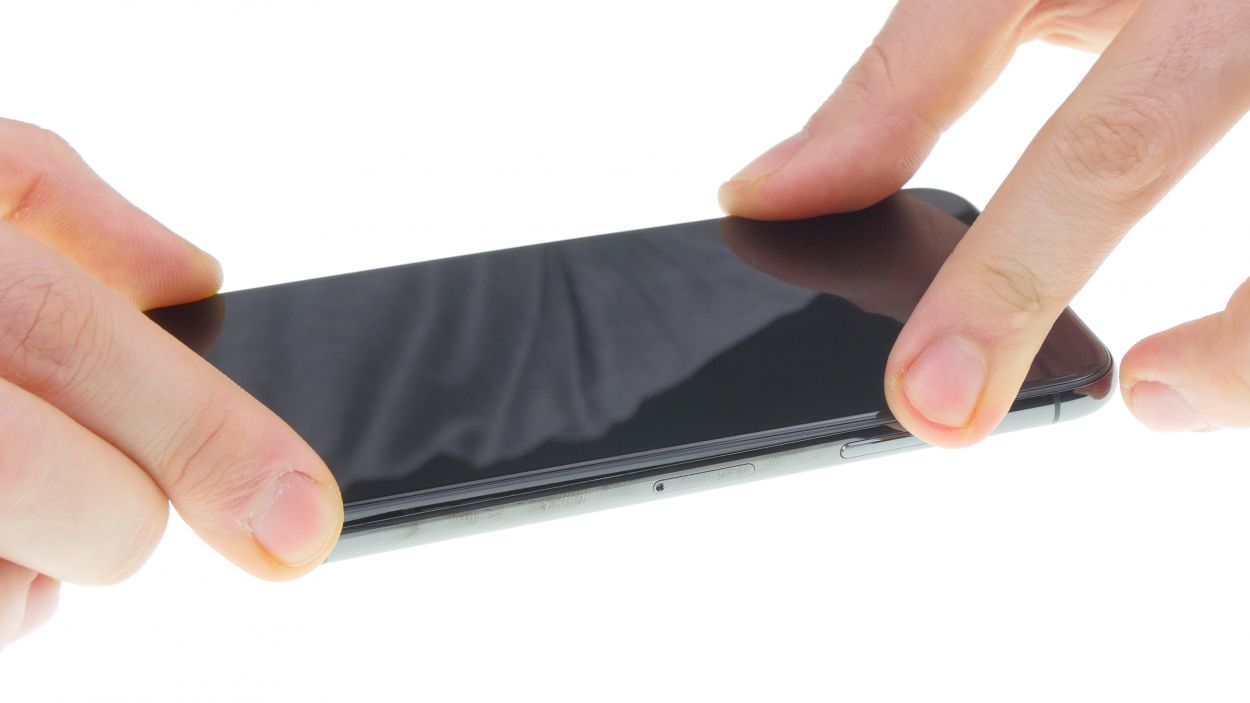
– Stick that suction cup on the bottom edge of your device and give it a gentle pull upwards to create a snug little gap between the stainless steel and the display frame.
– Now, grab a sturdy, flat tool and slide it into that gap to widen it a bit. While you’re at it, give the display a little nudge upwards with the tool, using those handy flat plastic picks.
Tools Used
Step 5


Hey there! Just a friendly reminder: when you’re working on your iPhone X, be gentle with those delicate flex cables connected to the display. Avoid folding the display all the way over while it’s still connected—let’s keep everything cozy and intact!
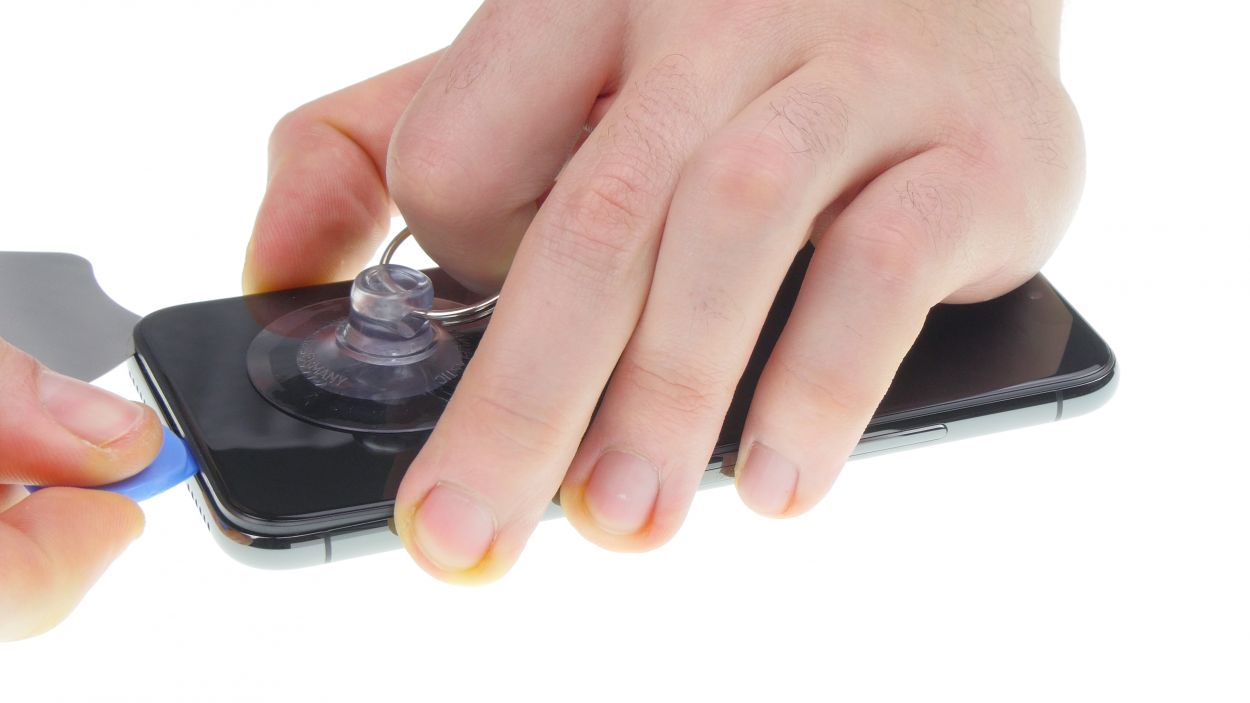
– Gently lift the display away from the aluminum frame using a sturdy plastic plectrum—think of it as giving your phone a little boost!
– Once the display is free, you can carefully fold it over to the side of the standby button, like a little book waiting to be read.
– Rest it against something stable so it can stand tall and proud while you work your magic!
Tools Used
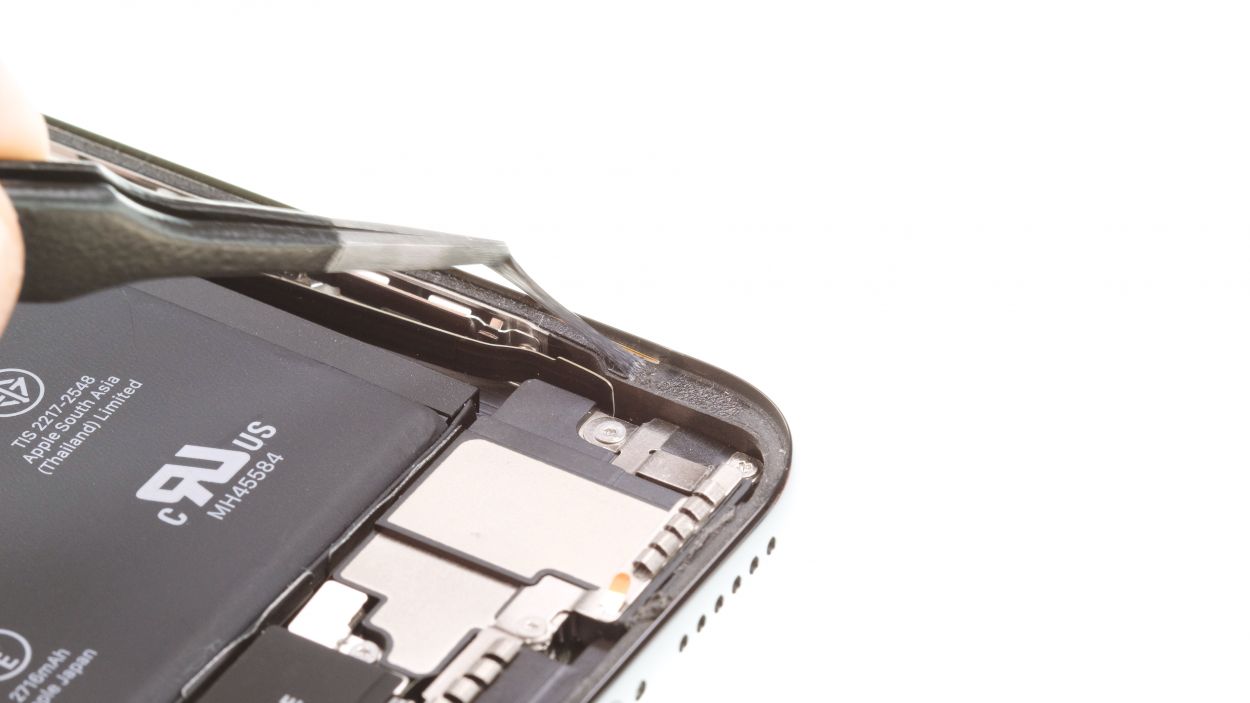
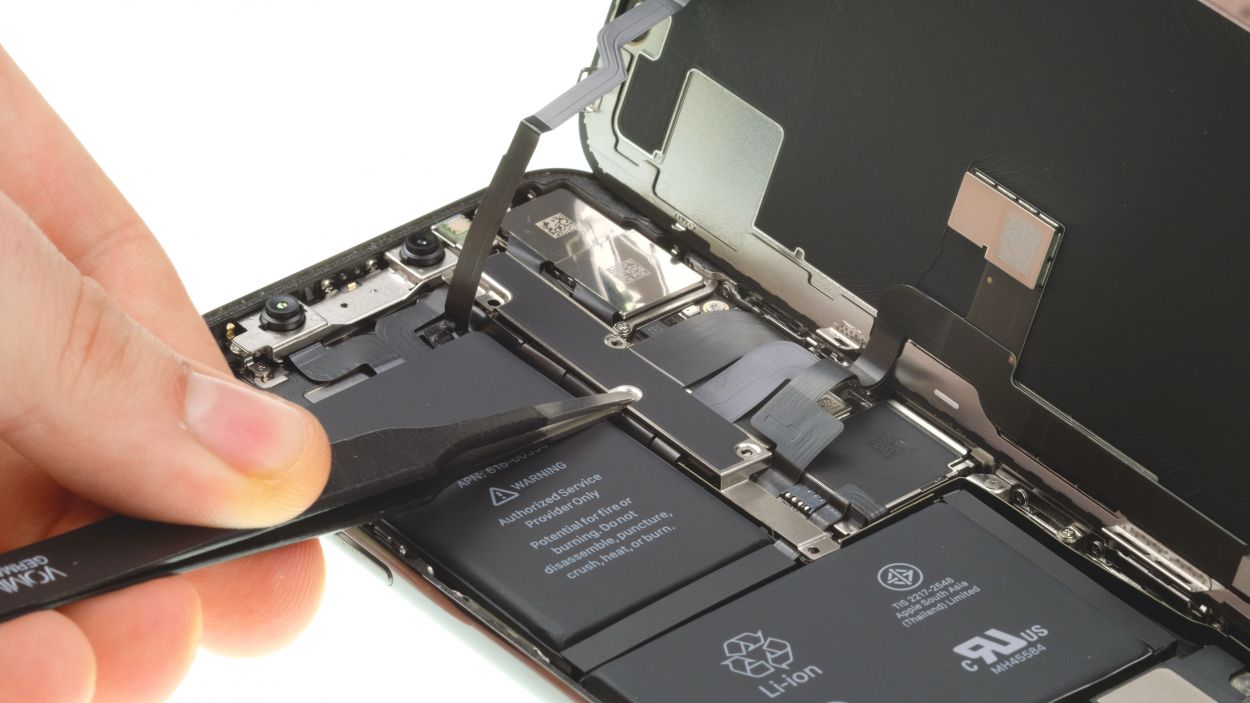
Step 6


1 × 3,0 mm Y-Type
3 × 1,0 mm Y-Type
1 × 3,6 mm Y-Type
Heads up! Those iPhone X screws are all different lengths – think of them as a tiny, high-tech, multi-length crew! Keep ’em organized so you know where they go when it’s time to put everything back together.
– Grab your trusty Y-type screwdriver and unscrew those Y-type screws to lift off the cover plate. You’ve got this!
– Now, with a gentle touch, use a flat plastic tool to slide under the battery connector and disconnect it. A plastic spudger works wonders for this task!
Tools Used
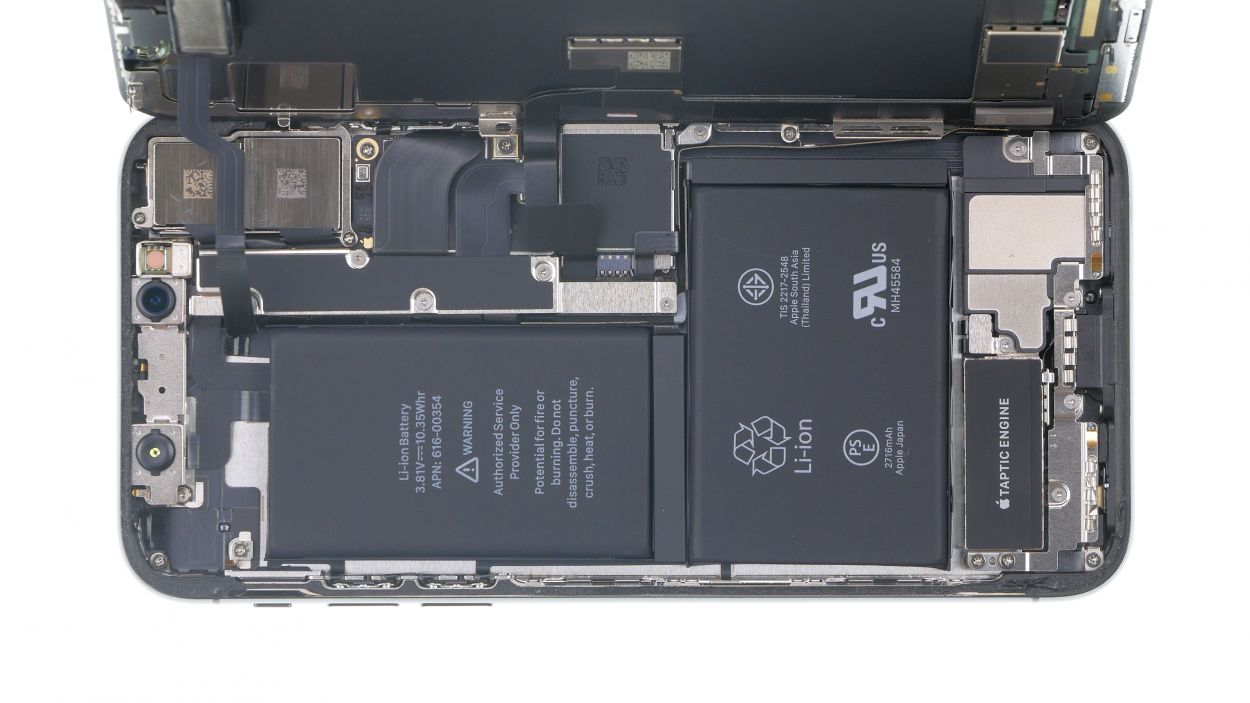
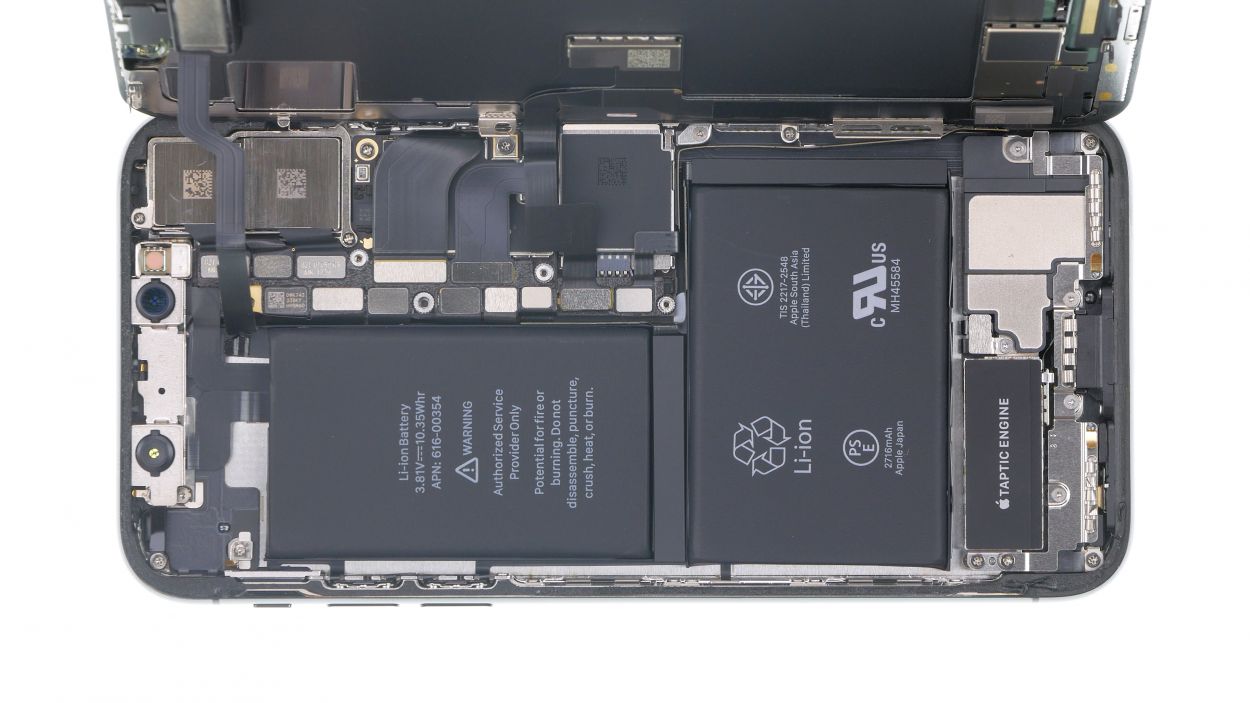
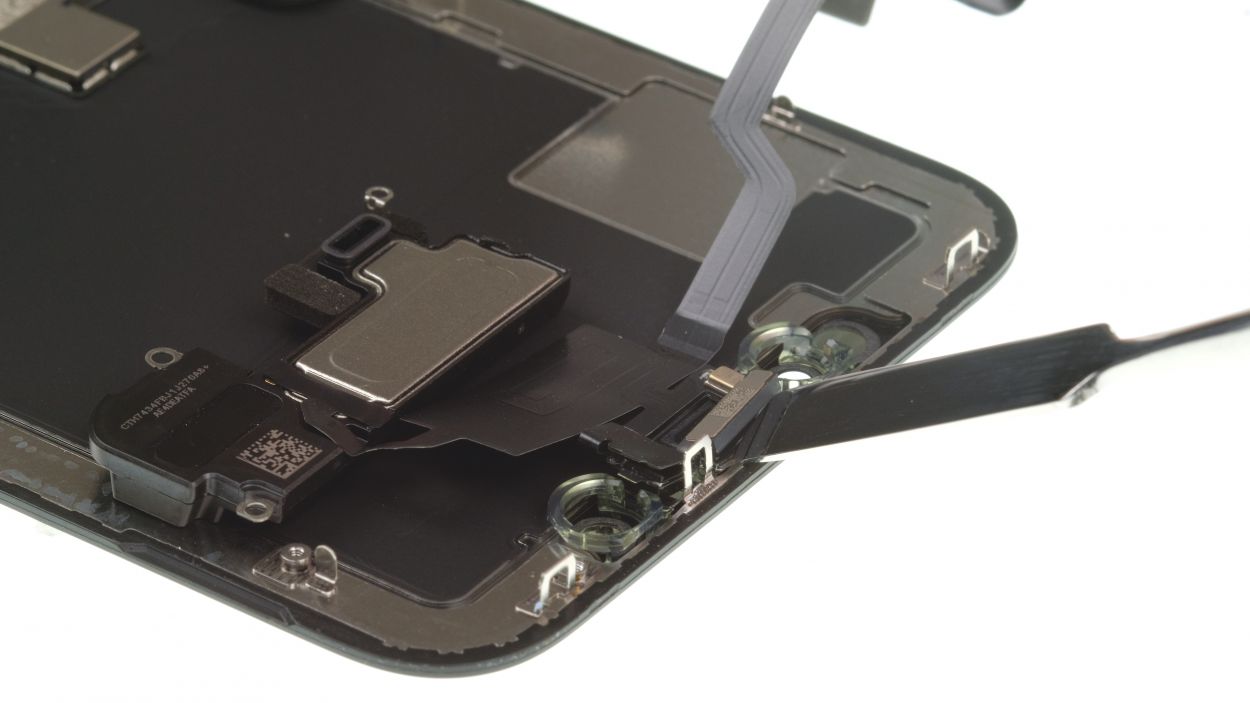
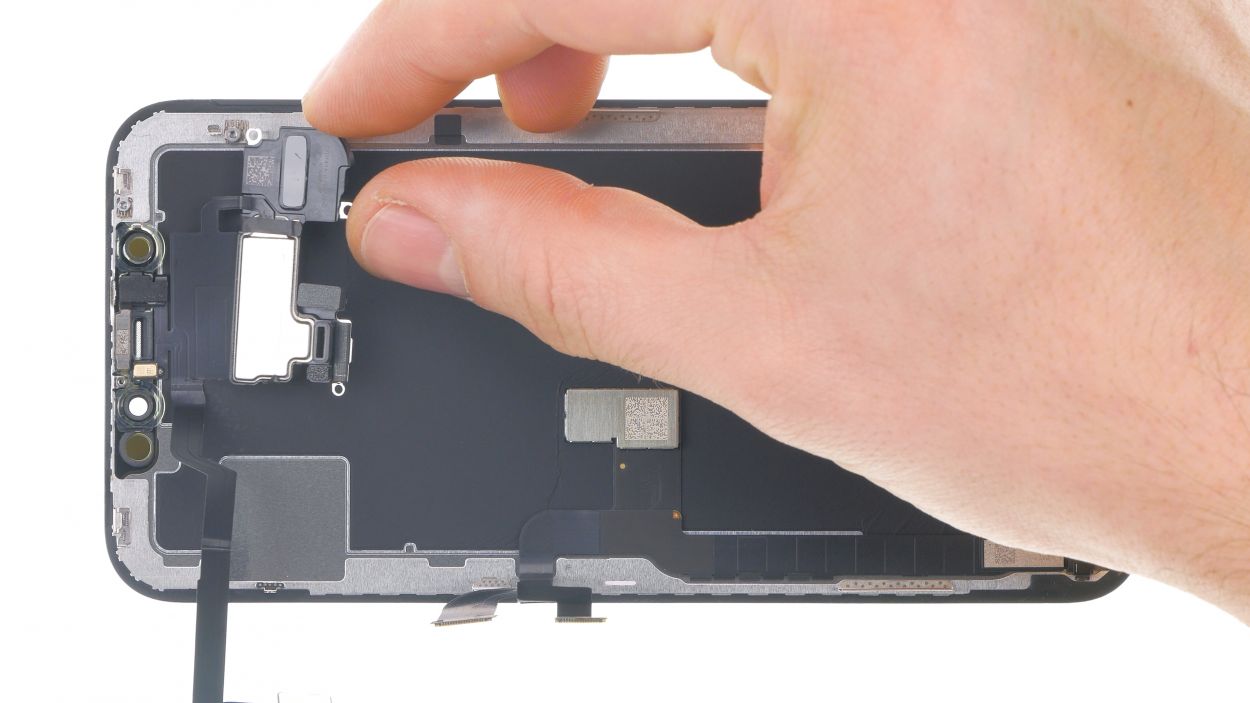
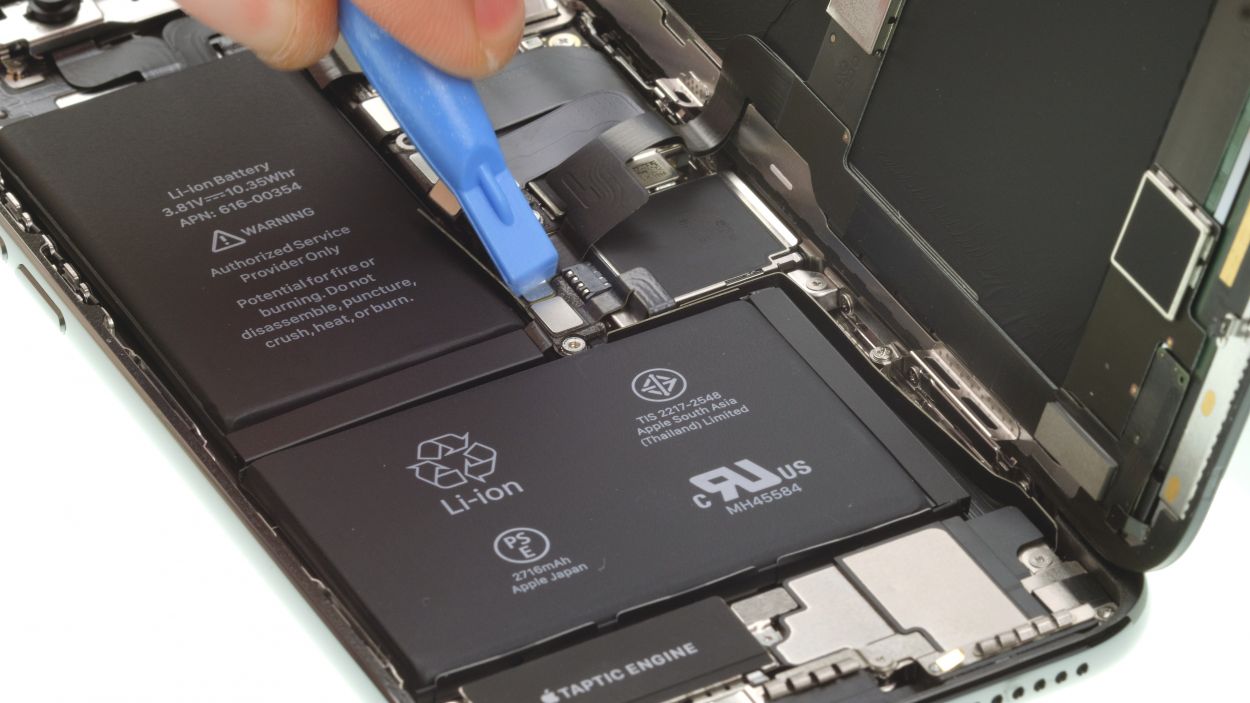
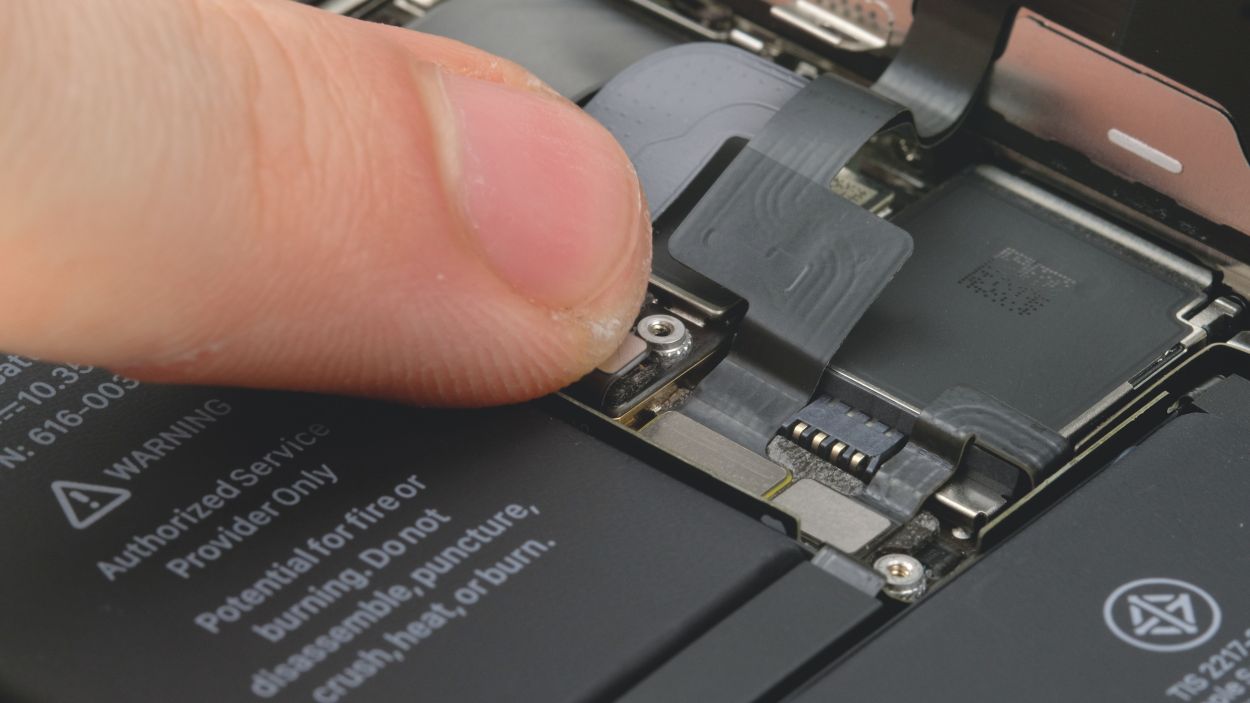
Step 7

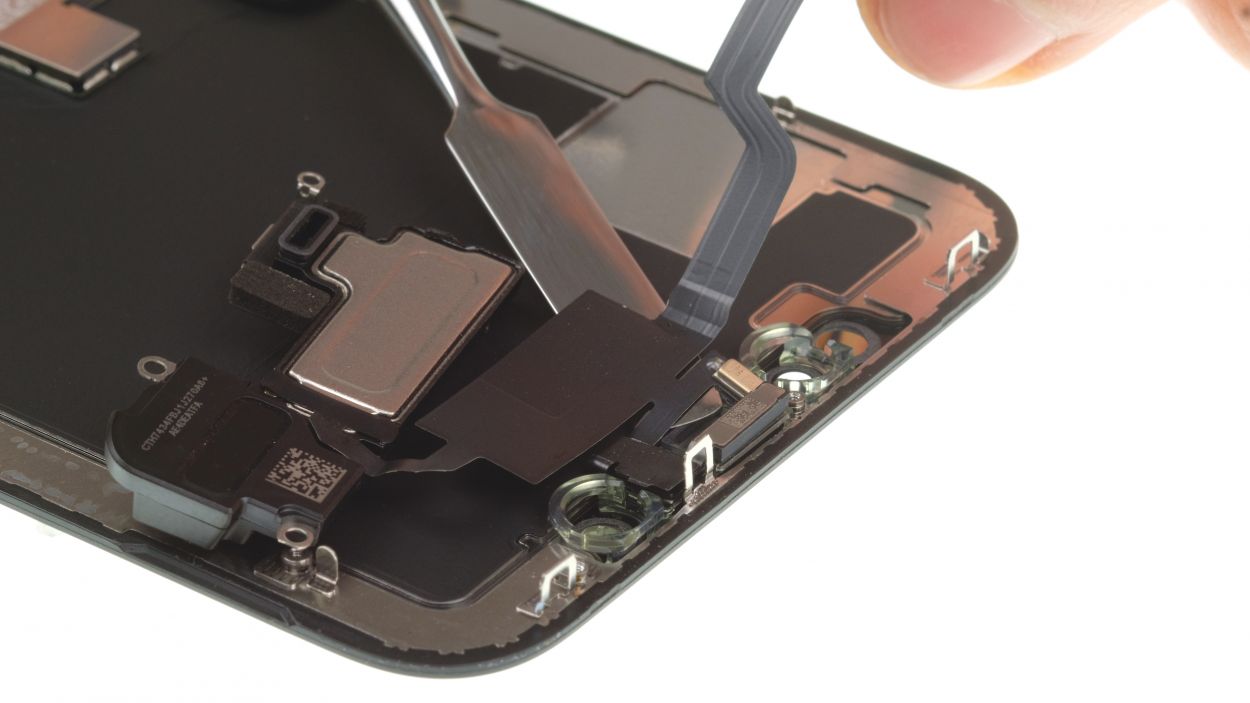
Display Connector
Earpiece Connector
Alright, smarty pants! When unplugging those connectors, use your tools from the side where there are no parts. We want to keep everything on the logic board safe and sound, okay?
– Use a spudger to gently disconnect the connectors from the logic board—one at a time. Heads up: that earpiece flex cable near the top of the display is a bit sticky, so be extra careful!
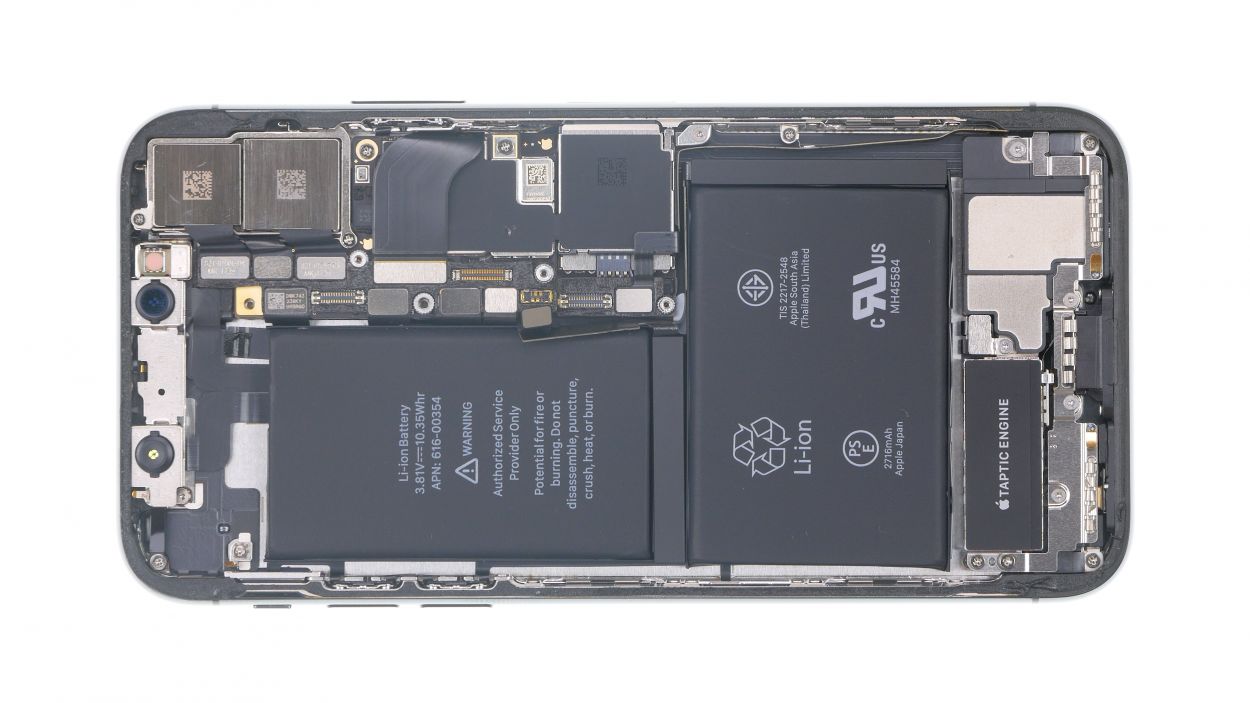
– Once all the connectors are unplugged, you can carefully remove the display. You’re doing great!
Tools Used
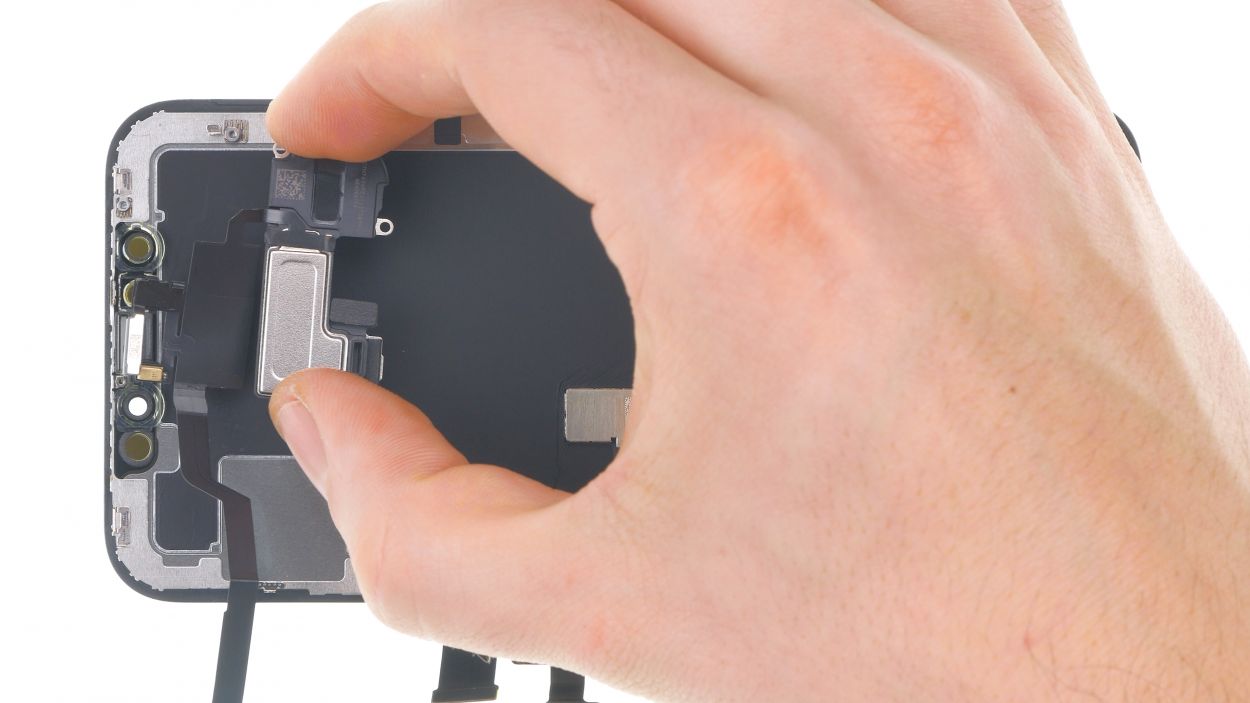
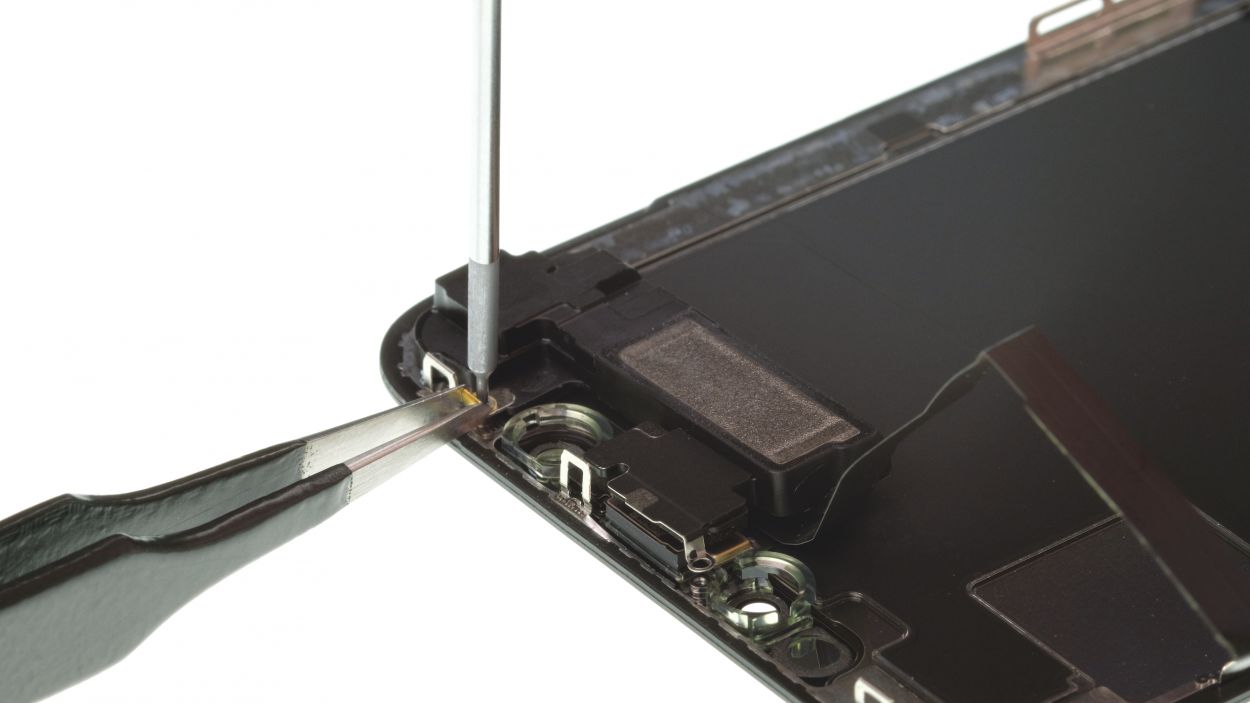
Step 8
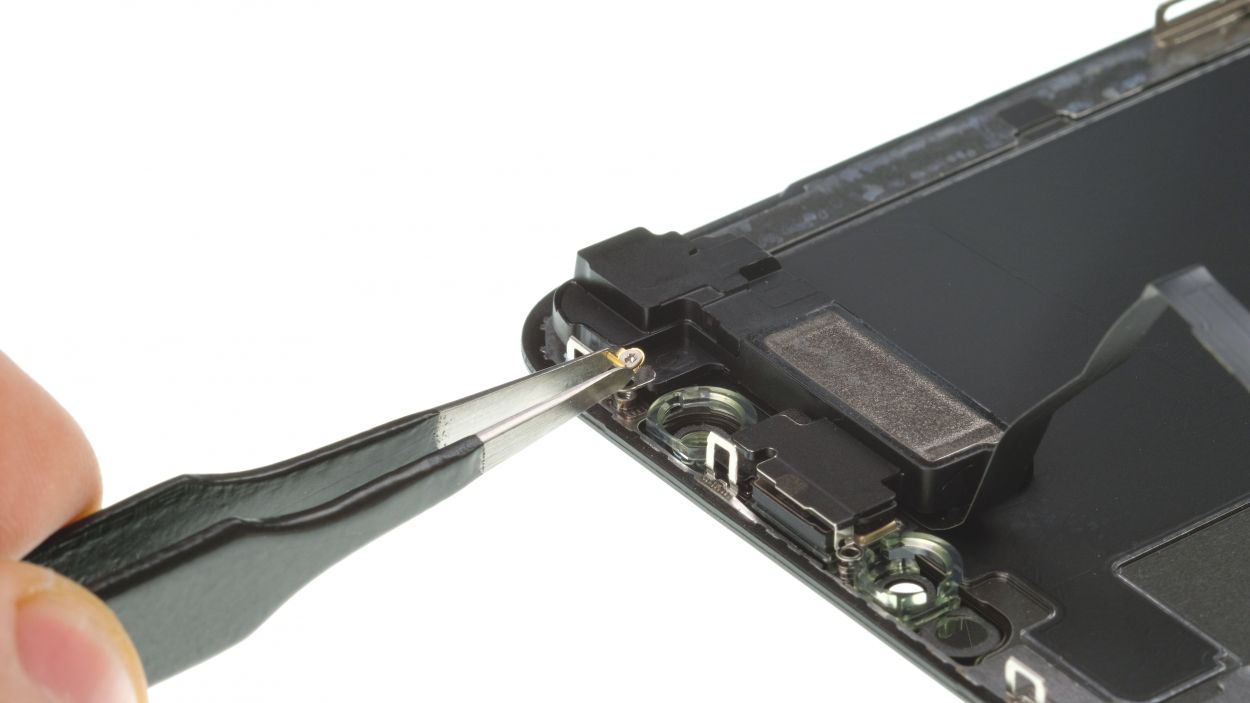
– Loosen the three Y-Type screws that keep the earpiece snugly attached to the display. You’re doing great!
1 × 1.2 mm Y-type
1 × 1.3 mm Y-type
1 × 1.6 mm Y-type
Heads up, friend! Replacing or damaging this part means Face ID is out for the count. Same goes if you swap in a new earpiece.
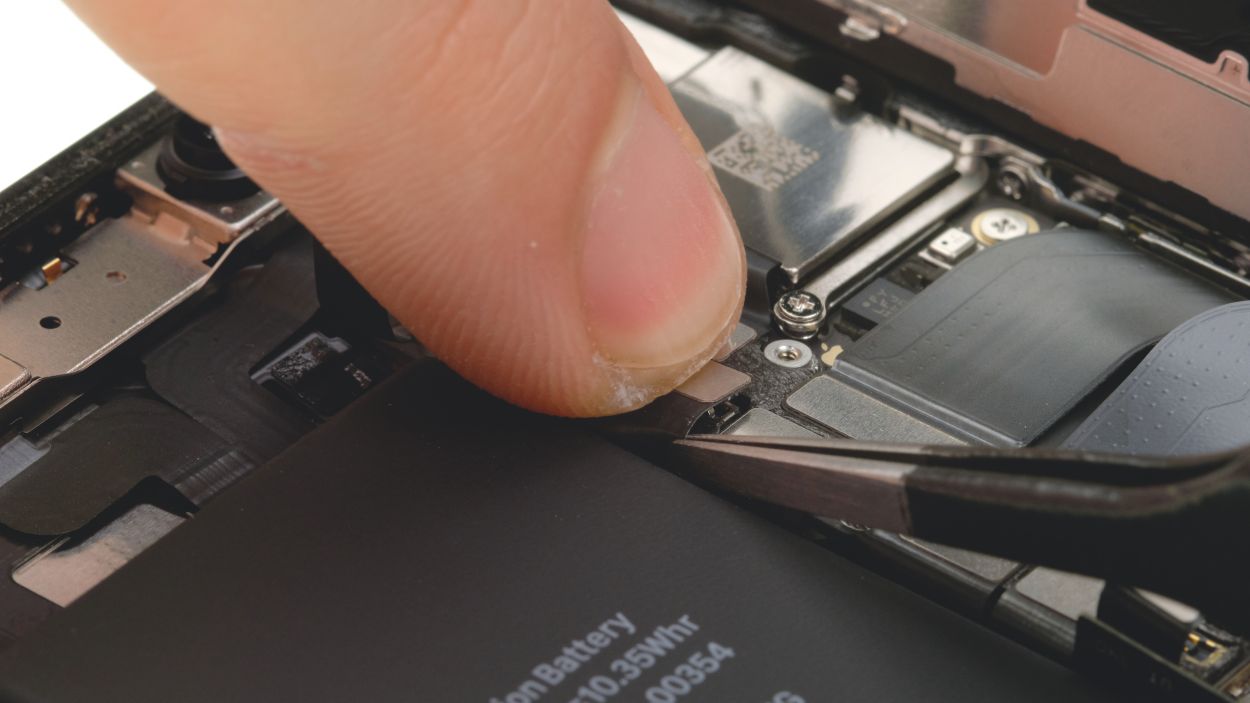
One of the three screws is held in place by a teeny-tiny golden bracket. Grab your tweezers and gently hold onto that bracket so the screw doesn’t go AWOL while you’re unscrewing it. You got this!
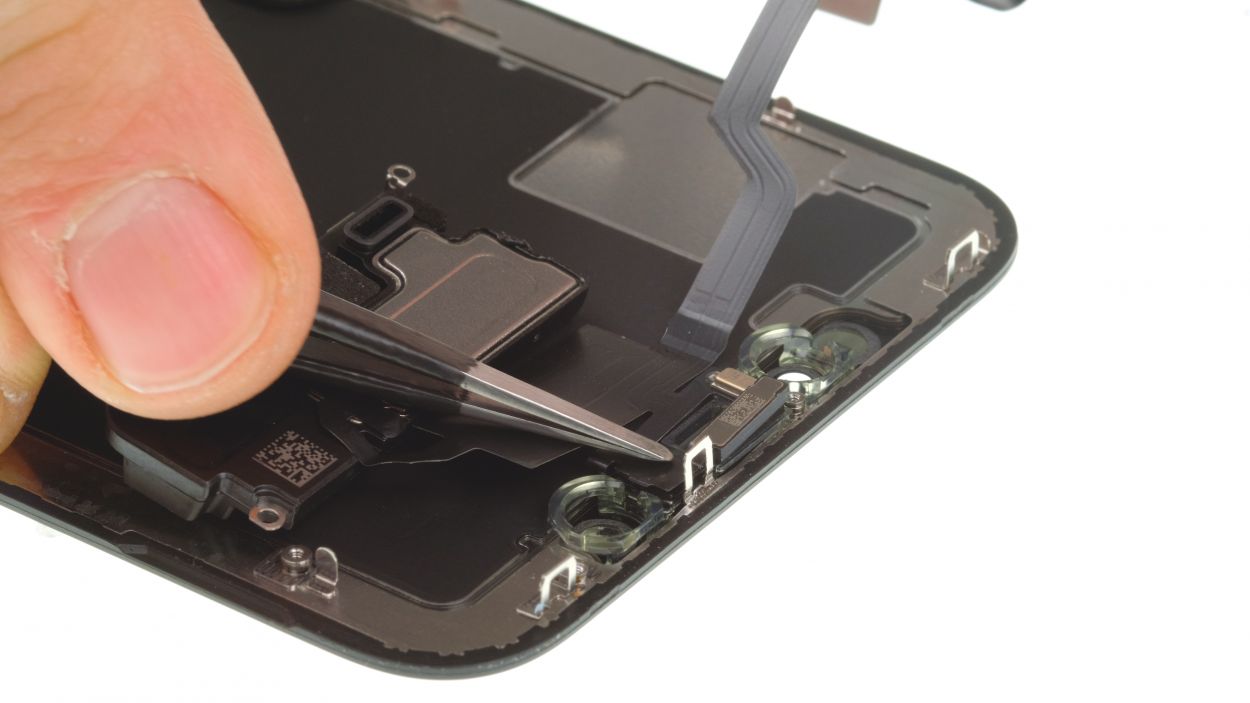
Step 9
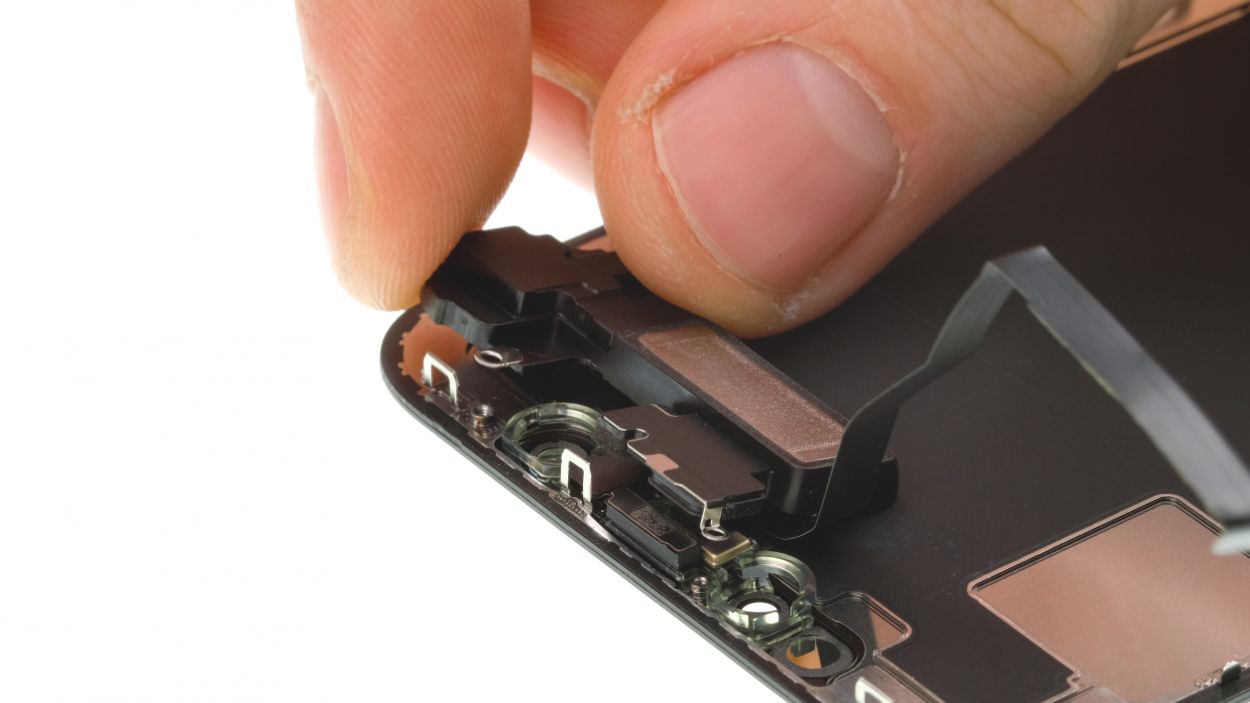
Hey there! Just a friendly reminder: when you’re loosening those flex cables and sensors, take it easy! They’re a bit fragile and can get hurt if you’re not careful. Let’s keep everything in one piece!
– Warm up that pesky flex cable a bit with your trusty hot air tool to help it let go of any stubbornness. A little heat goes a long way, so let’s be gentle while getting things loose!
Tools Used
- heat gun to heat parts that are glued on so they’re easier to remove.
In most cases, you can also use a hairdryer.” rel=”noopener”>Heat gun - Steel Laboratory Spatula
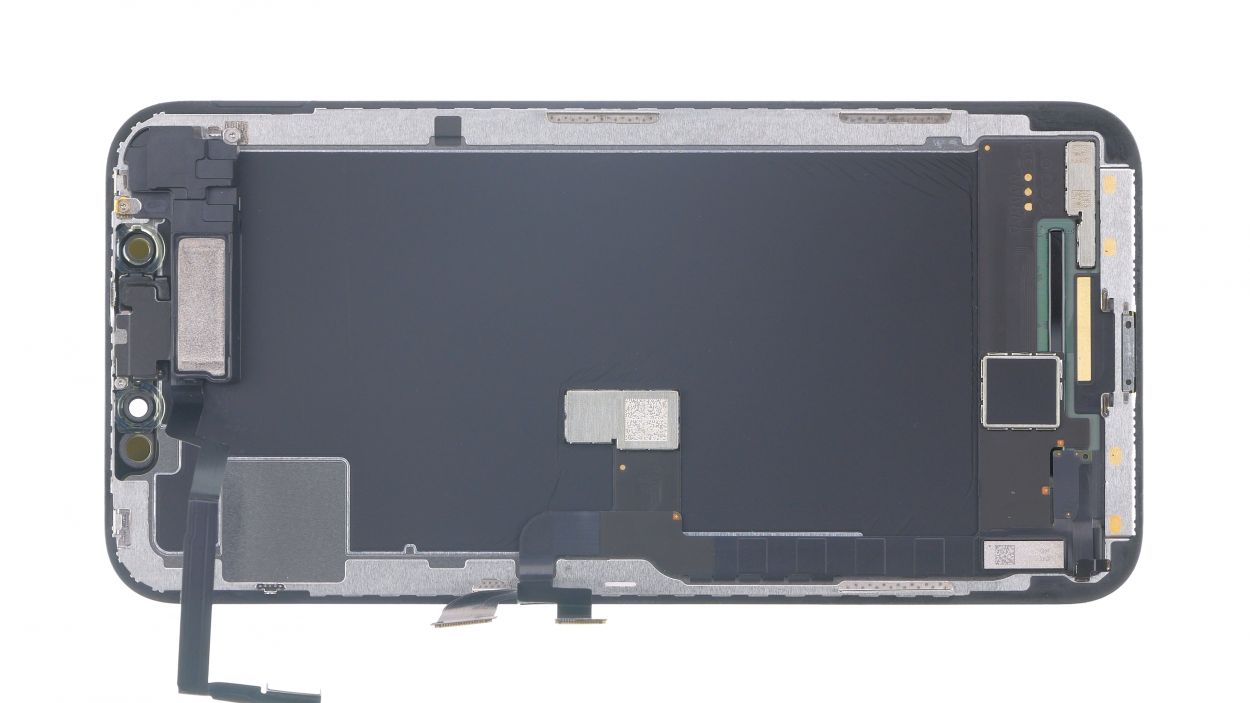
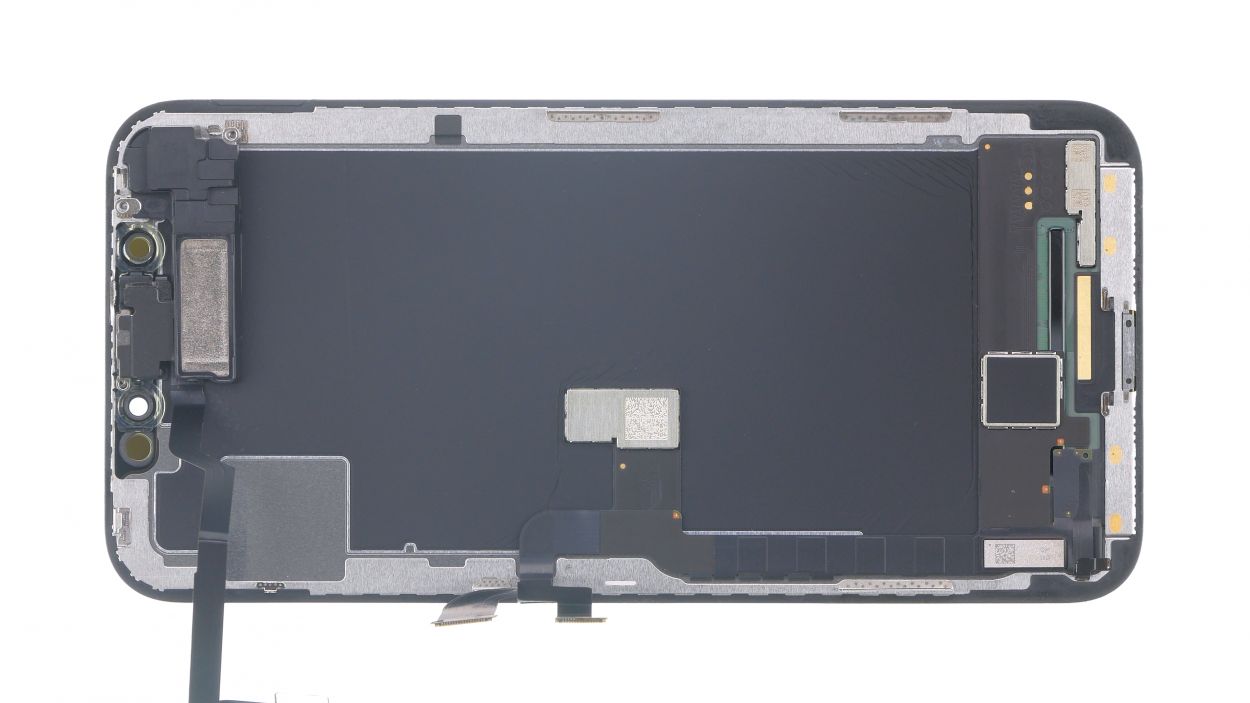
Step 10

Plastic holders
– Peel off that protective film from your shiny new display and toss those seals aside like confetti!
– Line up your old display next to the new one and give them a good look—let’s make sure they match up perfectly.
– Gather up all those little parts that didn’t make it into the new display yet. We want everything to be just right!
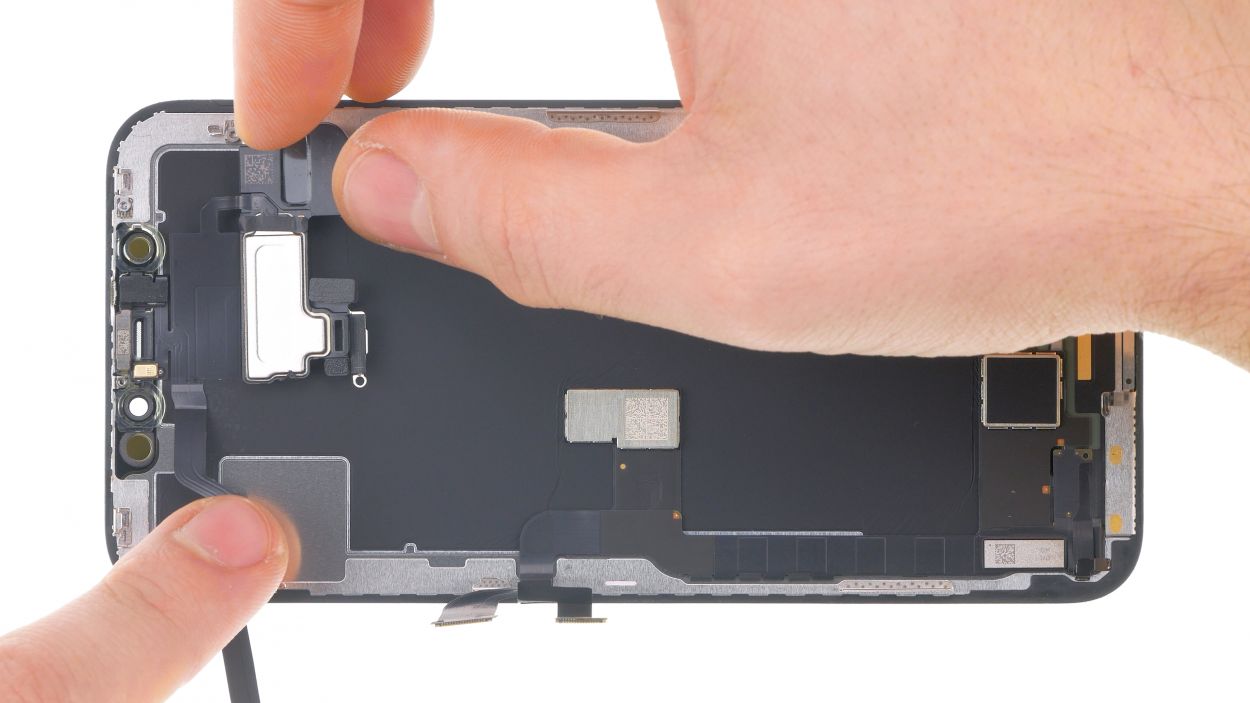
Step 11

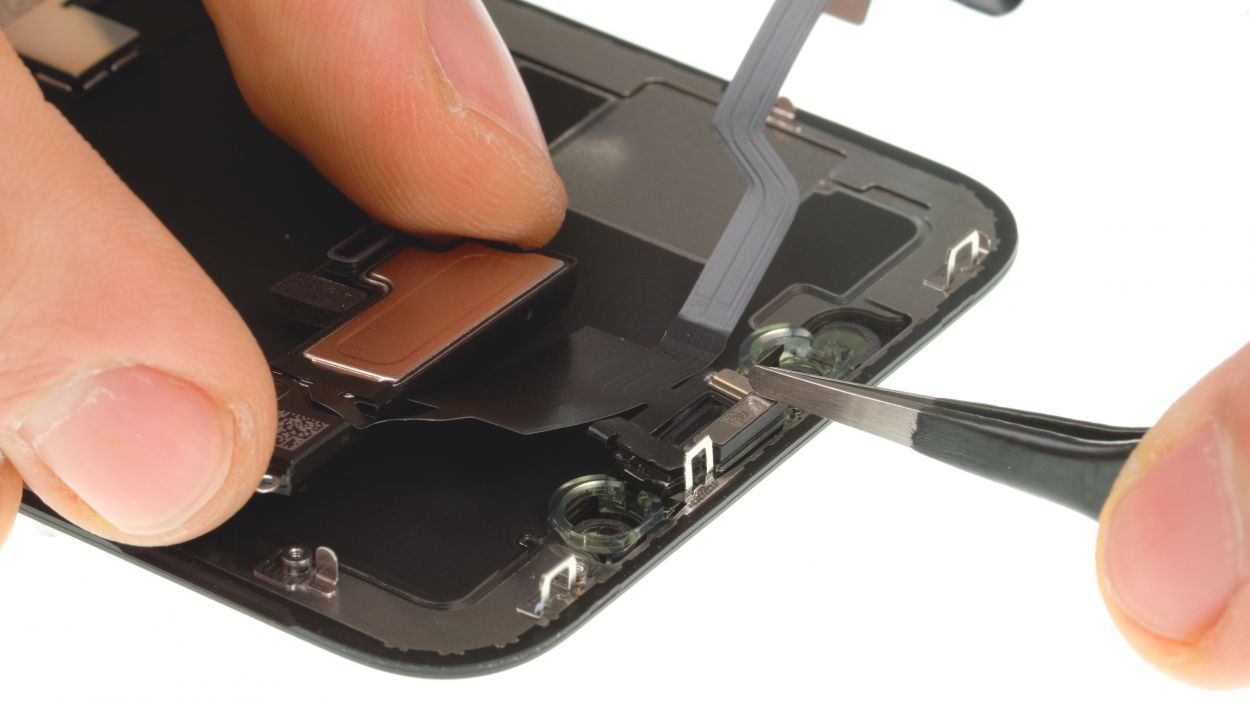
– Position the flex cable of the earpiece at the upper edge of the display.
– Gently push the sensors back into their leads at the display edge.
Tools Used
Step 12

1 × 1.2 mm Y-type
1 × 1.3 mm Y-type
1 × 1.6 mm Y-type
Don’t forget to pop that little golden bracket back onto the middle thread before you tighten the screw! Get it lined up just right and use your tweezers to hold it steady—this way, it won’t slip away while you’re securing everything. You’ve got this!
– Place the earpiece, so that the screw holes are exactly over the threads of the display.
– Retighten the three Y-type screws to secure the earpiece.
Step 13


After you stick on that fresh adhesive strip, your iPhone is back in the game against dust and splash water! Just a heads up, though—it’s not quite ready for a swim!
– To ensure that the new adhesive frame fits properly everywhere, you must first remove all remaining adhesive residue on stainless steel and display frames.
– Align the adhesive frame correctly and then pull off the protective film from the underside of the adhesive frame.
Tools Used
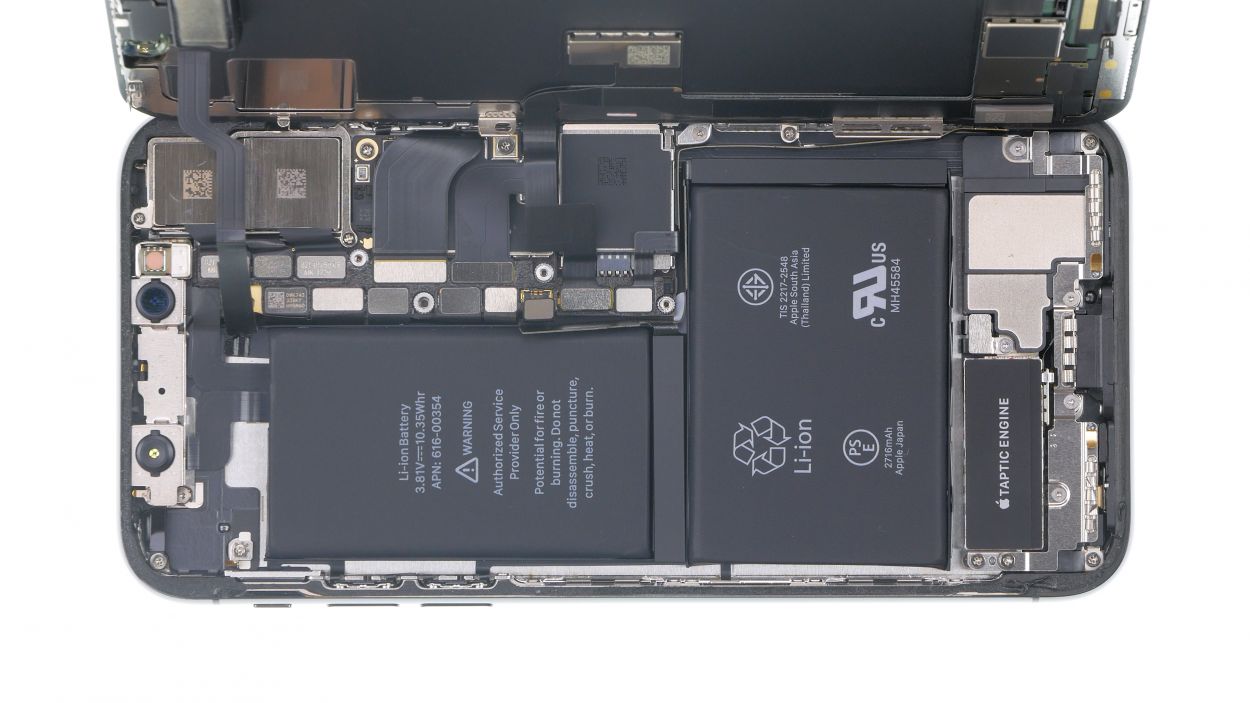
Step 14


Display Connector
Earpiece Connector
Give that lower connector a little press with your spudger to make sure it’s all snug and ready to go!
– To keep those delicate flex cables from getting too stretched out when you’re connecting the display, simply set the display on the edge of your iPhone X’s frame and give it a little lean against something sturdy. It’s like giving your phone a supportive buddy!
– Now, gently press the three display connectors together until you feel that satisfying click, ensuring they’re snug and ready for action.
Tools Used
Step 15

1 × 3,0 mm Y-Type
3 × 1,0 mm Y-Type
1 × 3,6 mm Y-Type
– Reconnect that battery connector like a pro!
– Next, pop on the bracket plate and secure it with those Y-Type screws. You’re almost there!
Tools Used

Step 17
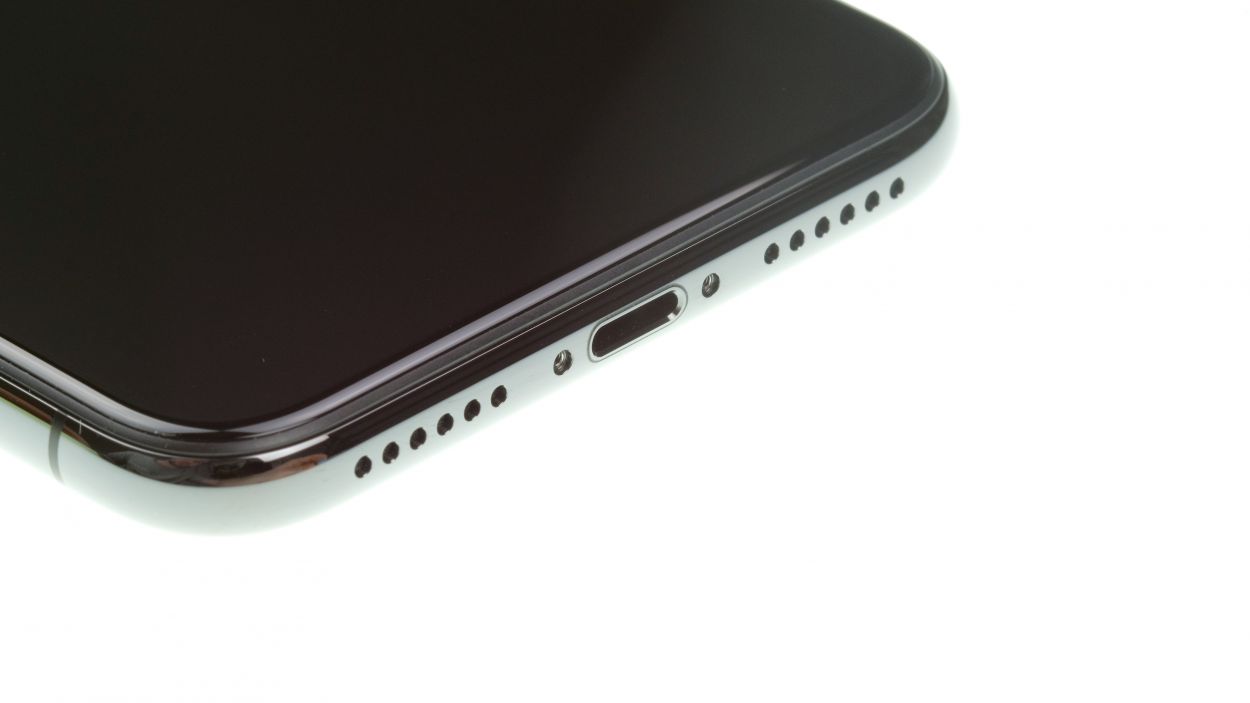
2 × 6.8 mm Pentalobe
– Tighten those two pentalobe screws flanking the Lightning connector like a pro! Make sure they’re snug and secure, so your iPhone X is ready for action.
Tools Used