iPhone X TrueDepth Camera Replacement: A Step-by-Step Guide
Duration: 60 min.
Steps: 14 Steps
So, your iPhone X isn’t dimming during calls, or the microphone’s gone on vacation during video calls? No worries, you’ve landed in the right spot! The TrueDepth camera shares a cable set with the proximity sensor and microphone, which means you’ll need to swap out the whole cable set to get everything back in working order. This step-by-step guide will walk you through the process like a pro. Just a heads up, when you replace the cable set, FaceID and TrueTone will take a break. We’re rooting for your repair success and hope our instructions make it a breeze. Got thoughts or questions? Drop us a comment!
Step 1
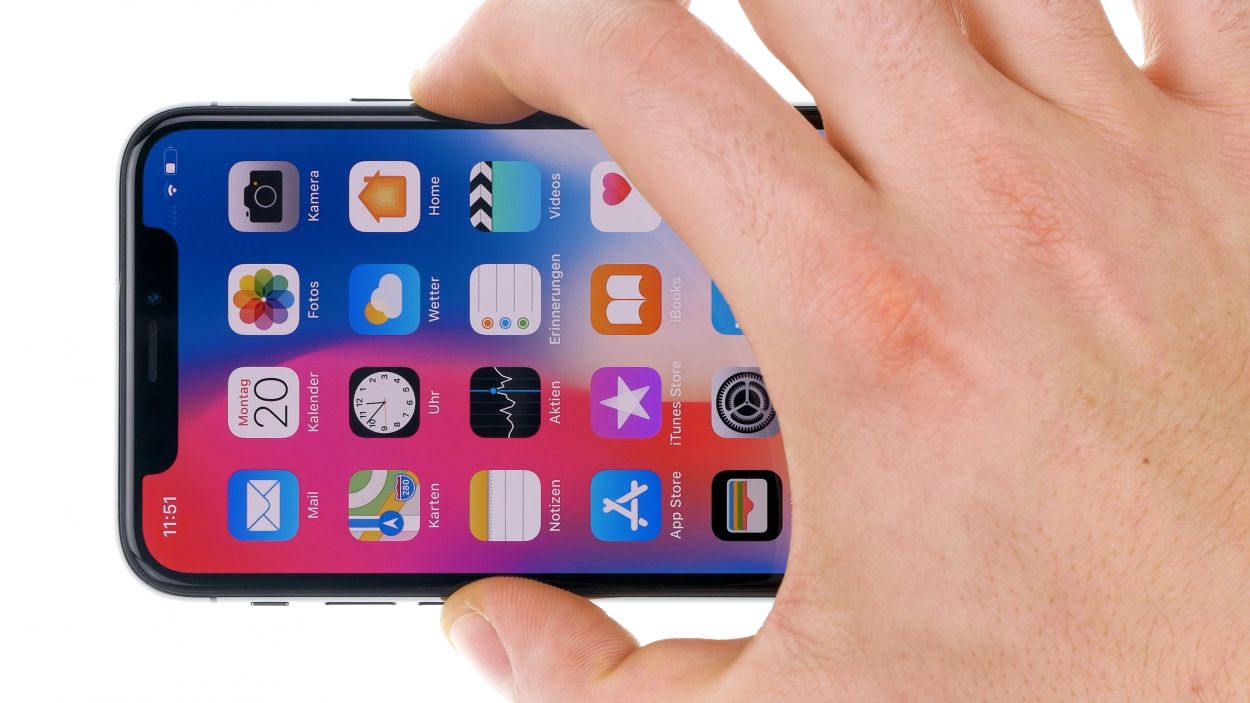
– Before you dive into repairs, make sure to power down your iPhone X to keep it safe from any mishaps. Just press and hold the standby button along with one of the volume buttons for about three seconds.
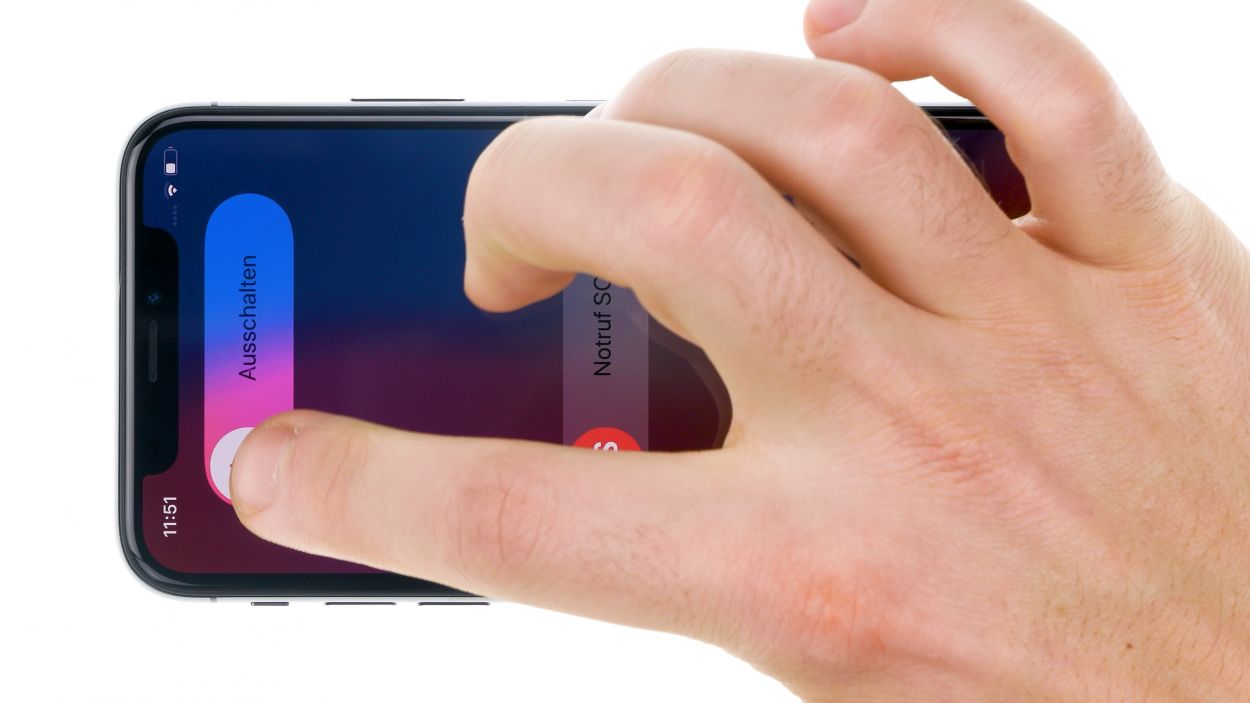
– When you see the “Power Off” slider pop up on your screen, swipe it from left to right. Your iPhone will be completely powered down in about 10 seconds. Easy peasy!
Step 2
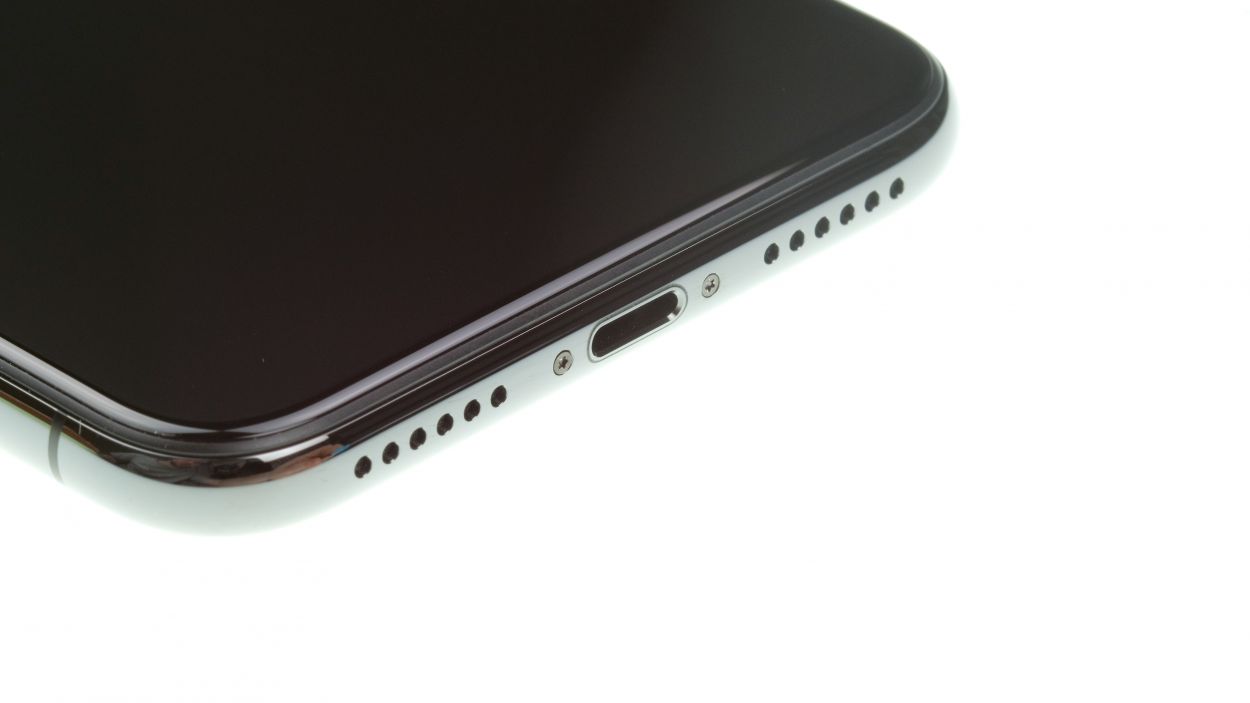

– Unscrew the two pentalobe screws that are hanging out to the right and left of the Lightning connector and safely stash them in your screw storage box. Let’s keep those little guys organized!
2 × 6,8 mm Pentalobe
Hey there, savvy repair guru! To keep all those tiny components and screws from disappearing into the abyss, we suggest snagging a screw storage box. Got an old sewing box lying around? Perfect! We like to use a nifty magnetic pad during our repairs, where you can neatly arrange the removed parts just like they were originally in your device. This way, you’ll have a clear map of where each screw belongs, making reassembly a total breeze!
Tools Used
Step 3
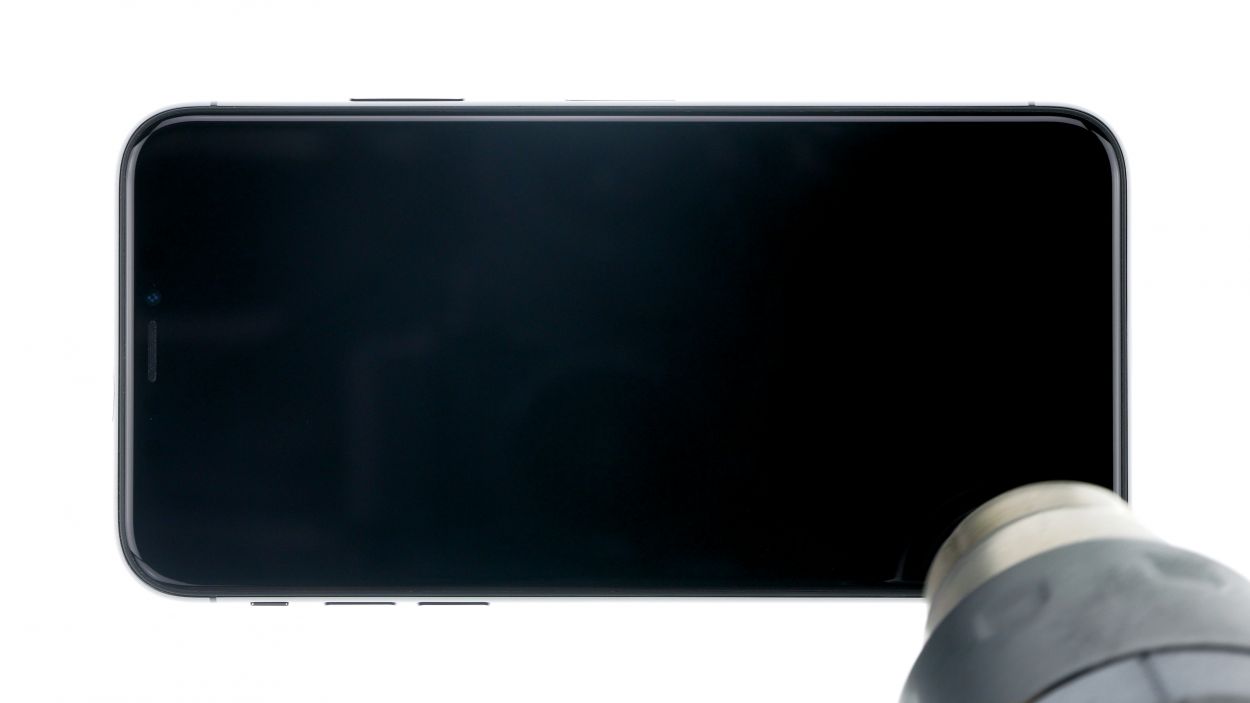
When it comes to heating your device, think of it like a warm hug – just enough to be cozy without feeling like you’re holding a hot potato! Keep it comfy, and you’ll be good to go!
– Gently set your iPhone X on a soft, clean surface to keep that shiny back from getting scratched while you work on lifting the display.
– Grab your hot air tool, whether it’s a heat gun or a trusty hairdryer, and give the glued edge of the display a nice, even warm-up.
Tools Used
- heat gun to heat parts that are glued on so they’re easier to remove.
In most cases, you can also use a hairdryer.” rel=”noopener”>Heat gun
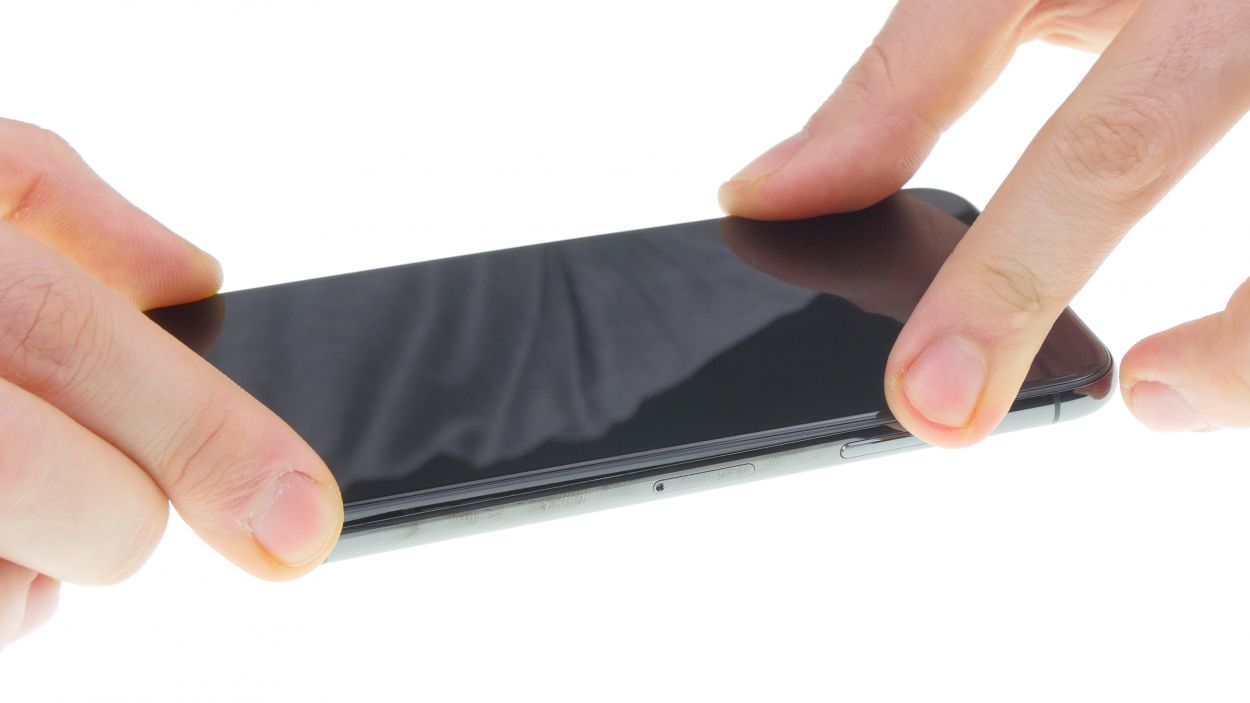
Step 4
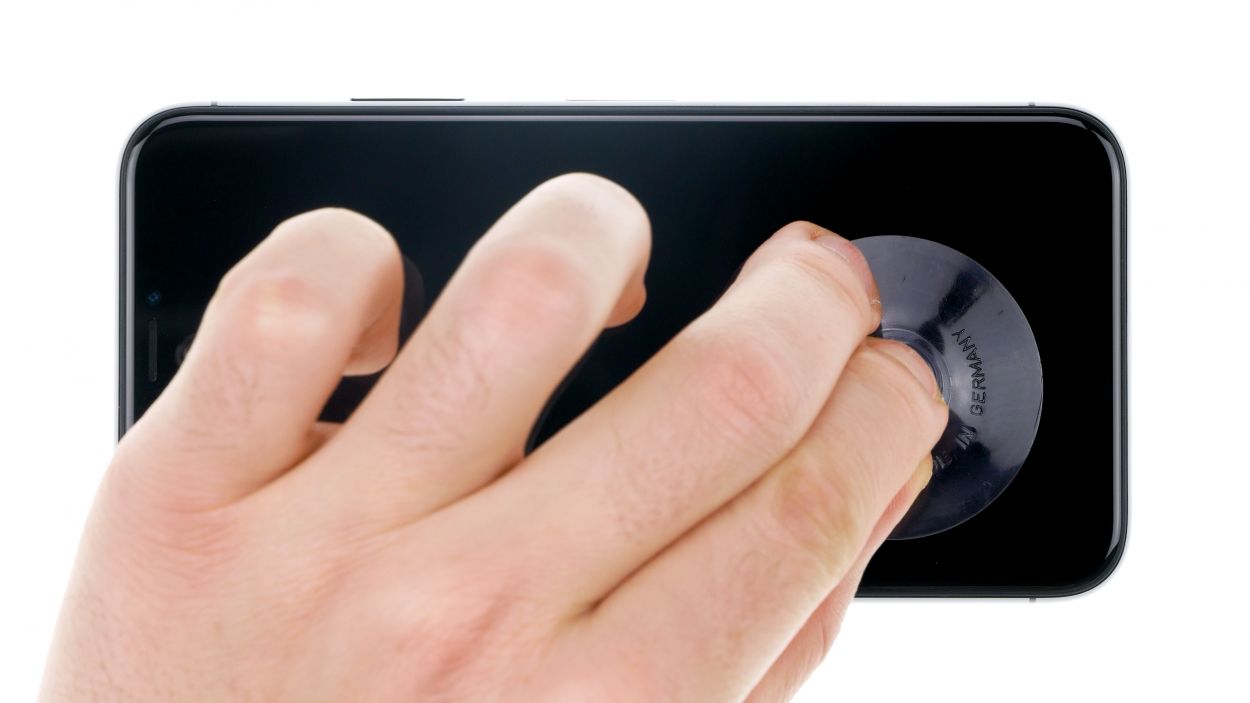
Hey there! Just a quick note: once you pop open that iPhone X, its waterproof charm goes out the window. Plus, the IP67 dust and splash protection warranty waves goodbye too. So handle with care!
– Stick that suction cup on the bottom edge of your device and give it a gentle pull upwards to create a little gap between the stainless steel and the display frame. You’re doing great!
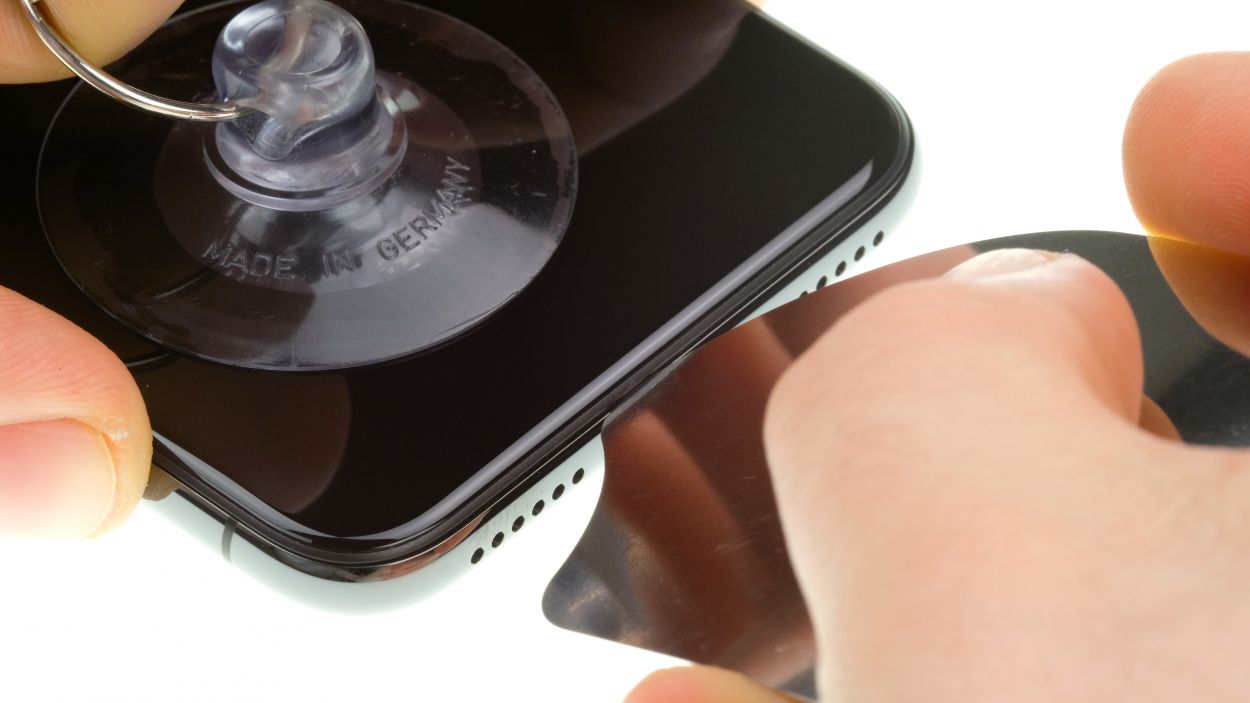
– Now, grab a sturdy, flat tool and slide it into that gap to make it a bit wider. While you’re at it, give the display a gentle nudge upwards with the tool, using those handy flat plastic picks. Keep it up!
Tools Used
Step 5


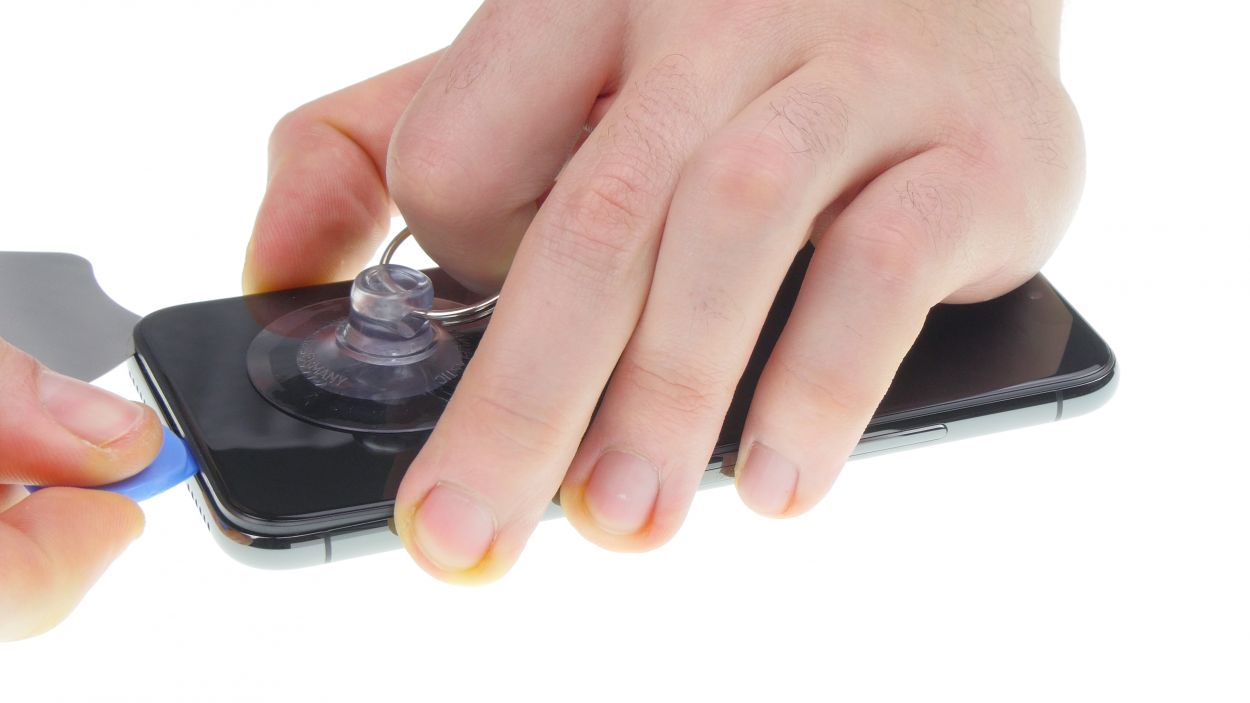
Hey there! Just a friendly reminder: when you’re working on that display, try not to fold it all the way over while it’s still connected. Those flex cables are sensitive little things, and we want to keep them happy!
– Gently ease the display away from the aluminum frame by giving it a little nudge upwards with your trusty hard plastic plectrum. You’re doing great!
– Once the display is fully liberated, you can carefully fold it to the side of the standby button. Just a little fold, nice and easy!
– Lean it against something sturdy so it can stand tall and proud while you work your magic.
Tools Used
Step 6


1 × 3,0 mm Y-Type
3 × 1,0 mm Y-Type
1 × 3,6 mm Y-Type
Heads up, repair champion! The screws in your iPhone X have a bit of a personality – they come in different lengths. So keep an eye out for those little guys!
– Grab your Y-type screwdriver and unscrew those Y-type screws to remove the cover plate. You’ve got this!
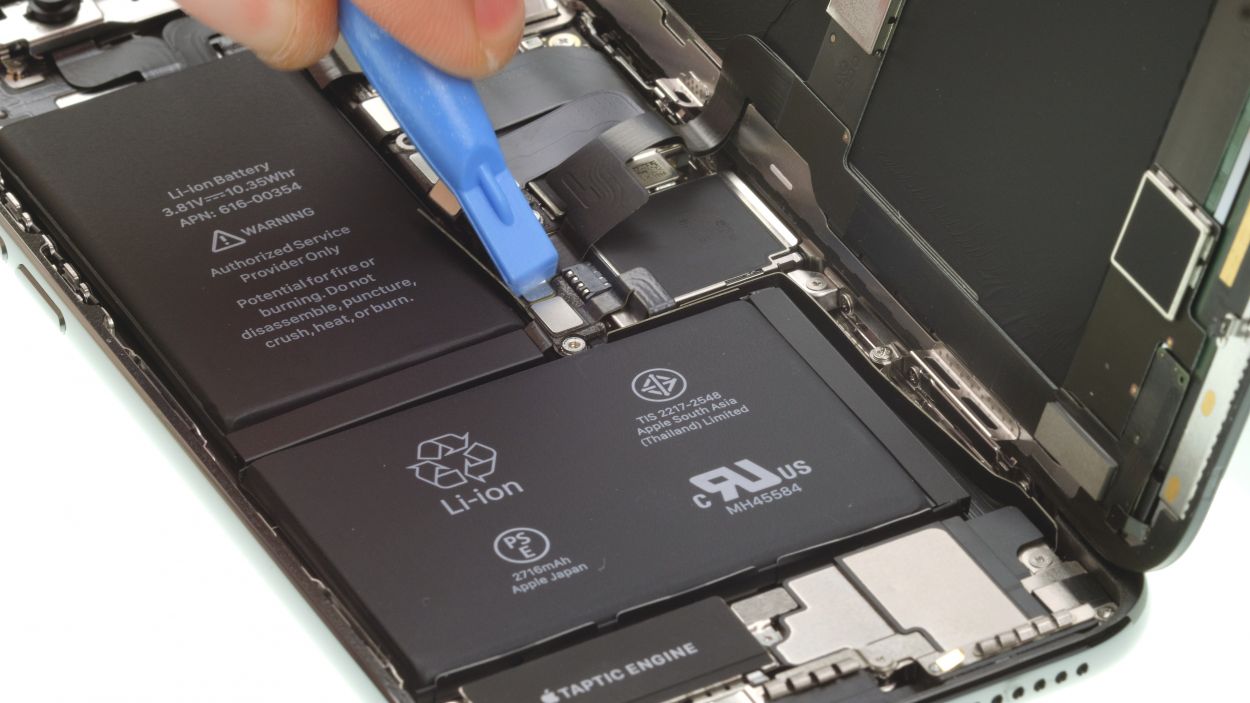
– Now, gently slide a flat plastic tool underneath the battery connector to disconnect it. A plastic spudger works wonders here!
Tools Used
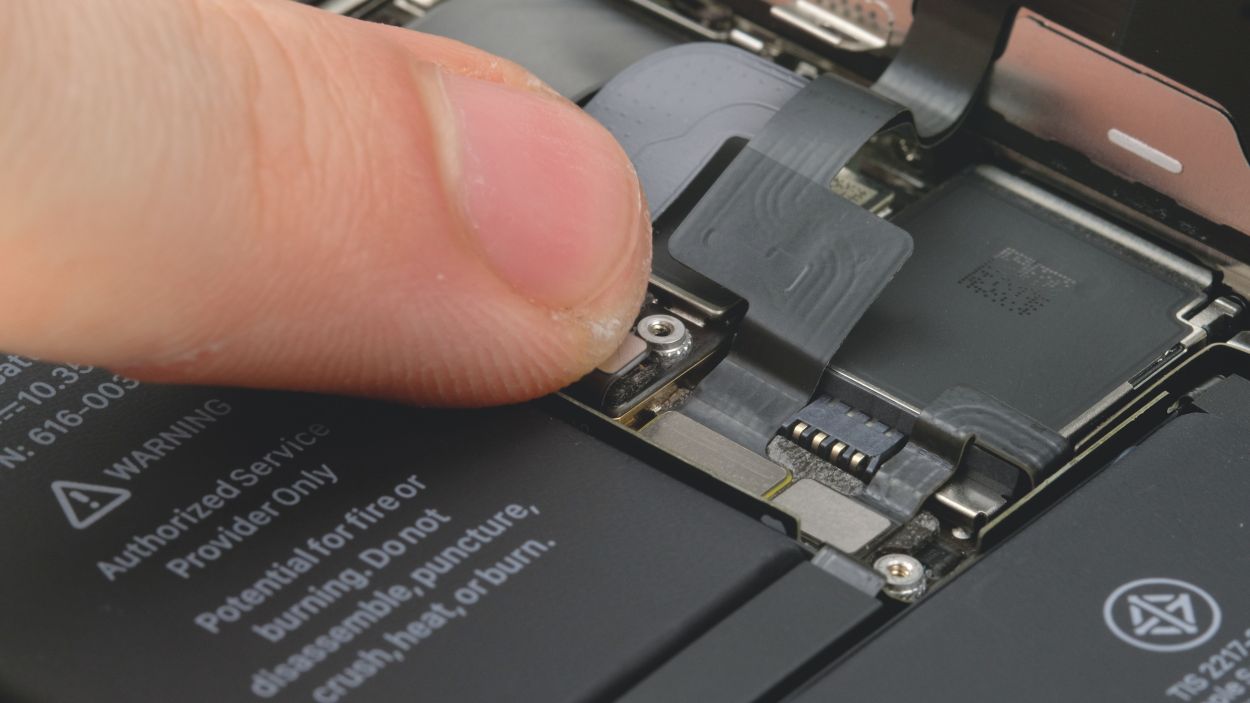
Step 7

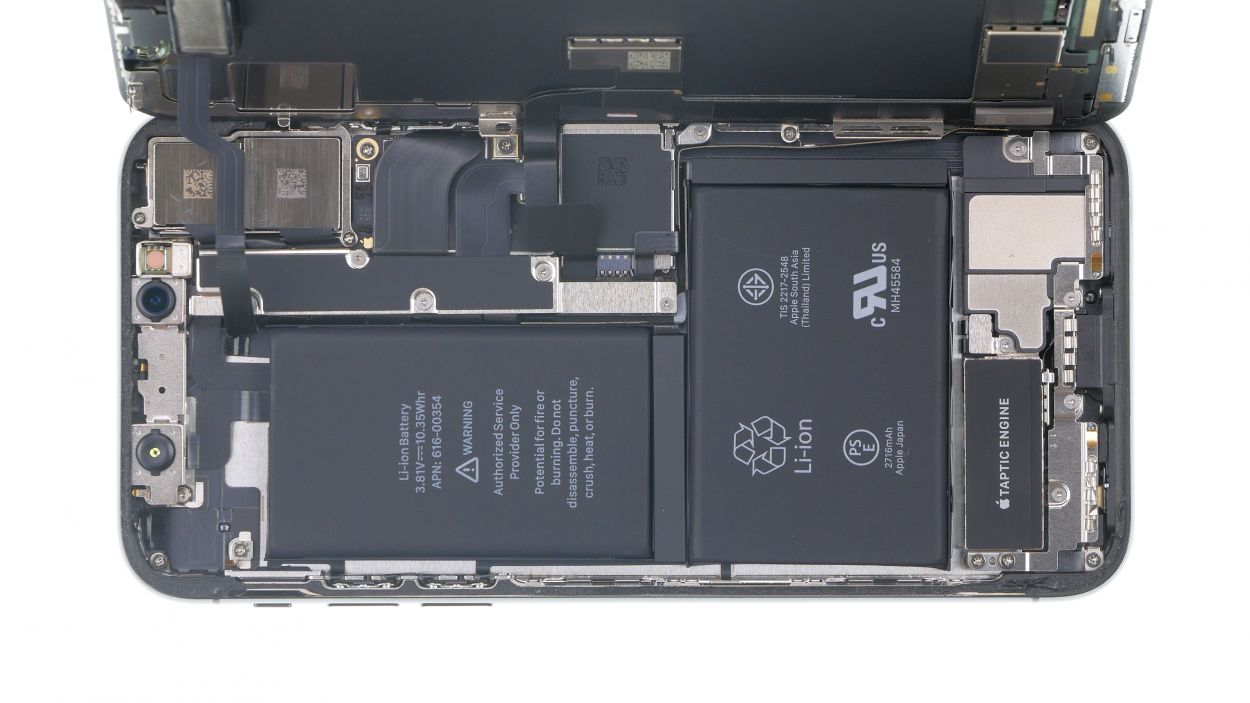
Display Connector
Earpiece Connector
Hey, repair rockstar! Just a friendly tip: when you’re disconnecting those connectors on the logic board, always approach from the side where the components aren’t hanging out. It’s like giving them some space – nobody likes a crowded party!
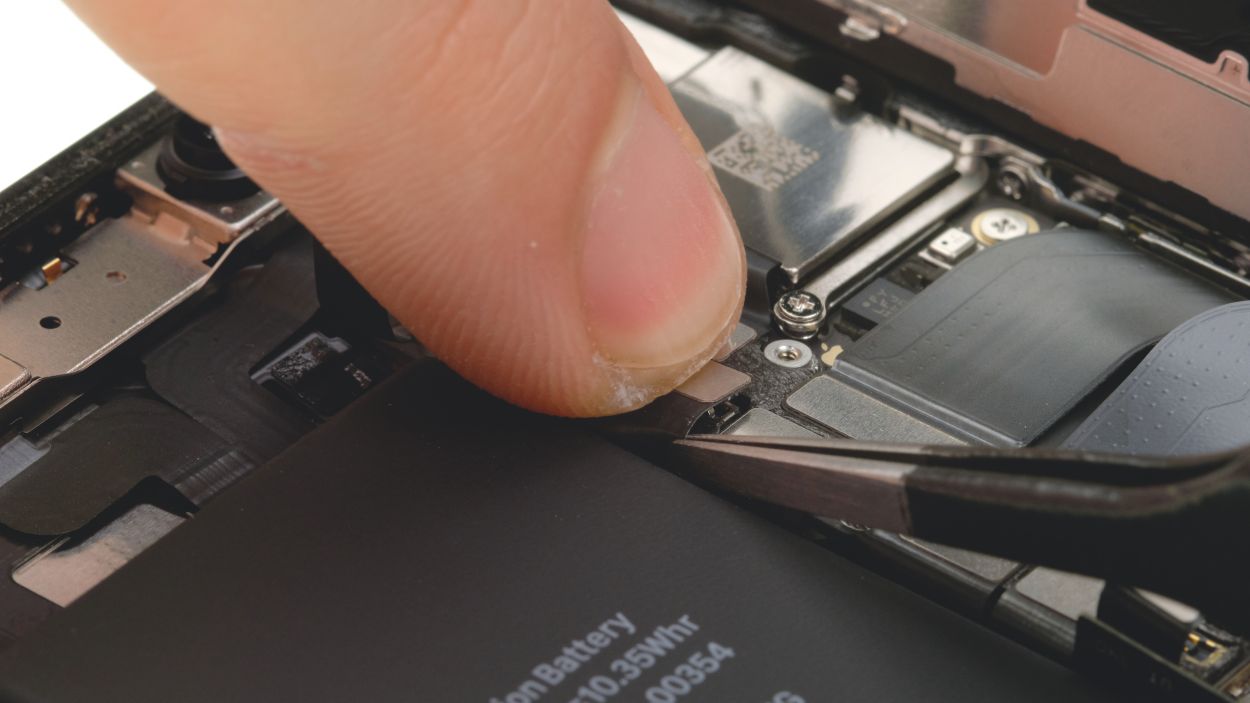
– Grab your trusty spudger and gently wiggle those connectors off the Logicboard, one at a time. Just a little heads up: the ear piece flex cable at the top of the display is a bit shy and might be glued down.
– Once all the connectors are free and feeling good, you can go ahead and lift that display right off. You’re doing awesome!
Tools Used
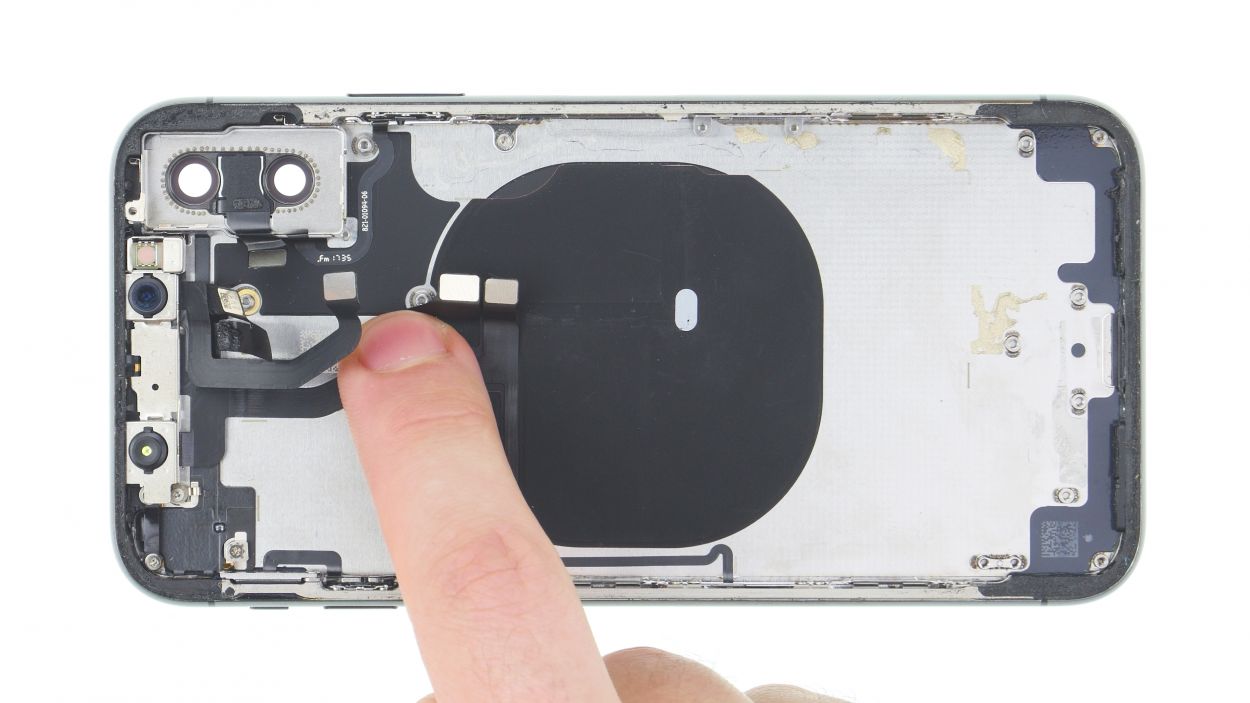
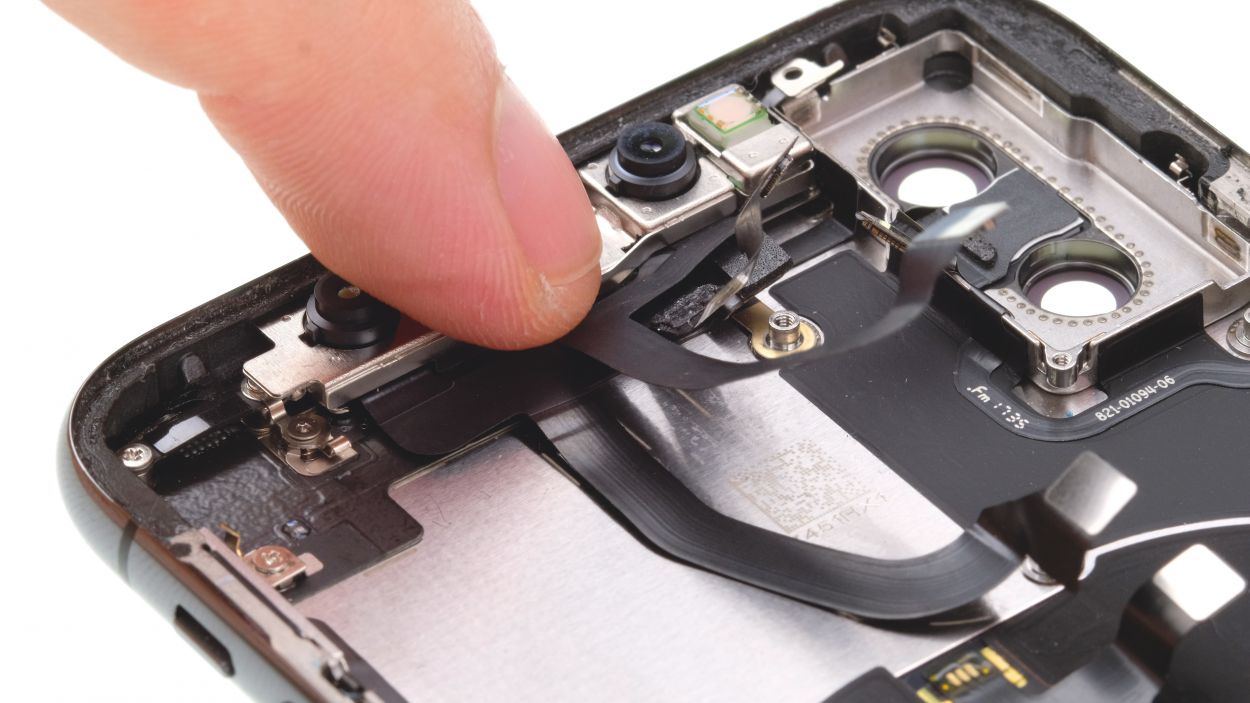
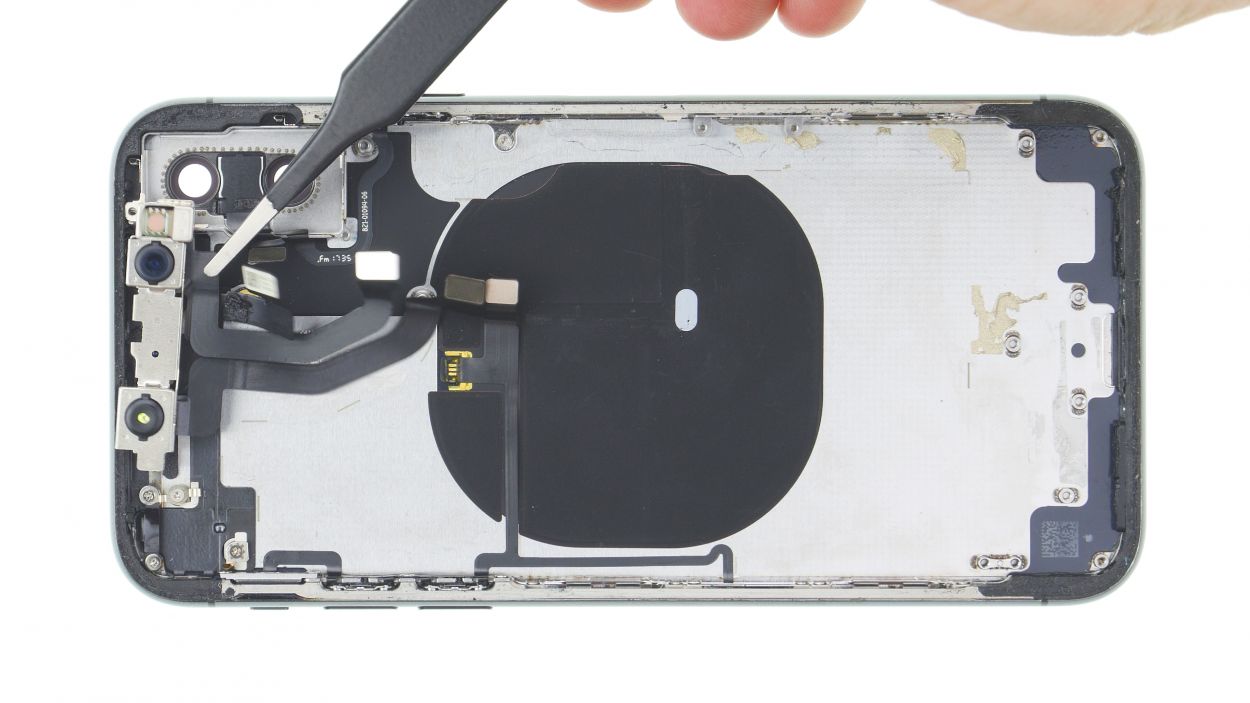
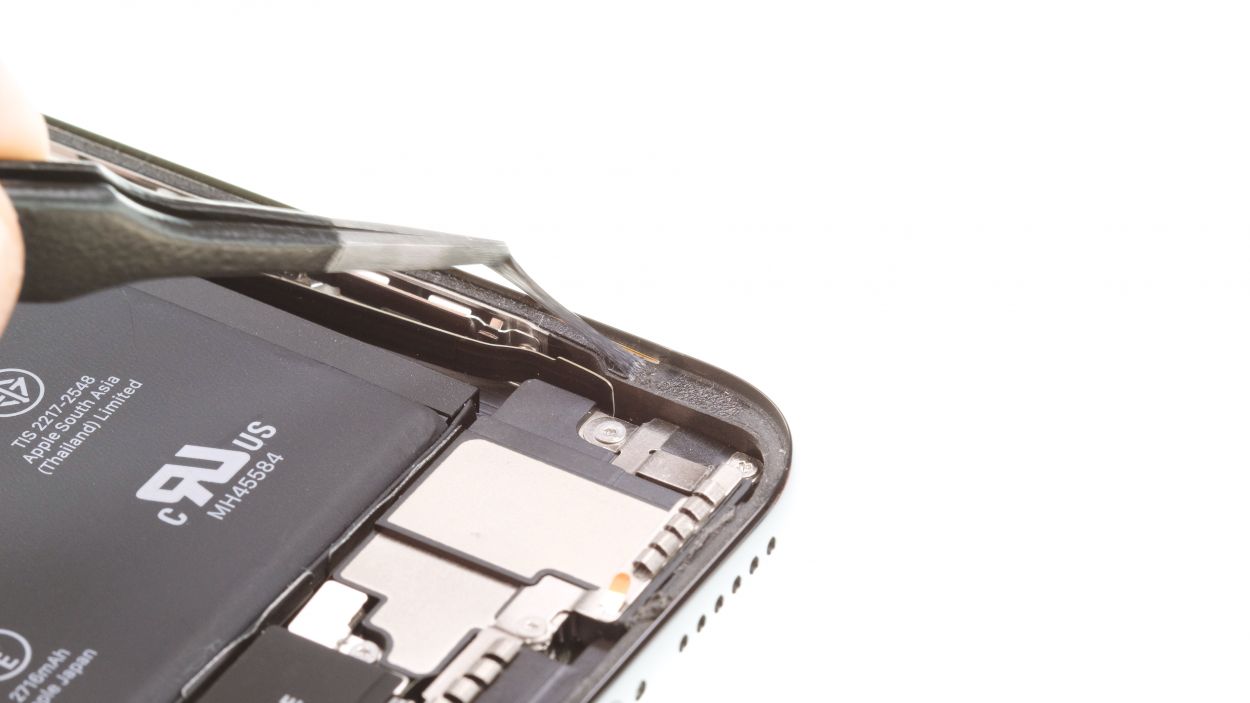
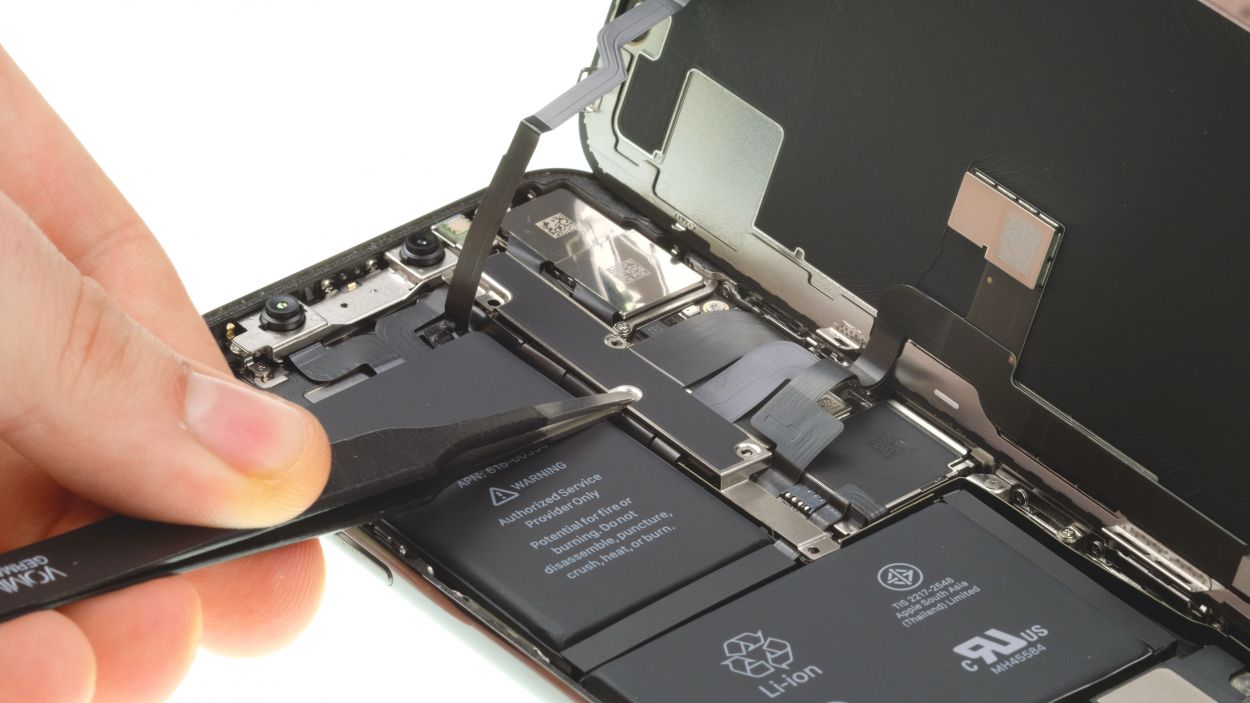
Step 8
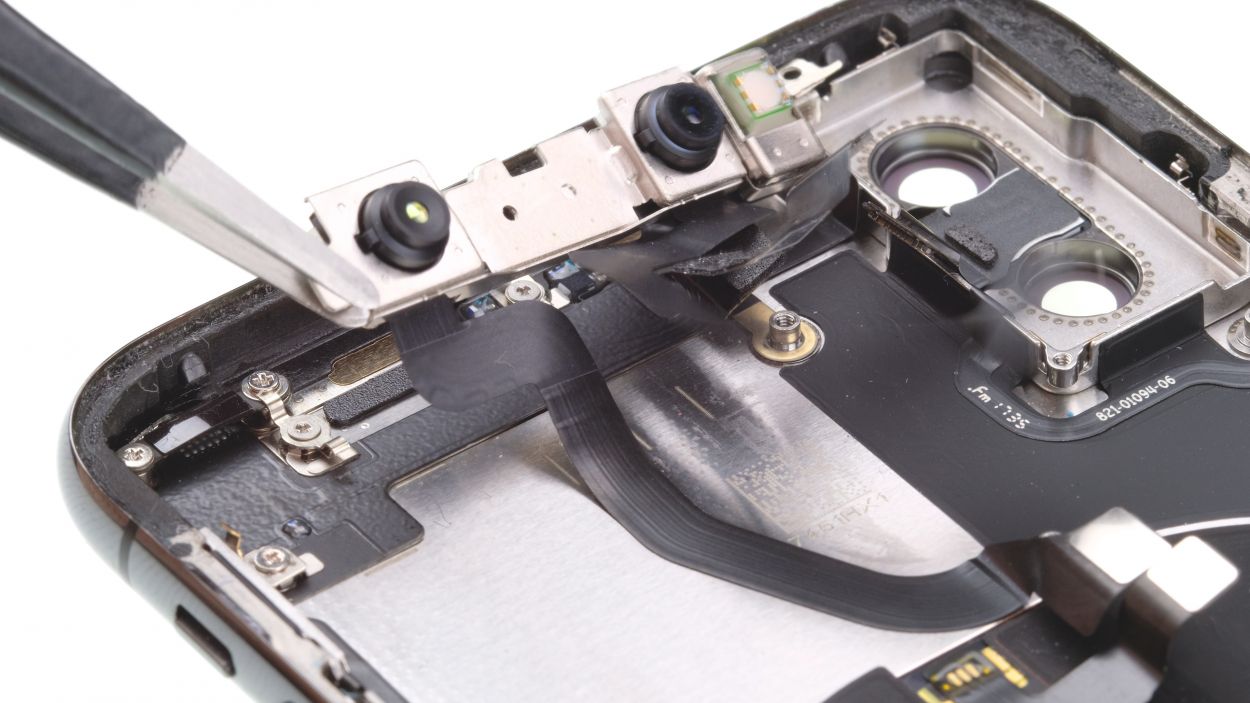
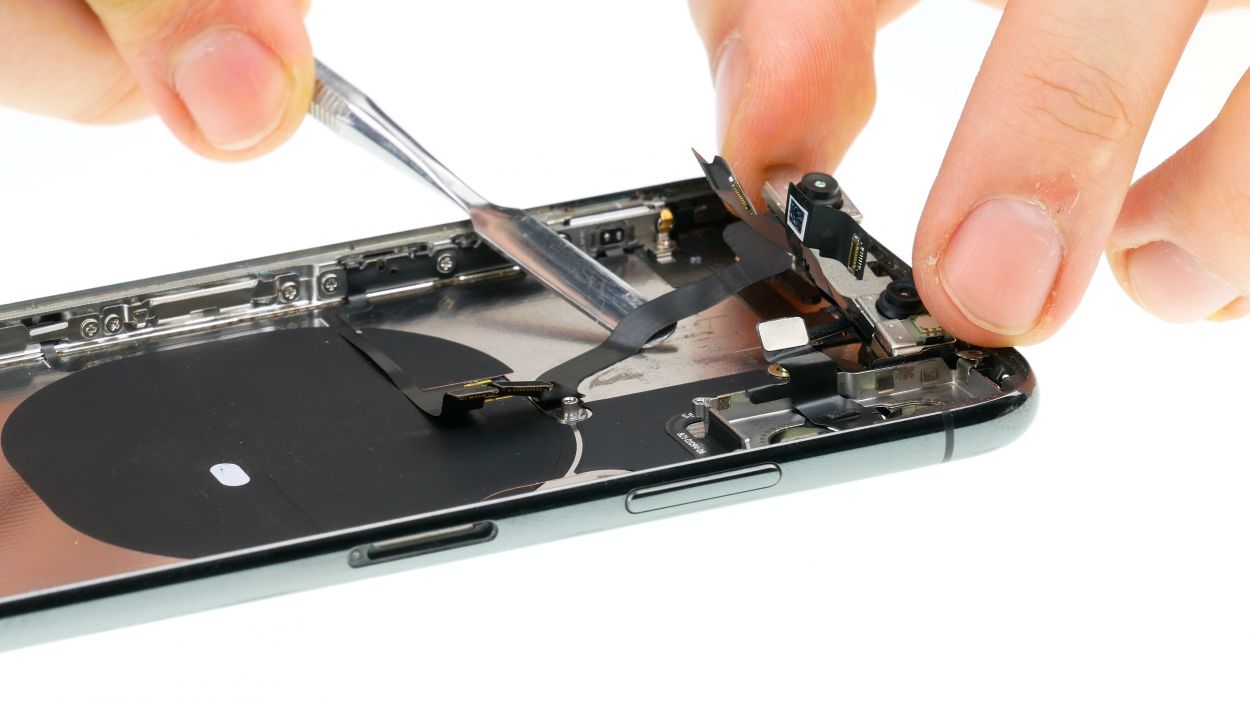
– Grab your trusty tweezers and gently unhook the TrueDepth camera and Face ID unit. You’re doing great!
– Now, warm up that glued flex cable just a bit and use a steel spatula to nudge it loose, little by little, until you can lift the whole unit out of your iPhone. You’re almost there!
Tools Used
- heat gun to heat parts that are glued on so they’re easier to remove.
In most cases, you can also use a hairdryer.” rel=”noopener”>Heat gun - Piergiacomi Tweezers 2a SA ESD
- Steel Laboratory Spatula
Step 9
– Nestle your shiny new camera unit back into its cozy spot in the iPhone X.
– Secure the unit on both sides, ensuring it fits snugly like a perfect puzzle piece.
– Gently press down the flex cables at the bottom of the back cover, giving them a warm welcome.
Tools Used
Step 10


– To make sure that your new adhesive frame fits like a glove, start by giving those stainless steel and display frames a good scrub to remove any leftover adhesive residue. We want a clean slate here!
– Next, align that adhesive frame just right, and when you’re ready, peel off the protective film from the bottom. You’re on the right track!
Hey there! Just a little heads-up: once you stick on that fresh adhesive strip, your iPhone gets a nice layer of protection against dust and splash water. But remember, it’s not quite ready for a swim – it’s not 100% waterproof!
Tools Used
Step 11


Display Connector
Earpiece Connector
Hey there, repair superstar! Just a little nudge: give that lower connector a gentle press with your spudger to ensure it’s snug as a bug. We want everything seated perfectly for a smooth ride ahead!
– To keep those delicate flex cables from getting all stretched out when you’re connecting the display, just set the display next to the frame of your iPhone X and give it a little lean against something sturdy.
– Now, gently press the three display connectors together until you hear that satisfying click. You’ve got this!
Tools Used
Step 12

1 × 3,0 mm Y-Type
3 × 1,0 mm Y-Type
1 × 3,6 mm Y-Type
– Reconnect that battery connector like a pro!
– Next, pop on the bracket plate and secure it with those Y-Type screws. You’ve got this!
Tools Used
Step 13

Before you seal the deal and glue everything in place, take a moment to give your iPhone a little test drive! Check out the display and all those nifty functions to make sure everything’s working smoothly. You got this!
Step 14
2 × 6.8 mm Pentalobe
– Tighten those two pentalobe screws flanking the Lightning connector like a champ! Let’s keep everything snug and secure.
Tools Used