iPhone Xs Rear Camera Replacement Guide: Step-by-Step Tutorial
Duration: 30 min.
Steps: 12 Steps
Ready to tackle that pesky rear camera on your iPhone Xs? This guide will walk you through replacing it like a pro! If your camera is playing hard to get—think blurry pictures or a stubborn focus—it’s time for some DIY magic. But before you get started, make sure to back up your data and zap away any static by touching something metallic, like a radiator. Let’s get your camera back in action!
Step 1


– First things first, let’s power down your iPhone completely to keep it safe during the repair. Just press and hold the Standby button along with one of the volume buttons for three seconds until you see that lovely ‘Power off’ slider pop up.
– Now, give that slider a gentle swipe from left to right. Your iPhone will take a moment to shut down entirely, which should take about ten seconds. You’re on your way to making it better!
Step 2
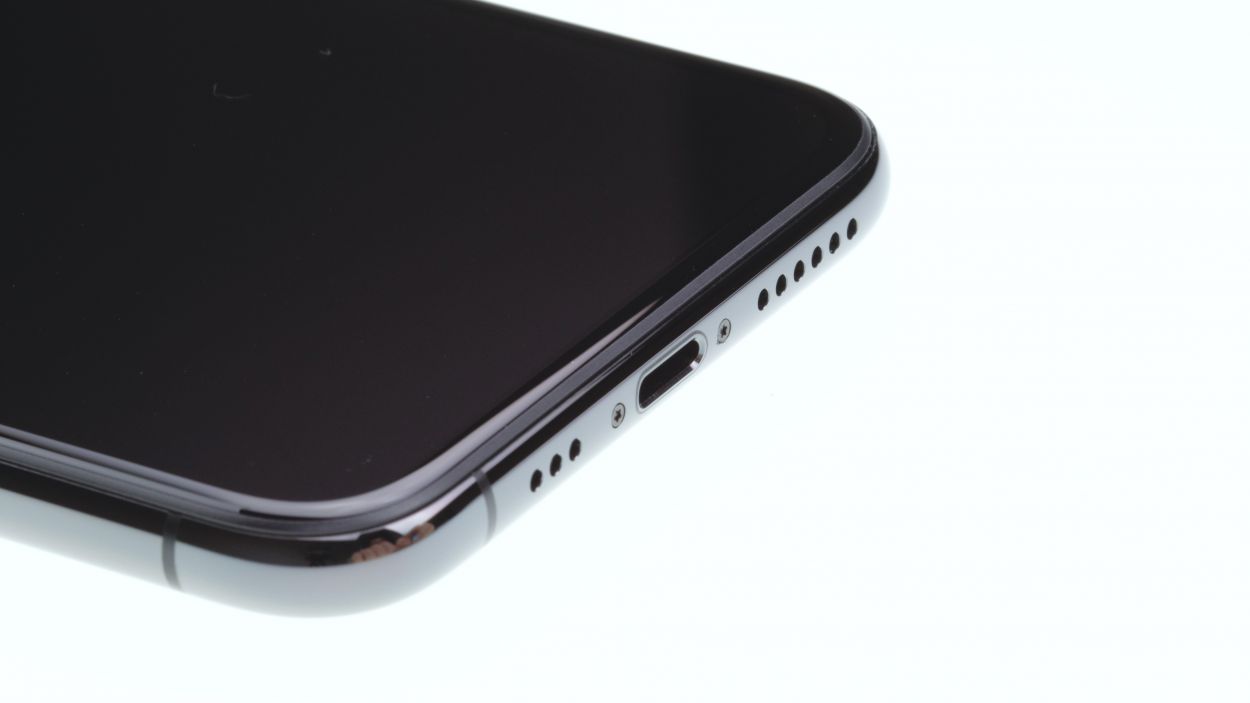
2 × 6,8 mm Pentalobe
Once you pop open your iPhone Xs, its dust and splash protection (IP 68 rating) will take a little vacation—so handle with care!
– Time to tackle those two sneaky pentalobe screws hiding at the bottom edge of the back cover! They’re cozy right next to the Lightning connector, just waiting for you to pop them out. Don’t forget to stash those little guys in the same box on your magnetic pad so they don’t go on an adventure without you!
– Now, gently place your iPhone Xs on a soft, clean surface. We want to keep that back looking pristine, so no scratches allowed!
Step 3

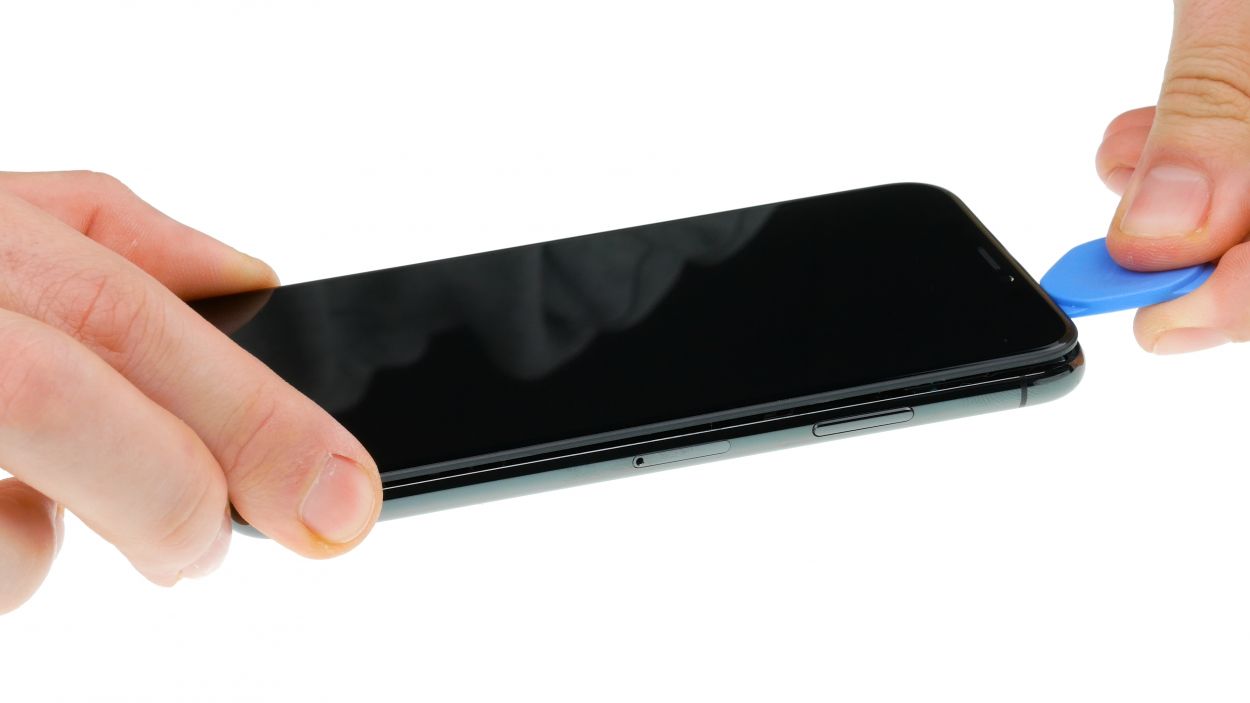

Keep your tool’s adventure in check—don’t go deeper than 5 mm into that gap! We want to keep those tiny iPhone parts safe and sound.
If you’re struggling to slide a plectrum into that sneaky gap, no worries! Grab an iFlex instead. Just make sure to switch back to a hard plastic plectrum as soon as you can to keep that frame scratch-free!
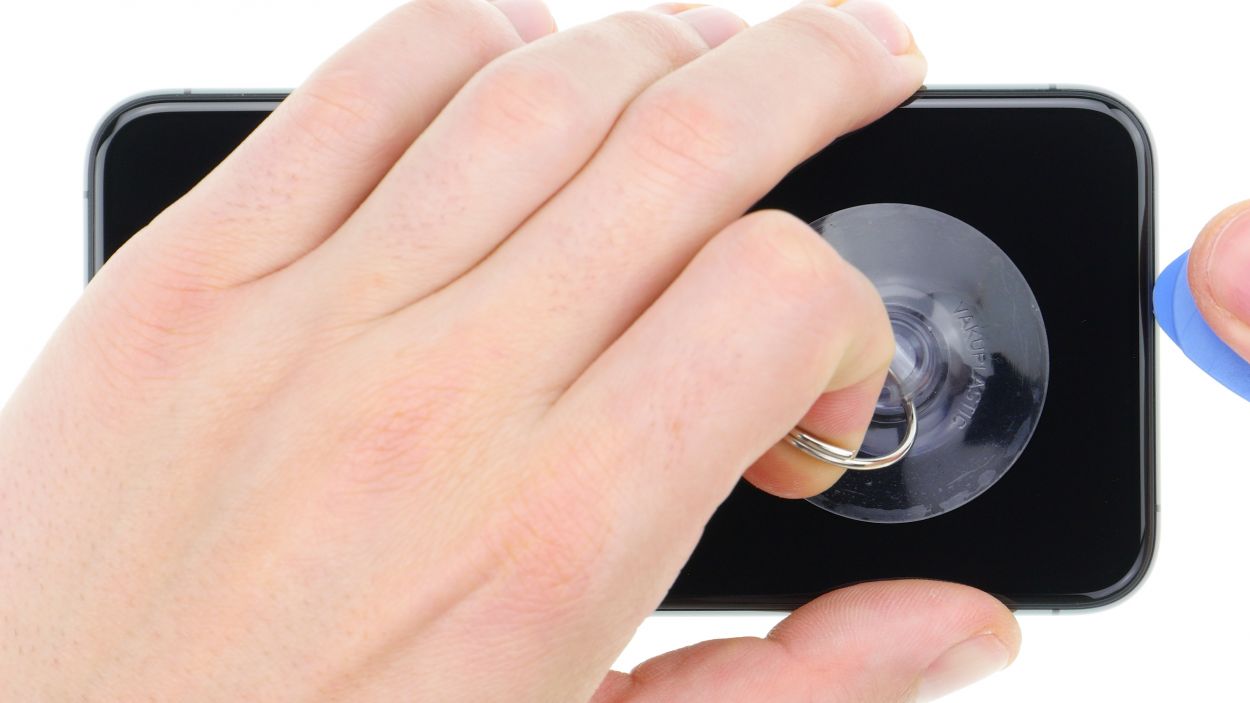
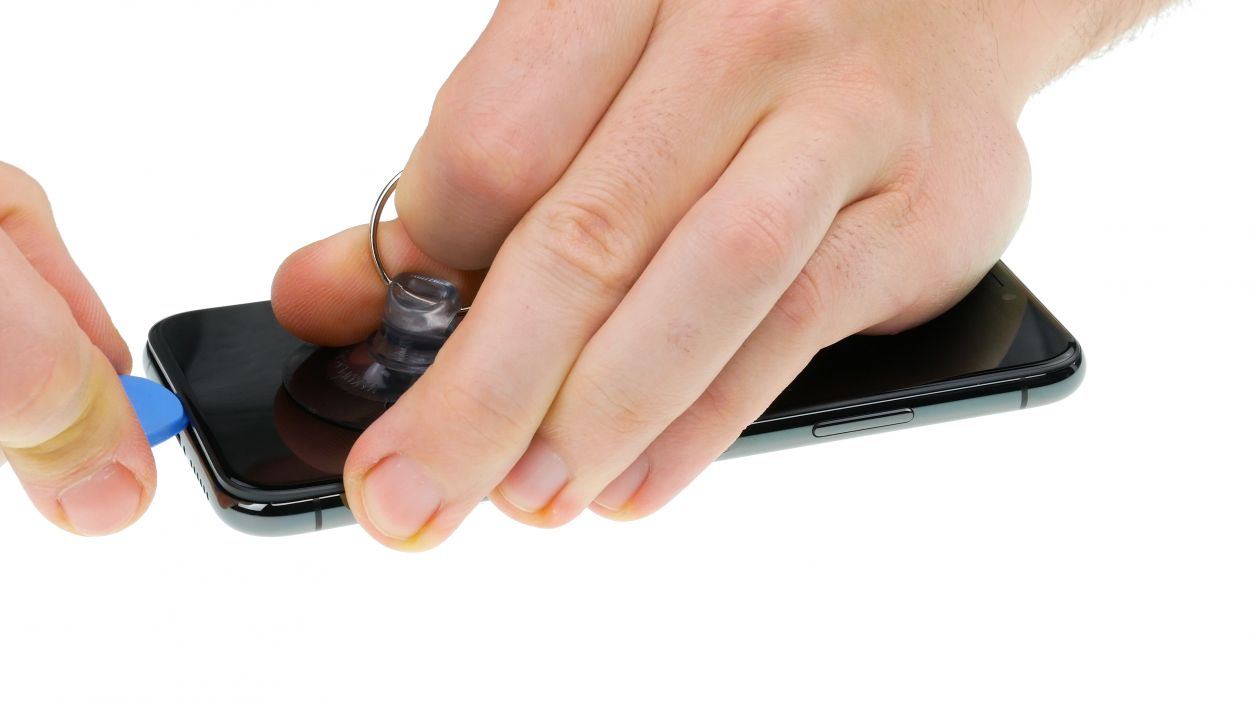
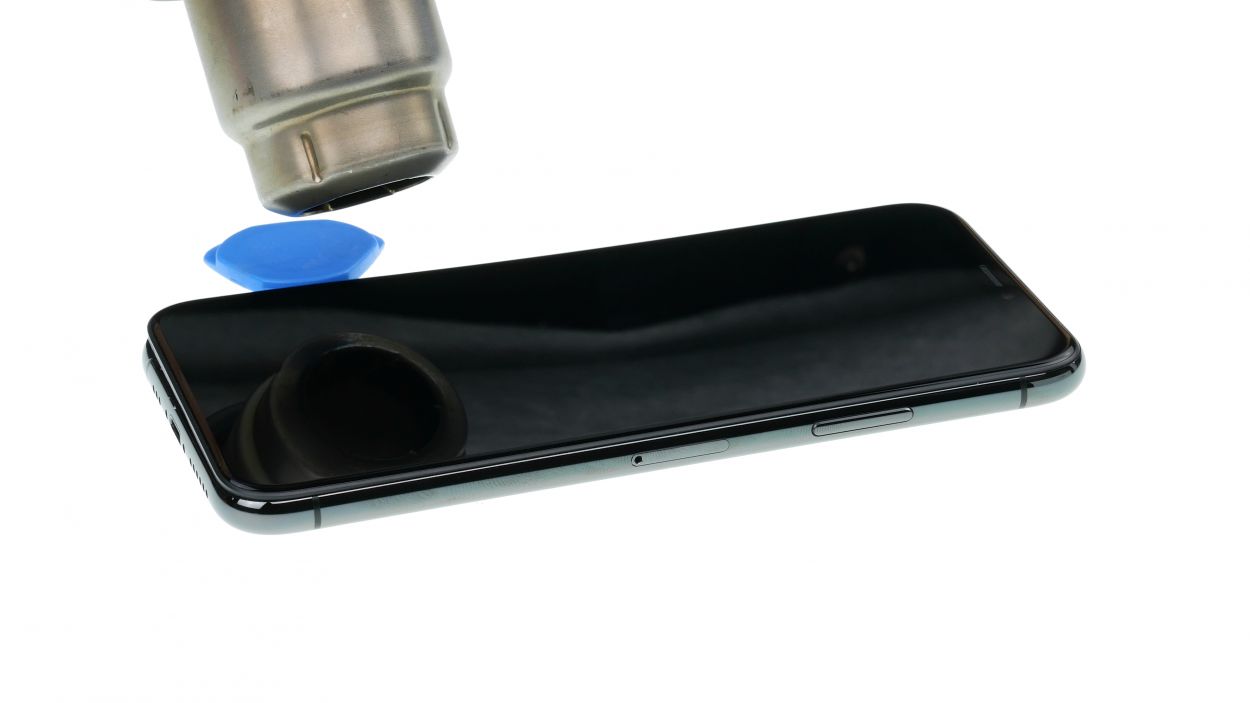
– Alright, let’s get that front panel up! Grab your trusty suction cup, a hard plastic pick, and a heat gun. If your screen looks like it just survived a battle, don’t forget to cover it with packing tape before proceeding.
– The screen is glued to the frame, so let’s give it some love! Use your heat gun to warm up the outer edges of the display to about 60°C (140°F).
– Now, place that suction cup right over the Home button (if you can) or just beside it. While you lift the screen with the suction cup, slide the hard plastic pick between the steel frame and the display frame, and gently press down on the steel frame. You got this!
Step 4


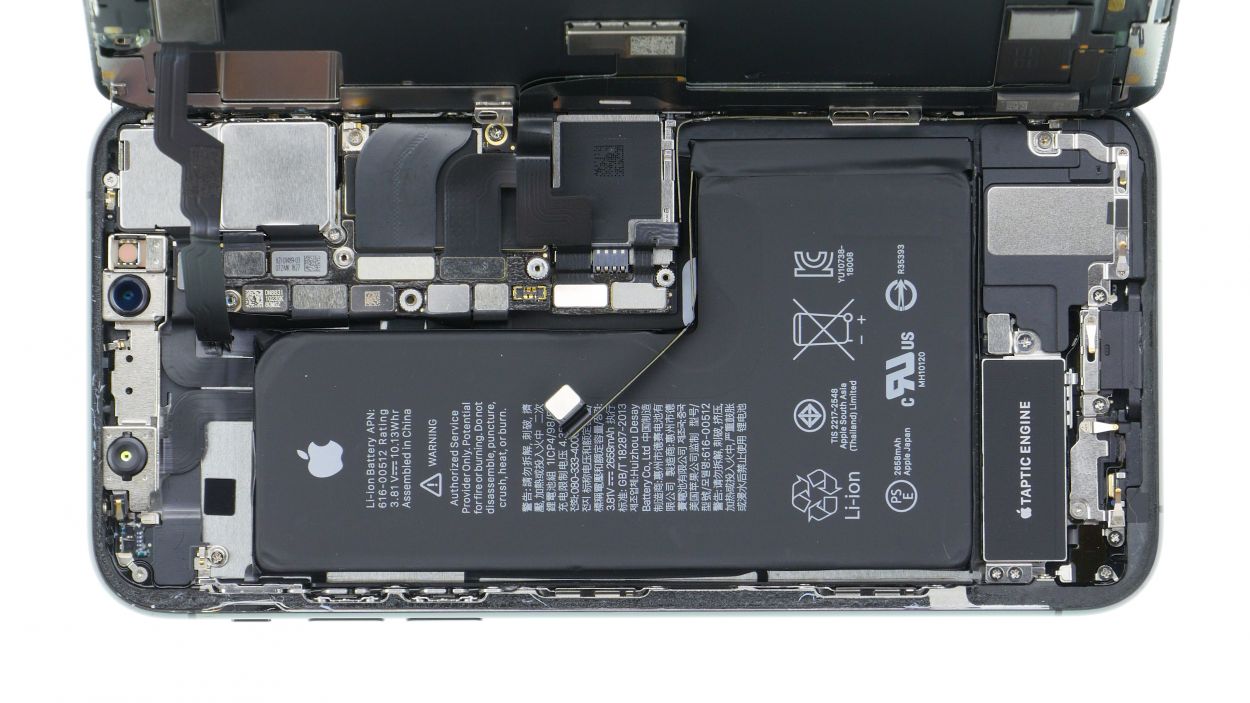
– Grab your Y-Type and Phillips screwdrivers (Y000/PH00) and let’s get those screws out! Once they’re gone, gently lift off the bracket plate. Don’t forget to keep everything organized by placing all the parts in the same box on your magnetic pad.
– Now, with a steady hand, use a spudger to carefully pry off the battery contact. Just slide it under the connector and lift. You’ve got this!
1 × 1,2 mm Y-Type
3 × 1,0 mm Y-Type
1 × 3,7 mm Phillips
Battery Connector
Before you dive into the repair, let’s disconnect that battery contact! It’s like putting up a ‘Do Not Disturb’ sign to prevent any short circuits and to keep your device from accidentally powering on during your repair adventure.
Apple rolled out Y-Type screws with the iPhone 7, and they sometimes get mistaken for Tri-Point or Tri-Wing screws. Be sure to grab the right Y-Type screwdriver to avoid stripping those screw heads—nobody wants that! Let’s keep it smooth and easy!
Step 5
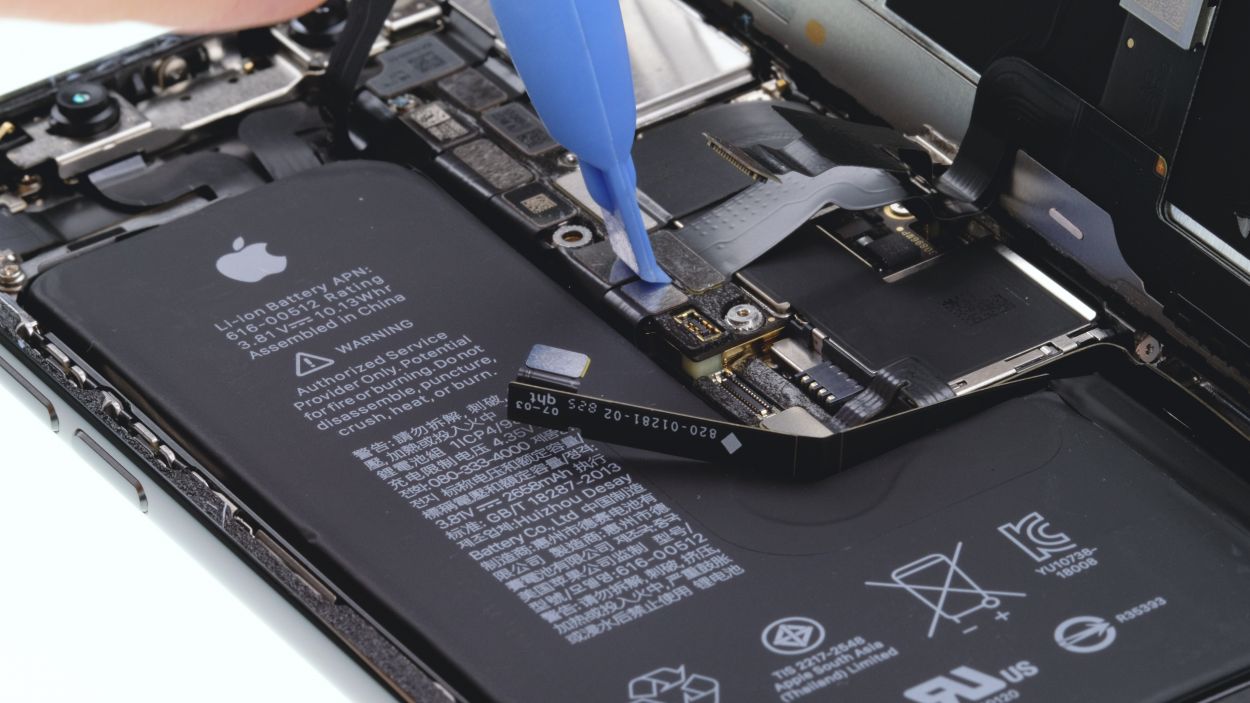

Display Connector
Earpiece connector
When you’re using the spudger to pop off those connectors, channel your inner ninja! Be gentle and precise to avoid any mishaps—let’s keep everything in one piece!
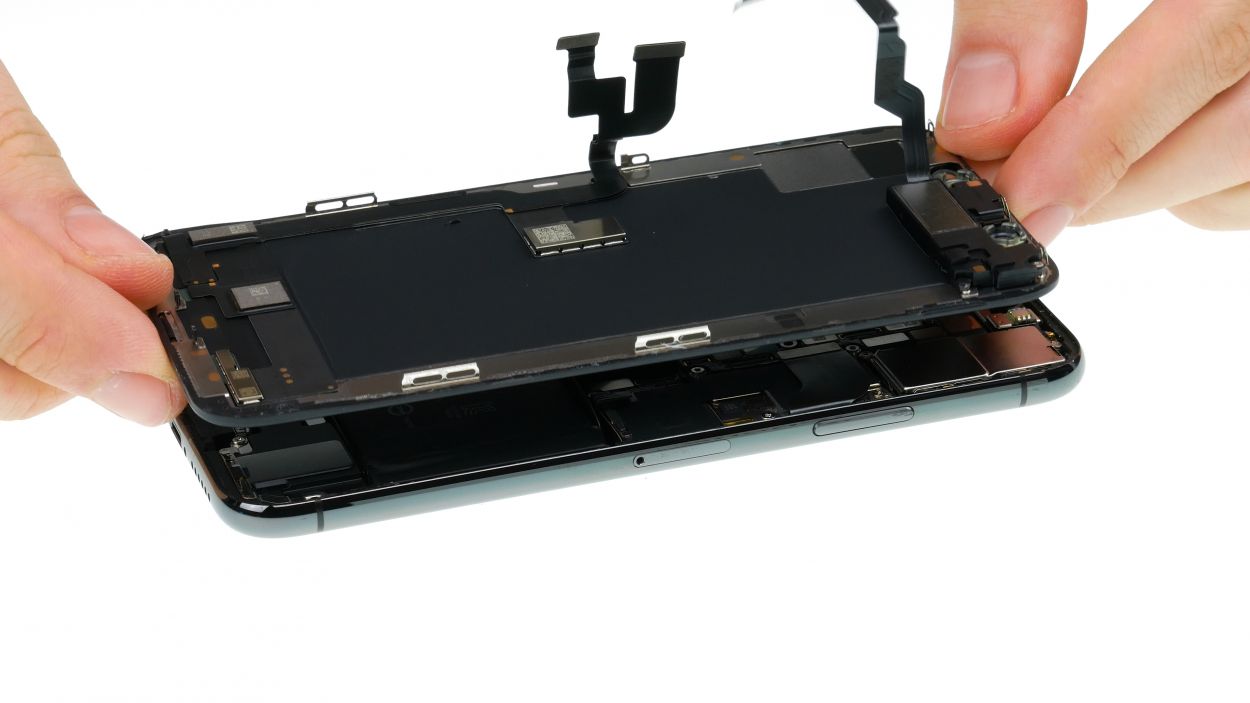
– Alright, let’s get that display unit sorted! It’s held in place by three flexible cables, so no worries, we got this!
– Grab your spudger and gently work your magic to separate the connectors for the display and the earpiece, one at a time. Take your time, you’re doing great!
– Now, the earpiece flex cable might be feeling a bit clingy, as it’s still slightly glued to the cable underneath. Just give it a gentle tug to loosen it up. If it’s being stubborn, a little hot air can do the trick to help you out!
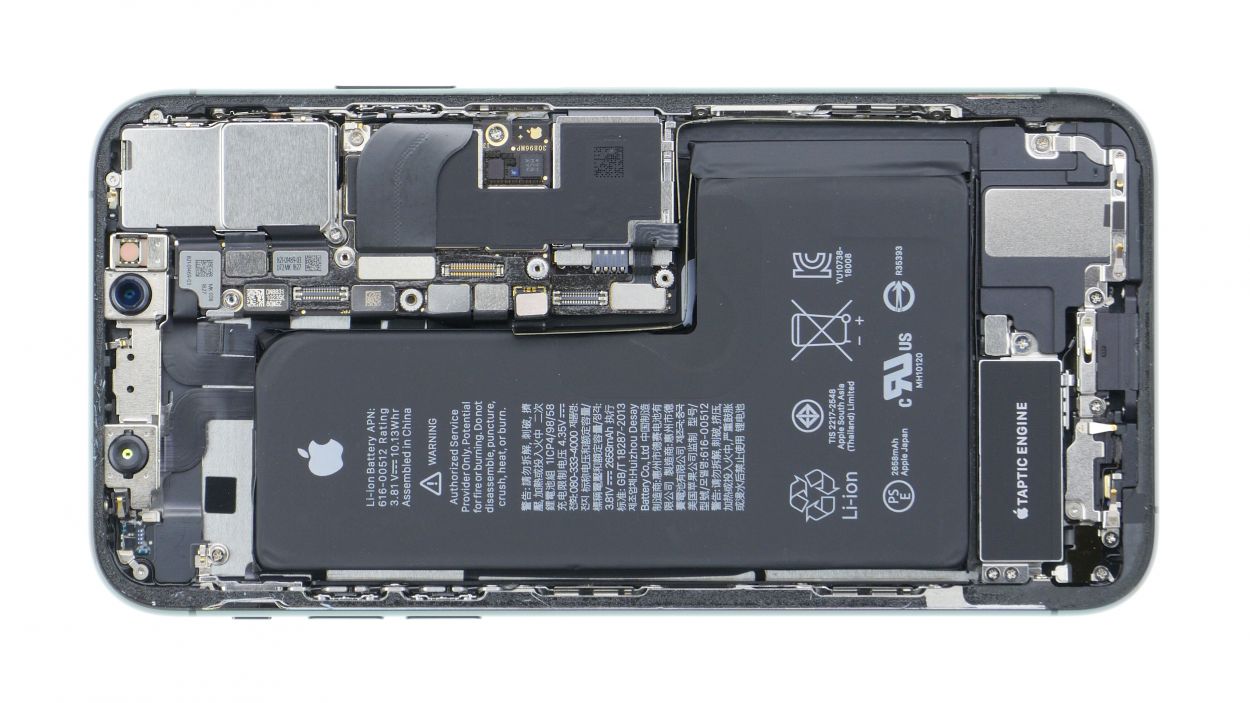
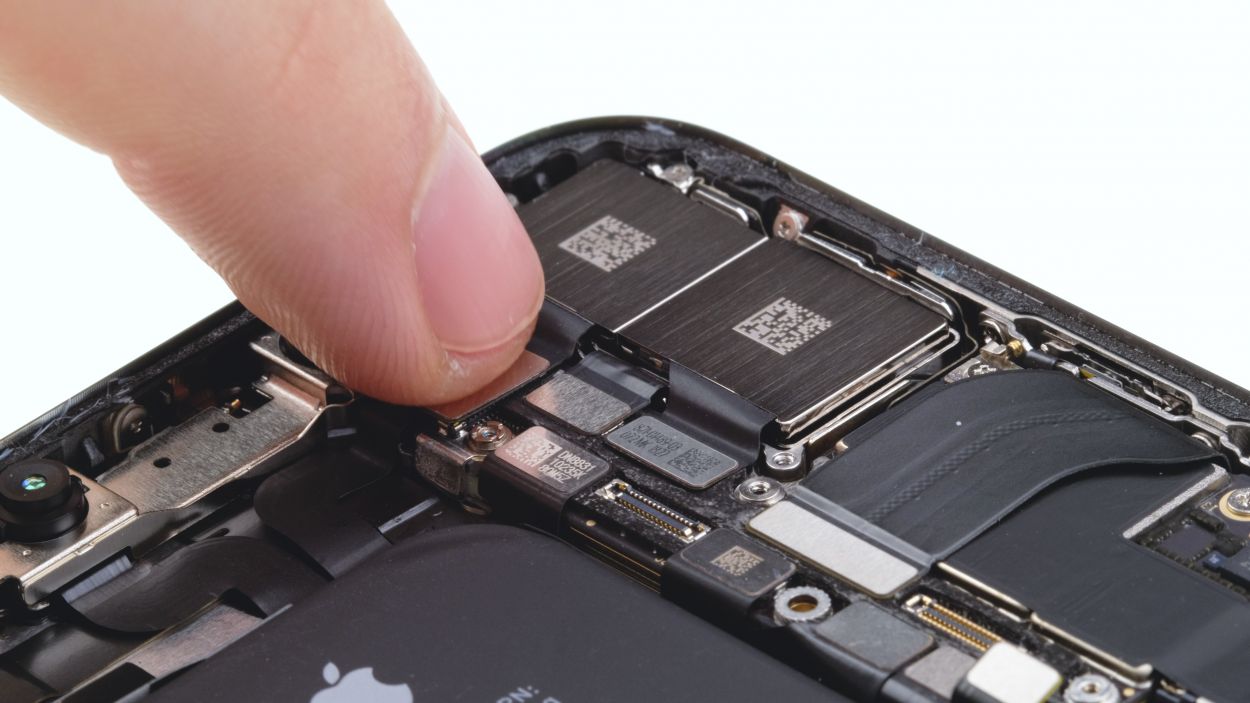
Step 6

1 × 1,3 mm Y-Type
1 × 1,8 mm Phillips
Camera Connector
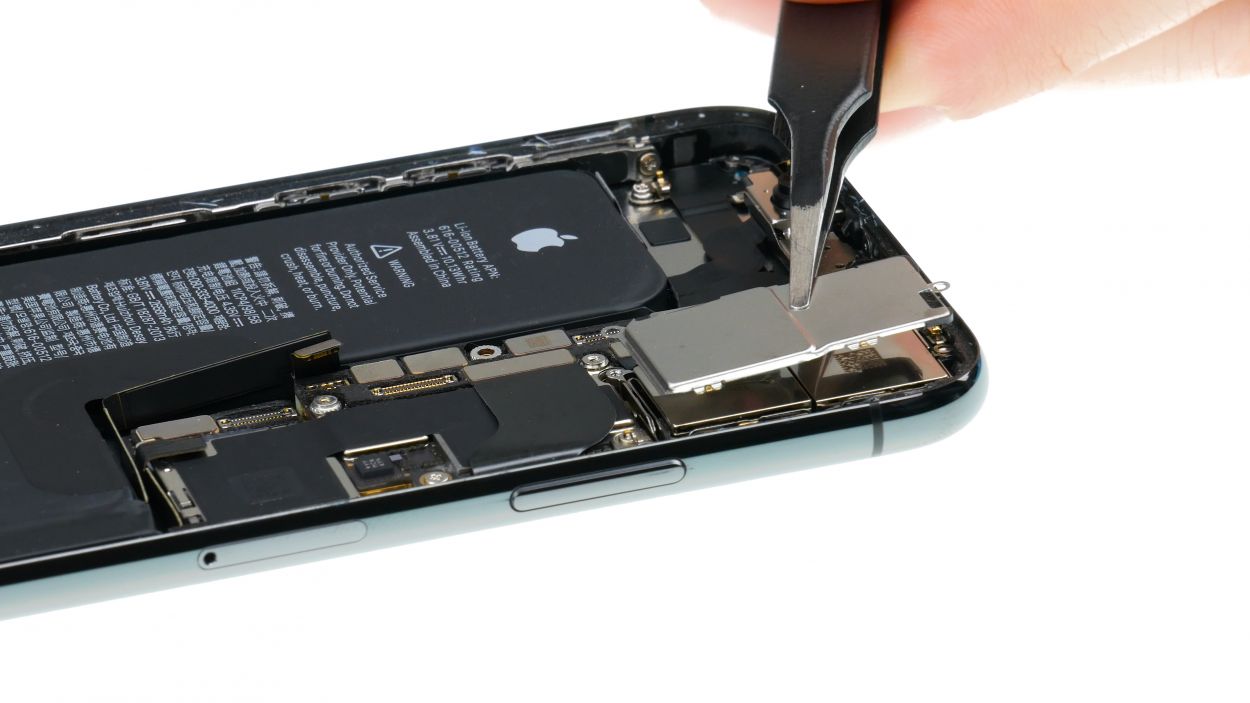
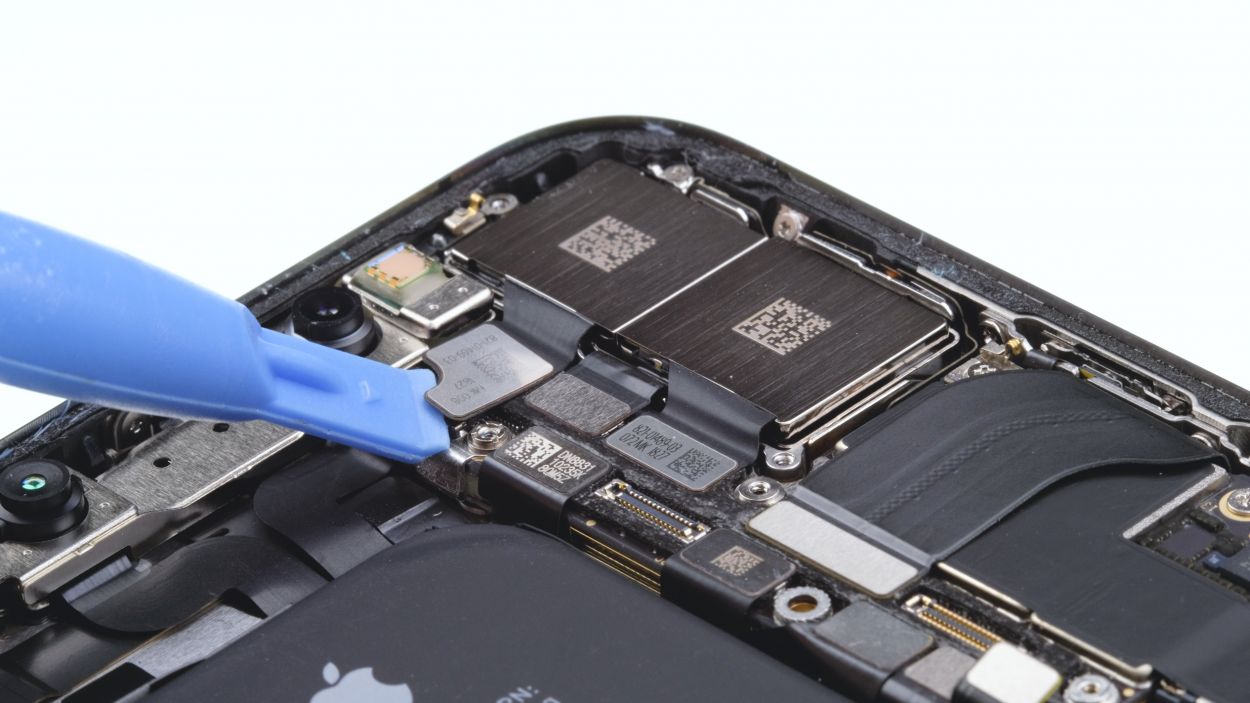
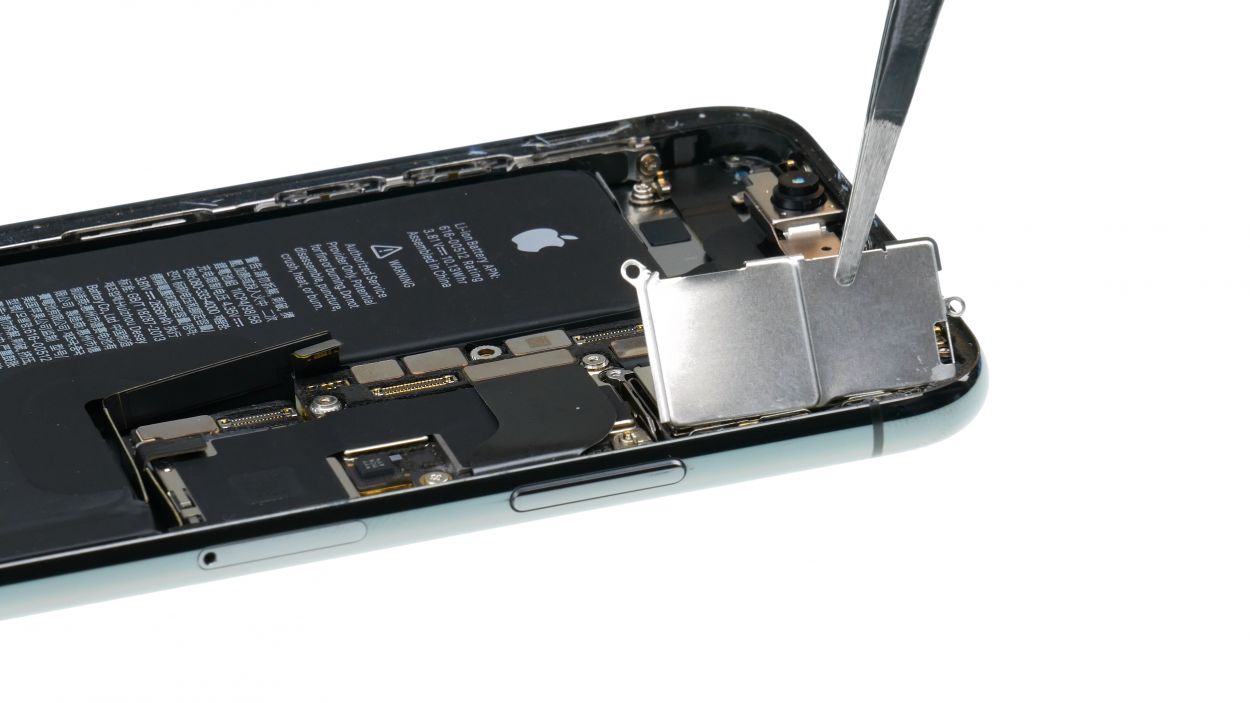
– First, let’s loosen those two screws that are keeping the iSight camera cover plate all snug and secure.
– Next up, gently lift and remove that cover plate. It’s just hanging out there, hooked on the side of the standby button.
– Now, grab your trusty spudger and carefully separate the two connectors of the double camera. Just a little leverage and be cautious not to harm the pins on the logic board.
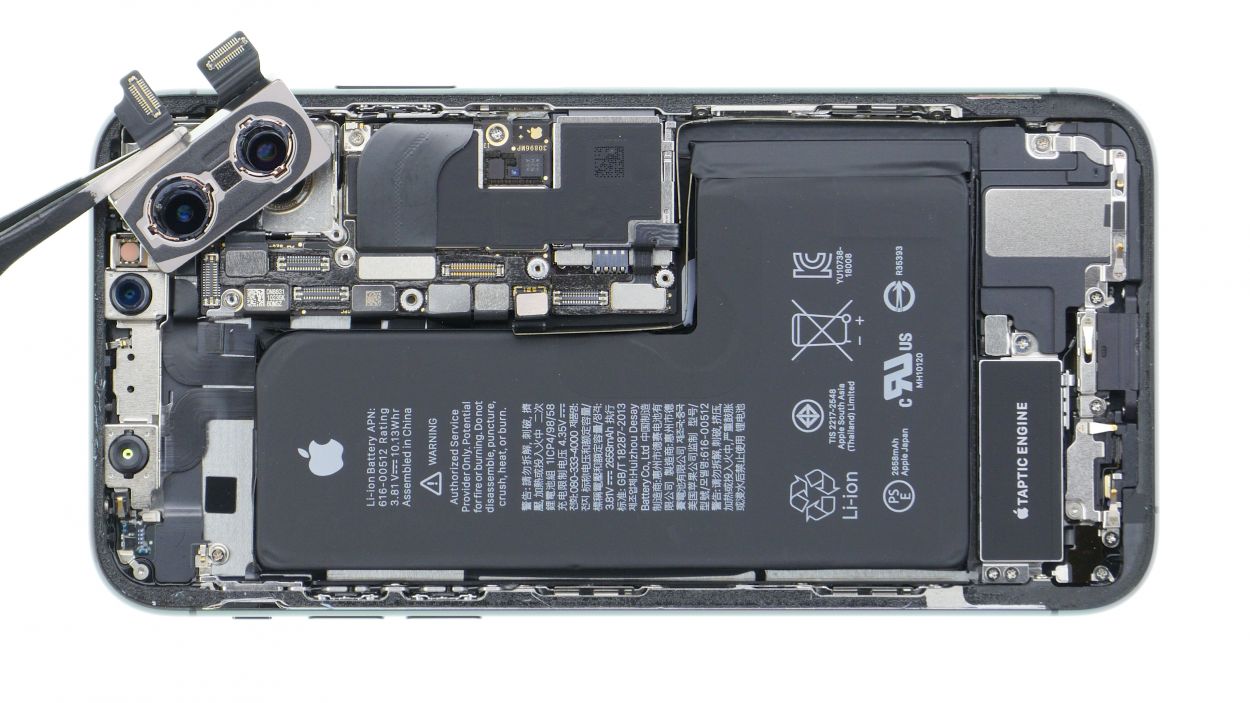
– Finally, use the spudger to lever out the camera and say goodbye to the old one!
Step 7
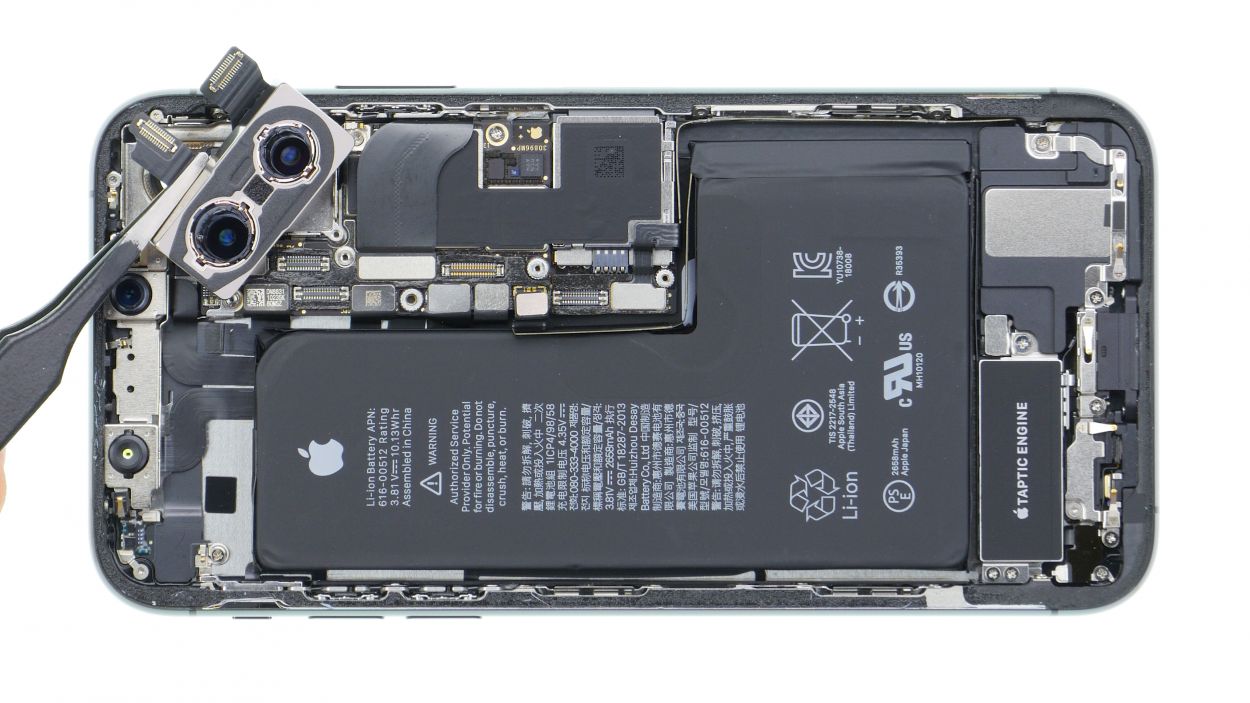
Camera Connector
1 × 1,3 mm Y-Type
1 × 1,8 mm Phillips
Keep those camera lenses and the inside of the camera cover squeaky clean—no dust bunnies or fingerprints allowed! It’s all about making sure your shots are as clear as can be. Let’s get it shining!
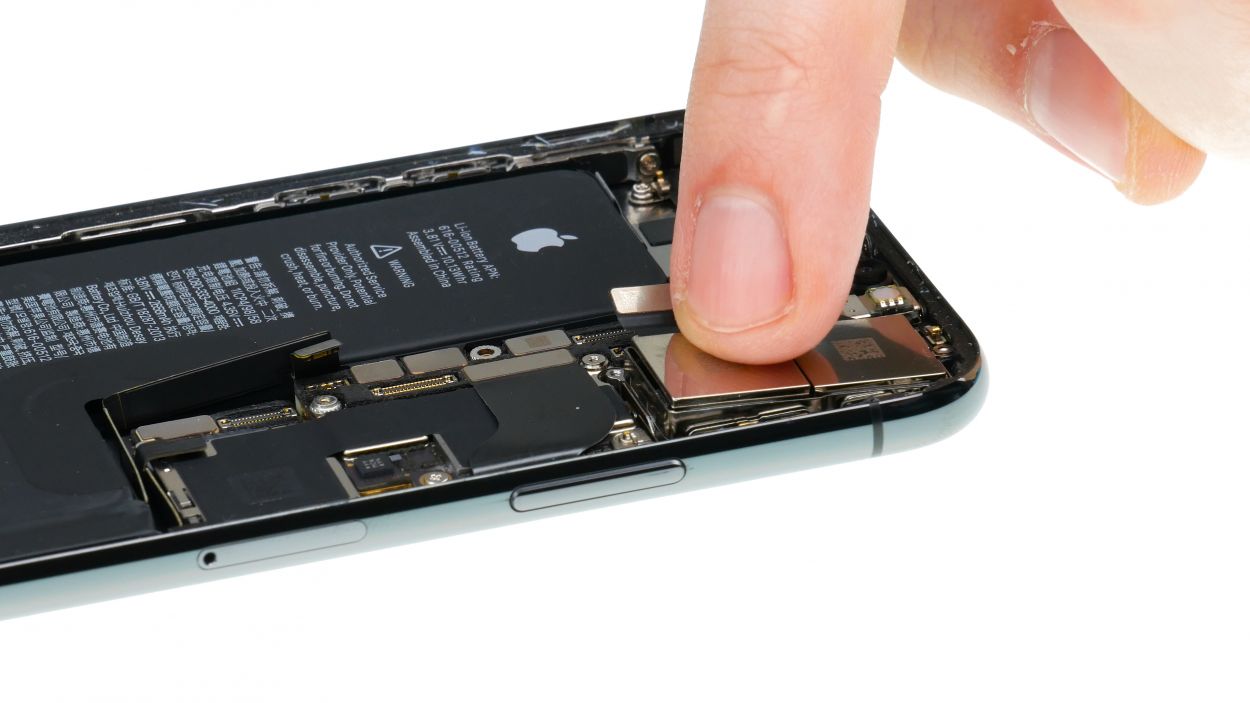
– Time to slide that iSight camera back into its cozy spot and give it a gentle press down!
– Connect those two camera connectors—let’s make sure they’re snug!
– Position that bracket plate just right. It should hook into the side of the standby button like a pro!
– Now, grab those two screws and secure the bracket plate in place. You’re almost there!
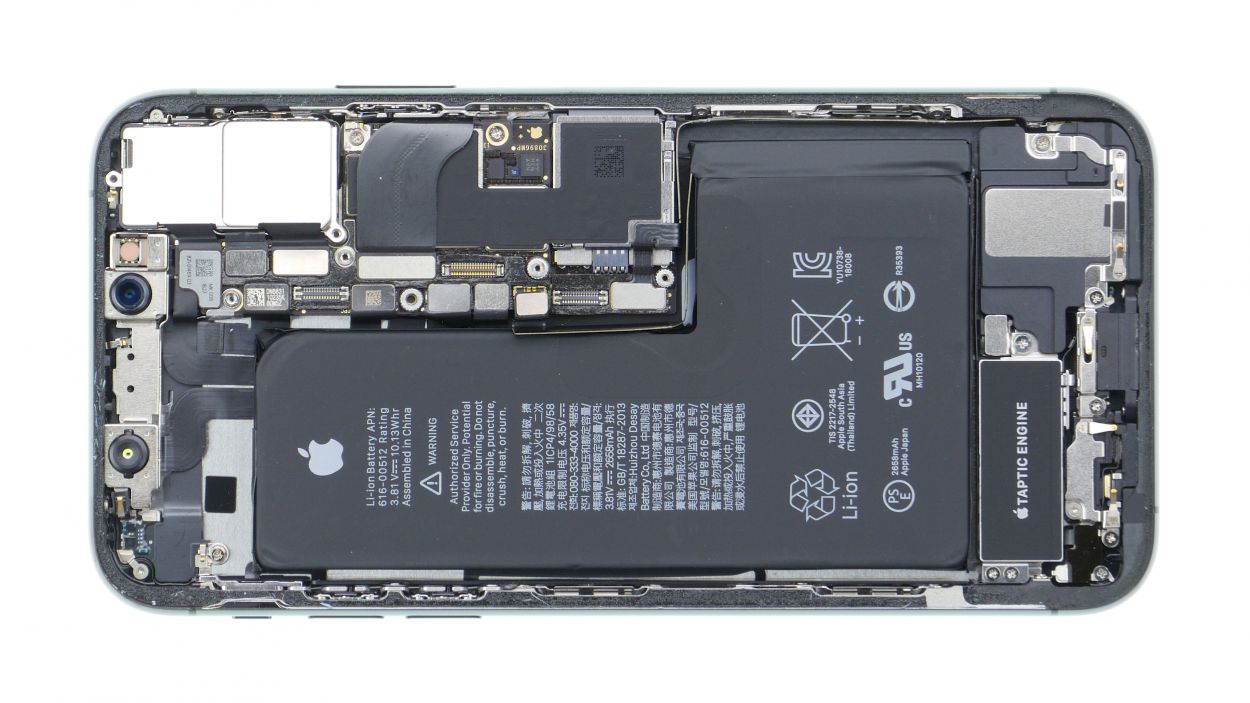
Step 8

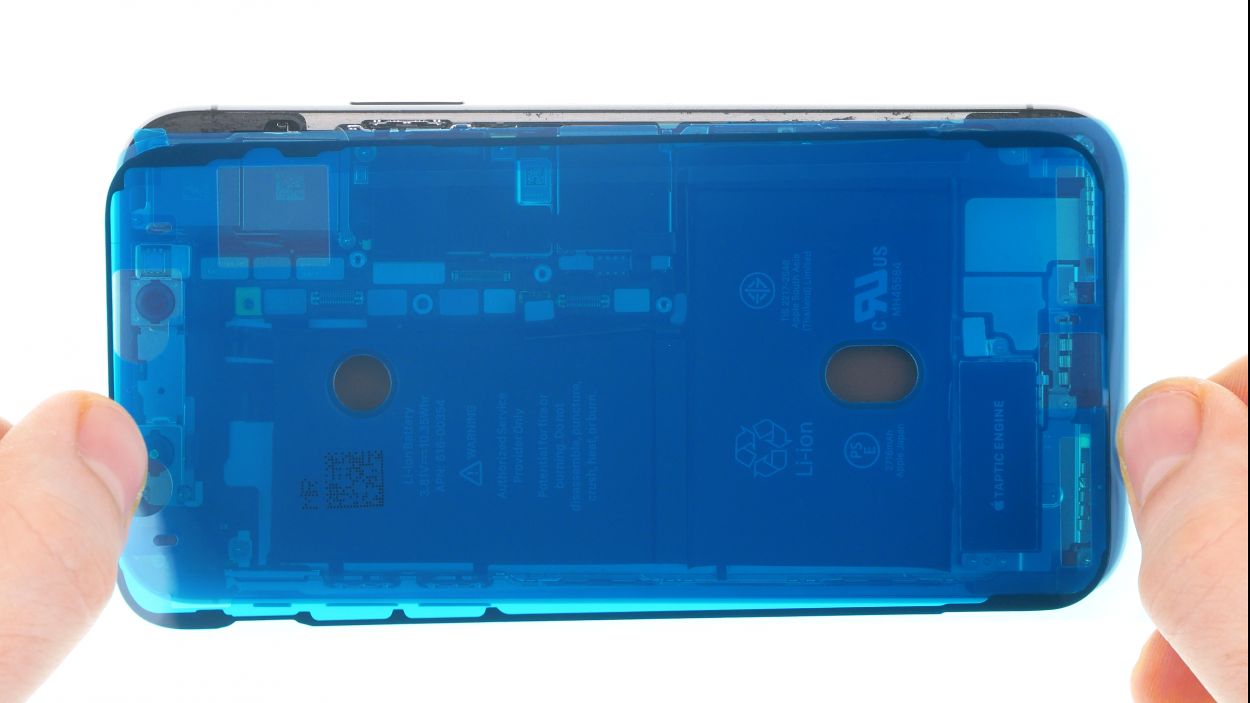
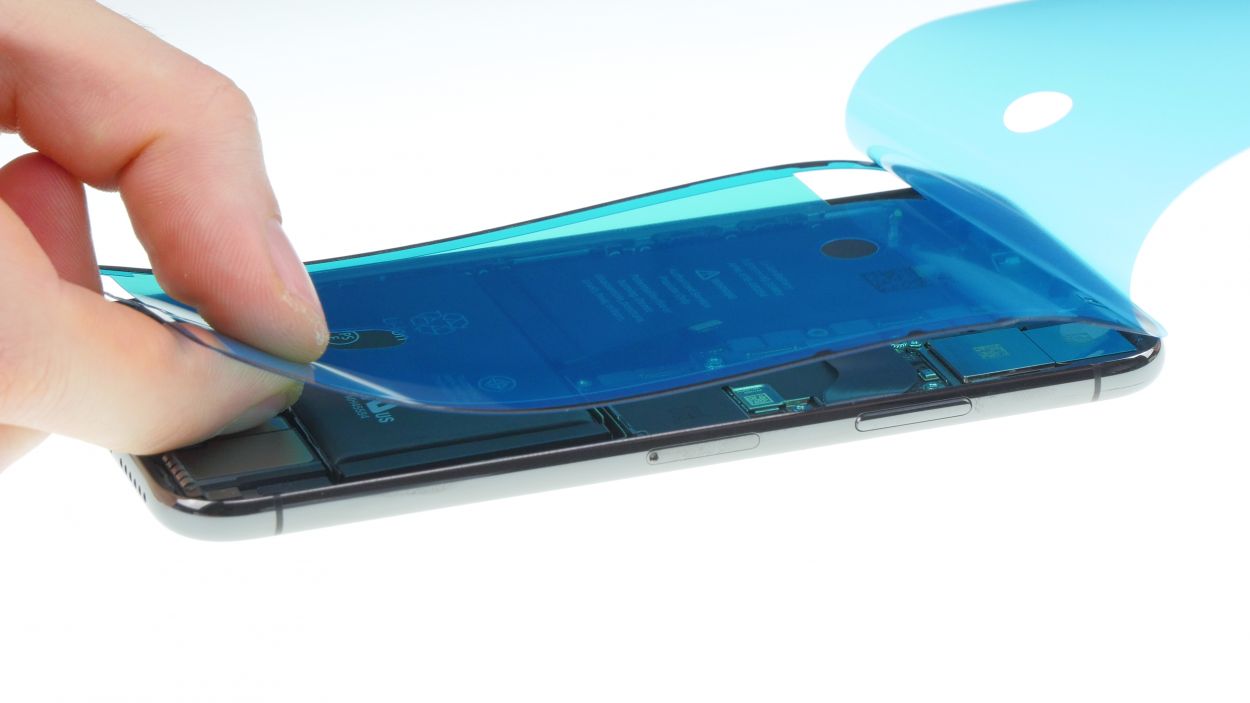
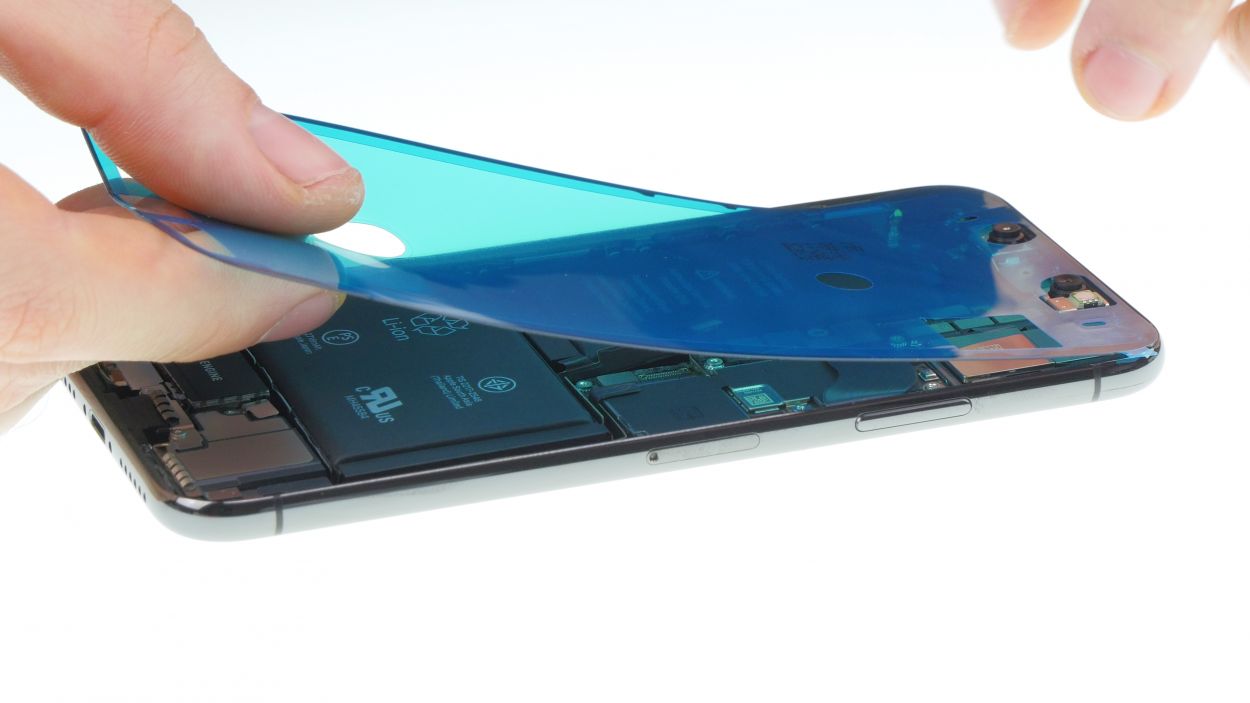


Your iPhone will be sporting a frame sticker for some nifty dust and splash resistance, but let’s be real—it’s not going to win any waterproof awards!
Check it out! The iPhone X is featured in these pics, and guess what? The iPhone Xs is pretty much its twin—same build, same gluing magic. You’re in for a fun ride!
– First off, let’s ensure that the new frame sticker can really bond with your device! Start by cleaning up any old glue residue and dirt from that metal frame—no one likes a messy workspace!
– Next, peel off the first protective layer of the frame sticker. It’s like unwrapping a present, but way cooler!
– Now, carefully position that frame sticker on one edge of the frame and attach it little by little. Make sure it’s sitting just right and press it down firmly. If you need a little extra help, grab that