iPhone Xs Replace Back Cover: DIY Guide
Duration: 120 min.
Steps: 44 Steps
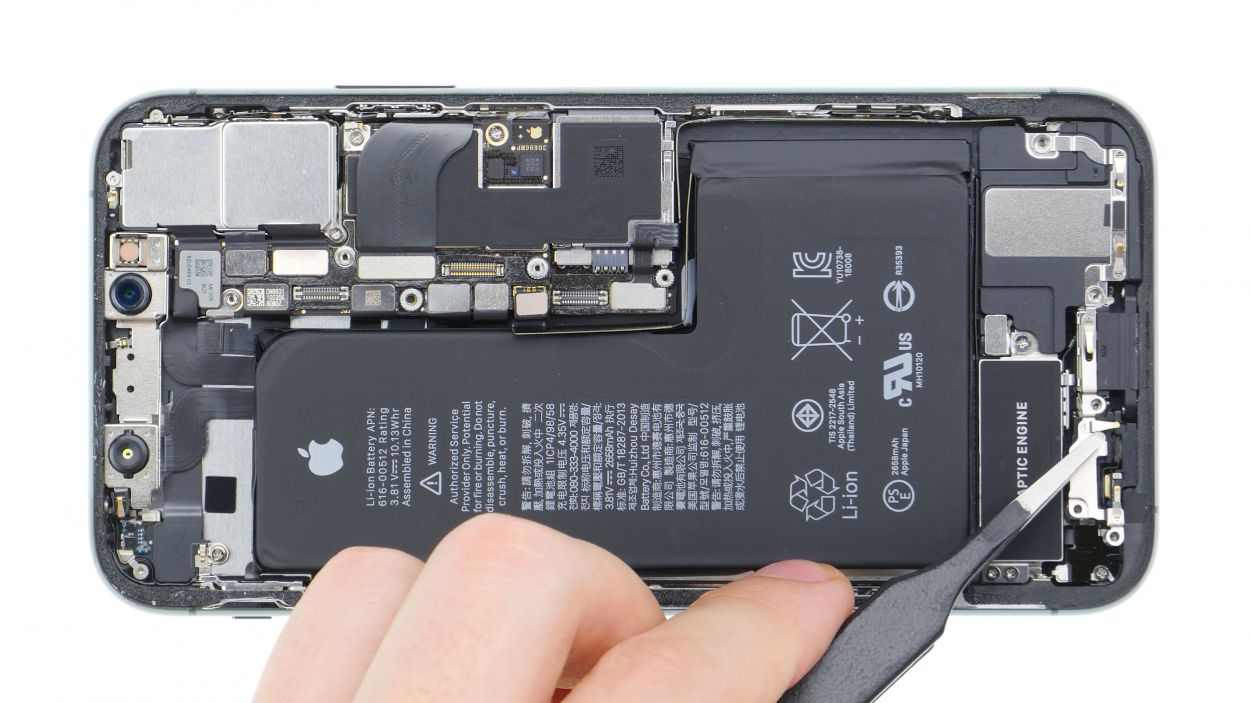
Is the back glass of your iPhone Xs looking like it just survived a rock concert? Don’t fret! With our easy-to-follow guide, you’ll have that back cover replaced in no time! Each step comes with a handy video that shows you exactly how to tackle the repair. Just hit the play button in the corner of the first image at each step to get started! Since the glass can be a bit of a stubborn friend to remove, we suggest swapping out the whole unit, which includes the stainless steel frame and the rear glass. And a friendly reminder: take extra care when handling the front camera, FaceID unit, and earpiece, as they are crucial for keeping your FaceID function intact. Ready to get your iPhone Xs looking fresh again? Let’s dive in! If you ever feel stuck, just drop us a comment—we’re here to help! If you prefer, you can also schedule a repair with us.
Step 1

– First things first, let’s give your iPhone a little break! Power it down completely to keep it safe during the repair process. Just press and hold the Standby button along with one of the volume buttons for about three seconds. When you see the ‘Power off’ slider, you’re almost there!
– Now, slide that slider from left to right. Your iPhone will take a moment to shut down entirely—about ten seconds should do the trick. You’re one step closer to a fresh start!
Step 2
2 × 6,8 mm Pentalobe
Once you pop open your iPhone Xs, it’s like waving goodbye to its dust and splash protection (IP 68 rating). So, handle with care and keep it safe!
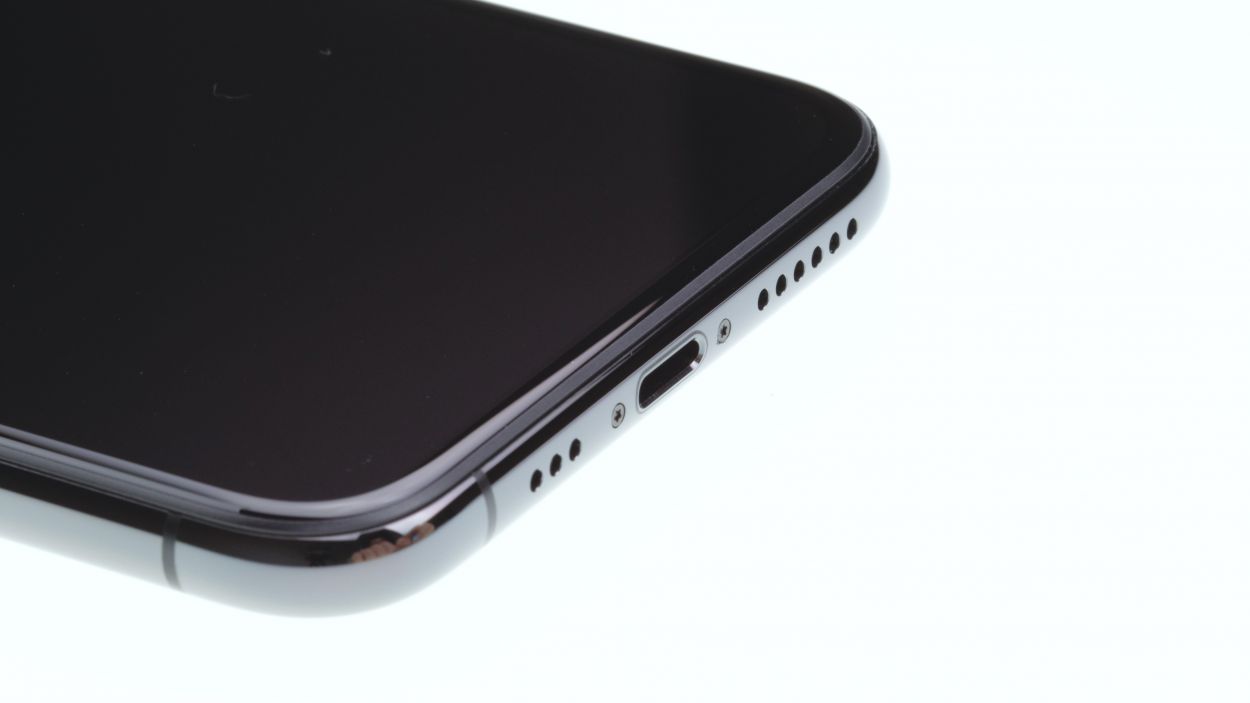
– Unscrew those two pentalobe screws at the bottom of the back cover—one on each side of the Lightning connector. And hey, don’t forget to toss them into the magnetic pad box so they don’t go on a little adventure of their own!
– Place your iPhone Xs on a soft, clean surface—let’s keep that back looking sharp and scratch-free!
Step 3

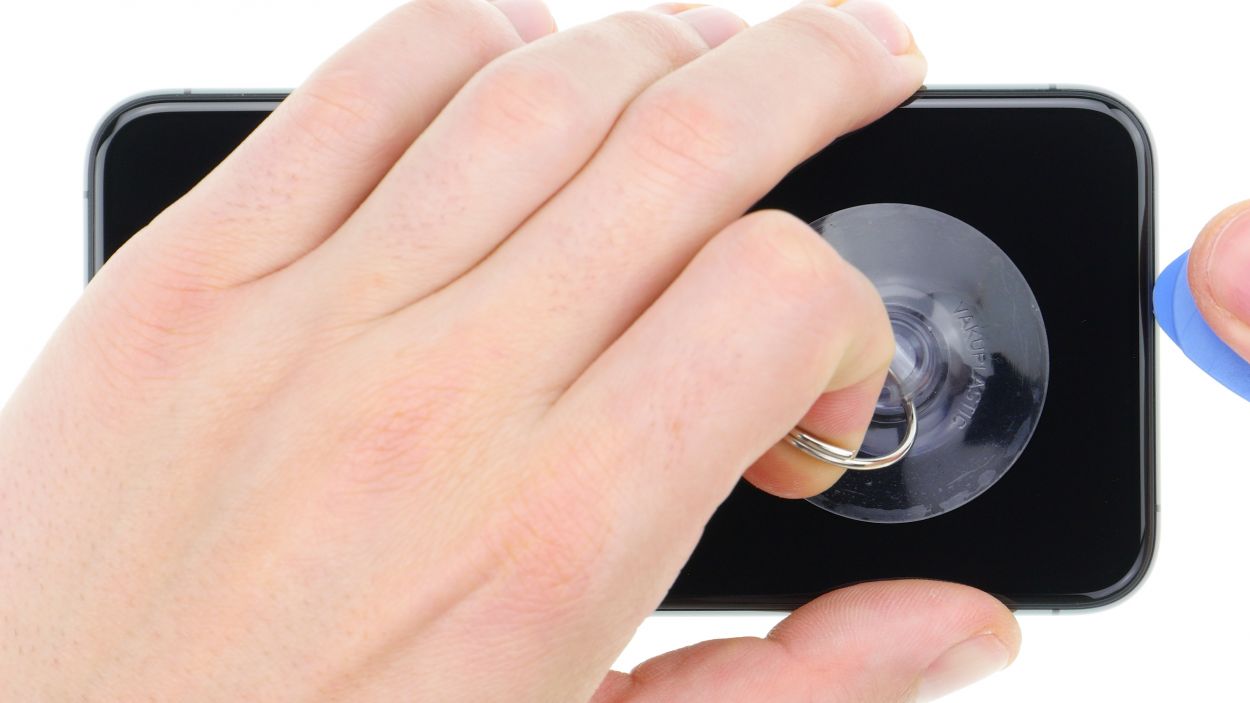
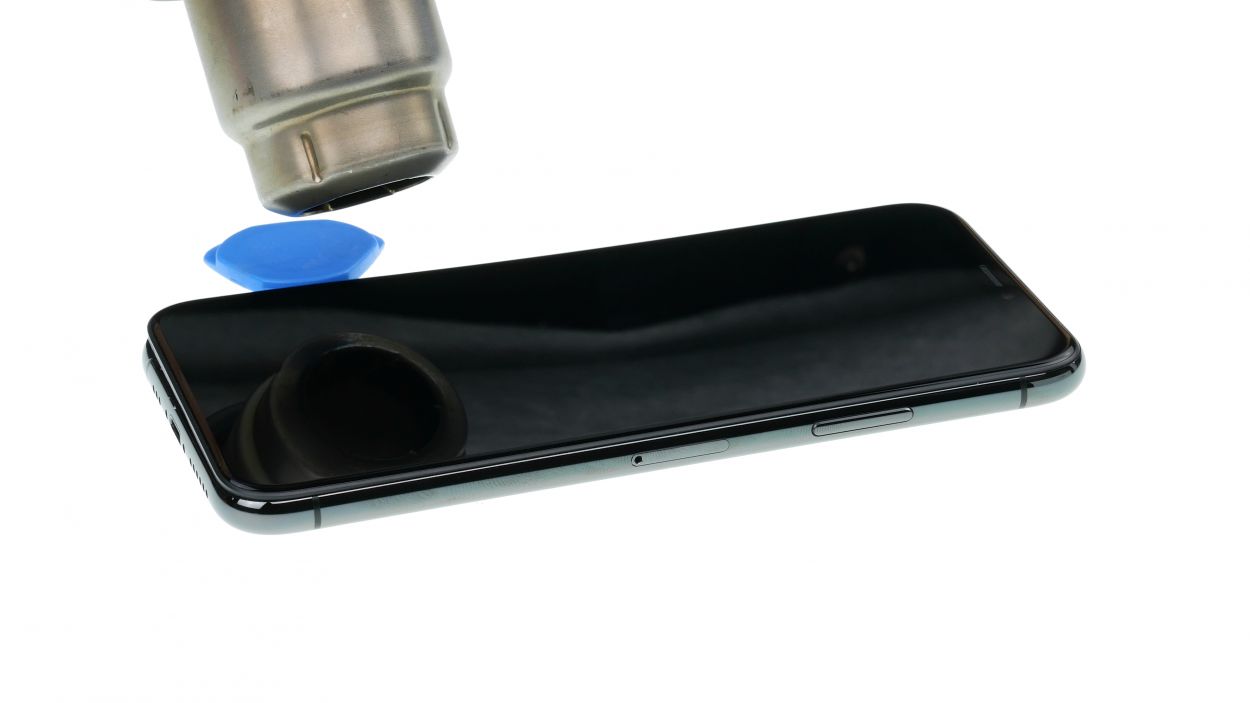

– To get that front panel up and out, grab your trusty suction cup, a hard plastic pick, and a heat gun. If your screen looks like it just had a rough night, cover it with packing tape before you dive in.
– The screen is glued on tight! Use that heat gun to warm up the outer edges of the display to around 60°C (140°F) to loosen things up.
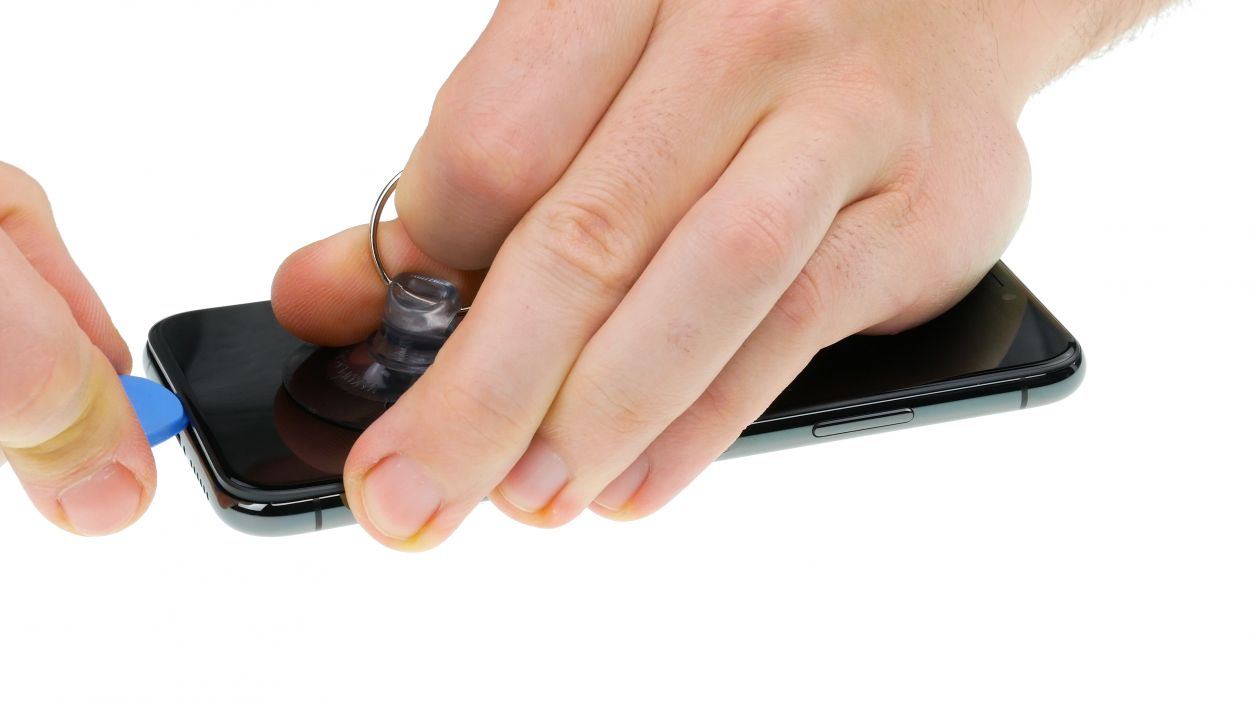
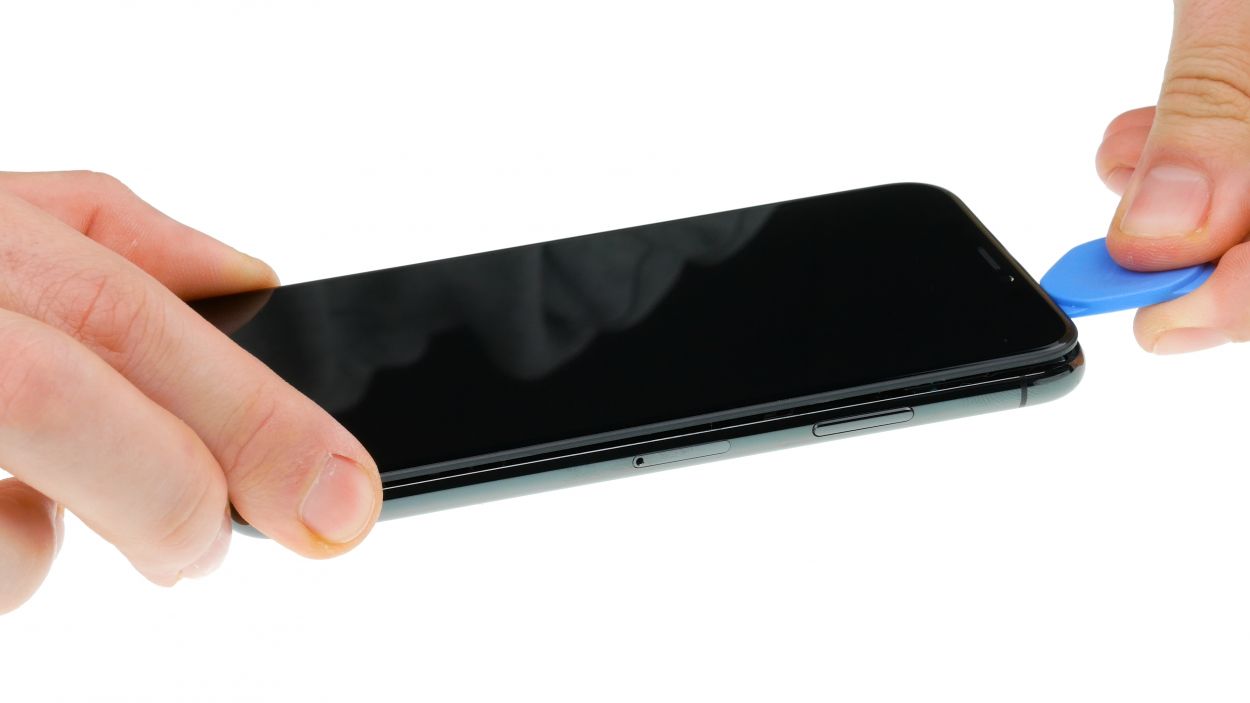
– Now, place the suction cup over the Home button (if you can) or right next to it. While you’re lifting the screen with the suction cup, slide that hard plastic pick between the steel frame and the display frame, and gently press down on the steel frame.
Keep your tool’s adventures to a max of 5 mm into the gap—let’s avoid any accidental damage to those tiny, delicate parts hiding inside your iPhone!
If you can’t squeeze a plectrum into that pesky gap, no worries! You can whip out an iFlex instead. Just make sure to switch to a sturdy plastic plectrum as soon as you can to keep that frame looking fresh and scratch-free!
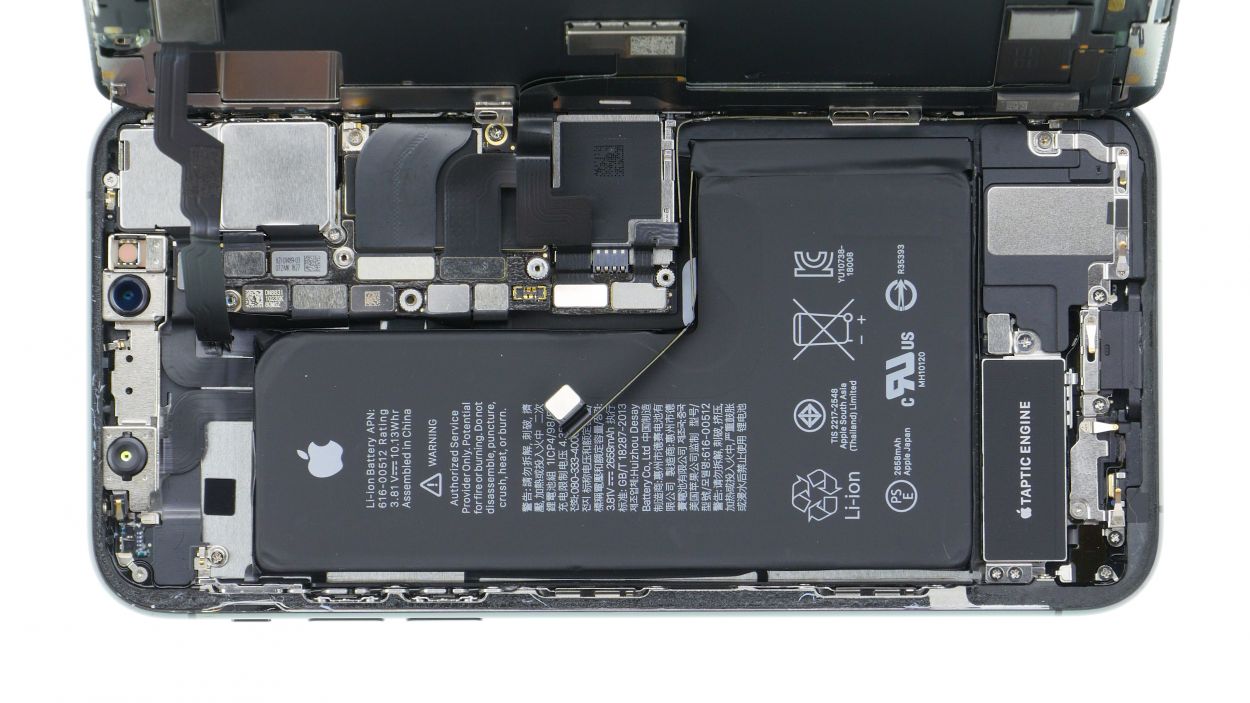
Step 4


– Grab your Y-Type and Phillips screwdrivers (Y000/PH00) and let’s get those screws out! Once they’re gone, gently lift off the bracket plate. Remember to keep all your little parts cozy in the same box on your magnetic pad—no wandering off allowed!
– Now, with a steady hand, carefully pry off the battery contact. Just slide a spudger under the connector and lift it off like you’re unveiling a surprise!
1 × 1,2 mm Y-Type
3 × 1,0 mm Y-Type
1 × 3,7 mm Phillips
Battery Connector
Before you dive into the repair fun, let’s make sure to disconnect the battery contact! This will keep your device from having any unexpected short circuits or turning on when you least expect it. Safety first, right?
Hey there! So, Apple rolled out these quirky Y-Type screws with the iPhone 7. Some folks mistakenly call them Tri-Point or Tri-Wing, but we know the truth! Make sure you’ve got the right Y-Type screwdriver handy to avoid stripping those screw heads. Let’s keep everything neat and tidy!
Step 5
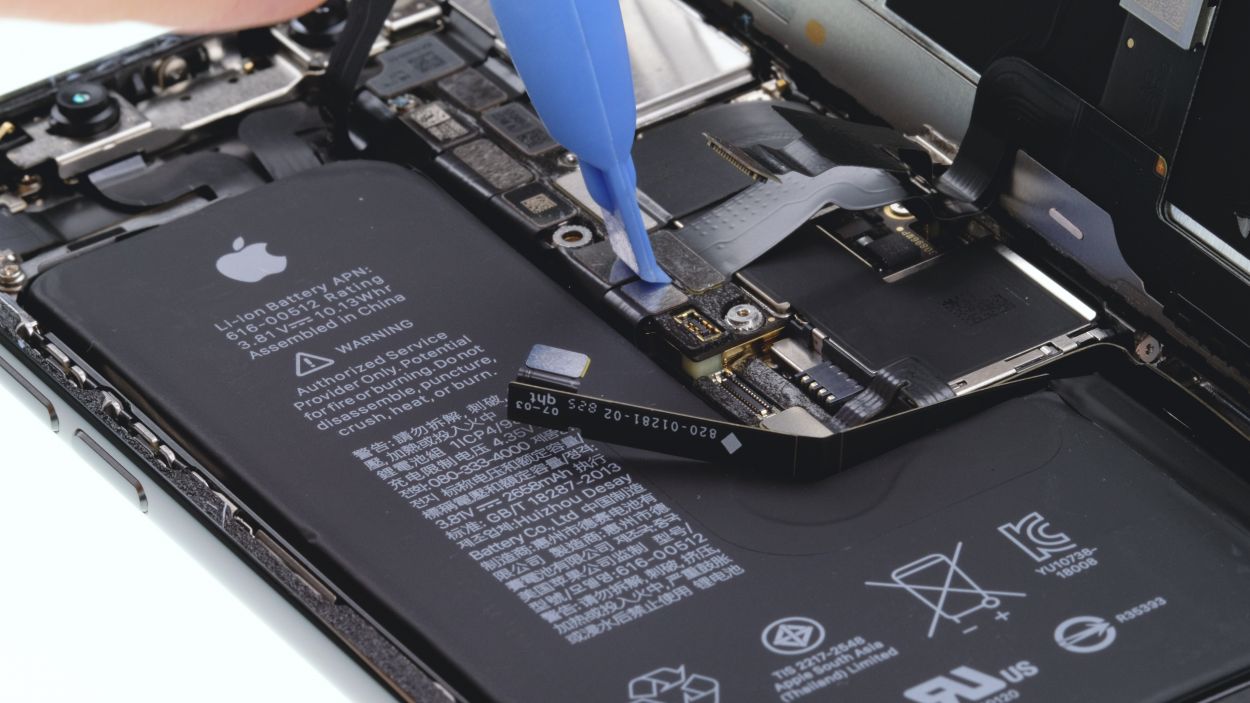

Display Connector
Earpiece connector
When you’re prying off those connectors with the spudger, think of it like a dance—smooth and gentle! You want to keep everything intact, so take it slow and steady!
– The display unit is held in place by three flexible cables that are just waiting to be freed!
– Grab your trusty spudger and gently tease apart the connectors for the display and the earpiece, one at a time—like a delicate dance!
– The earpiece flex cable might have formed a bit of a bond with the cable beneath it. No worries! Just give it a gentle tug to loosen it up. If it’s feeling particularly clingy, a little hot air can help break that adhesive spell!
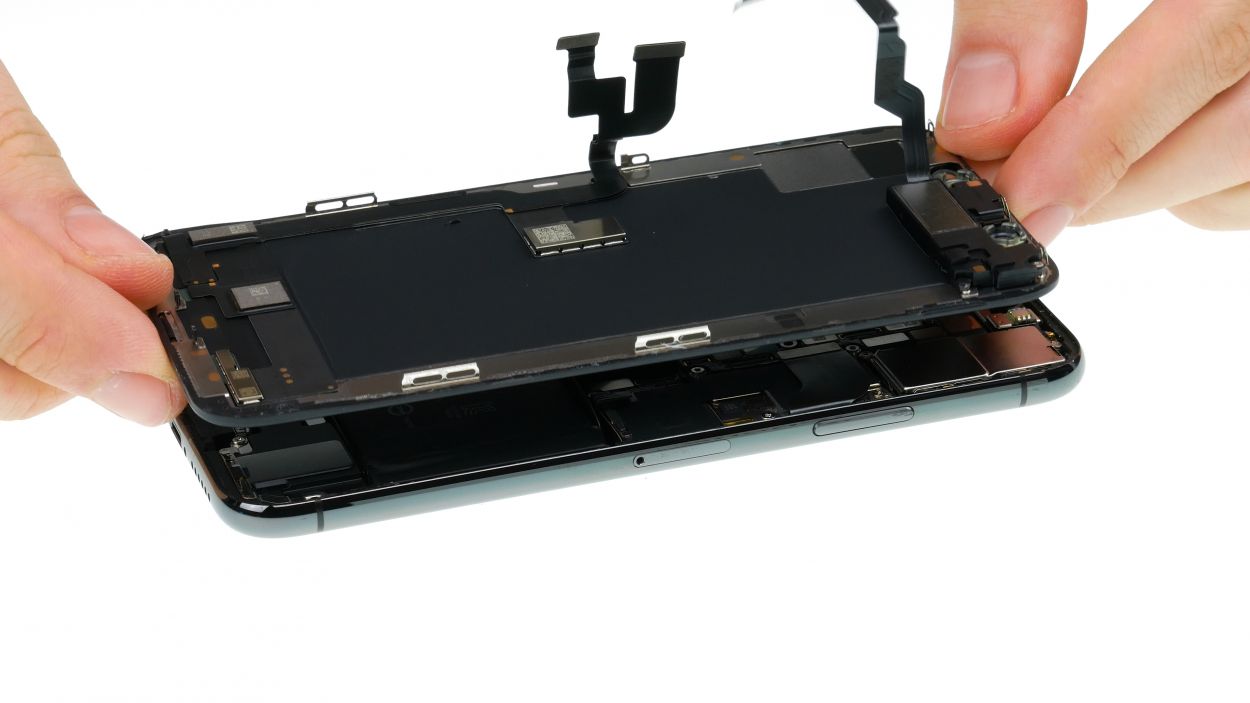
Step 6
1 × 1,7 mm Phillips
1 × 1,6 mm Phillips
2 × 1,2 mm Phillips
1 × 1,0 mm Y-Type
– Time to tackle those pesky Phillips and Y-Type screws! Unscrew them from the two brackets—just a heads up, they come in different lengths. Pop them onto your magnet mat so they stay cozy and ready for reassembly later.
– Next up, gently pry off those two metal brackets. They might be a bit clingy, but don’t worry, they’ll come off without a fuss!
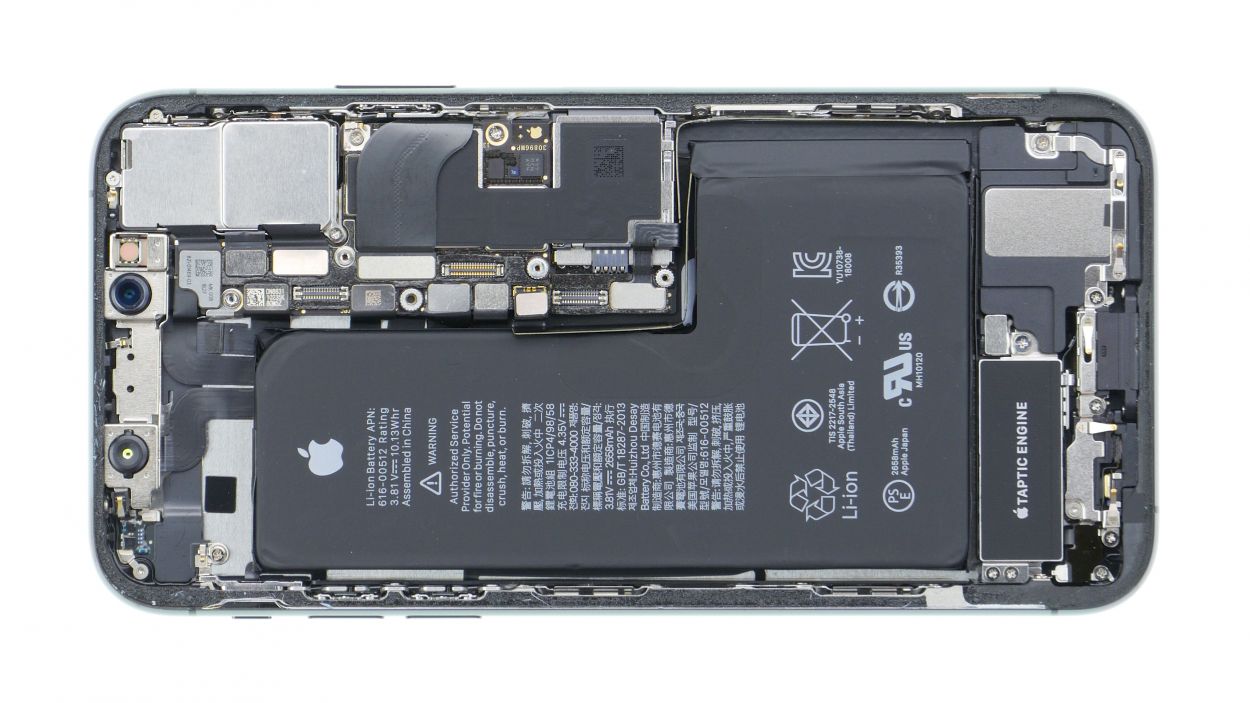
Step 7


1 × 1,7 mm Phillips
Speaker connector
– First, let’s loosen that one pesky screw holding the cover plate over the flex cable connector for the speaker. It’s like giving it a little nudge!
– Once that’s done, go ahead and remove the cover plate—you’re doing great!
– Next up, disconnect the flex cable connector and gently lift it away. Easy peasy!
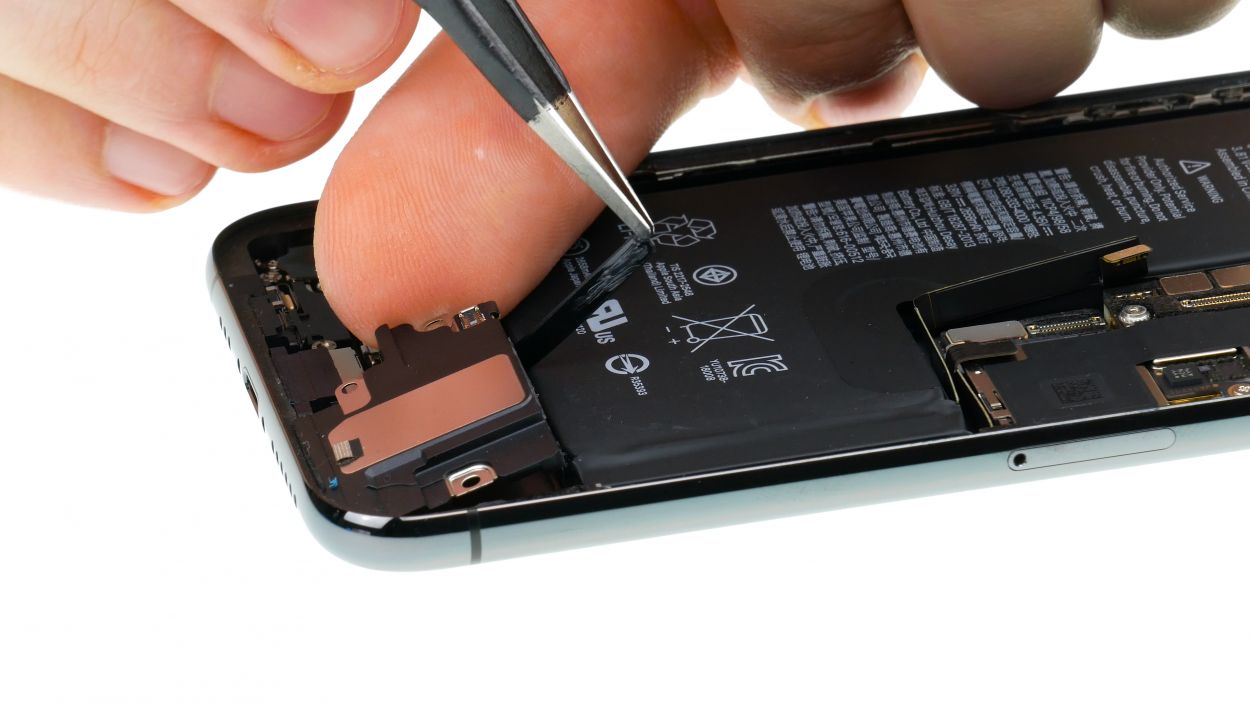
– Now, it’s time for the grand reveal! Lift out the speaker along with the flex cable. Start by lifting the loudspeaker slightly and loosening the rubber strip at the top edge. You’re almost there!
– Finally, give the speaker a gentle tug and pull it all the way out. Look at you go!
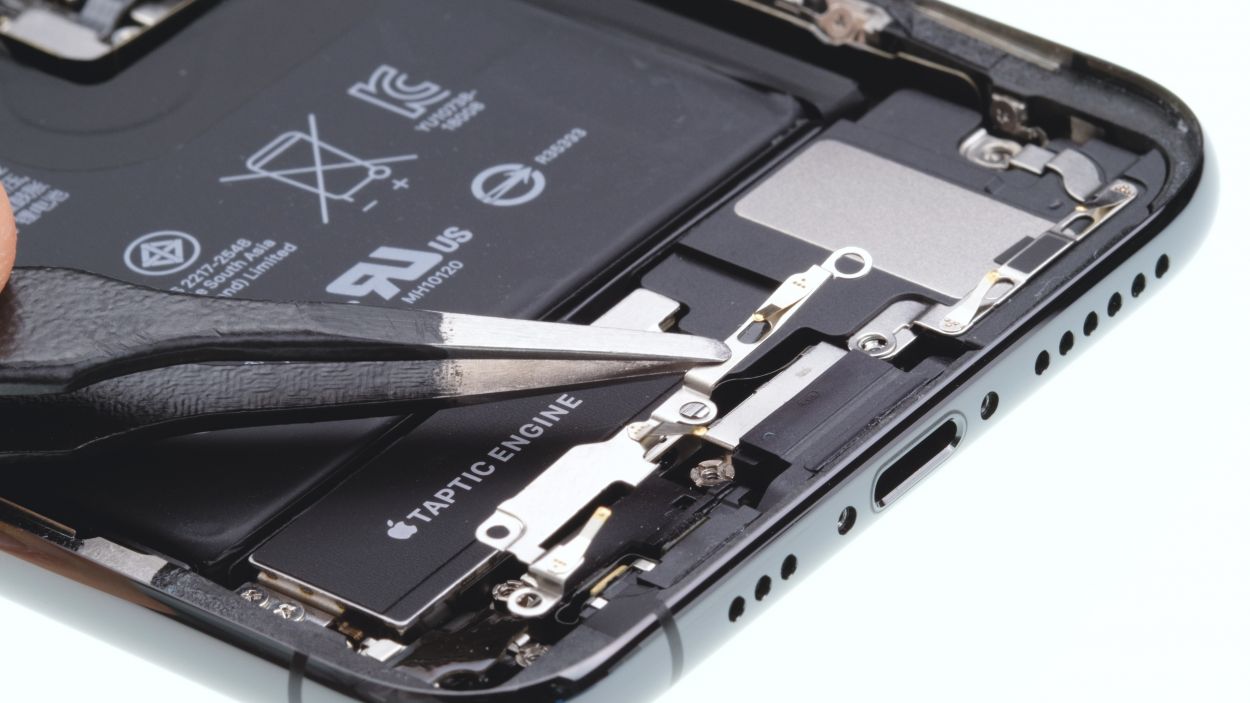
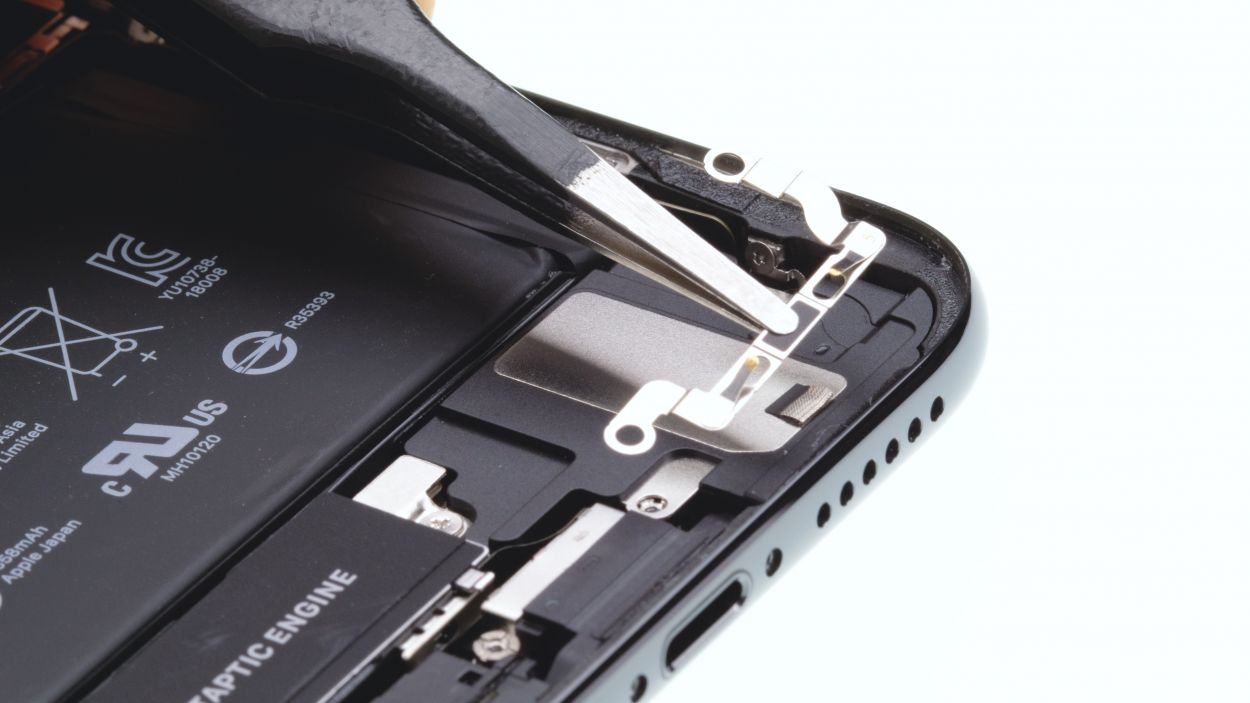
Step 8


2 × 1,8 mm Phillips
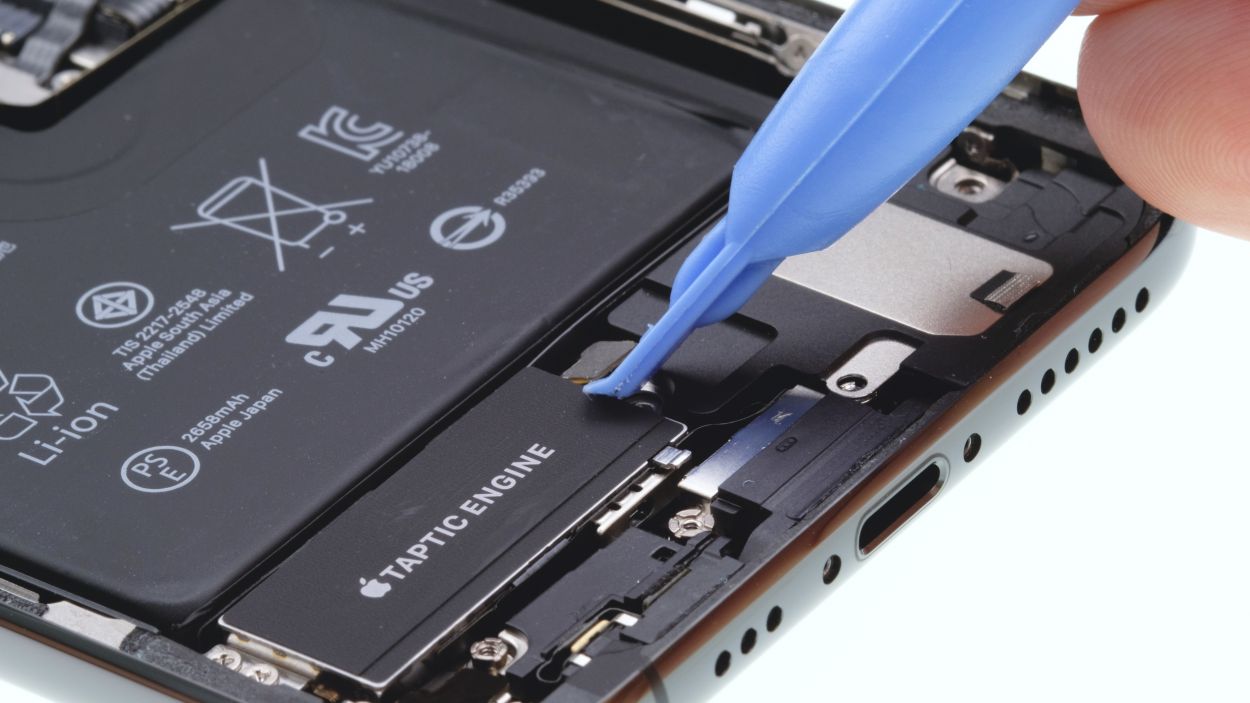
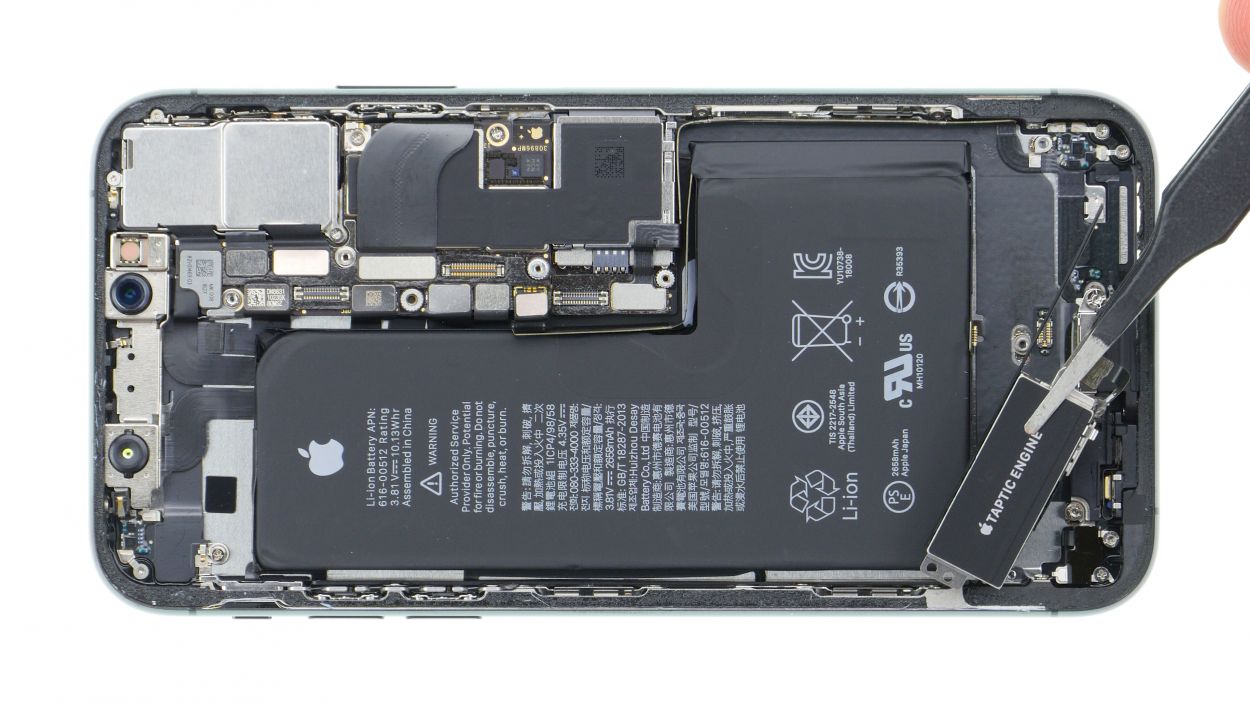
Taptic Engine Connector
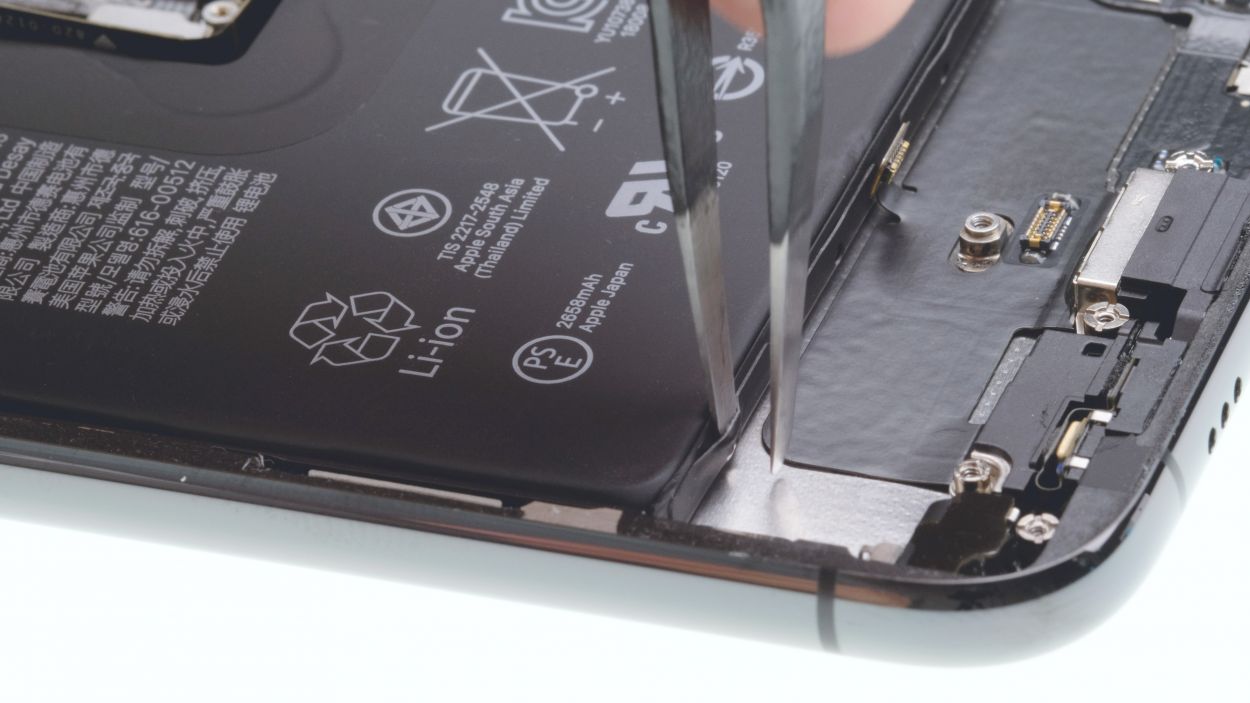
– First up, let’s unscrew those Phillips screws holding the Taptic Engine in place. They’re just waiting for you to give them a little twist!
– Next, grab your trusty spudger and gently disconnect the Taptic Engine’s connector. It’s like giving it a friendly high five!
– Finally, it’s time to lift out the Taptic Engine. You got this!
Step 9
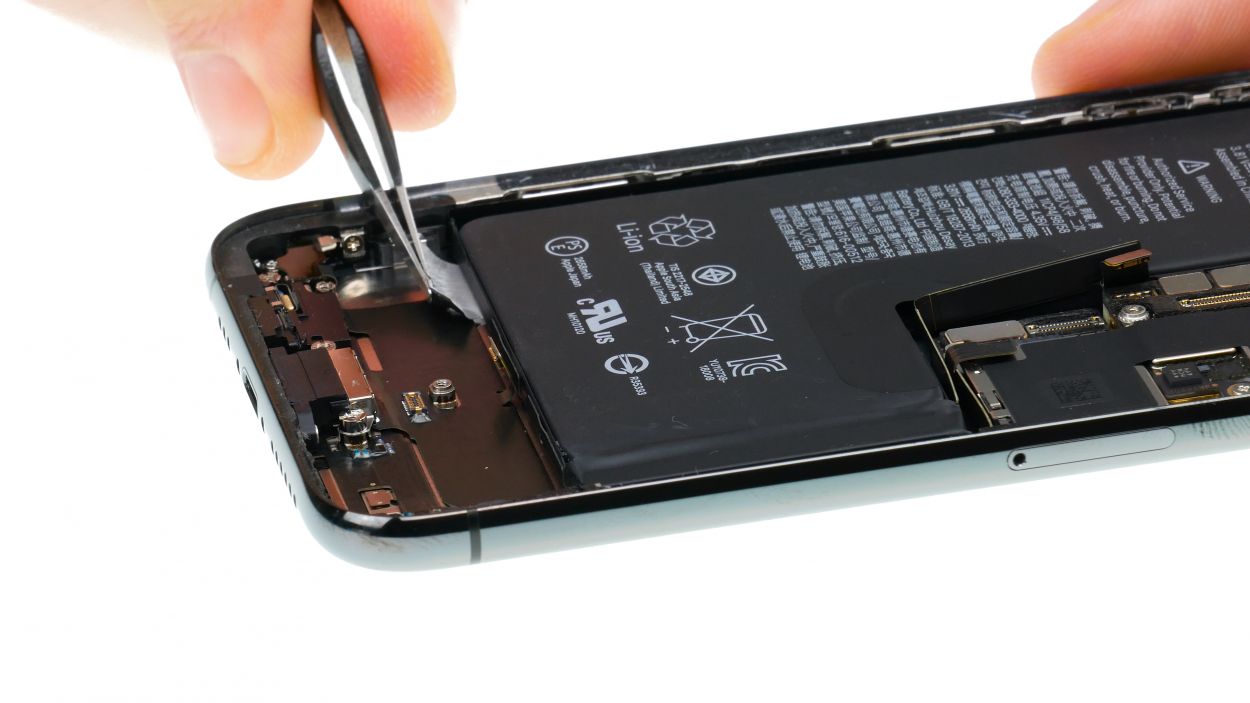
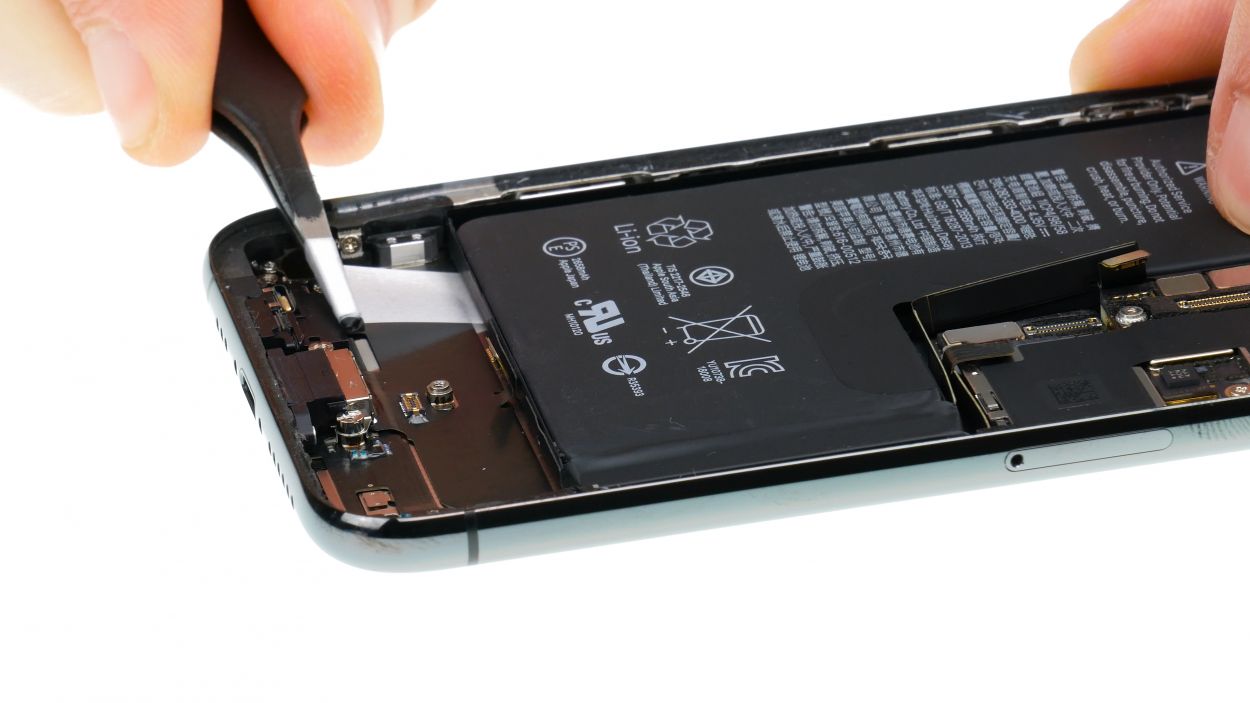
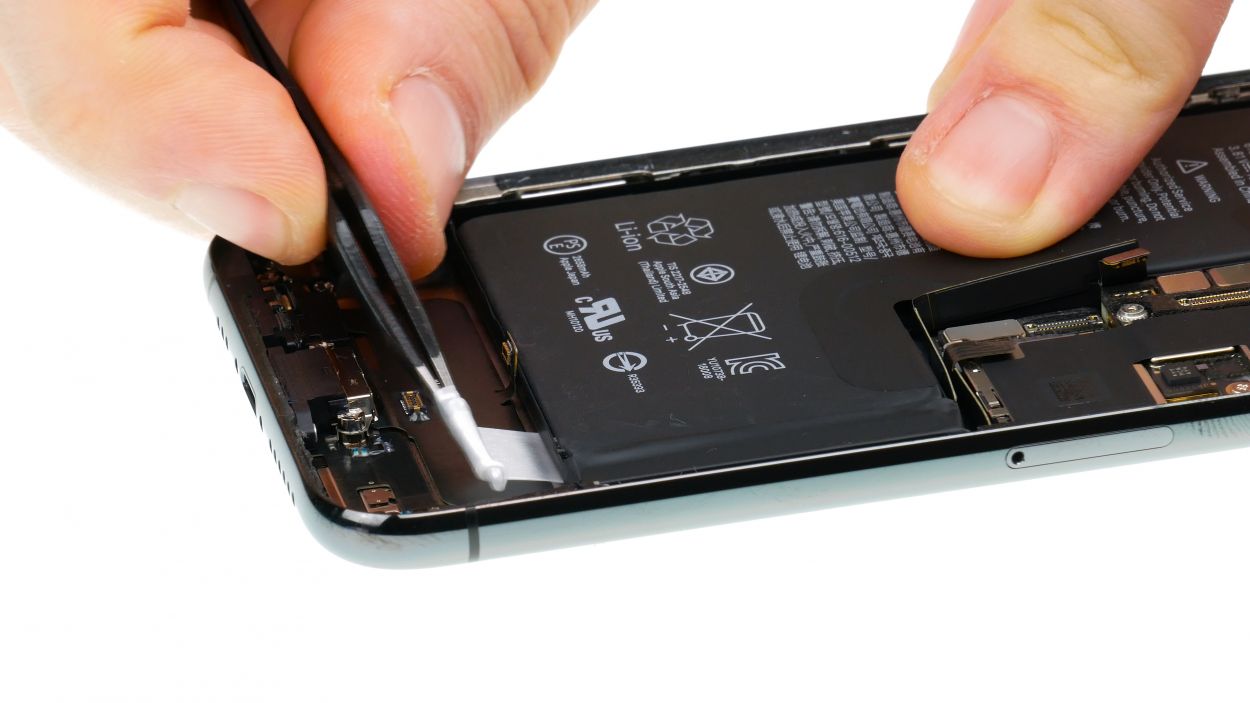
– Grab those tweezers or a spatula and gently peel off the black tabs—underneath them lie the white