Lenovo YOGA 730-15IKB RAM Replacement
Duration: 45 minutes
Steps: 5 Steps
Your computer relies on RAM as its short-term memory bank. Whether you’re diving into a web-browsing marathon or crushing it in your favorite game, RAM keeps the show running smoothly by temporarily holding the data your programs need. Need more multitasking power or browser tabs without the lag? Adding extra RAM might just be your ticket. The Lenovo YOGA 730-15IKB ships with RAM that’s soldered directly onto the motherboard—meaning, no swaps or upgrades there. But hey, good news! This YOGA 730 model also comes with an easily accessible slot where you can pop in some extra RAM. If you’re ready to level up your computer’s performance, follow this guide to locate the RAM upgrade slot. Just make sure to grab a SODIMM-type RAM stick, as that’s the only kind this slot is ready for.
Step 1


Time to get started! Make sure to shut down your computer and unplug the charger before we dive in.
– Flip your laptop over so you’re staring at its bottom side—like the star of this repair show.
– Take out the ten 7mm T5 Torx screws holding it together. Yep, all ten of them—trusty screwdriver at the ready!
Step 2


– Use an opening tool to gently pop off the bottom cover.
– Begin at the front edge and work your way along the sides with care.
Step 3

– Gently lift the bottom cover, working it away from the back hinges until it comes free.
Step 4


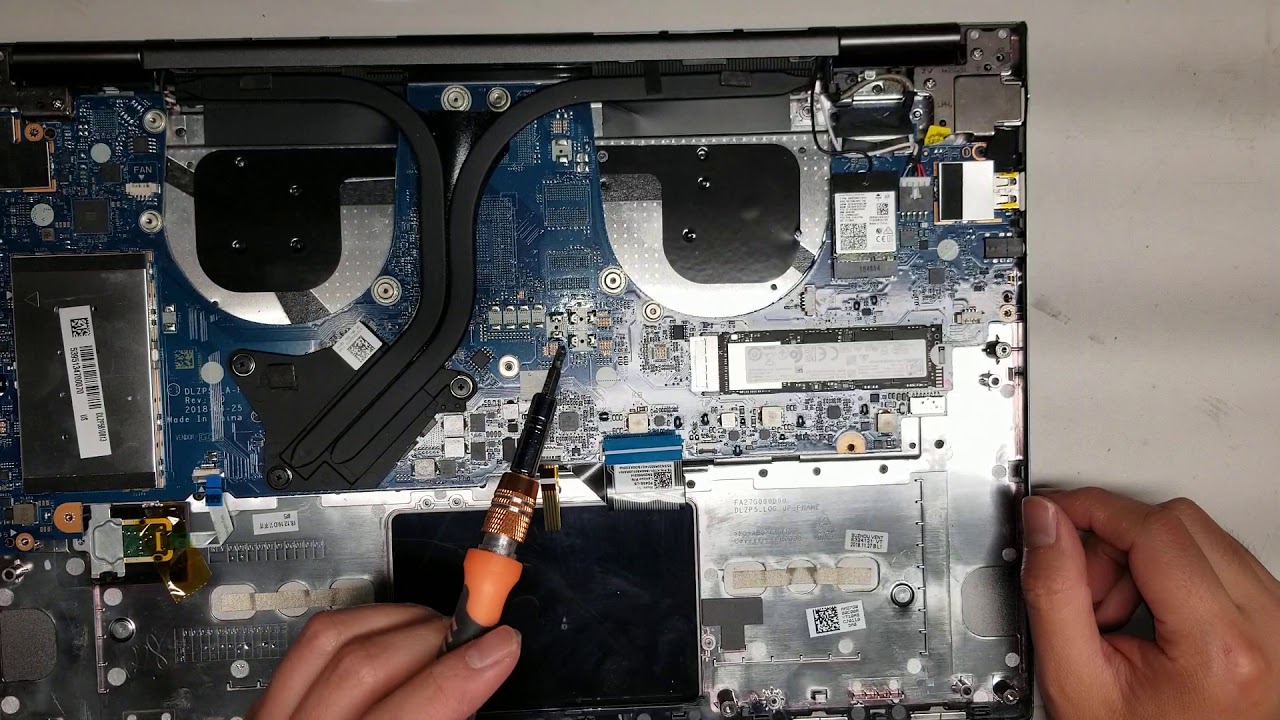
– Grab a trusty plastic opening tool or another non-metal object and gently pop off the big metal cover on the left side of the motherboard. You’ve got this!
Step 5

Watch out for those RAM pins and the slot! Your fingers might leave behind some oils that could mess with the delicate electronic connections between the RAM and your device. Keep it clean and happy!
– Ready to put everything back together? Just follow these steps in reverse, and you’ll be golden.
– If things still seem tricky, remember, you can always schedule a repair.
Success!