Replace iPhone 11 Taptic Engine Guide: Step-by-Step Tutorial
Duration: 45 min.
Steps: 14 Steps
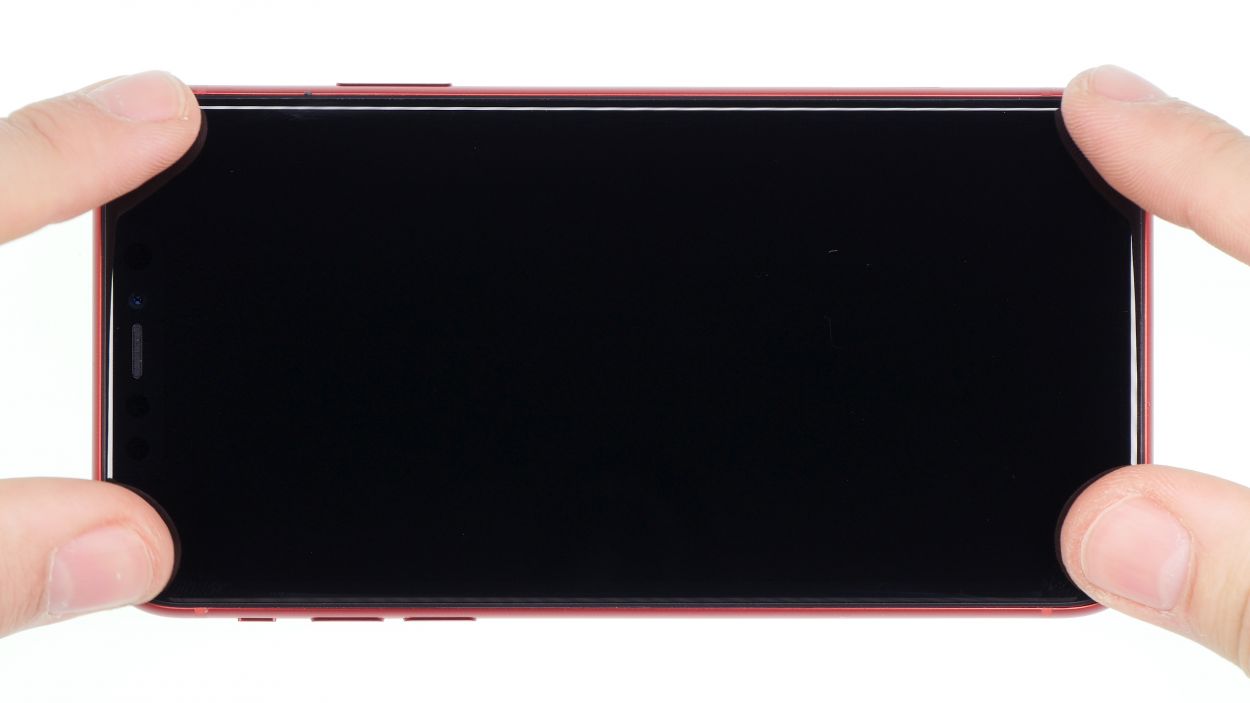
Welcome to our step-by-step guide on swapping out the Taptic Engine in your iPhone 11! This nifty little gadget is responsible for the delightful vibrations that make your phone feel alive. It works through an electromagnetic linear actuator that moves a hefty metal shaft, creating those satisfying vibrations. Unlike the traditional vibration motors found in older iPhones or other brands, the Taptic Engine delivers precise and quick feedback that you can truly appreciate. However, with all those moving parts, it can be a bit delicate. But don’t worry, we’ve got you covered with clear instructions on how to replace it yourself. If you ever feel overwhelmed, remember, you can always schedule a repair with us!
Step 1

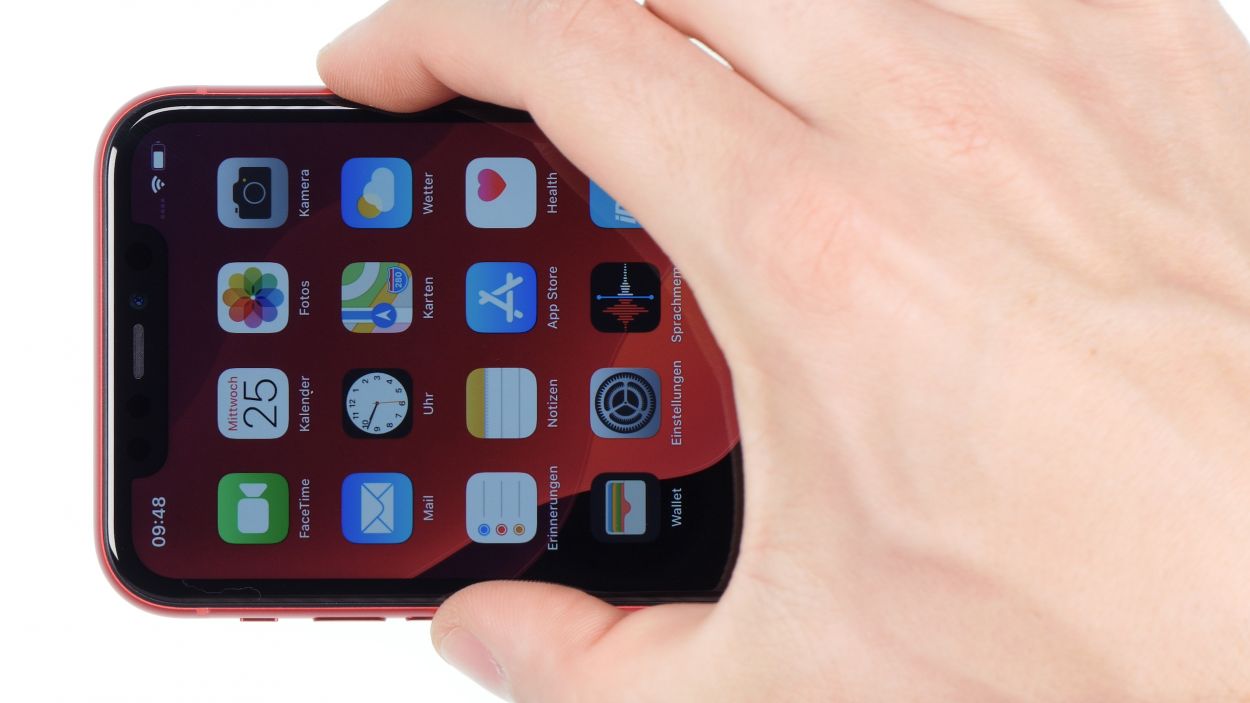
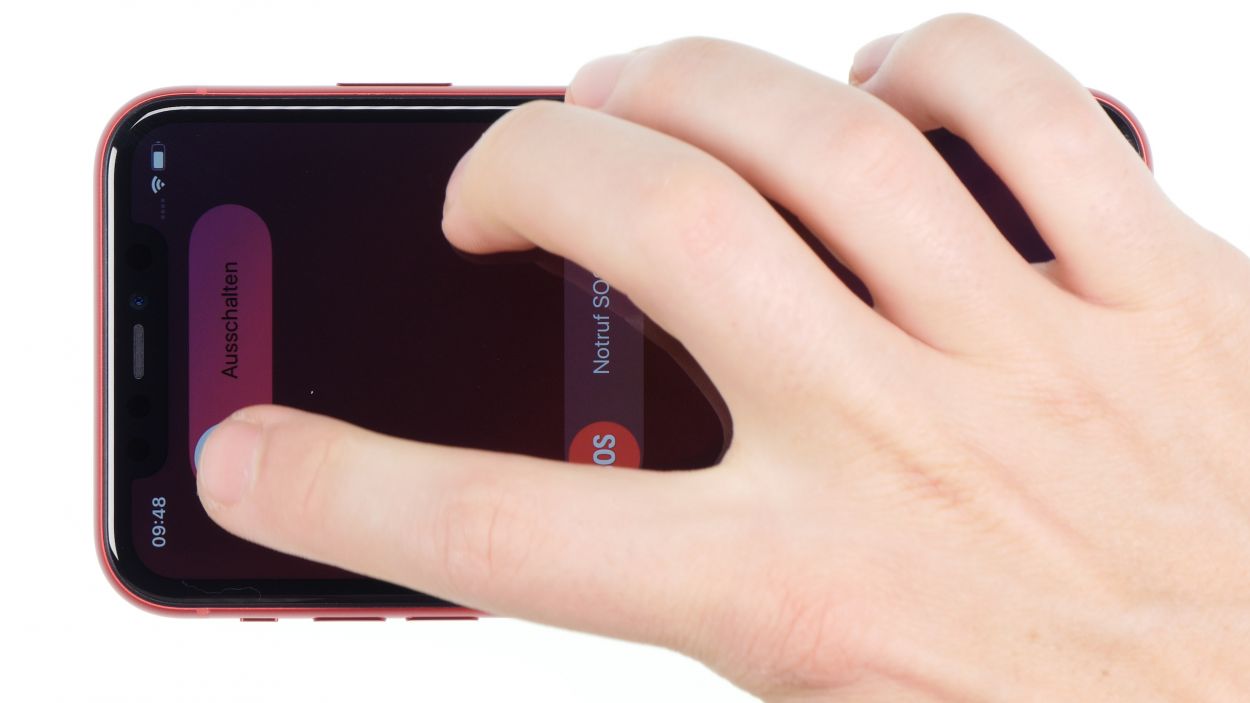
– To keep your iPhone 11 safe and sound during the repair process, let’s power it down completely. Just press and hold the Standby button along with one of the volume buttons for about three seconds.
– If you see the slider pop up with the message ‘Turn off’, give it a gentle swipe from left to right. Your phone will gracefully shut down in about ten seconds.
Step 2

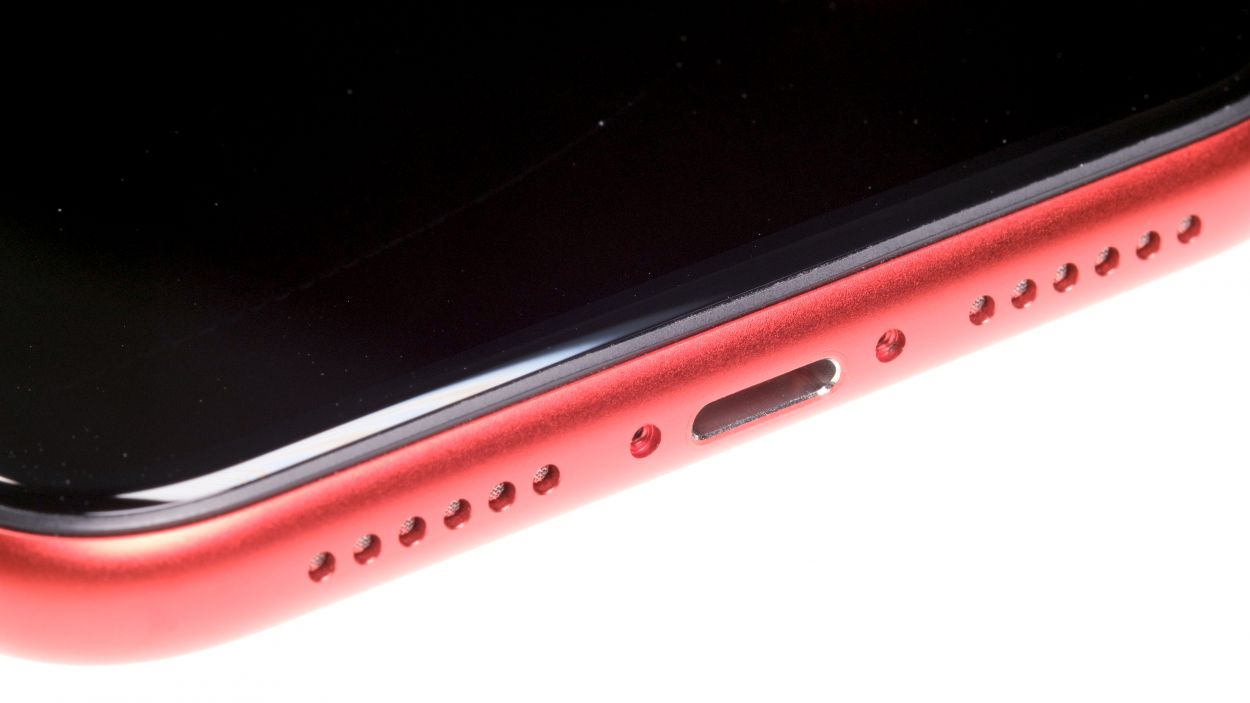
2 × 6,8 mm Pentalobe
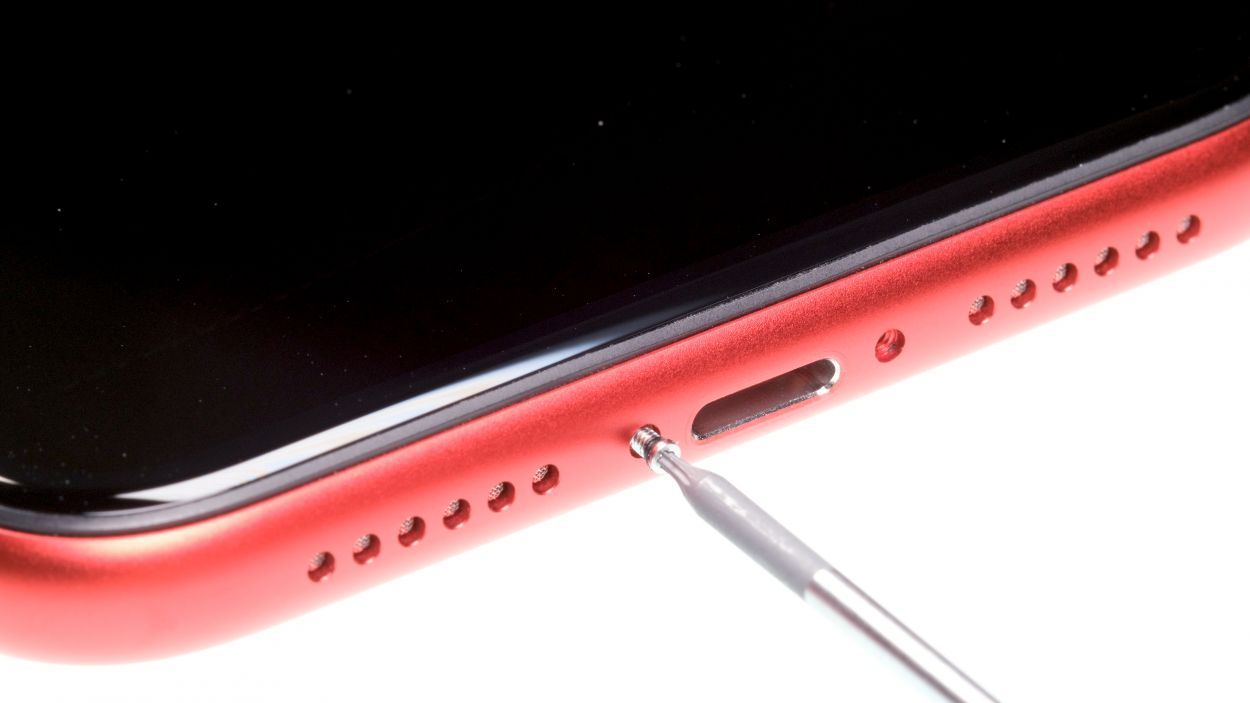
Hey there! Just a quick heads-up: once you pop that device open, the fancy dust and splash protection from the IP68 rating will wave goodbye. So, let’s be cautious while we work!
– On the lower part of the case, just to the right and left of the Lightning connector, you’ll spot two Pentalobe screws waiting for you. Go ahead and remove both of them, then stash them in a shared spot on your magnetic pad for safekeeping.
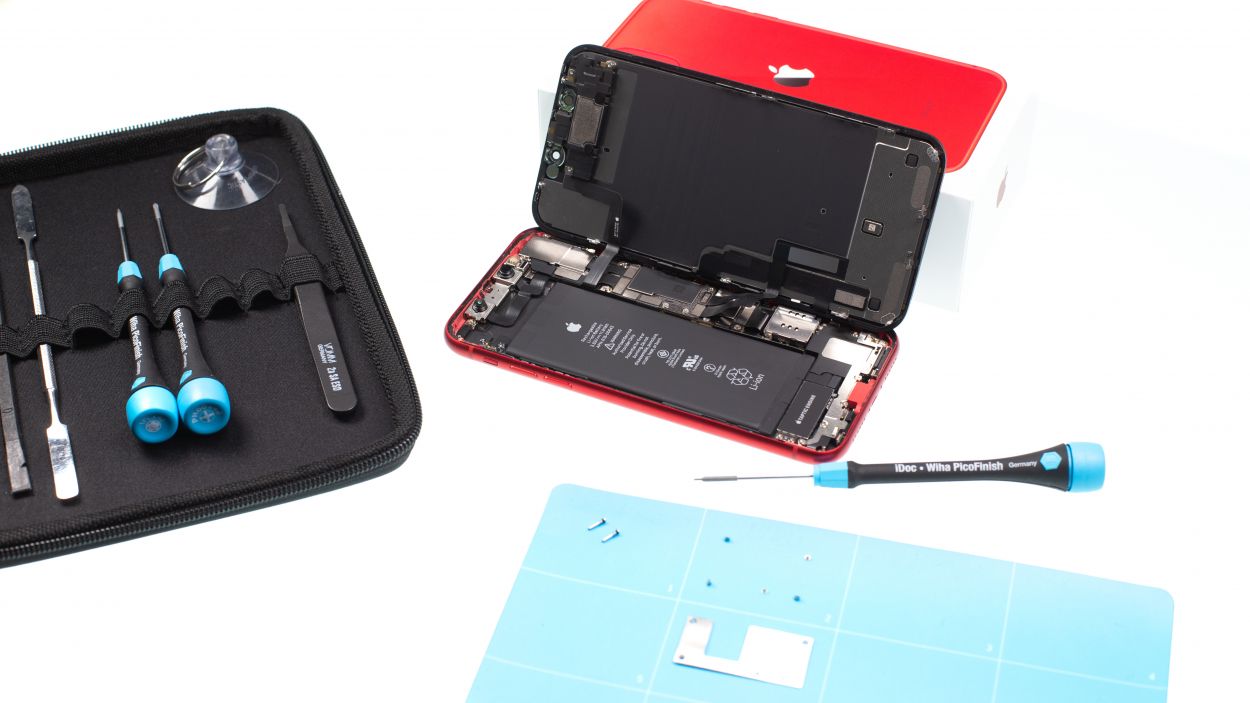
Tools Used
Step 3
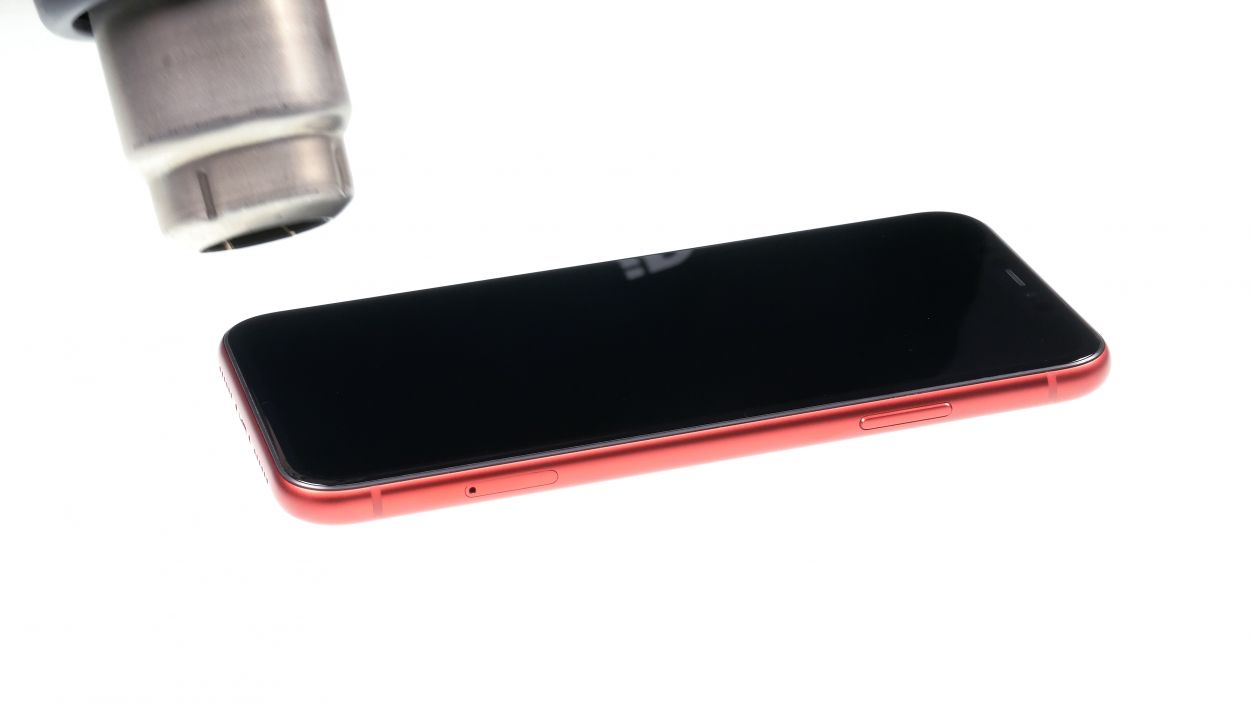
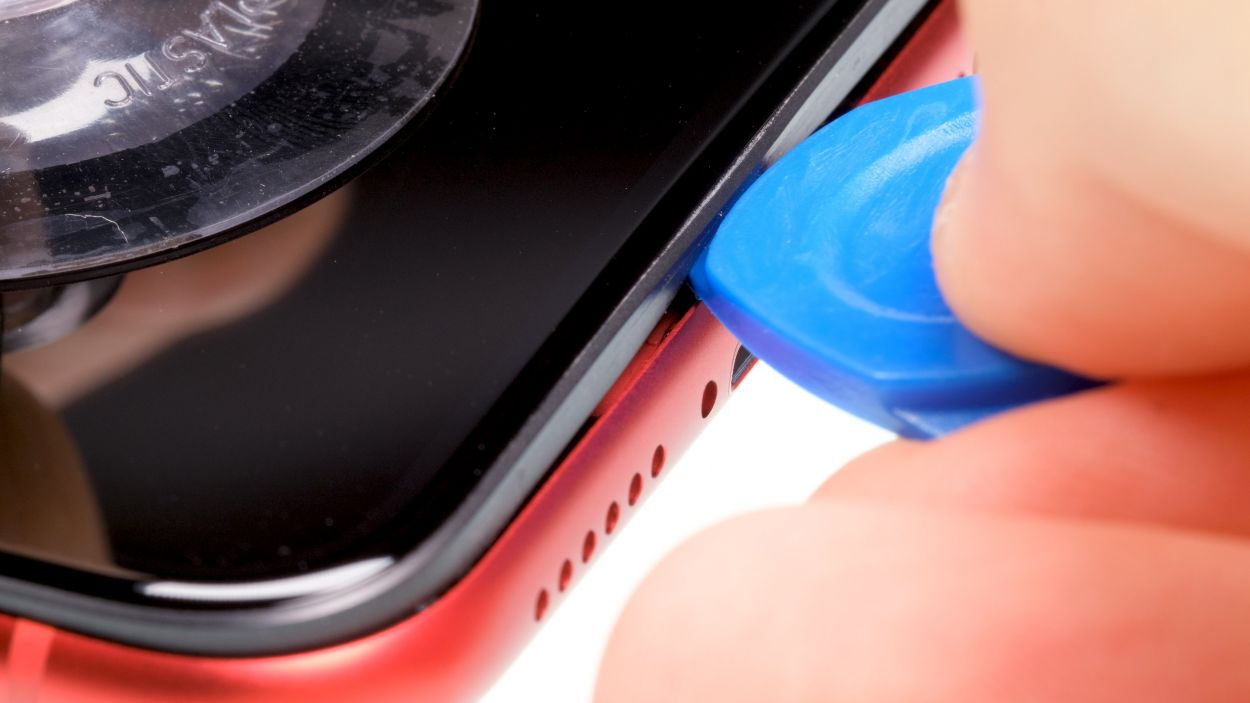
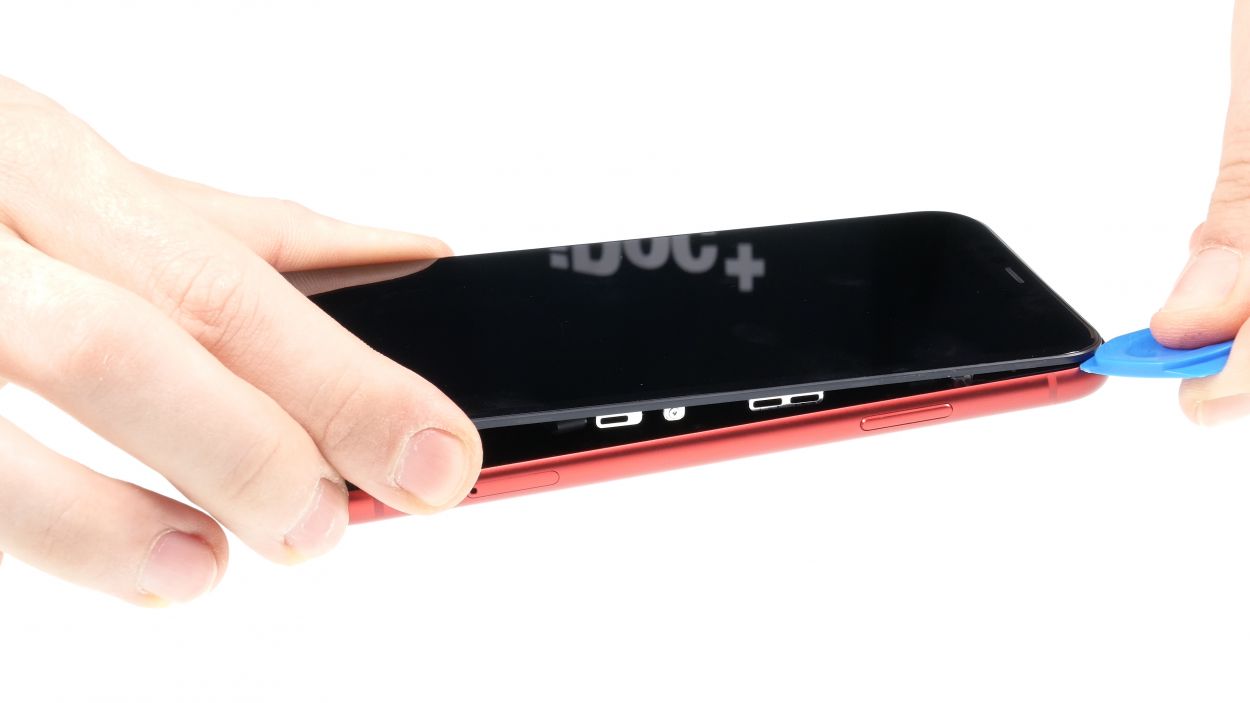

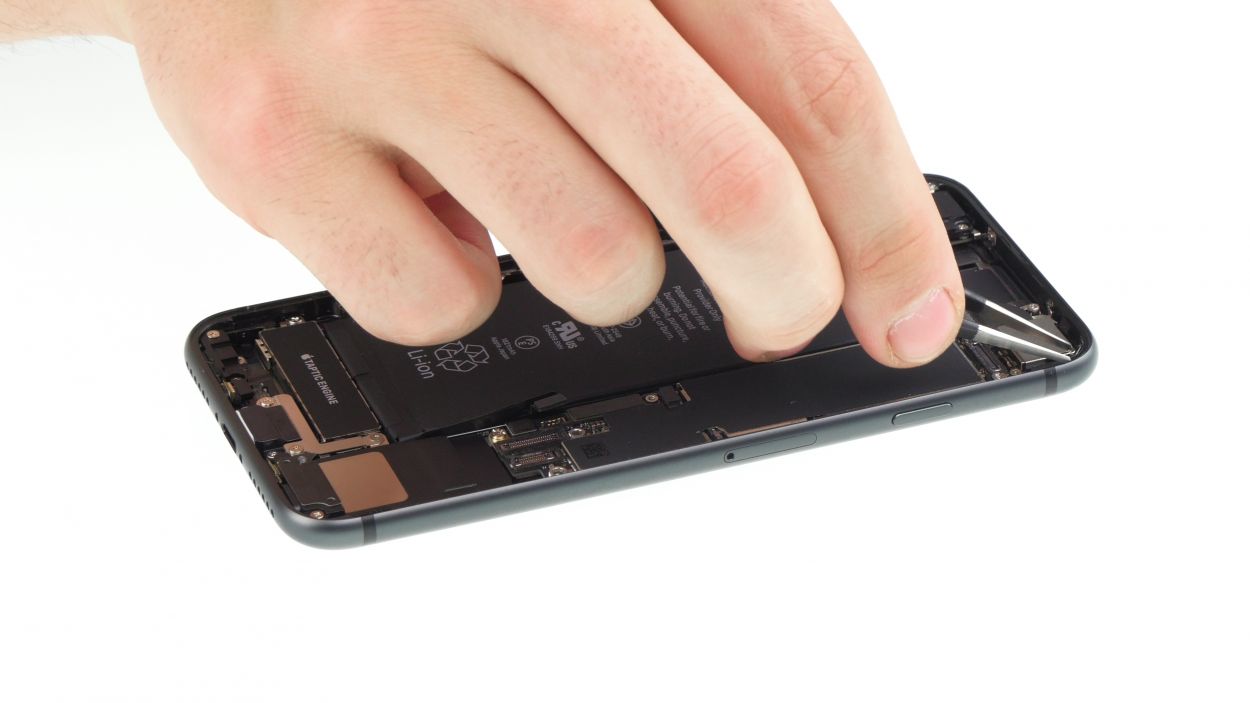
– Set your iPhone 11 down on a soft, clean surface. This will help keep the back of your device scratch-free while you work your magic.
– To lift the screen, grab yourself a suction cup, a hard plastic plectrum, and a hairdryer. If your glass is looking a bit shattered, slap a strip of parcel tape on it first to keep those pesky splinters at bay.
– Next up, warm the edge of the display with your hairdryer until it reaches around 60° C (140° F). This will help loosen the adhesive holding the screen in place.
– Now, place the suction cup on the lower edge of the iPhone. Use the key ring on the suction cup to gently lift the display while you slide the hard plastic plectrum between the case and display frame. Press down on the case frame as you go. To fully remove the display adhesive, make sure to glide the plectrum all around the iPhone.
Hey there! Just a friendly reminder: when you’re diving into your iPhone, keep that tool no deeper than about 5mm. We don’t want to accidentally poke any of those delicate components inside, especially near the standby button where those sensitive flex cables from the display are hanging out. So, let’s be gentle!
Feel free to swap in an iFlex instead of that hard plastic plectrum. Just a heads-up though, it might leave some scratches on your frame. So, choose wisely!
Tools Used
- heat gun to heat parts that are glued on so they’re easier to remove.
In most cases, you can also use a hairdryer.” rel=”noopener”>Heat gun - Pick Set
- iFlex Opening Tool
- VAKUPLASTIC Suction Cup
Step 4


– Grab your trusty Y-type Y000 screwdriver and get ready to tackle those Y-type screws on the metal cover. Once you’ve got them out, make sure to gather all the little bits in a designated spot on your magnetic mat so they don’t go wandering off!
5 × 1,1 mm Y-Type
Touch connector
LCD connector
Earpiece connector
So, here’s the scoop! The iPhone 7 came with a new twist: Y-type screws! You might have heard some folks calling them Tri-Point or Tri-Wing, but let’s set the record straight—those names are a bit off. When it’s time to tackle these screws, make sure you grab the right screwdriver to keep those heads looking sharp and unscathed!
Tools Used
Step 5

3 × 1,1 mm Y-Type
Battery connector
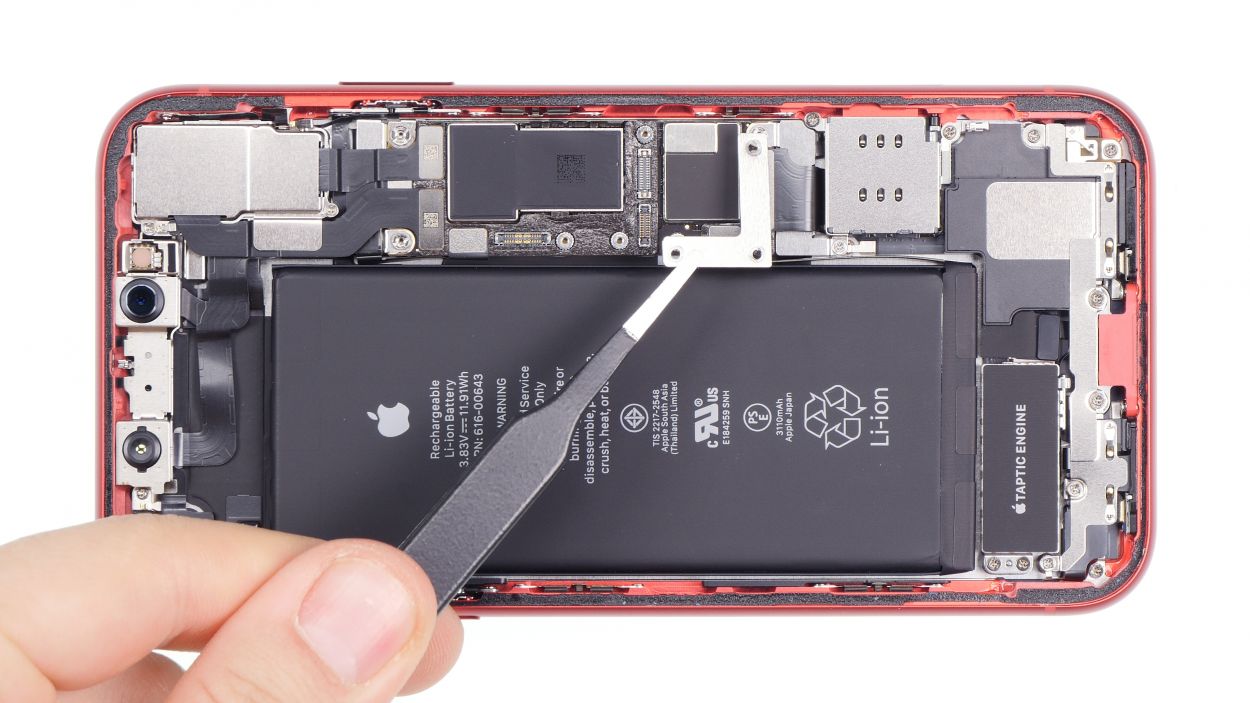
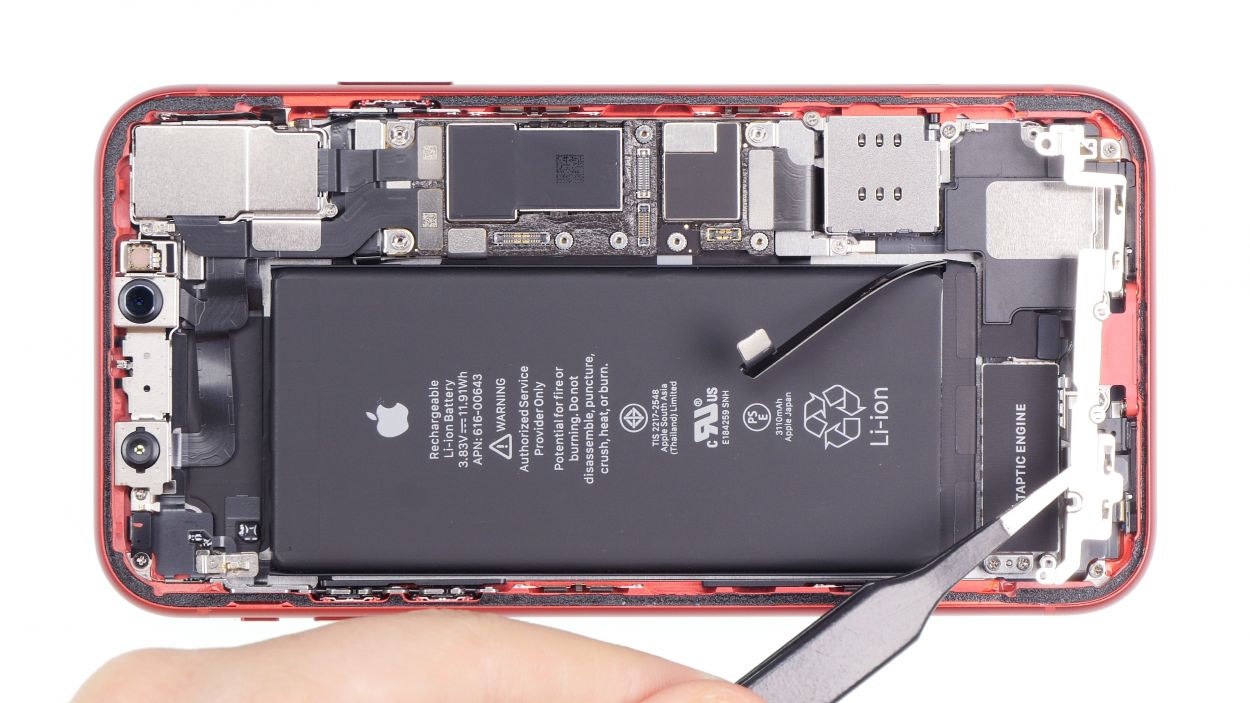
– Unscrew those little guys on the cover plate above the battery contact. They’re just waiting to be freed!
– Next, pop off that cover plate and gather all your parts on your trusty magnetic mat. Keep everything in one place, so you don’t lose a thing!
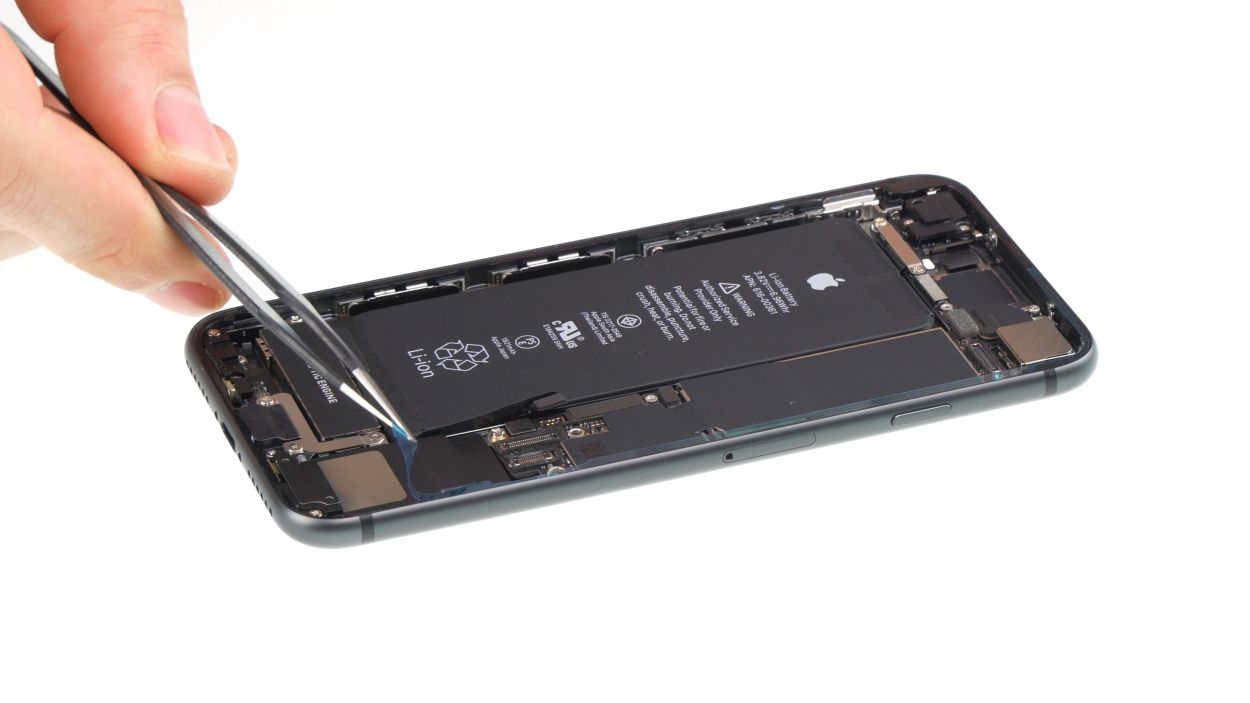
– Now, with a gentle touch, use a plastic spudger to lift off the battery contact. Give it a slight bend to the side—just a little nudge. Remember, we’re using plastic here to keep things safe and avoid any short circuits!
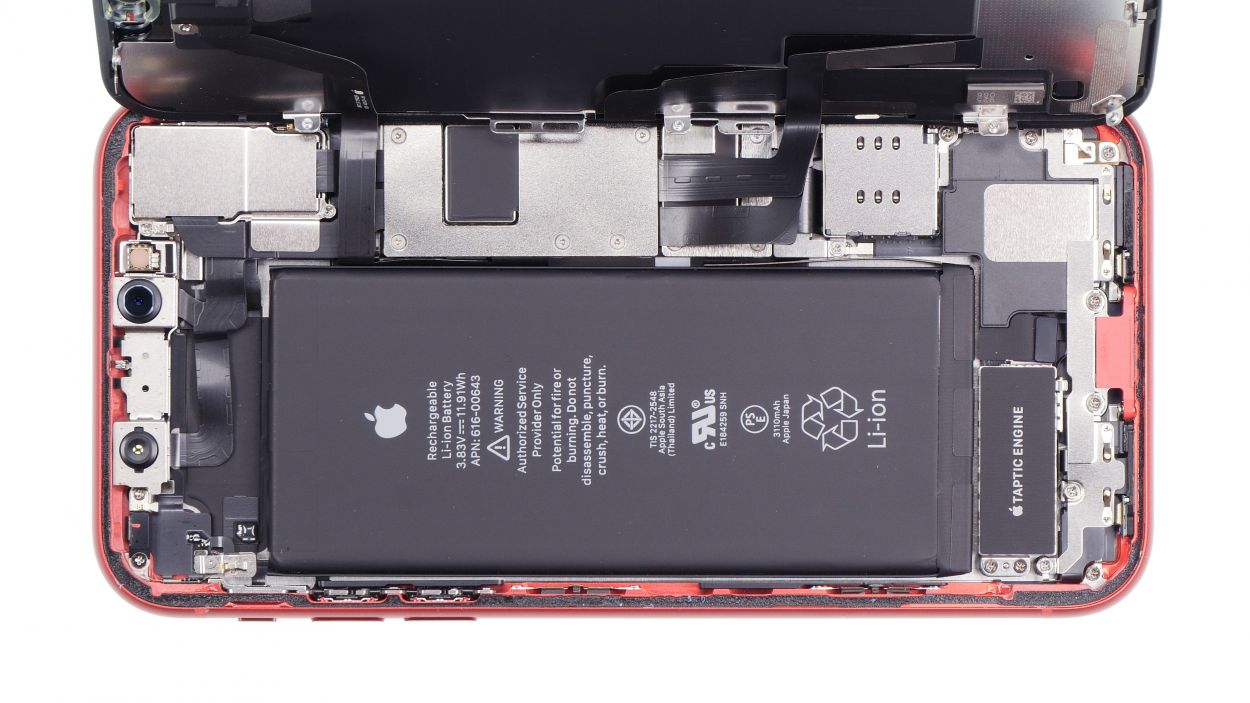
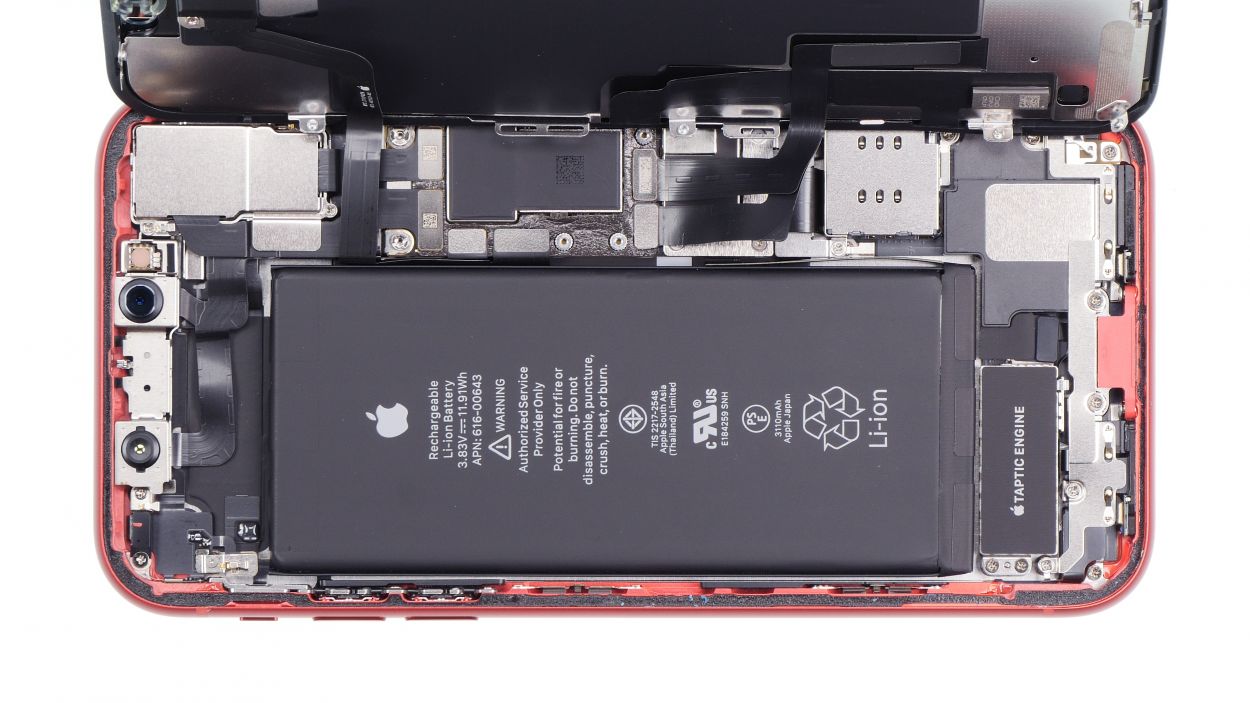
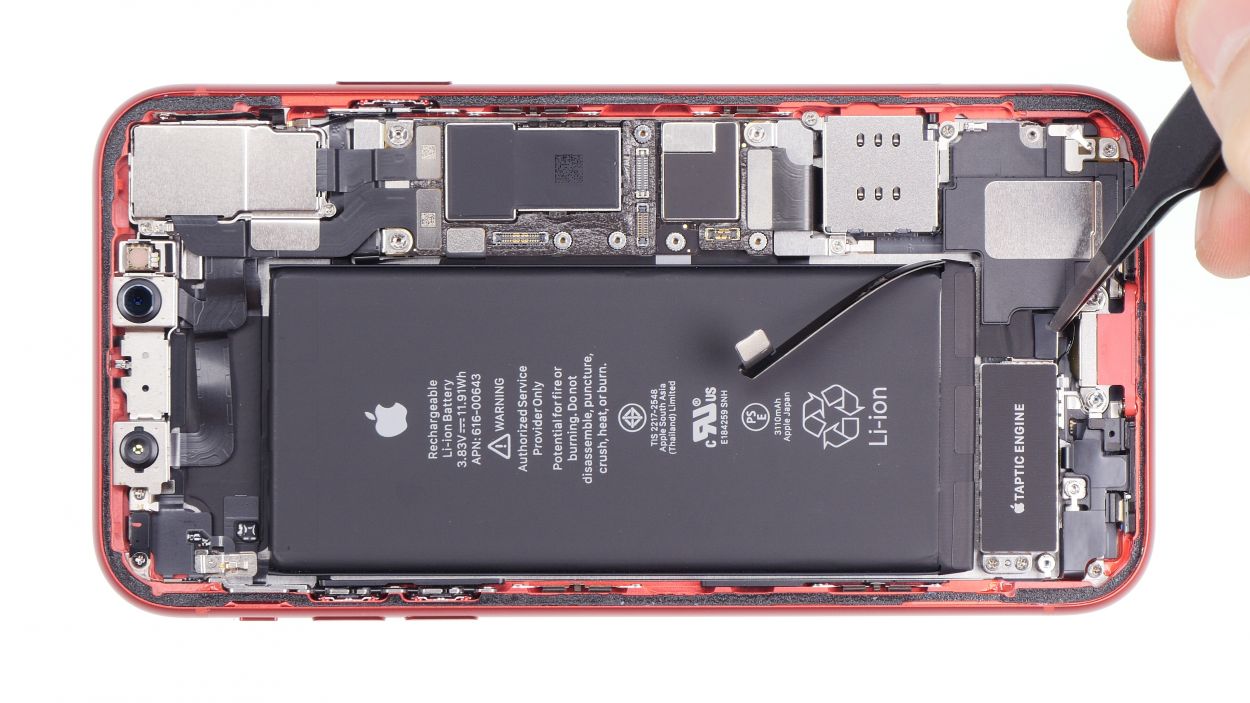
Step 6
4 × 1,5 mm Phillips
1 × 1,2 mm Phillips
The best way to tackle this is with a handy magnetic pad. It’s perfect for organizing your screws just like they were in the device. They’ll stick around, and you won’t lose a single one!
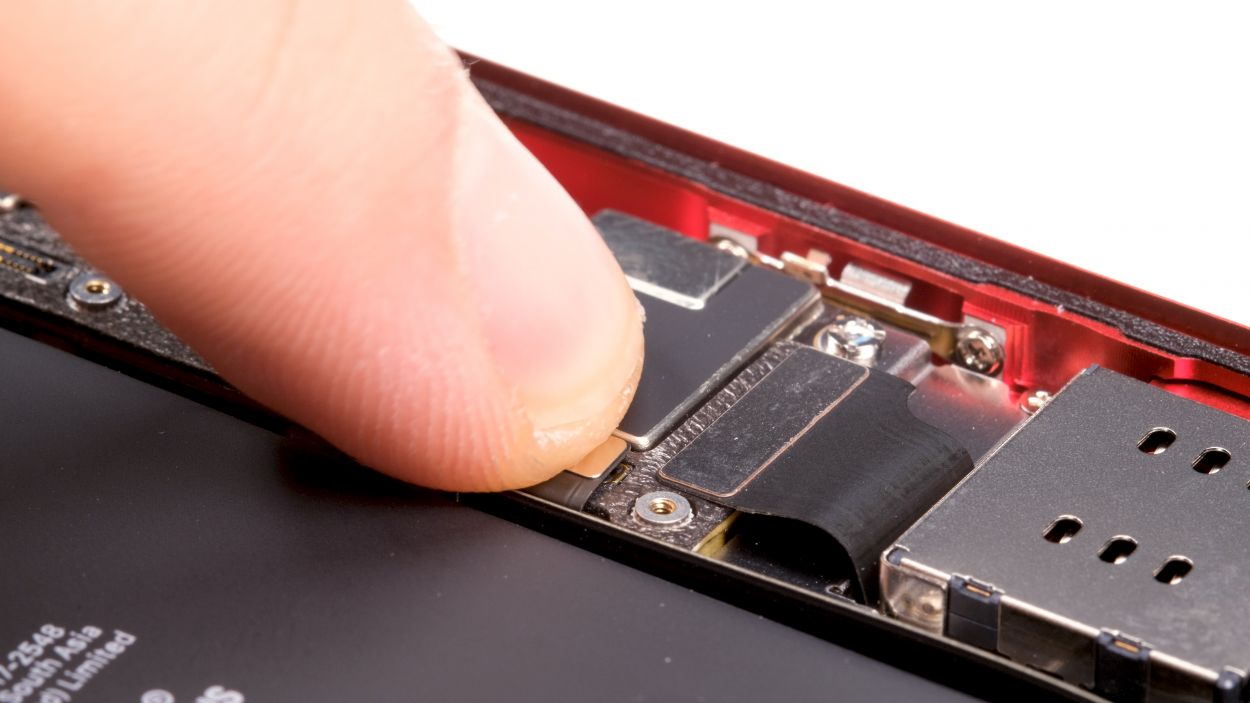
– Unscrew the cover plate over the speaker to reveal the inner workings! Just a heads-up, those screws come in different lengths, so keep an eye on them to avoid a mix-up.
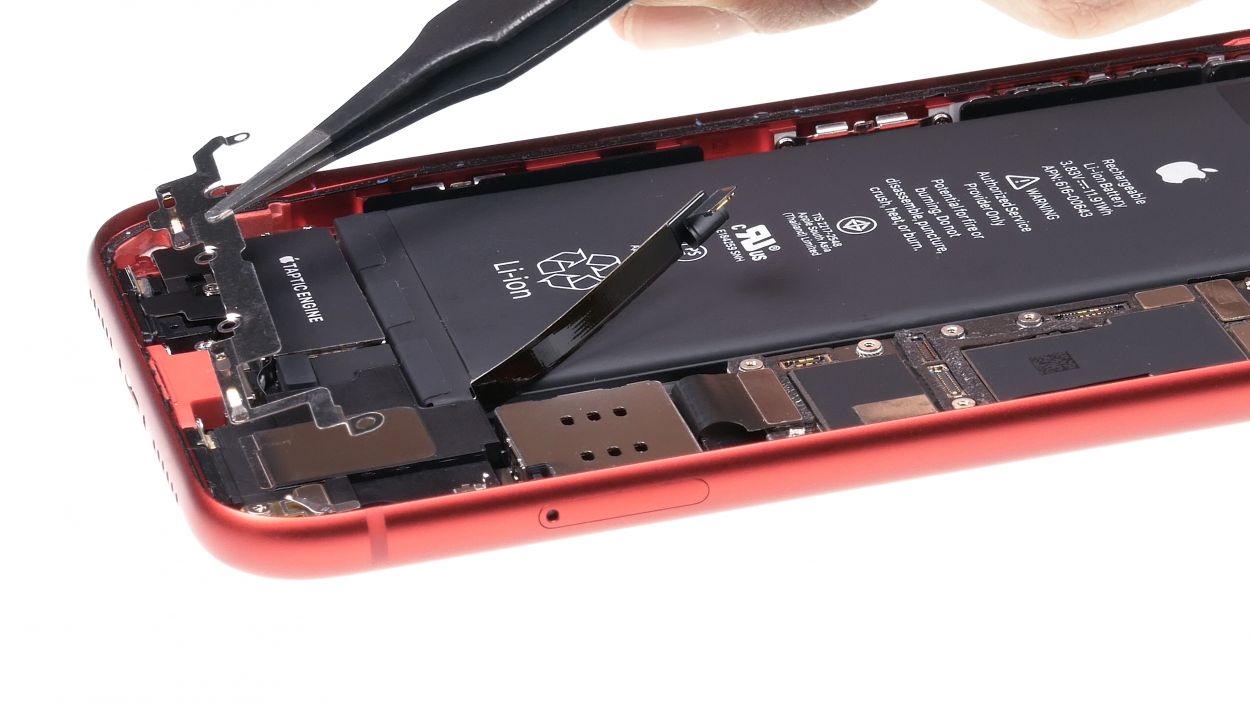
Step 7
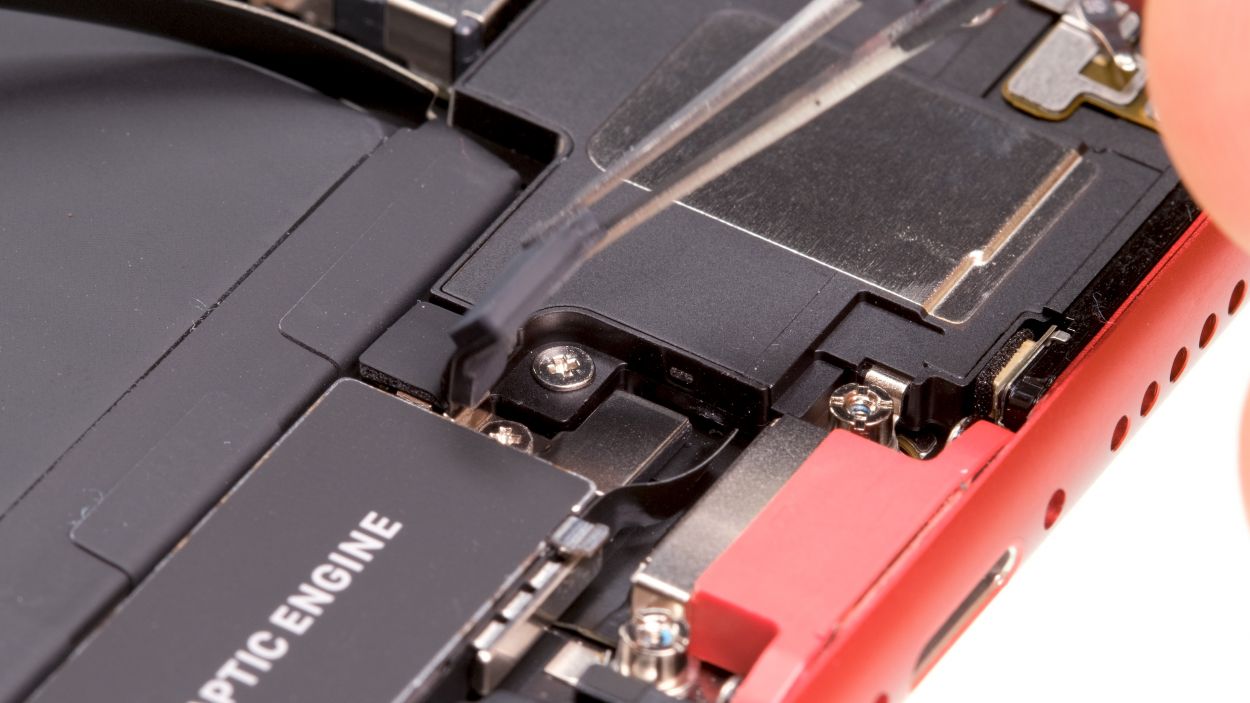
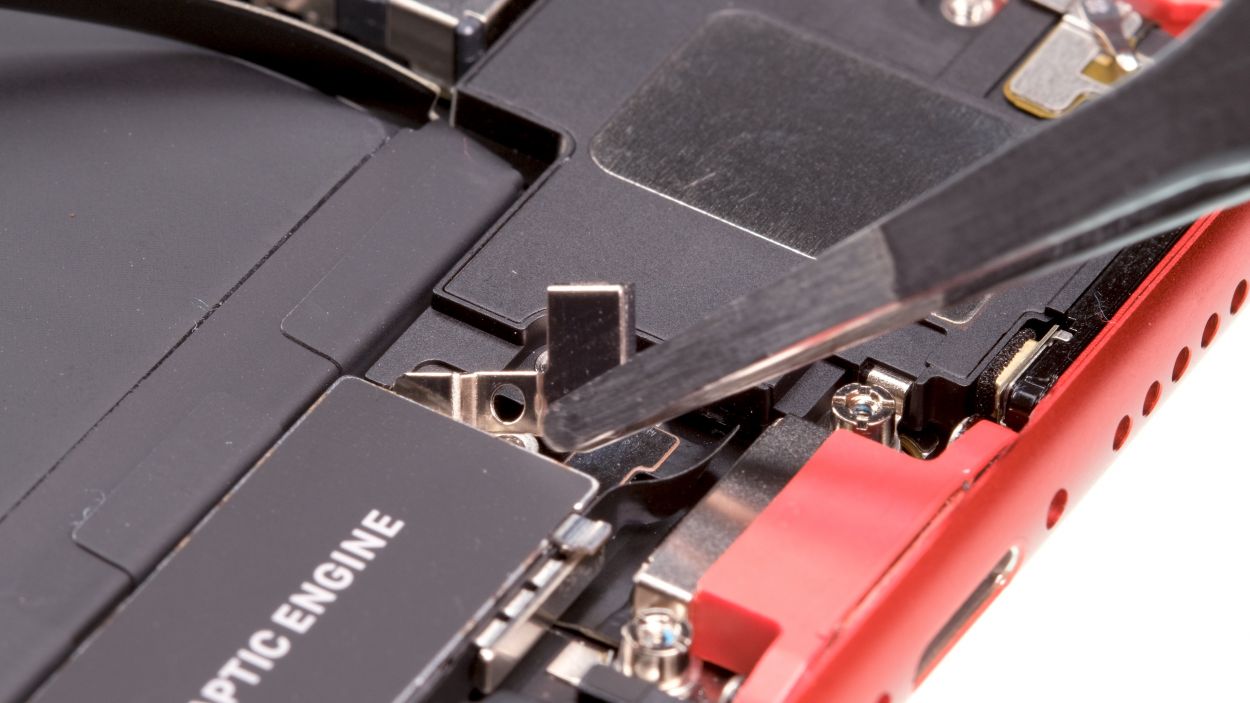

3 × 1,5 mm Phillips
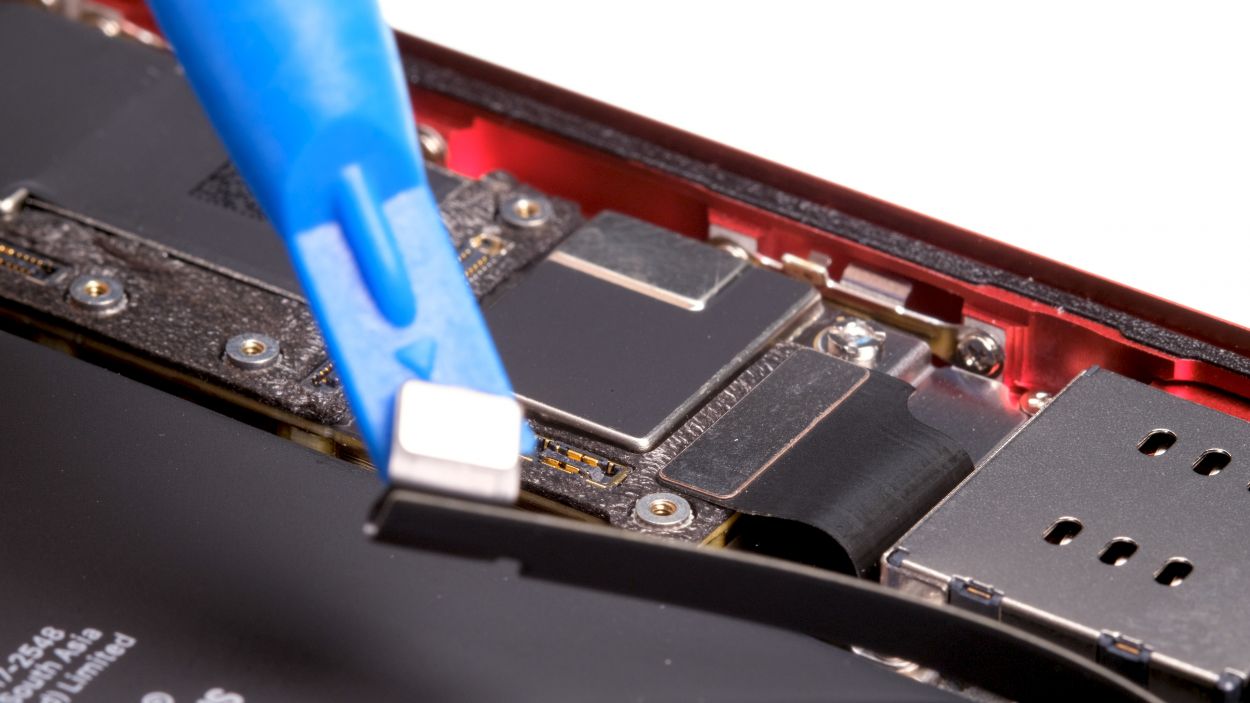
Taptic Engine Connector
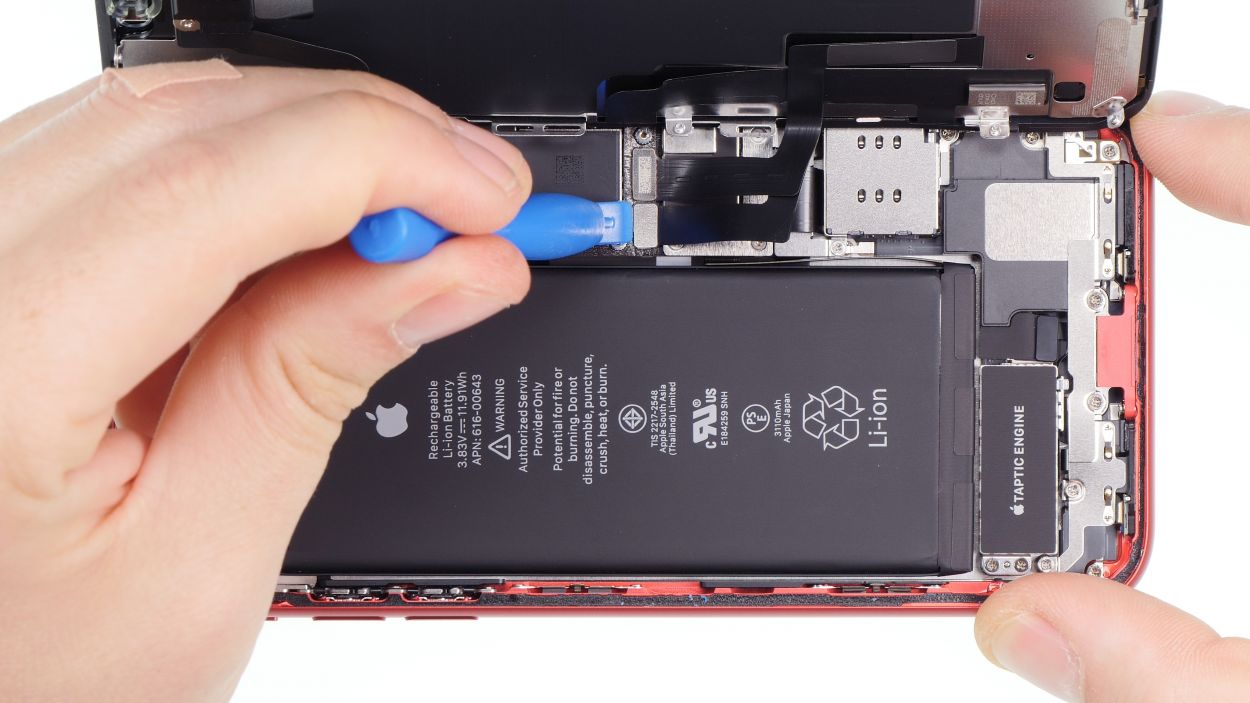
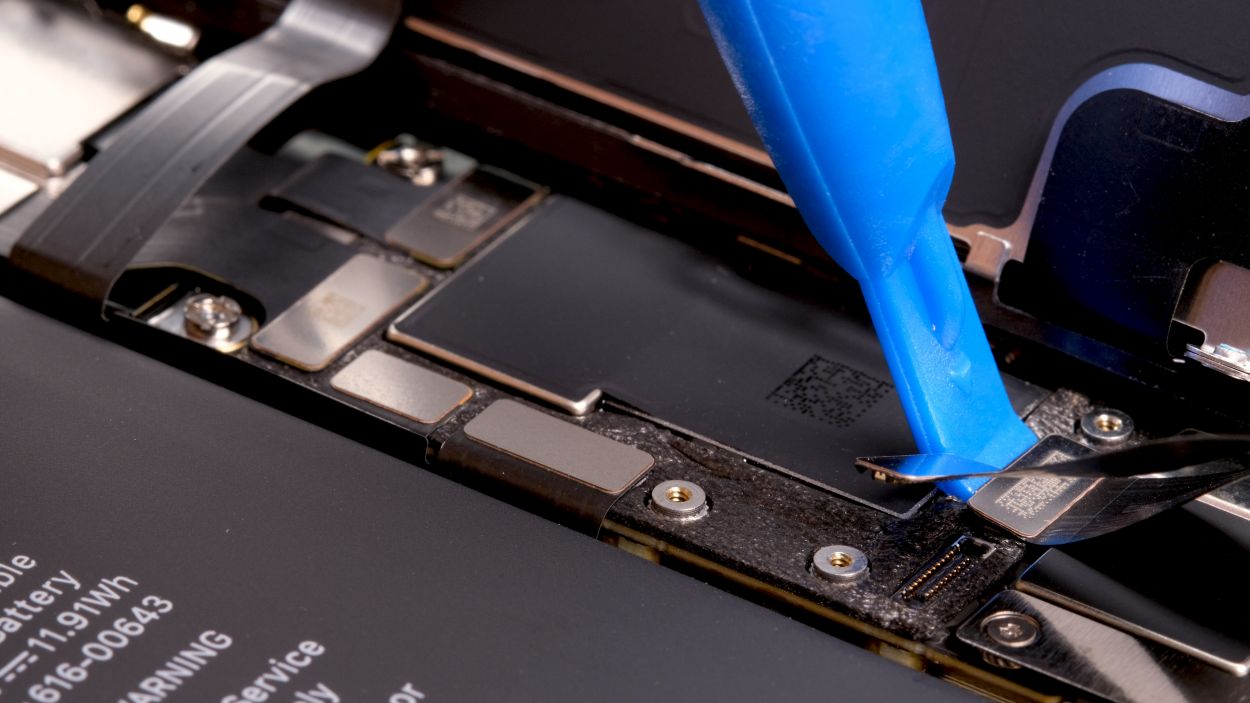
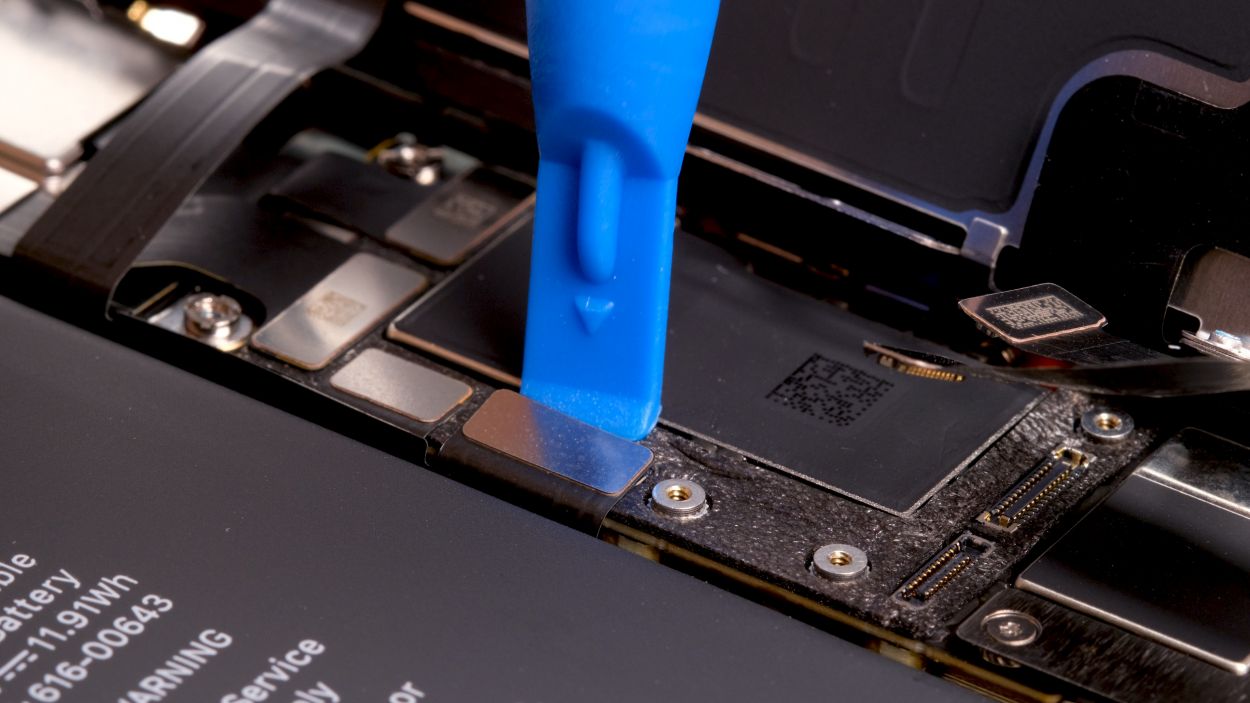
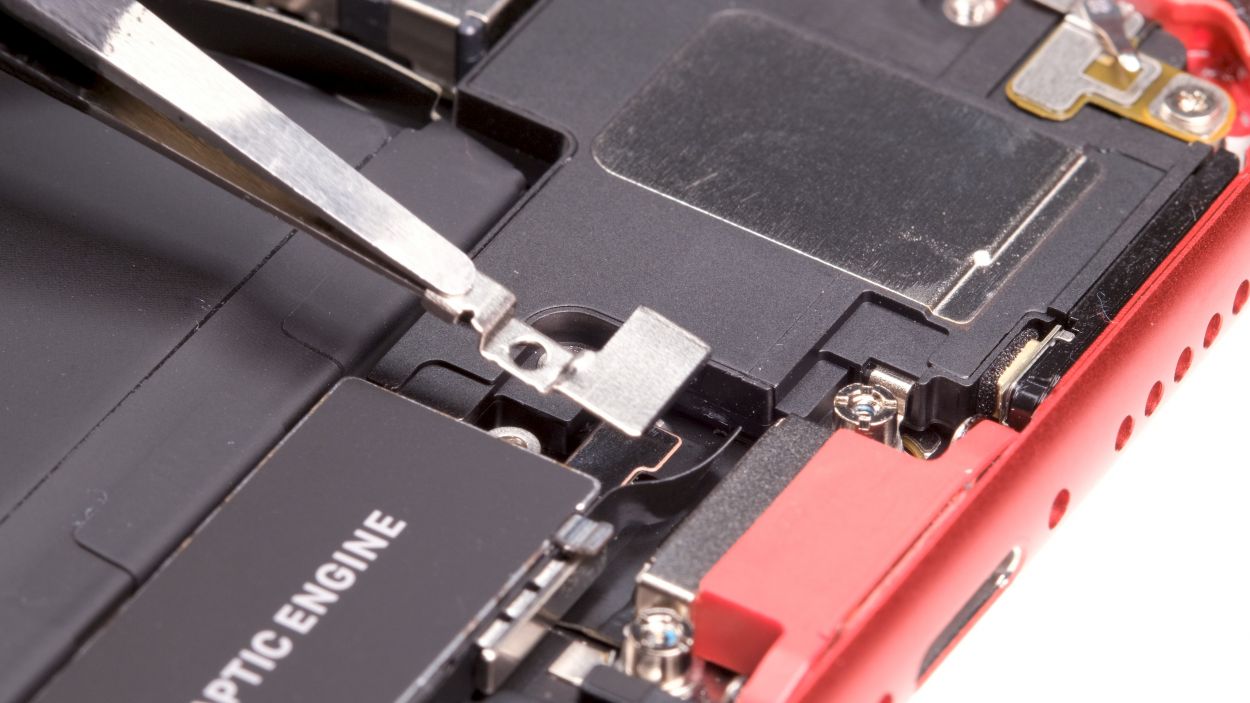
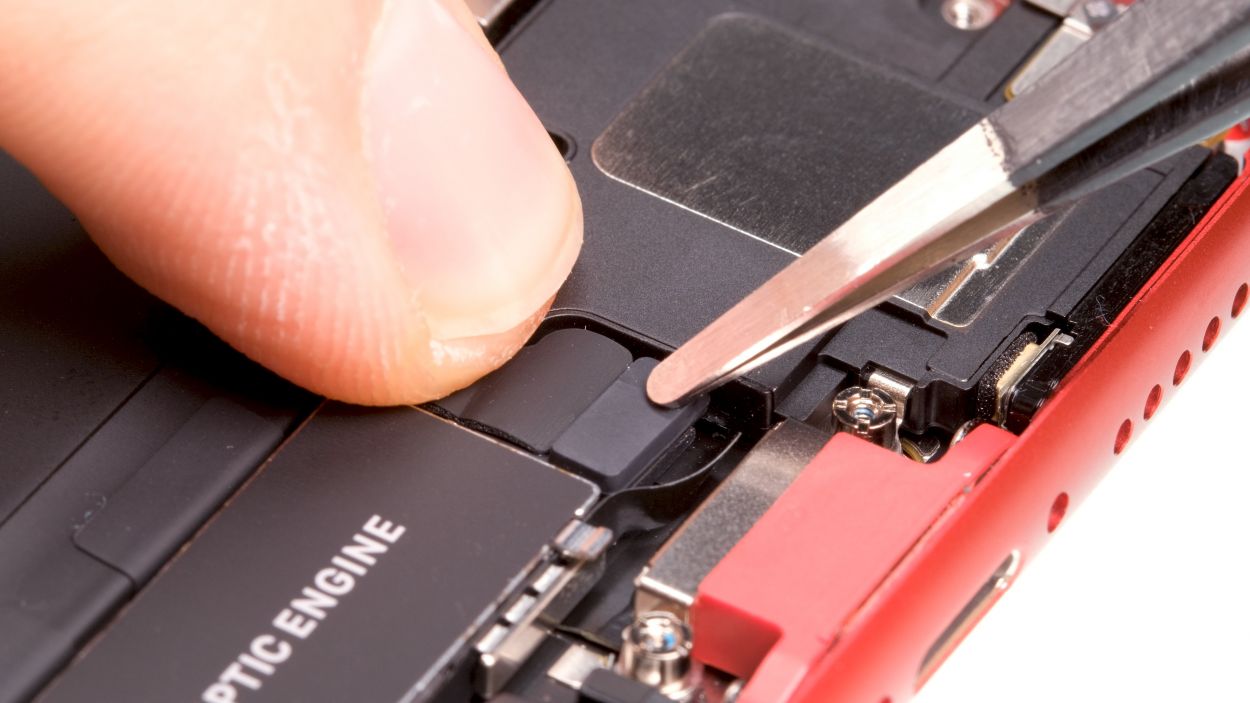
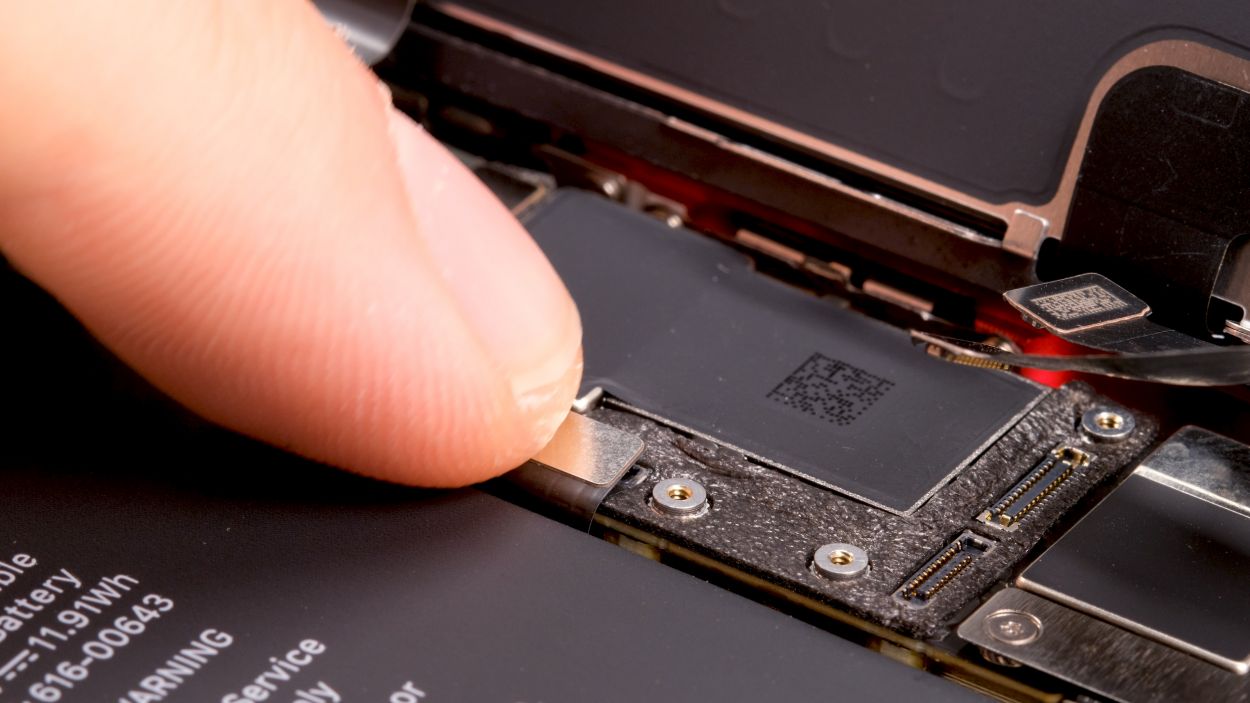
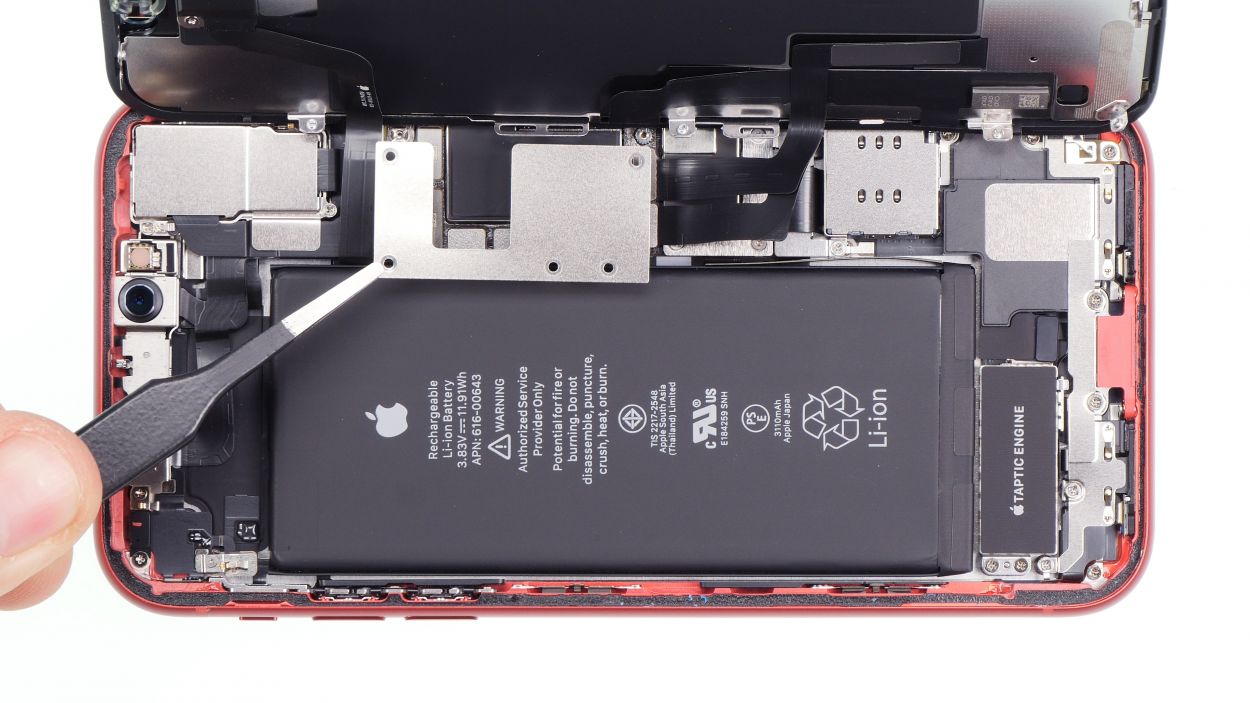
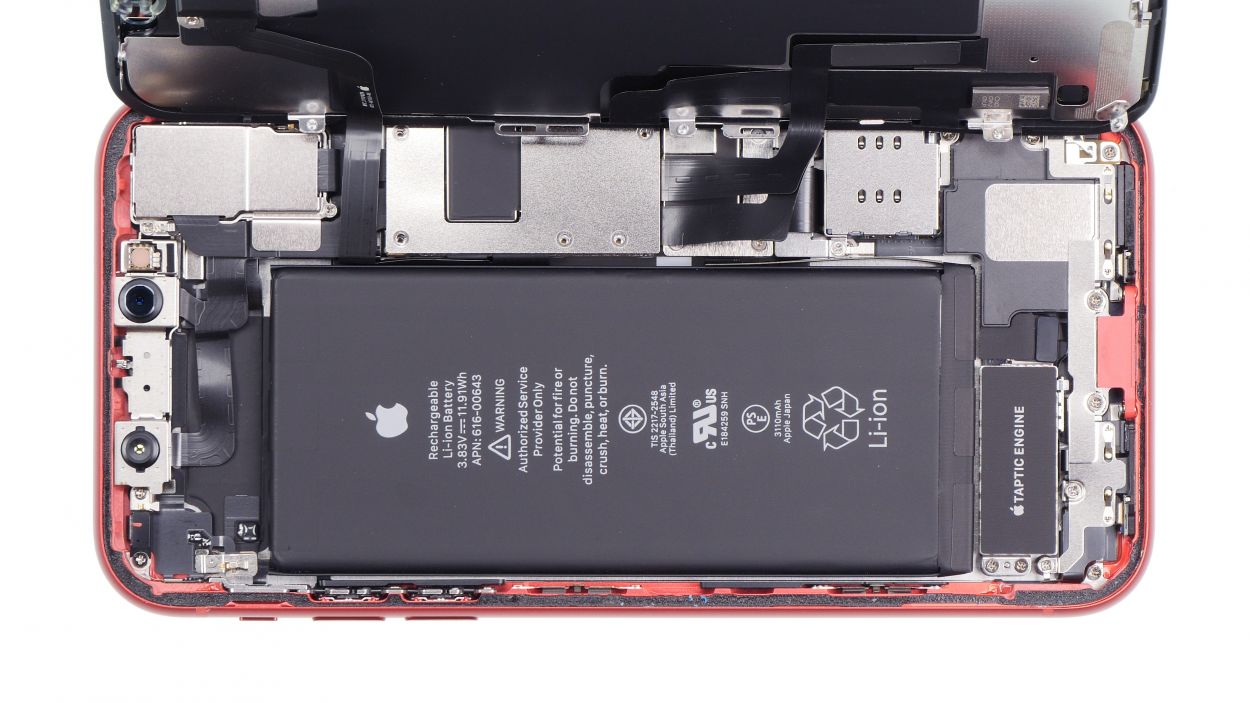
– Gently peel away the slightly glued rubber cover that’s hanging out over the Taptic Engine’s contact. No need to rush!
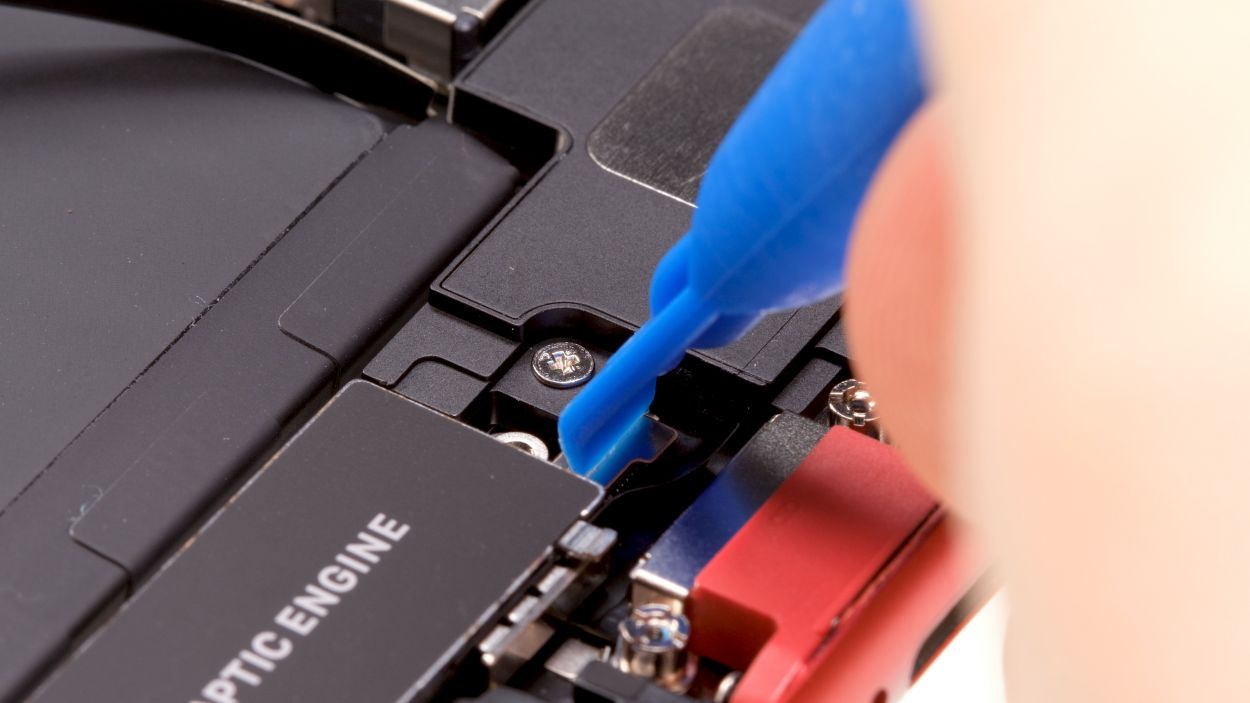
– Next up, loosen those screws on both sides of the Taptic Engine. They’re just waiting for some love!
– Carefully take off the cover plate and use a spudger to gently loosen the contact. Take your time, we want to keep everything intact!
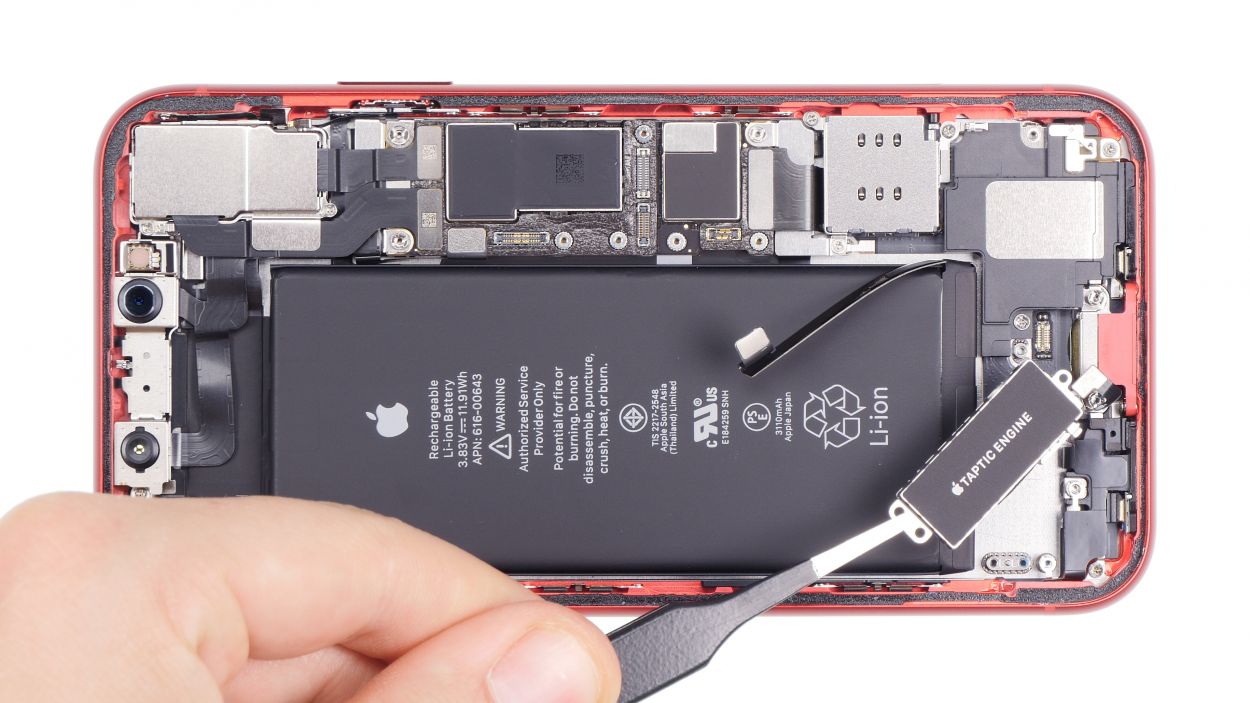
– Now you’re all set to remove the Taptic Engine. Easy peasy!
Step 8


3 × 1,5 mm Phillips
Taptic Engine Connector
– Now, gently slide the Taptic Engine back into your iPhone, ensuring the screw holes align perfectly. It’s like a little puzzle piece!
– Next, connect the Taptic Engine’s connector, pop the cover back on, and secure it with screws. You’re almost there!
– Finally, don’t forget to reattach the rubber cover. You’re doing great!
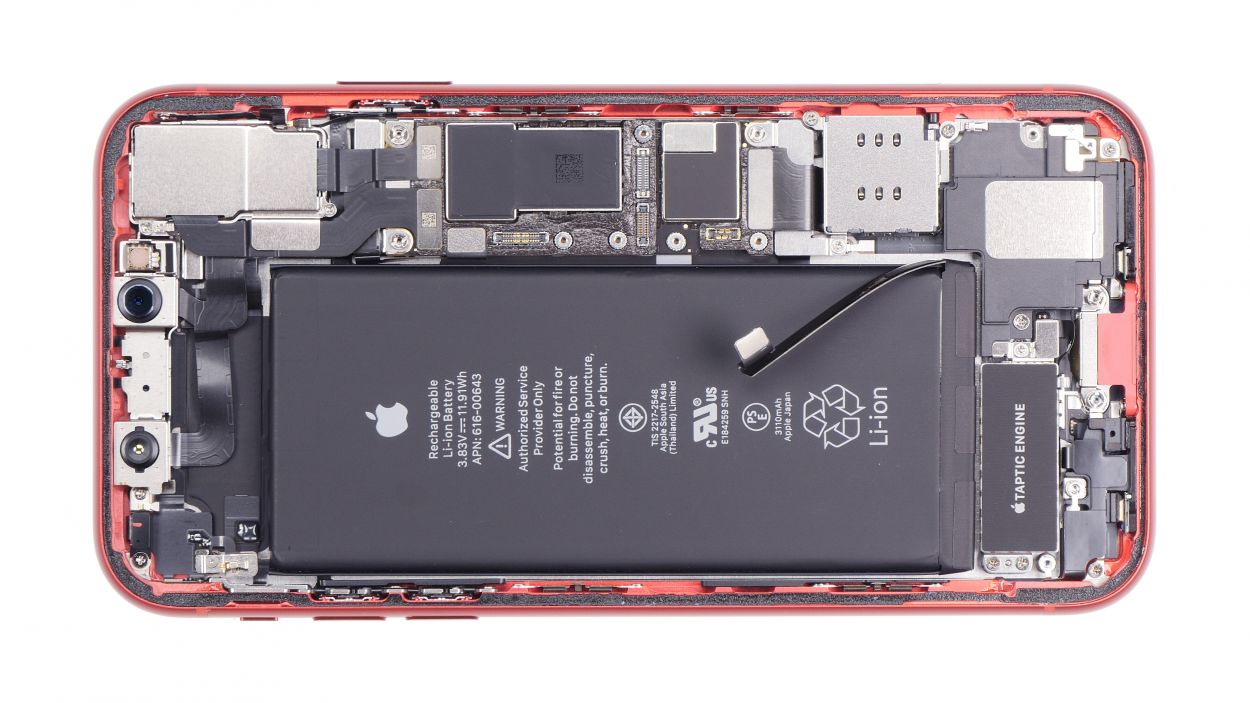
Step 9


4 × 1,5 mm Phillips
1 × 1,2 mm Phillips
– Now it’s time to pop that cover plate back on and give it a snug fit with the right screws. You’re almost at the finish line!
Step 10


3 × 1,5 mm Phillips
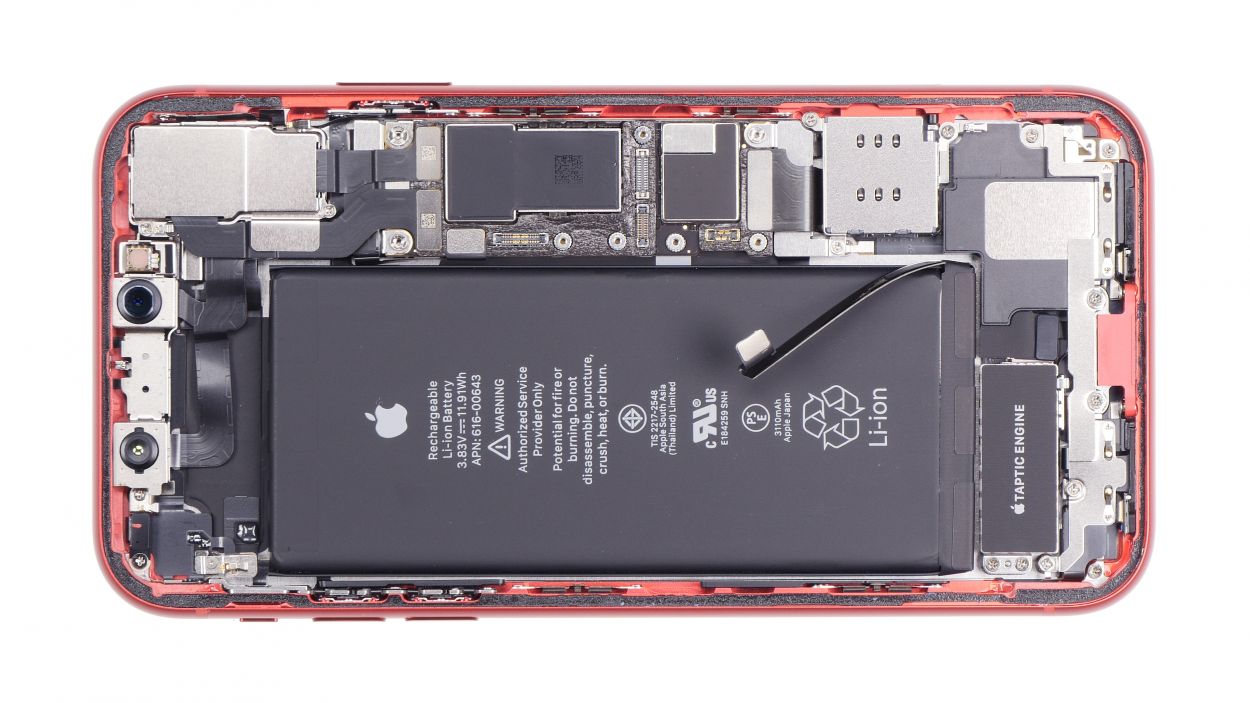
Battery connector
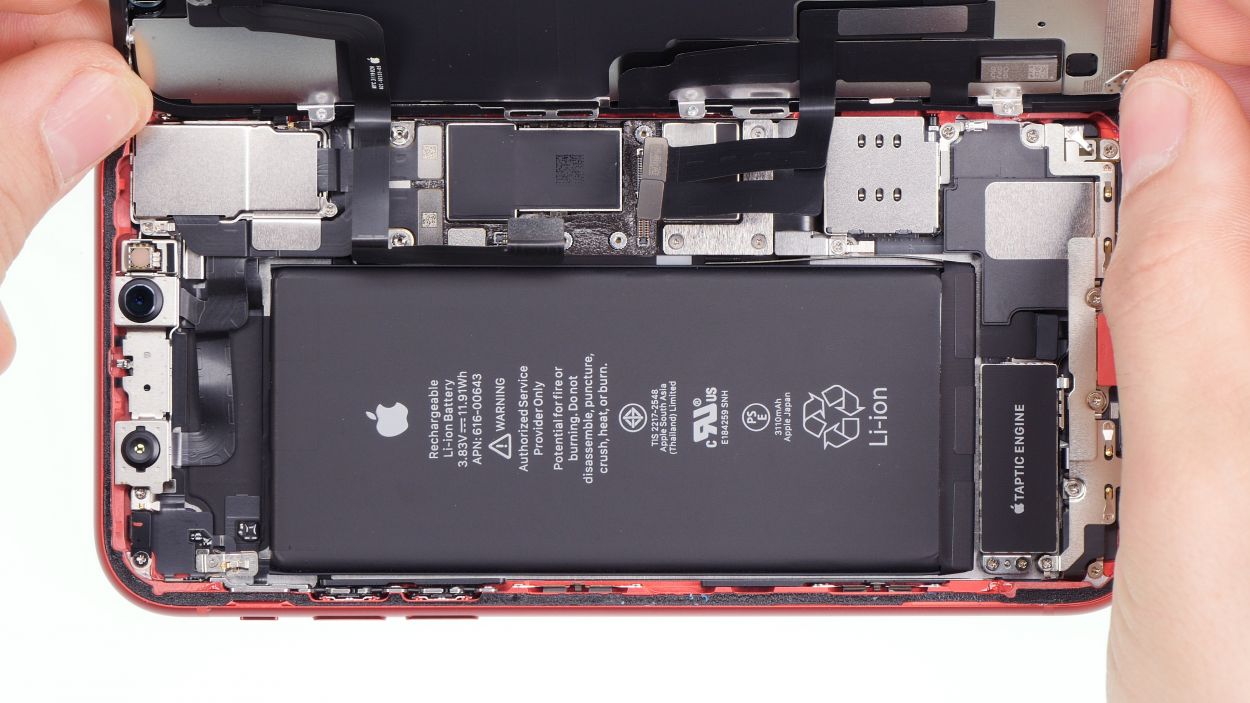
– Carefully position the contact back onto its rightful spot on the logic board and give it a gentle press to secure it in place.
– Now it’s time to reattach the metal cover and fasten it down with those trusty screws.
Step 11
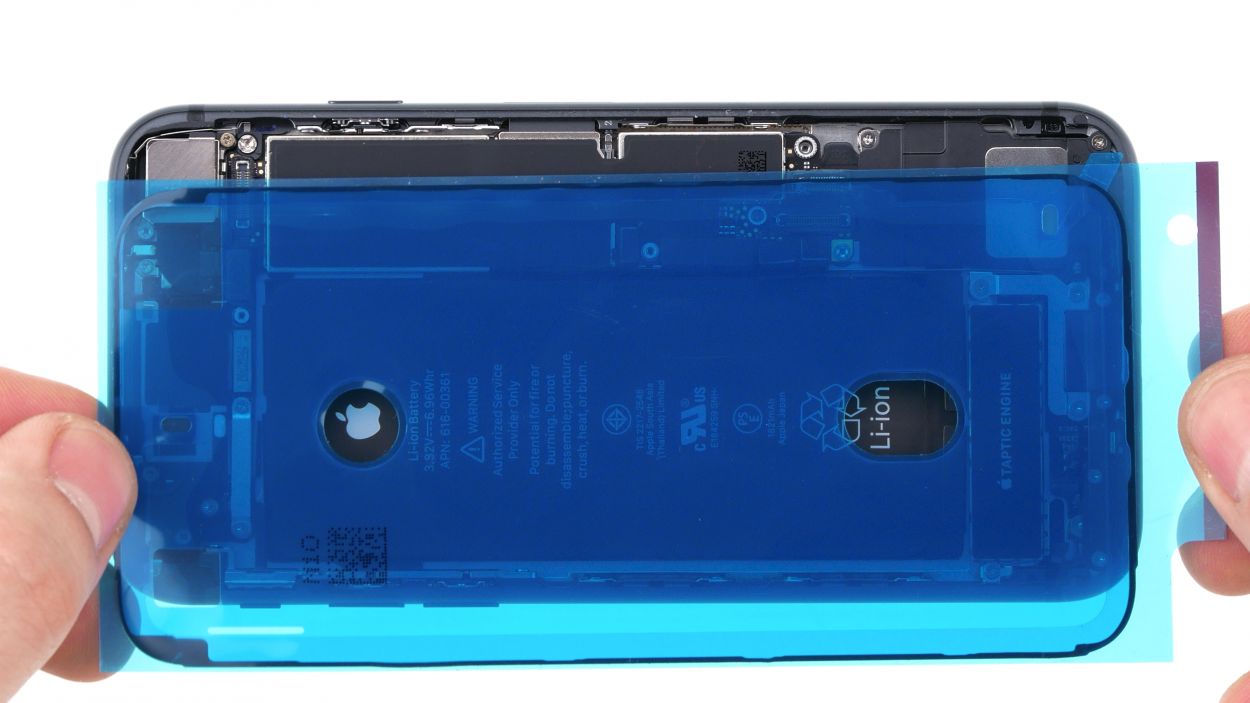
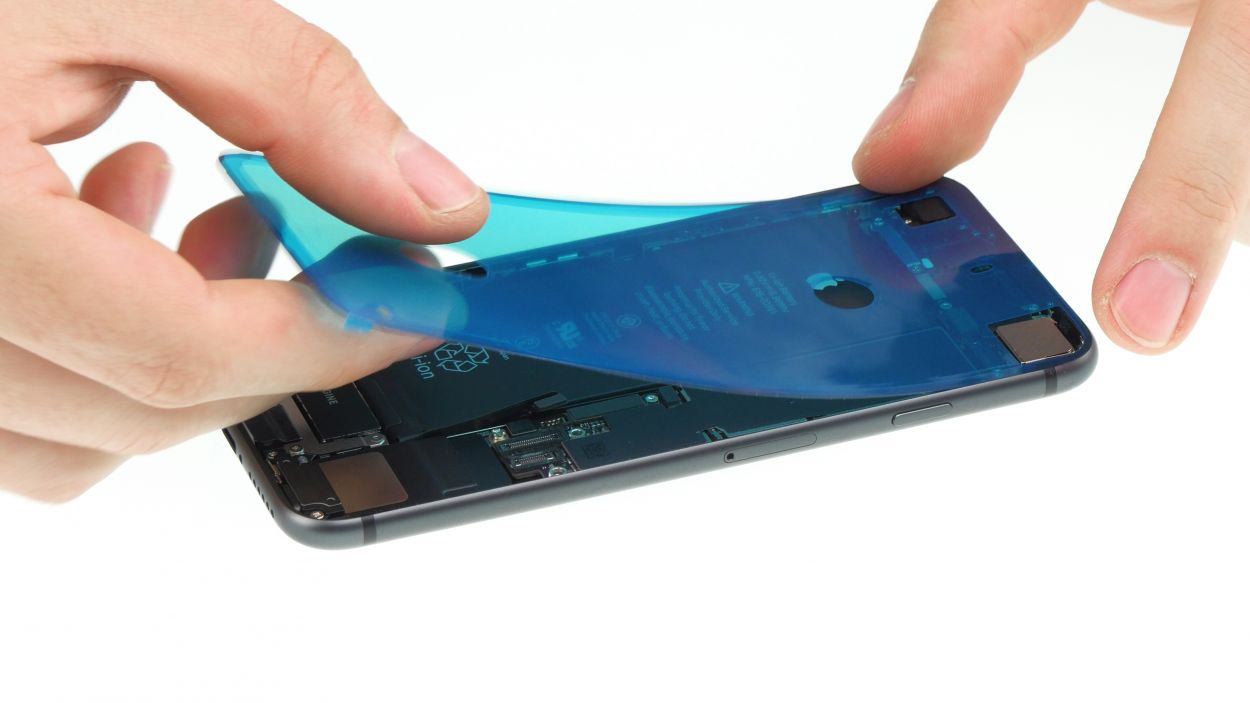
– First things first, let’s clean up that metal frame and display by removing any leftover adhesive residue. This little step will help our new adhesive frame fit like a glove!
– You’re all set to apply that fresh glue frame! Just peel off the first protective film and get ready to stick.
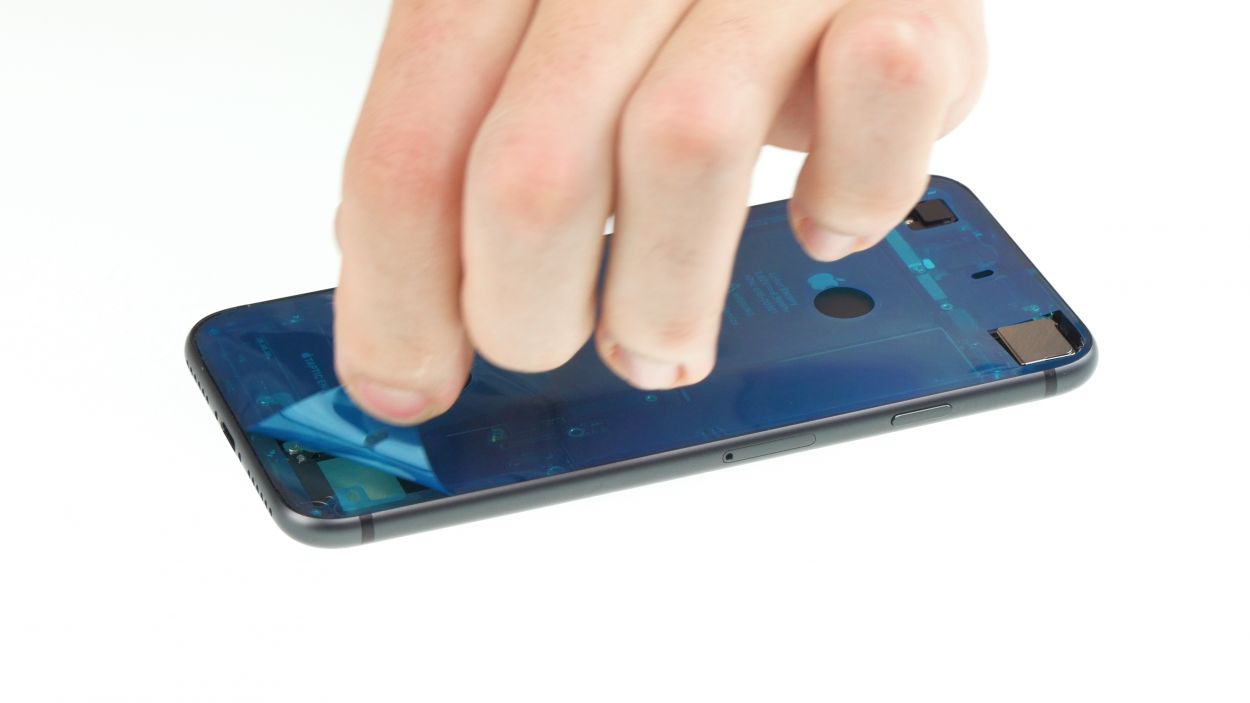
– Start by placing the adhesive frame on one edge of the case. From there, you can gradually apply it to the device. Remember, don’t press down hard just yet—make sure everything’s lined up perfectly first. A plastic spudger can be your best friend here!
– Now, off with the next large protective foil!
– And here’s a pro tip: hold off on removing that last small protective film until you’ve connected the display and secured the cover plates. This way, you can avoid any sticky situations with the adhesive frame!
Hey there! Just a little reminder: after we work our magic, your iPhone won’t be quite the waterproof champion it once was! So, let’s keep it away from the splash zone!
Step 12

Touch connector
Display connector
Earpiece connector
5 × 1,1 mm Y-Type
Hey there! Just a friendly reminder: make sure those connectors fit snugly in your device. Avoid sliding them over the slots on the Logicboard, as that could lead to some unwanted damage to the contacts. Let’s keep everything safe and sound!
– Now it’s time to gently place the display unit back onto the frame. To keep those delicate flexible cables happy, lean the screen against something sturdy while you work. Just be careful not to let your iPhone slip away!
– Once that’s done, reconnect the two display connectors and the earcup connector. You’re on the right track!
– Secure the cover plate with screws of the same length. You’re almost there!
Step 13
– Feeling good about how things are shaping up? Awesome! Now, let’s get that display back on! Grab it with both hands, hover it over the frame, and gently press it down like you’re giving it a warm hug.
– Once the frame is snugly in place, give it a little love all around by pressing down gradually. You’ve got this!
Step 14
2 × 6,8 mm Pentalobe
– Time to secure those two pentalobe screws sitting pretty on either side of the Lightning connector! Just pop them into the enclosure and you’re all set!
