Samsung Galaxy Tab 3 7.0 Teardown
Duration: 45 minutes
Steps: 8 Steps
Let’s dive in and pop open the device to carefully remove the motherboard—step by step, no stress, just solid moves.
Step 1

– First things first – grab all the tools you need! If you don’t have them yet, no worries. You can usually pick up a decent toolkit for around 10 bucks at places like Walmart. Trust me, it’s worth it for the job ahead!
Step 2

– Pop off that micro SD card cover like a pro!
Step 3
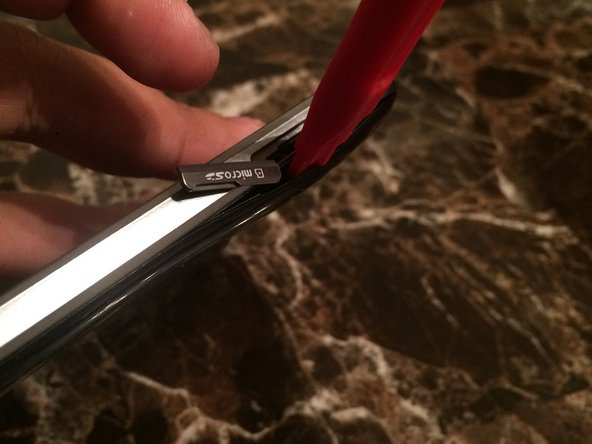

– Grab your mini pry bar.
– Carefully slide it between the back cover and the micro SD card slot.
– Once it’s snugly wedged in there, gently work it around the edges to loosen everything up.
Step 4

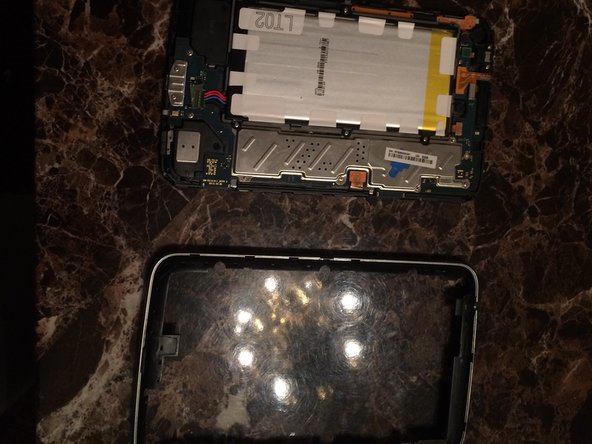
– Now that the back is off, you’re peeking inside!
Step 5

– Flip it over and gently slide the mini pry bar between the screen and the shiny silver border. Work your way around all sides, and before you know it, that silver lining will be popping off the screen like magic!
Step 6

– loosen and remove the screws holding the battery in place
Step 7

– Alright, let’s get those connectors out! Time to detach all of them, one by one.
Step 8
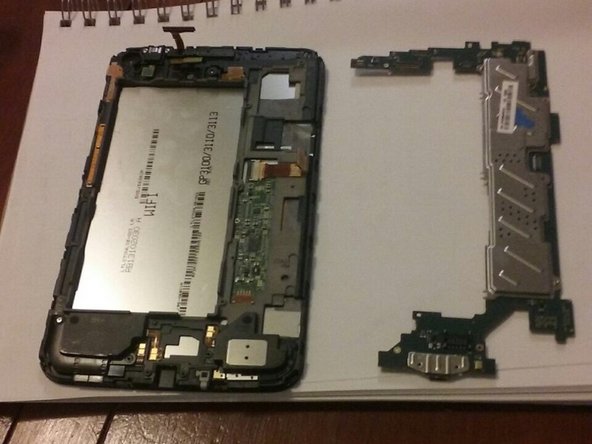

– Start by unscrewing all the screws around the edges. You’ll want to make sure you’ve got every single one before moving on.
– Once that’s done, the motherboard should come right out with a little gentle pull. Easy as that!
Success!