Samsung Galaxy Tab 4 7.0 Screen Replacement
Duration: 45 minutes
Steps: 10 Steps
No heating pad? No problem! Grab a heat gun or crank up a hair dryer to its highest heat setting to get the job done.
Step 1


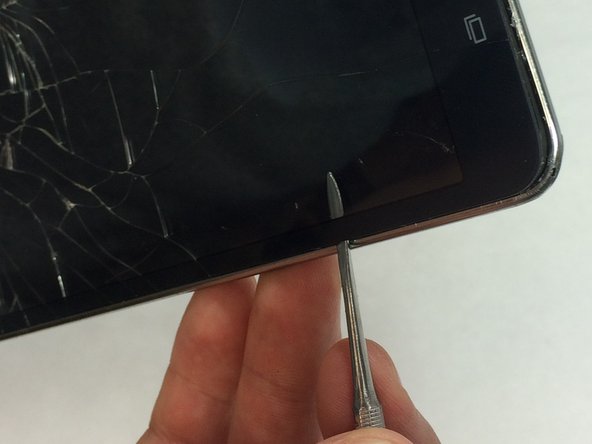
– Begin at any corner and gently slide the pry tool between the shiny chrome screen frame and the sleek black phone housing.
– Carefully glide the pry tool around the tablet, applying just the right amount of force to separate the screen from the phone housing.
Step 2

– Gently pry apart the back cover from the front panel assembly, taking your time to avoid any mishaps.
Step 3


Avoid bending the flat cables at the ends; they might just decide to stay that way forever!
– With your trusty bent tweezers in hand, gently coax those flat cables away from their connectors. You’ve got this!
Tools Used

Step 4


– With your trusty plastic opening tool in hand, gently coax those chip connections away from the motherboard. You’ve got this!
Step 5


– Grab your trusty Phillips 000 screwdriver and carefully unscrew those last five 1.2 mm tiny warriors. You’ve got this!
Step 6


Handle the motherboard with care to keep it safe and sound!
– Gently twist the motherboard away from the rest of the phone, just like in the first photo. You’ve got this!
Step 7


No need to yank out the motherboard to get to the battery, even if the photos make it look that way.
The battery’s stuck to the case with some sticky adhesive, so you’ll need to give it a little muscle to pop it out. Take your time—slow and steady wins the race!
– Slide the spudger under the battery like a pro and gently pop it out of the phone case.
Tools Used

Step 8


When using a heat gun, keep it moving—no roasting one spot for too long, okay?
If you’re rocking the heating pad for this step, you might need to give it a warm-up or two along the way. Keep it cozy!
– Gently warm up the screen’s surface with your heating tool to help loosen the adhesive that’s keeping the screen snugly attached to the phone case. It’s like giving your phone a cozy little spa day!
Step 9


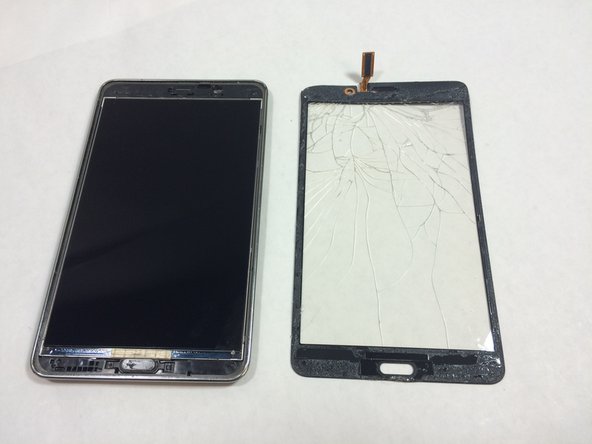
– Gently slide the spudger in between the glass and the shiny chrome outer frame of your tablet.
– Now, take your time and carefully work your way around the screen to detach the glass from the frame.
Tools Used
Step 10


You might need to apply just a bit more pressure to get the screen to detach from the upper edge of the tablet.
– Put your device back together by reversing these steps.
– Cancel: I didn’t complete this guide.
– If you need help, you can always schedule a repair
Success!