Troubleshooting Canon EOS 60D: A Comprehensive Guide
Are you experiencing issues with your Canon EOS 60D camera? Don’t worry, we’ve got you covered! In this article, we’ll walk you through some common problems and their solutions to get your camera up and running in no time.
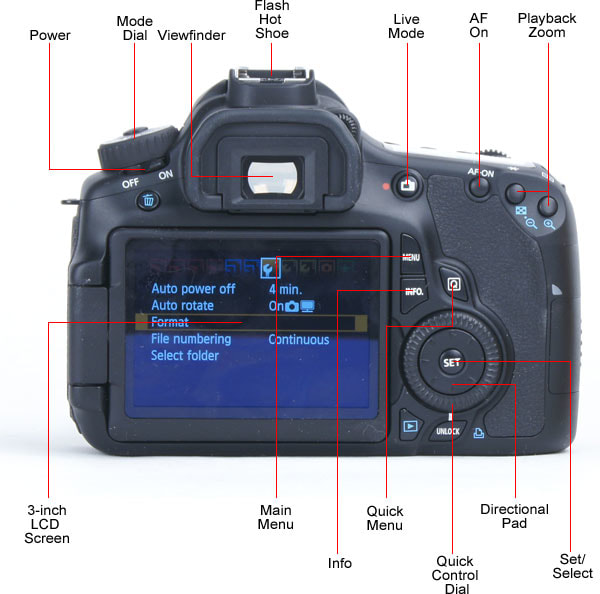
Camera Won’t Turn On
When attempting to use the camera, it does not respond. This can be caused by a dead battery, malfunctioning charger, or a problem with the power switch.
Step 1: Check the Battery
Remove the battery from the camera and plug it into the wall charger. A light will turn on when the battery starts charging. Wait until the battery is 100% charged, which is indicated by a green light, to remove.

Step 2: Check the Charger
If the battery is plugged into the charger and there is an orange light blinking rapidly, check the battery placement in the charger. If the battery is seated correctly in the charger yet it still blinks orange rapidly, you may need to replace the battery charger.
Step 3: Check the Power Switch
When moving the power switch from off to on, the camera is unresponsive. Play around with the switch by wiggling or moving the switch between on and off. After doing so, test to see if the camera is responsive. If the switch still does not work, repair will be needed.
Pop-up Flash Won’t Lift
Upon pressing the caption button with the flash selection on, the flash won’t activate and remains stuck down. This can be caused by an obstruction or a broken flash spring.
Step 1: Check for Obstruction
Check the pop-up flash rail for any form of obstruction that could be blocking the flash. If any object is found, clear it out and try popping up the flash again.

Step 2: Check the Flash Spring
If no obstruction is found on the flash rail, the release spring may be broken. This will require repair or replacement of the spring assembly.
Receive an Error 20 Message
When using the camera, it is unable to capture photos and an error 20 message shows up on the screen. This can be caused by a front lens stuck or an offset mirror.
Step 1: Check the Front Lens
Remove the front lens cover and check for a blocked or obstructed shutter. If obstruction is found, remove it so that the shutter can operate properly.
Step 2: Check the Mirror
After the front lens is removed, check to make sure if the mirror inside the camera is in the correct placement. If the mirror turns out to be offset, correct its placement by making sure no debris is stuck in the camera.
Rubber Grips are Falling Off
After constant use of the camera, the rubber grips wear and begin to come off. This can be caused by bad adhesive.
Step 1: Add New Adhesive
If the rubber grips on the camera begin to fall off, add new adhesive to the back of the grips to make sure it has proper adhesion.
Auto-focus Won’t Work
When taking a photo, the auto-focus feature doesn’t seem to work properly. This can be caused by a poor connection or broken pins.
Step 1: Check the Connection
When using Auto Focus and the lens does not respond, check the device connections. Remove the front lens to observe the gold pins on the bottom. Clean the pins for an accurate connection.
Step 2: Check the Pins
After removing the lens and checking the pins, if one or more of the pins appears to be bent, missing or broken, then the pin assembly will need replacement.
At Salvation Repair, we offer a limited lifetime guarantee of all parts and labor. If you’re experiencing any issues with your Canon EOS 60D camera, schedule a repair with us today!


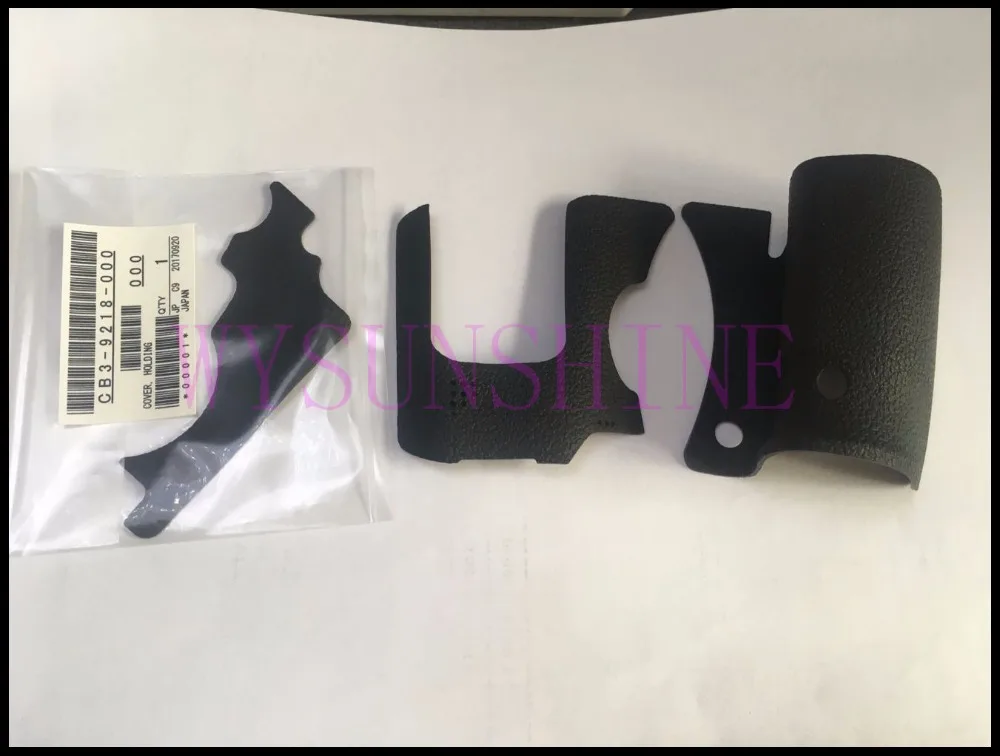
 back cover“>


 back cover“>


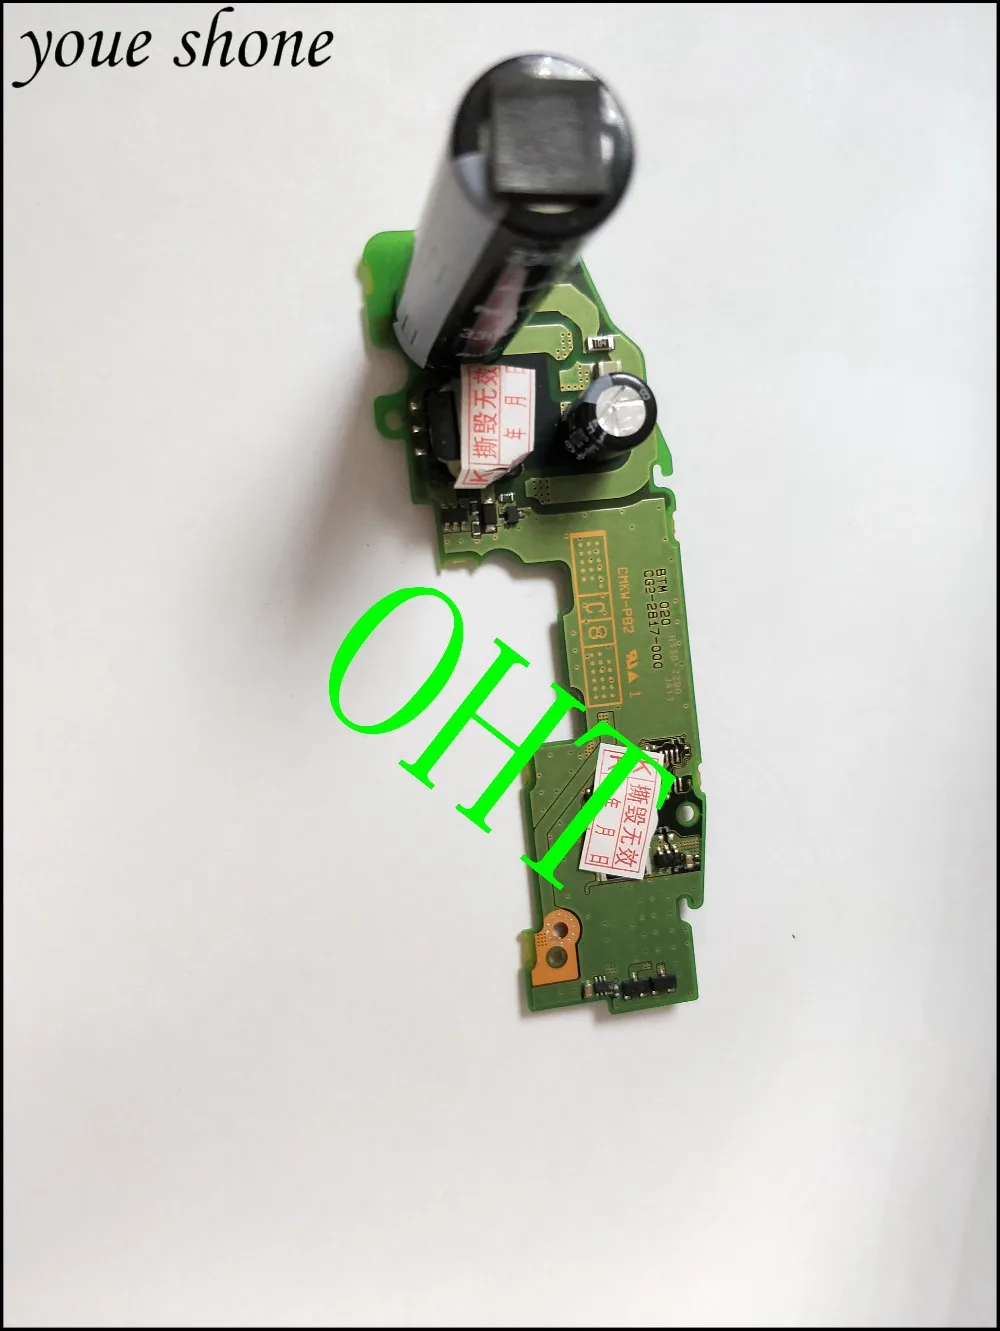

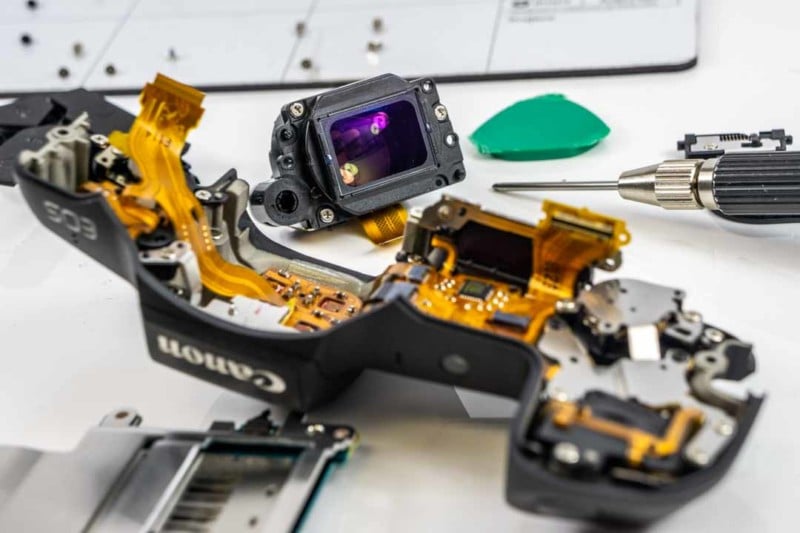
 motherboard-for-canon-60D-main-board-60D-mainboard-Repair-Part.jpg” alt=”Canon EOS 60D
  back cover“>
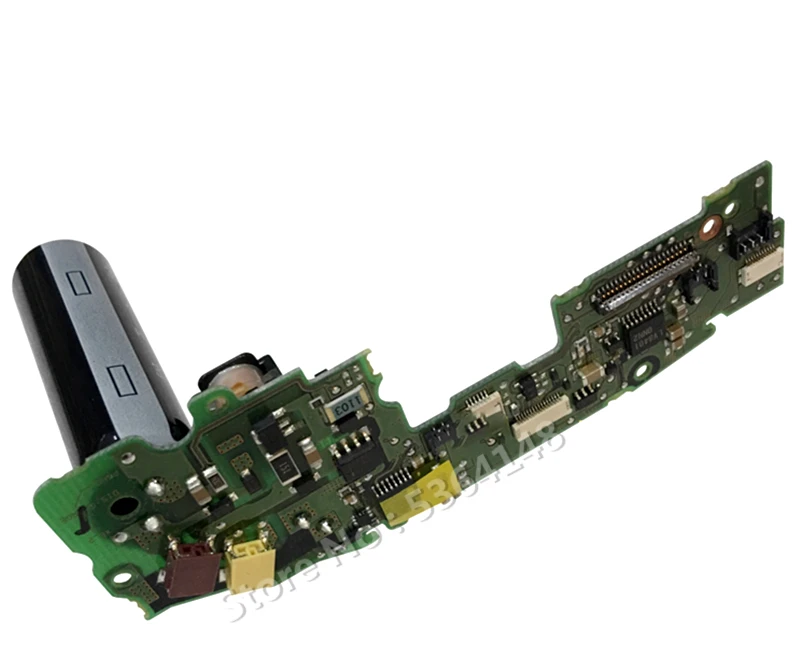
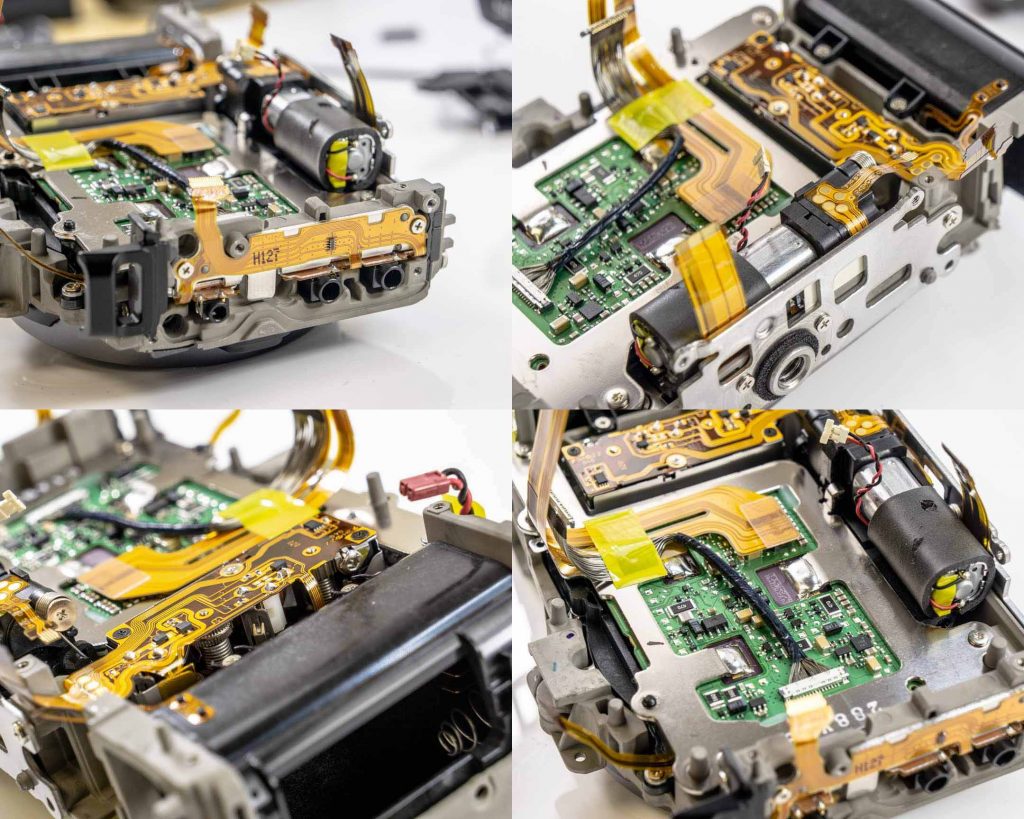
 motherboard removal”>
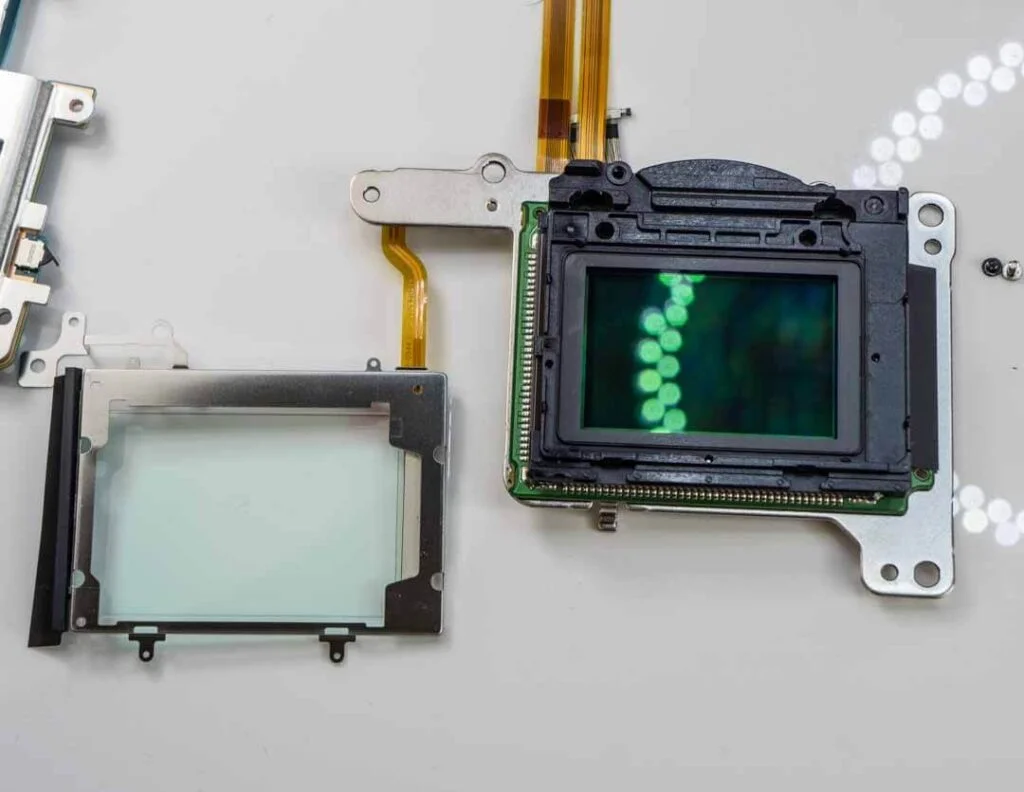 screen“>
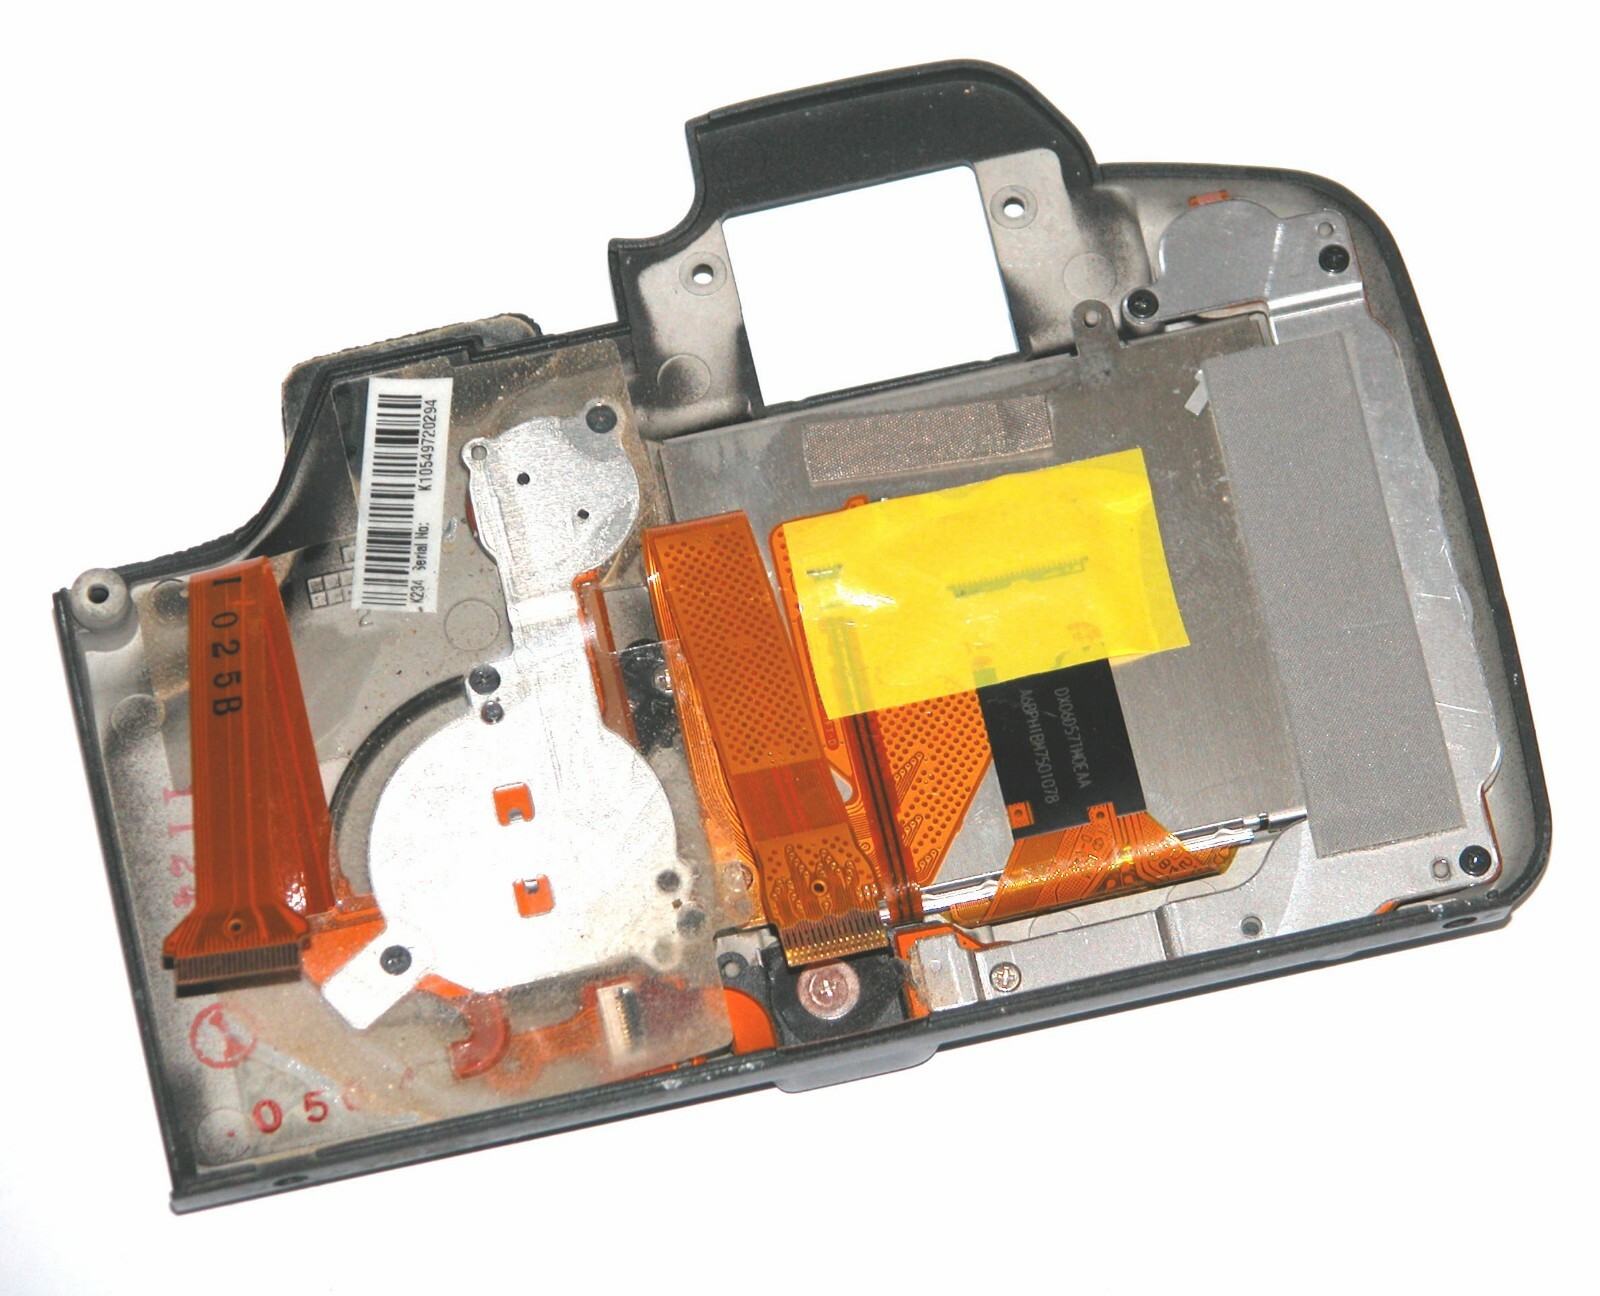

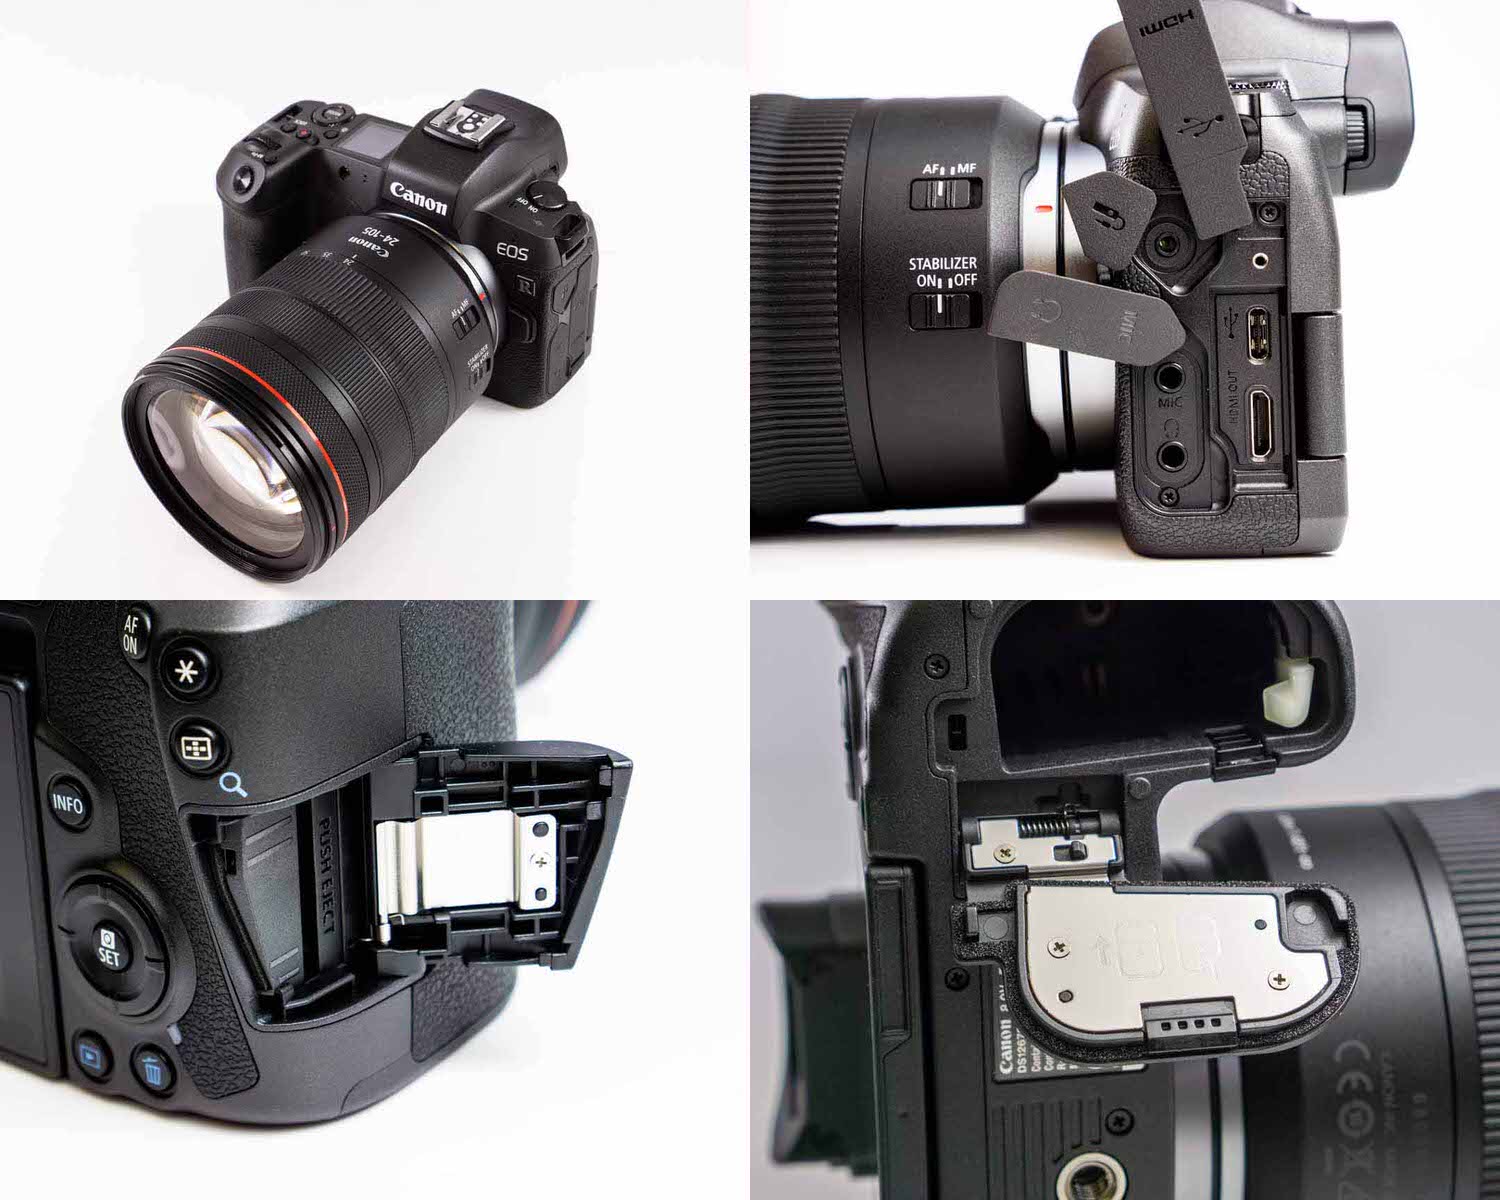


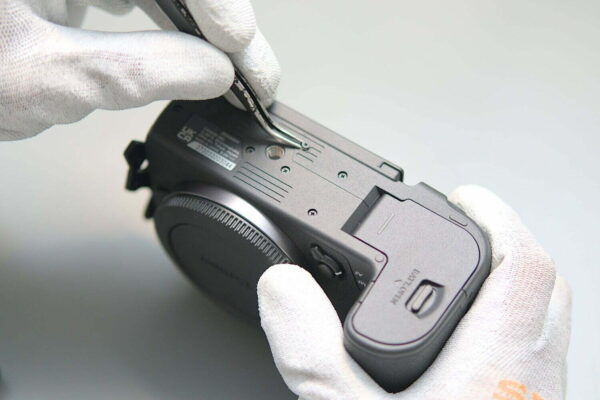

 battery door”>