Smart Phone Repair Laurel MS: Top 3 Flawless Tips
Why Finding the Right Smartphone Repair in Laurel Matters
Smart phone repair laurel ms offers multiple local options with same-day service, typically completing repairs in 20-60 minutes. Here’s what you need to know:
Quick Answer for Laurel Residents:
- Fastest Service: Most repairs completed in 20-30 minutes (C Spire) or under 60 minutes (iFixandRepair, Laurel Cellphone Repair)
- Same-Day Options: Available at iFixandRepair (Walmart location), The Fix (Walmart), Salvation Repair, and Laurel Cellphone Repair
- Common Repairs: Screen replacement, battery replacement, charging port repair, water damage
- Warranty Coverage: 6-month warranty (Laurel Cellphone Repair) or lifetime warranty (Salvation Repair)
- Free Services: Free diagnostics and estimates available at most locations
- Brands Serviced: iPhone, Samsung, Android devices, and most major smartphone brands
When your phone screen cracks or your battery dies, everything stops. You can’t check messages, steer to appointments, or stay connected with work and family. In Laurel, MS, you need a repair solution that’s fast, affordable, and reliable.
The good news? Laurel has several repair shops that can fix most smartphone issues while you wait. The challenge is knowing which one offers the best combination of speed, quality parts, and warranty protection for your specific device.
What matters most when choosing a repair shop is turnaround time (can they fix it today?), cost transparency (do they offer free estimates?), and warranty coverage (what happens if something goes wrong?). With repair times ranging from 20 minutes to same-day service across Laurel locations, you have options that fit your schedule.
I’m Ralph Harris, and with over 20 years in electronics repair and 500+ Apple repair certifications, I’ve seen every type of smartphone damage imaginable and know what separates a quality smart phone repair laurel ms service from the rest. My goal is to help you get back online quickly with a repair that lasts.
Smart phone repair laurel ms terms you need:
- device repair near me
- iPhone no power repair
- computer repair laurel
Tip 1: Evaluate the Range of Services and Brands Supported
When your phone hits the pavement screen-first or mysteriously refuses to turn on, your first thought is probably, “Can this even be fixed?” Here’s the good news: smart phone repair laurel ms shops can handle just about any problem you throw at them. But not all repair shops are created equal, and knowing what services they offer and which devices they support can save you time and frustration.
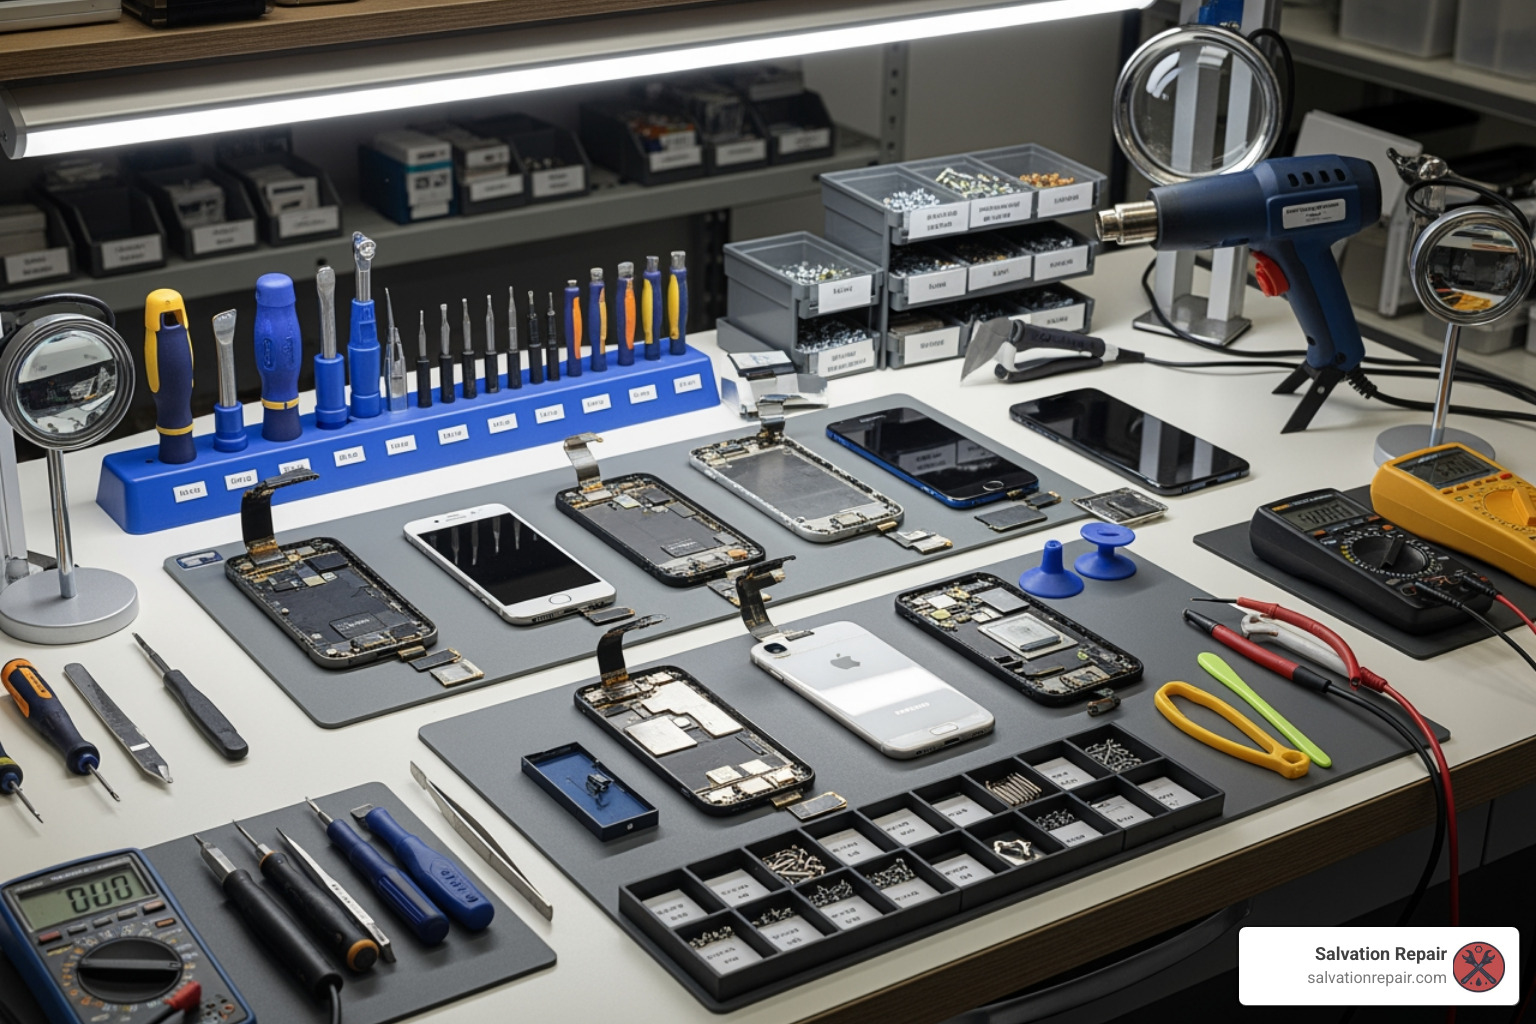
A quality repair shop isn’t just about replacing cracked screens. The best technicians in Laurel can tackle everything from battery replacements to water damage recovery, and they work on devices ranging from the newest iPhones to older Android models, tablets, and even gaming consoles. The key is finding a shop that has both the expertise and the parts inventory to fix your specific device quickly.
Common Smartphone Issues Addressed in Laurel
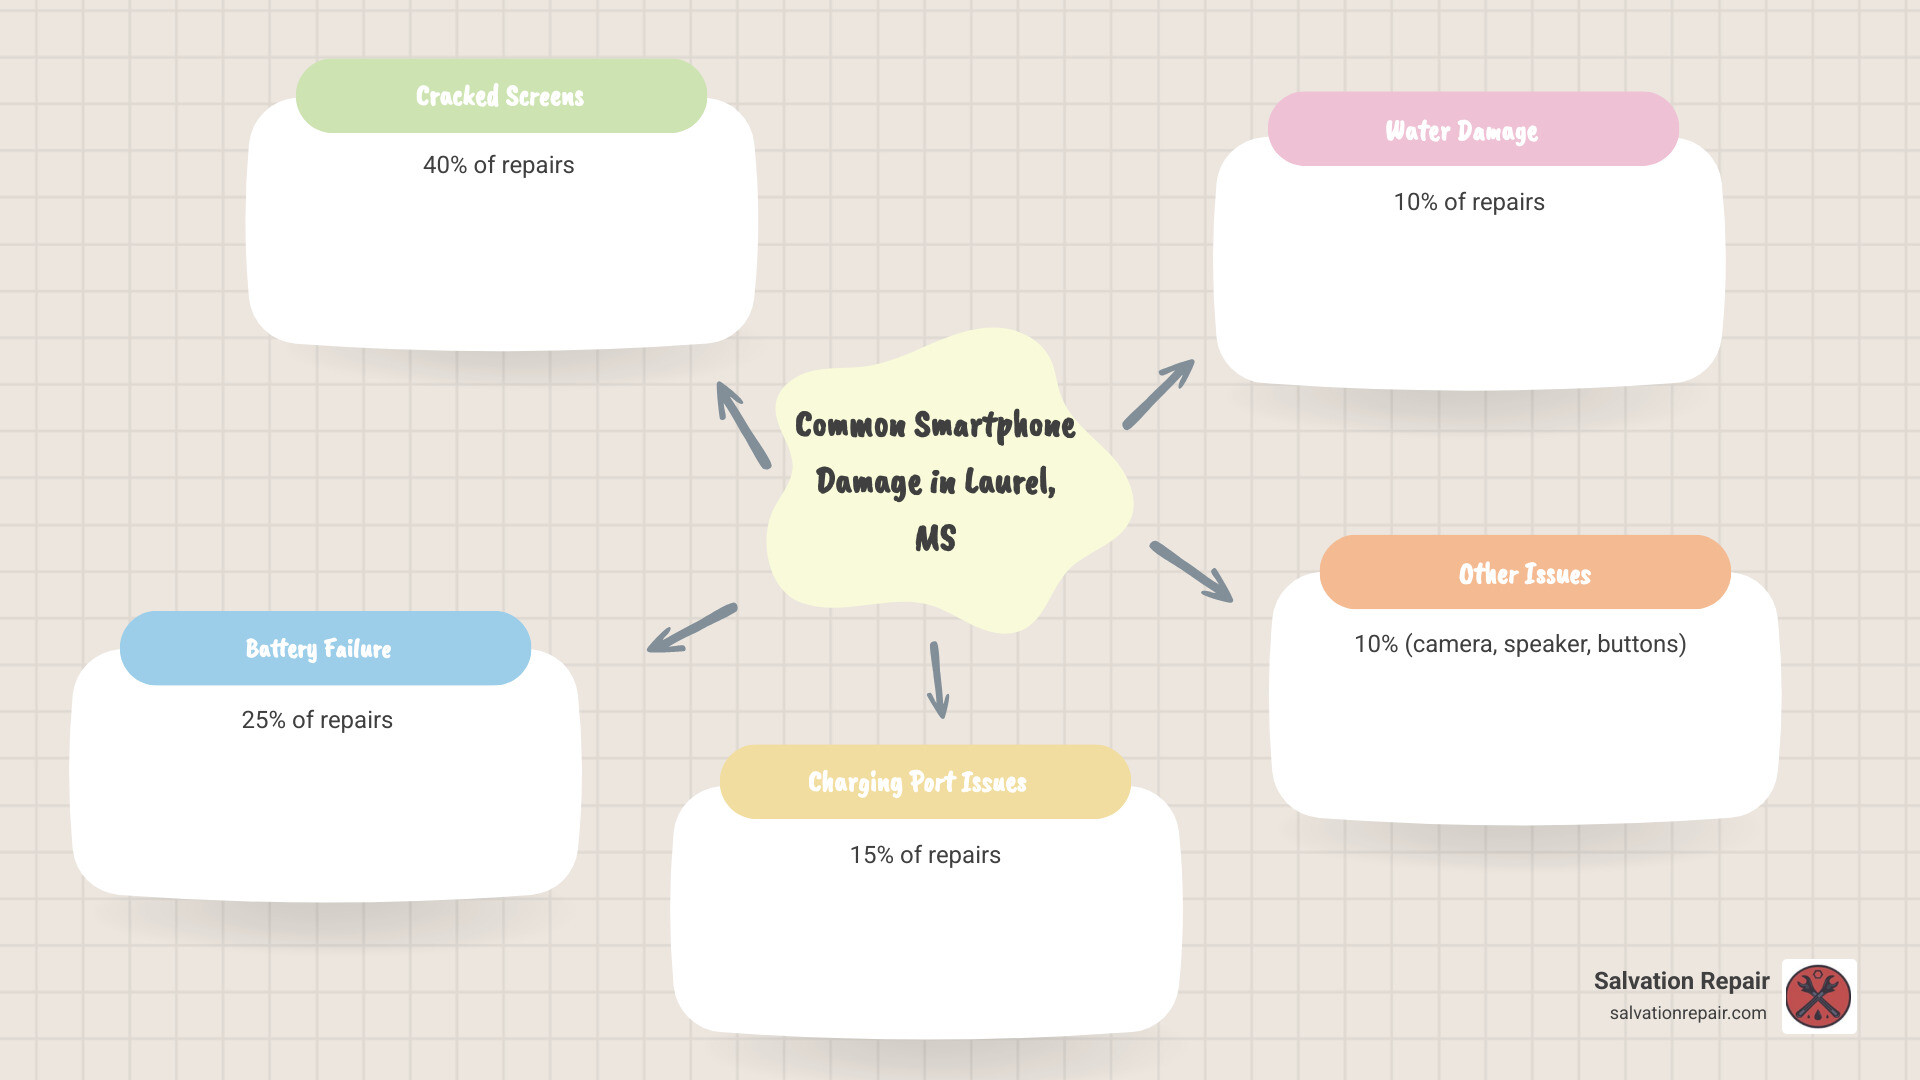
Your phone takes a beating every single day. It gets dropped, splashed, overheated, and constantly handled. That’s why certain problems show up again and again at repair shops across Laurel.
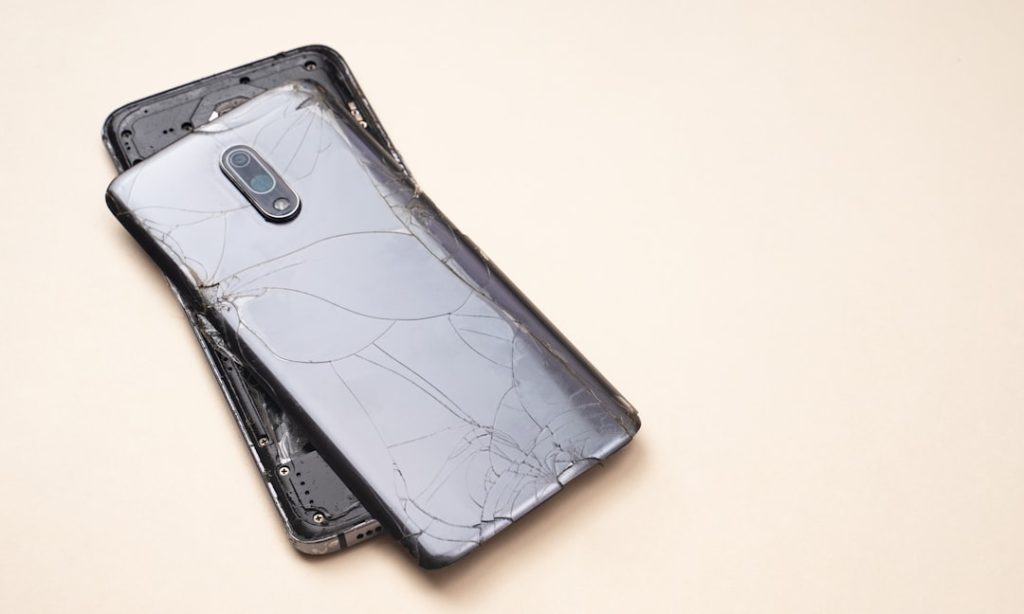
Cracked screens are by far the most common issue we see. One moment of distraction, one fumble, and suddenly your beautiful display looks like a spiderweb. Whether it’s a tiny hairline crack or a completely shattered screen, local technicians can replace your Broken Phone Screen and make it look brand new. Most shops keep popular screen models in stock, which means you can often get this fixed the same day.
Battery problems are the silent killers of smartphones. Your phone starts dying at 30%, or it shuts down randomly, or worse—the battery starts swelling and pushing your screen out. A professional Battery Repair can completely transform how your phone performs. We’ve seen devices that people were ready to replace suddenly work like new again after a simple battery swap. Many shops can complete this repair in under an hour.
Charging port issues drive people absolutely crazy. You plug in your phone and nothing happens, or you have to hold the cable at just the right angle. This usually means your Charging Port Repair is overdue. These tiny connectors get packed with pocket lint, damaged from repeated plugging and unplugging, or just wear out over time. Fixing them is usually straightforward for an experienced technician.
Water damage strikes fear into every phone owner’s heart. Maybe your phone took a swim in the toilet, got caught in a rainstorm, or fell into a puddle. Water can corrode internal components and cause all sorts of mysterious problems. While water damage isn’t always repairable, many Laurel shops have specialized equipment and techniques to dry out your device and restore its functionality. The key is acting fast—don’t try to charge a wet phone, and get it to a professional as soon as possible.
Beyond these big four, local repair experts regularly fix camera issues like blurry photos or broken lenses, speaker and audio problems including muffled sound or no audio during calls, broken buttons that stick or don’t respond, and software troubleshooting for frozen apps or sluggish performance. When your iPhone simply won’t turn on at all, shops like Salvation Repair specialize in iPhone No Power Repair, diagnosing whether it’s a battery problem, a logic board issue, or something else entirely.
Some shops, including The Fix at Walmart Laurel and Salvation Repair, even offer advanced services like micro-soldering and motherboard repair. This level of expertise means they can fix problems that other shops would consider impossible—the kind of intricate internal damage that most people assume means buying a new phone.
Brands Serviced by Local Repair Shops
You might be wondering if your specific phone model can be repaired in Laurel. The answer is almost certainly yes. Most smart phone repair laurel ms centers work on a surprisingly wide range of devices.
iPhones are everywhere in Laurel, and every repair shop knows how to work on them. From the latest iPhone 15 to older models like the iPhone 7, technicians have the parts and expertise to handle Apple devices. Shops like C Spire even have Apple-certified technicians who use genuine Apple-certified parts, which is important if you care about maintaining your warranty or resale value.
Samsung phones are just as popular, and repair shops stock parts for everything from the latest Galaxy S models to older J-series devices. Whether you have a Samsung with a curved screen or a budget model, local technicians have seen it before and know how to fix it.
Other Android devices including Google Pixel, LG, Motorola, and various other manufacturers are also widely serviced. Most technicians understand the Android ecosystem and can work across different brands, even if they’re not as common as iPhone or Samsung.
But it’s not just phones. Many shops extend their expertise to tablets and iPads, handling screen replacements and battery issues for these larger devices. Some comprehensive centers like Salvation Repair also repair computers and laptops, including Macs, so you might find a one-stop solution for all your tech troubles. A few shops even work on gaming consoles like PlayStation, Xbox, and Nintendo Switch.
Basically, if it has a power button and you use it every day, there’s a good chance a local expert can fix it. For a complete list of what we can repair, check out our Services page.
Tip 2: Compare Speed, Convenience, and Turnaround Time for Smart Phone Repair Laurel MS
In today’s always-connected world, being without your smartphone feels like losing a limb. You reach for it instinctively, only to remember it’s sitting in a repair shop somewhere. That’s why speed and convenience matter so much when choosing a smart phone repair laurel ms service. We know you need your device back in your hands as quickly as possible, and fortunately, local shops understand this urgency too.
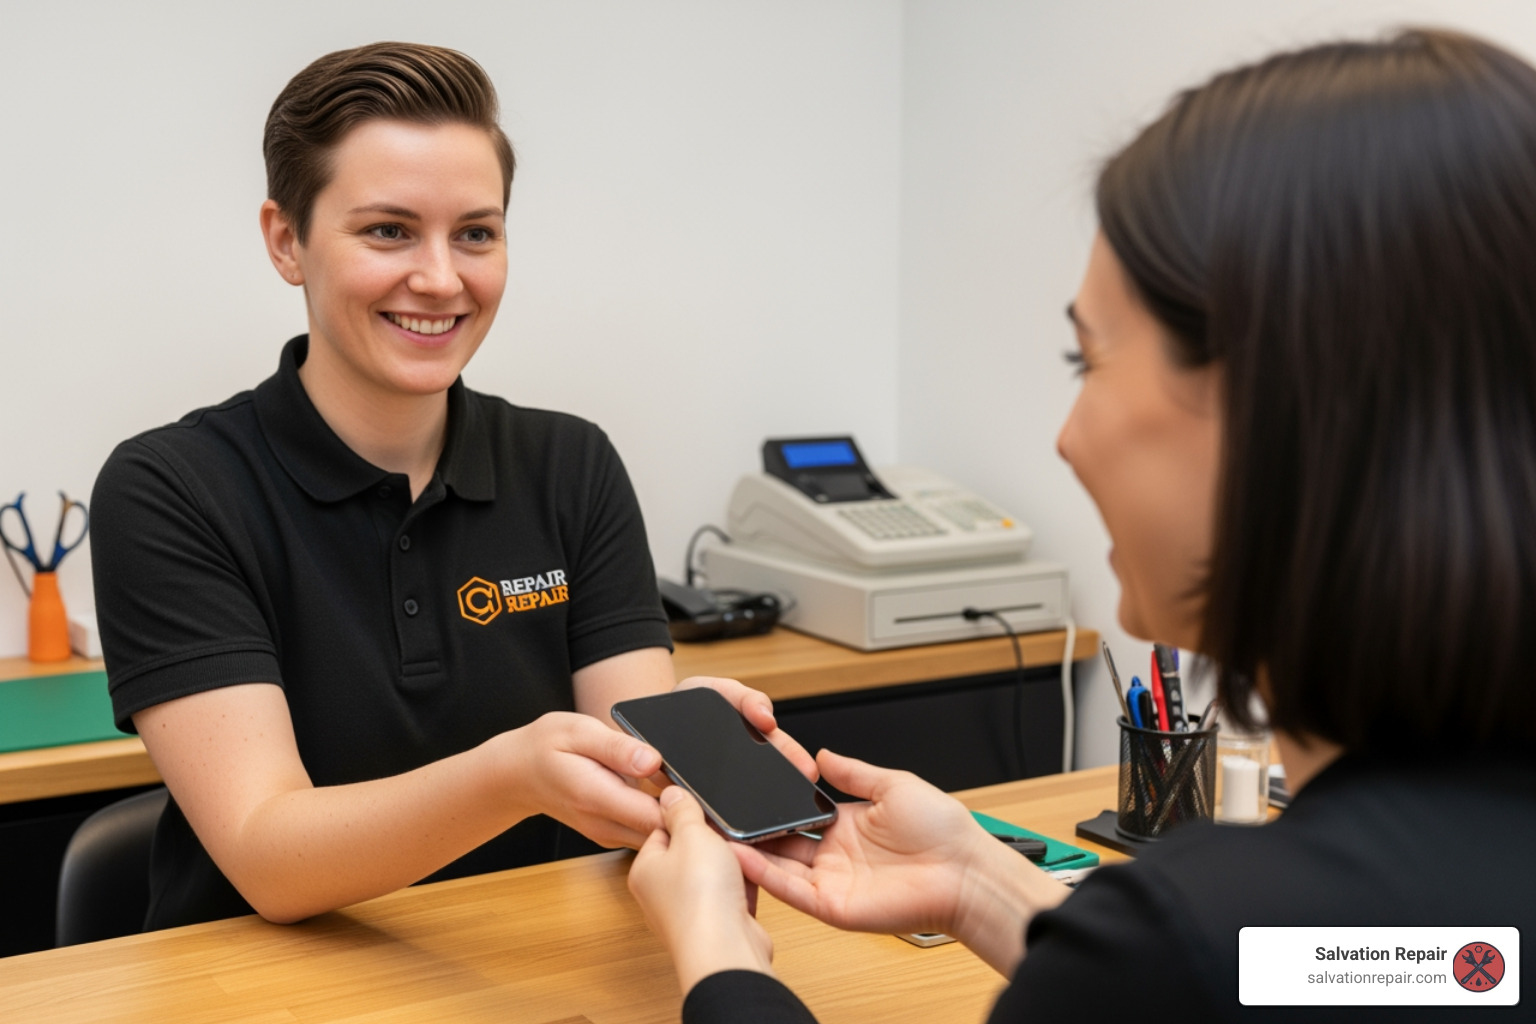
Picture this: you drop your phone during your morning coffee run, see that heartbreaking spiderweb of cracks across the screen, and by lunchtime, it’s fixed and back in your pocket. That’s not wishful thinking—it’s actually how things work at most repair shops in Laurel.
How Fast Can You Get Your Phone Fixed?
Here’s where Laurel’s repair scene really shines. Most shops have built their entire business model around getting you back online fast. We’re talking impressively fast.
Same-day service is pretty much the standard around here. Shops like iFixandRepair at the Walmart location, The Fix (also at Walmart), and Salvation Repair all make same-day repairs their promise, not their exception. Drop off your phone in the morning, pick it up that afternoon, and get back to your life. For more on this, check out Phone Repair Same Day.
But it gets even better. Many places offer while-you-wait service, where you can literally stick around and have your phone back before you finish scrolling through that magazine in the waiting area. Laurel Cellphone Repair specifically highlights this option, which is perfect if you’re the type who gets anxious being separated from your device.
C Spire Repair Centers has taken speed to another level, with their certified technicians completing most repairs in just 20 to 30 minutes. That’s barely enough time to grab a quick snack. Both iFixandRepair and Laurel Cellphone Repair promise most repairs under 60 minutes, which means your phone emergency doesn’t have to derail your entire day.
And here’s something we really appreciate: walk-in availability. While making an appointment can sometimes bump you to the front of the line, most shops welcome walk-ins. At Salvation Repair, we specifically encourage walk-ins because we know phone problems don’t schedule themselves. Your screen doesn’t politely wait until Tuesday at 2 PM to crack—it happens when it happens.
This emphasis on speed means you’re not shipping your phone off to some distant repair facility for two weeks, wondering if you’ll ever see it again. You’re not buying an overpriced temporary replacement phone. You’re getting your actual device back, usually the same day, often within the hour.
Exploring On-Site and Mobile smart phone repair laurel ms
Now, as convenient as fast in-store repairs are, sometimes even driving to a shop feels like too much. Maybe you’re swamped at work, stuck at home with a sick kid, or your phone is so broken you can’t even use GPS to find the repair shop. That’s where things get really interesting.
Mobile repair services bring the repair shop directly to you, and this is where Salvation Repair really changes the game. We offer same-day mobile repairs where our technicians come to wherever you are—your home, your office, even that coffee shop you’re working from. No traffic, no waiting rooms, no rearranging your schedule. Just a skilled technician showing up at your door, fixing your phone right there, and disappearing like some kind of smartphone superhero. If this sounds like exactly what you need, dive into our guide on No Time For A Shop? Explore Mobile On-Site Phone Repair.
At-home repairs mean you can stay in your pajamas if you want. No judgment here. You can continue your work-from-home routine, keep an eye on the kids, or just enjoy the comfort of your own space while your phone gets professional attention.
For professionals, workplace repairs are a productivity dream. Imagine having a technician come to your office during your lunch break. You keep working, they keep fixing, and by the time you’re done with that afternoon meeting, your phone is ready to go. Zero downtime, maximum efficiency.
Then there are the convenient in-store locations that make repair fit seamlessly into your existing errands. Both iFixandRepair and The Fix operate inside Walmart stores in Laurel. Think about that for a second—you can drop off your cracked phone, do your grocery shopping, maybe browse the home goods section, and pick up your repaired device on your way out. These in-store kiosks turn phone repair from an annoying chore into just another stop on your to-do list.
The bottom line? Getting smart phone repair laurel ms doesn’t have to be complicated or time-consuming. Whether you prefer the speed of a while-you-wait service, the convenience of a Walmart kiosk, or the luxury of having a technician come to you, Laurel’s repair options are designed around your life, not the other way around.
Tip 3: Assess Cost, Diagnostics, and Warranty Policies
Once you’ve confirmed that your device can be fixed quickly and conveniently, the next question naturally becomes: “What’s this going to cost me?” Nobody wants sticker shock when they’re already dealing with a broken phone, and frankly, you deserve to know exactly what you’re paying for before any work begins.

When it comes to smart phone repair laurel ms, the best shops separate themselves through three key factors: transparent pricing, free diagnostics, and solid warranty coverage. These aren’t just nice-to-haves; they’re essential protections for your wallet and your peace of mind.
Understanding the Costs of smart phone repair laurel ms
Let’s be honest—cost matters. You’re already dealing with a broken phone, and the last thing you need is to be blindsided by hidden fees or unclear pricing. The good news is that reputable repair shops in Laurel understand this concern and have built their businesses around transparency.
Most quality repair centers in Laurel start with free diagnostics. This means you can walk in with your phone, explain what’s wrong (or simply say “it’s not working”), and a trained technician will examine it without charging you a dime. Salvation Repair offers free price estimates on all repairs, and Laurel Cellphone Repair provides free diagnostics as well. This initial assessment tells you exactly what’s broken and what needs to be fixed before you spend a single dollar.
After the diagnostic, you’ll receive a free estimate that breaks down the repair cost. This quote should be clear and comprehensive, covering both parts and labor. At Salvation Repair, we believe you should know exactly what you’re paying for before we touch your device. You can easily Request a Quote to get the process started from the comfort of your home.
Here’s something else worth knowing: price matching. If you’ve done your homework and found a lower published price from another local repair shop for the same service, Salvation Repair will match it. This policy exists because we’re confident in our value and want you to feel the same confidence in choosing us.
Sometimes the hardest decision isn’t whether to repair, but whether repairing makes financial sense at all. A good repair shop will help you with this repair versus replacement analysis. If your older phone needs a $200 screen replacement but you could buy a refurbished model for $250, an honest technician will point this out. We’d rather give you sound advice than make a quick buck on a repair that doesn’t make sense for you.
So what should you actually expect to pay? While prices vary based on your specific device model and the extent of damage, here’s a realistic snapshot of average costs for common repairs in Laurel:
| Repair Type | Average Cost (iPhone) | Average Cost (Samsung/Android) |
|---|---|---|
| Screen Replacement | $70 – $250 | $80 – $300 |
| Battery Replacement | $40 – $100 | $50 – $120 |
| Charging Port Repair | $50 – $120 | $60 – $130 |
Note: These are estimated ranges and actual prices will vary based on device model, specific damage, and individual repair shop pricing in Laurel, MS. Always get a free, no-obligation quote for an accurate cost.
The variation in pricing reflects the reality that a screen replacement for an iPhone 8 costs significantly less than one for the latest iPhone model. That’s why those free estimates are so valuable—they give you an exact figure for your specific situation, not just a ballpark range.
The Importance of a Warranty on Repairs
Here’s a scenario nobody wants: You pay to get your screen replaced, and two weeks later, it stops responding to touch. Without a warranty, you’re paying for the same repair twice. With a good warranty, you’re covered.
A comprehensive warranty is perhaps the clearest signal of a repair shop’s confidence in their work and the quality of their parts. It’s essentially the shop saying, “We stand behind this repair, and if something goes wrong that’s related to our work, we’ll make it right at no additional cost.”
At Salvation Repair, we offer a limited lifetime warranty on all parts and labor. This isn’t just marketing speak—it means that if the part we installed fails due to a defect, or if our workmanship causes an issue, we’ll fix it again without charging you. It’s our way of ensuring that you’re not just getting your phone fixed today, but that it stays fixed. This level of warranty coverage is rare in the repair industry, and it reflects our commitment to quality.
Other reputable shops in Laurel also stand behind their work. Laurel Cellphone Repair offers a six-month warranty on all repairs, which is solid coverage that demonstrates confidence in their technicians and parts.
When evaluating a warranty, pay attention to what it actually covers. The best warranties cover both parts and labor. This means if the replacement battery fails or if the screen installation develops an issue, both the new part and the work to install it again are covered. Some shops only warranty the part itself, leaving you to pay labor costs for reinstallation—that’s not a true warranty.
The quality of parts used directly correlates with warranty length. Shops that use cheap, low-quality components know those parts are more likely to fail, so they offer minimal or no warranty coverage. When we perform a [Screen Repair], we use premium quality parts specifically because we’re backing them with our lifetime warranty. We can’t afford to use subpar components when we’re guaranteeing them for life.
Beyond the financial protection, a strong warranty provides something equally valuable: peace of mind. You can hand over your phone knowing that if anything goes wrong related to the repair, you won’t be facing another bill. You can trust that the shop is invested in doing the job right the first time, because they know they’ll have to fix it again for free if they don’t.
Before you commit to any smart phone repair laurel ms service, always ask about the warranty policy. How long does it last? What exactly does it cover? Are there any exclusions? A shop that’s transparent about their warranty and offers generous coverage is telling you everything you need to know about their commitment to quality and customer satisfaction.
Frequently Asked Questions about Smartphone Repair
We’ve covered a lot, but you might still have a few lingering questions. Here, we address some of the most common inquiries we hear from customers looking for smart phone repair laurel ms.
Do I need an appointment for a phone repair in Laurel, MS?
The short answer is: it depends on your schedule and preference, but you’ve got options either way.
Most repair shops in Laurel, including Salvation Repair, happily accept walk-ins. This is fantastic for those unexpected emergencies where your phone decides to quit on you without notice. You can simply bring your device in, and a technician will assist you as soon as possible. It’s the perfect solution when disaster strikes and you need help immediately.
That said, scheduling an appointment can often guarantee faster service and minimize your wait time. C Spire, for instance, recommends appointments to ensure a certified repair technician is ready for you upon arrival. If you’re on a tight schedule or want to plan your day around the repair, booking ahead is usually the best approach.
For locations within larger retail stores, like iFixandRepair and The Fix inside Walmart, the process is often streamlined to handle both scheduled appointments and walk-in traffic efficiently. You can often drop off your phone and pick it up after you’ve completed your shopping, turning a repair errand into a convenient multi-tasking opportunity.
We recommend checking with your chosen repair shop, or better yet, simply use our [Schedule Repair] option to book your visit and ensure we’re ready for you when you arrive.
Will my data be safe during the repair?
This is a critical question, and honestly, the safety of your personal data should always be a top concern. We completely understand the anxiety around handing over a device that contains your entire digital life.
Reputable smart phone repair laurel ms shops understand the importance of data privacy. A professional repair service will have clear policies regarding customer data, and technicians are typically trained to respect your privacy and only access what is necessary for the repair. Qualified technicians adhere to strict ethical guidelines—their focus is on hardware and software functionality, not your personal information.
Some advanced repair services, like The Fix at Walmart Laurel, even offer data recovery services, demonstrating their expertise in handling sensitive digital information. This should give you confidence that they know how to protect what matters most.
That said, the golden rule of device repair is to always back up your data before handing over your phone. This protects you against any unforeseen circumstances, such as data loss during a complex repair or if a factory reset becomes necessary. Most smartphones offer cloud backup options—iCloud for iPhones, Google Drive for Androids—or you can back up to a computer. It takes just a few minutes and gives you complete peace of mind.
While we take every precaution to protect your data, a personal backup is always your strongest safeguard. Think of it as an insurance policy for your digital life.
How do I know if my phone is worth repairing?
This is a dilemma many smartphone owners face, and it’s a question we hear almost daily. Is it more cost-effective to repair your existing device or invest in a new one?
The first step is always a free diagnostic. Many Laurel shops offer this, and it’s the foundation of making an informed decision. This will pinpoint the exact issue and allow the technician to provide an accurate repair estimate. Without knowing the problem and its cost, you’re just guessing.
Once you have the repair estimate, it’s time for a cost-benefit analysis. Compare the repair cost to the price of replacing your phone. Consider the age of your phone—is it an older model that might soon lose software support or become obsolete? Think about the overall condition too. Beyond the current issue, is your phone in good shape, or are there other problems looming on the horizon?
Your budget matters, of course. What’s more feasible for you right now? But don’t forget about emotional value. Sometimes, a phone holds sentimental value—maybe it has irreplaceable photos, or it’s the last gift from someone special. In those cases, repair might be worthwhile regardless of strict financial calculations.
A general rule of thumb: check the market value of your current phone model (new or used) and compare it to the repair cost. If the repair cost is more than 50-70% of the replacement value, it might be time to consider an upgrade. However, a quality repair can extend your phone’s life significantly, making it a more environmentally friendly and often more affordable choice than buying new.
The decision is ultimately yours, but a good repair shop will provide you with all the information you need to make the best choice for your situation. If you’re unsure, just ask us to [Fix My Phone Near Me] and we’ll help you weigh your options honestly. We’re here to help you make the right call, even if that means recommending a replacement instead of a repair.
Your Guide to a Flawless Repair Experience
We’ve covered a lot of ground together, and by now, you should feel much more confident about finding the right smart phone repair laurel ms service. The journey from a broken device to a fully functional phone doesn’t have to be stressful or confusing. With the right approach and a trustworthy local expert, you can have your device back in your hands, working perfectly, often on the same day.
Putting It All Together
Think of choosing a repair service like choosing a doctor for your device. You want someone skilled, transparent, and committed to quality. The three tips we’ve explored are your roadmap to finding exactly that.
First, evaluate the range of services and brands supported. There’s nothing worse than driving across town only to find a shop can’t fix your particular phone model or doesn’t handle the specific issue you’re facing. Whether you have an iPhone with a shattered screen, a Samsung with a dying battery, or a Google Pixel that won’t charge, make sure the shop you choose has experience with your device and the repair you need. The best shops in Laurel handle everything from common screen replacements to complex issues like water damage and motherboard repairs. Check out their full range of [Services] to see what they offer.
Second, compare speed, convenience, and turnaround time. Being without your phone for days simply isn’t an option for most of us. That’s why same-day service and quick turnaround times matter so much. Many Laurel shops can complete repairs in 20 to 60 minutes, meaning you can drop off your device, grab a coffee, and pick it up fully functional. Even better, some services like ours at Salvation Repair bring the repair shop to you with mobile, on-site repairs at your home or workplace. If you’re curious about this option, explore our guide on [Phone Repair Same Day] to see how it works.
Third, and perhaps most important, assess cost, diagnostics, and warranty policies. Free diagnostics and transparent estimates should be standard, not a luxury. You deserve to know exactly what’s wrong with your device and what it will cost to fix before committing to anything. Don’t hesitate to Request a Quote to get started. Beyond cost, a strong warranty is your safety net. A lifetime warranty on parts and labor, like the one we offer at Salvation Repair, means you can trust that your repair will last. It’s our promise that we stand behind our work, no matter what. If you’re specifically looking at screen damage, check out our specialized [Screen Repair] information.
Customer reviews are your secret weapon when making a final decision. Real experiences from real people in Laurel can tell you what to expect from a repair shop. Look for consistent praise about fast service, friendly technicians, and repairs that hold up over time. If you ever have questions or want to discuss your specific repair needs, [Contact] us directly.
At Salvation Repair, we’ve built our reputation on delivering exactly what Laurel residents need: same-day mobile service that comes to you, a limited lifetime warranty that protects your investment, and free estimates that keep everything transparent from the start. We repair any device with a power button, and we do it right the first time. Our goal isn’t just to fix your phone—it’s to give you back the peace of mind that comes with a device you can rely on.
For more expert advice on keeping all your devices running smoothly, explore our comprehensive phone repair guides. We’re here to help you understand your tech better and make informed decisions about repairs, maintenance, and care. Your smartphone is too important to trust to just anyone—choose a repair service that treats it, and you, with the respect you deserve.

One thought on “Smart Phone Repair Laurel MS”
Comments are closed.