iPhone charging port repair in laurel MS: Best Fast
Why a Broken iPhone Charging Port Shouldn’t Disrupt Your Day
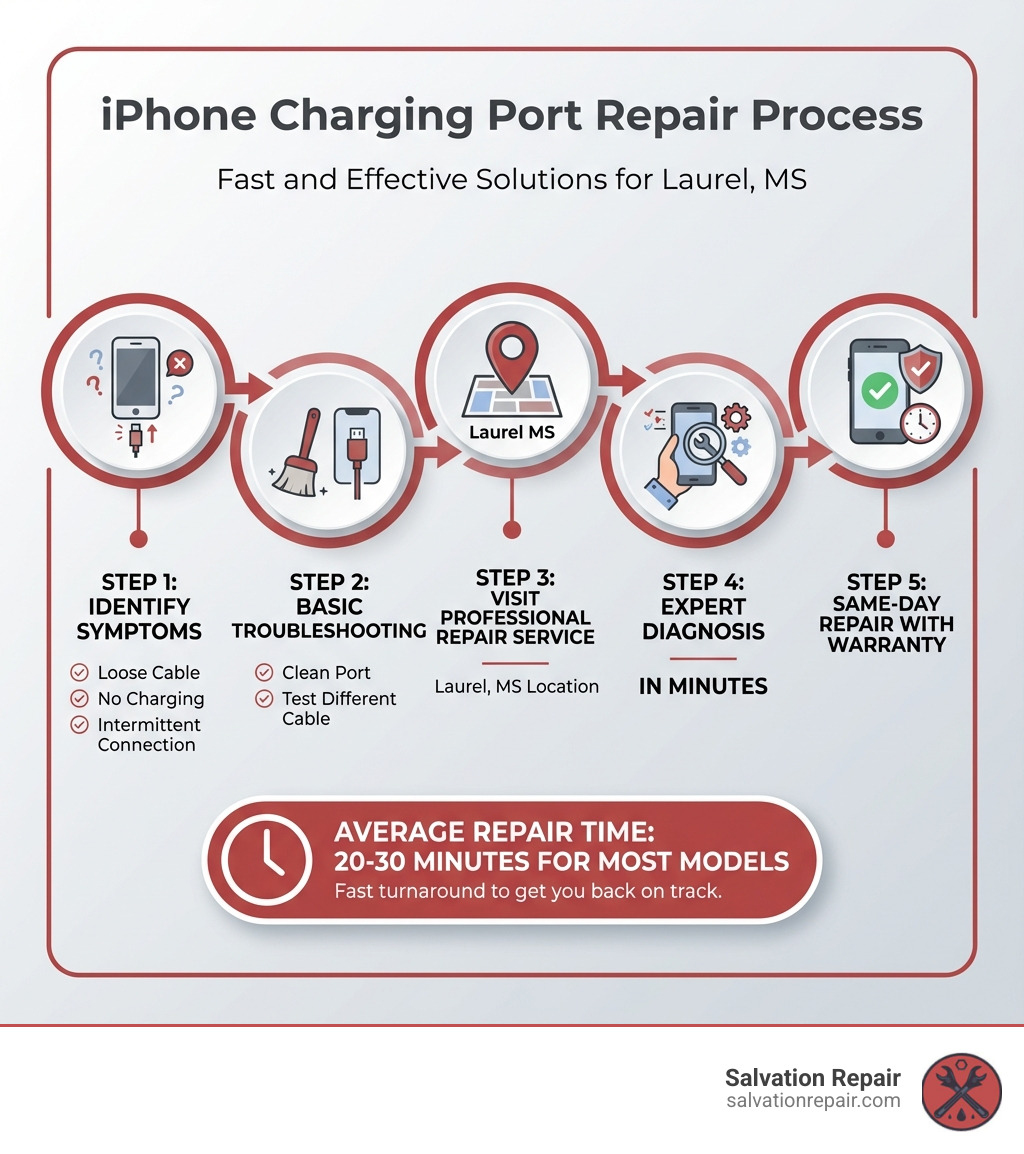
iPhone charging port repair in Laurel MS is a fast and affordable solution available at Salvation Repair, located at 1503 Lakeview Rd. Our professional repair services offer same-day service, a lifetime warranty, and typically cost less than replacing your device. Most charging port issues can be resolved within 20-30 minutes, and walk-ins are always welcome.
Common Signs Your Charging Port Needs Repair:
- Phone won’t charge at all
- Charging cable feels loose or falls out easily
- Intermittent charging that stops and starts
- You need to hold the cable at a specific angle to charge
- Visible debris or damage inside the port
A faulty charging port is one of the most frustrating problems iPhone users face. Your phone might be working perfectly in every other way, but if it won’t charge, you’re essentially carrying around an expensive paperweight. The good news? Most charging port issues can be fixed quickly and affordably by professionals right here in Laurel.
I’m Ralph Harris, and with over 20 years of electronics repair experience and more than 500 Apple repair certifications, I’ve diagnosed and fixed thousands of charging port issues across every iPhone model. This guide will help you understand iPhone charging port repair in Laurel MS options and get your device working again fast.

Is Your iPhone Charging Port Really Broken? Key Signs to Look For
Before you panic, let’s figure out if your iPhone’s charging port is truly the culprit. Often, the signs are pretty clear, but sometimes it can be confused with other issues. Recognizing these common indicators is the first step toward finding a solution.
One of the most obvious signs is your iPhone simply not charging when plugged in. You connect the cable, and… nothing. No charging indicator, no increase in battery percentage. Or perhaps it charges agonizingly slowly, taking hours to gain even a small amount of power. This can be incredibly frustrating, especially when you’re in a hurry.
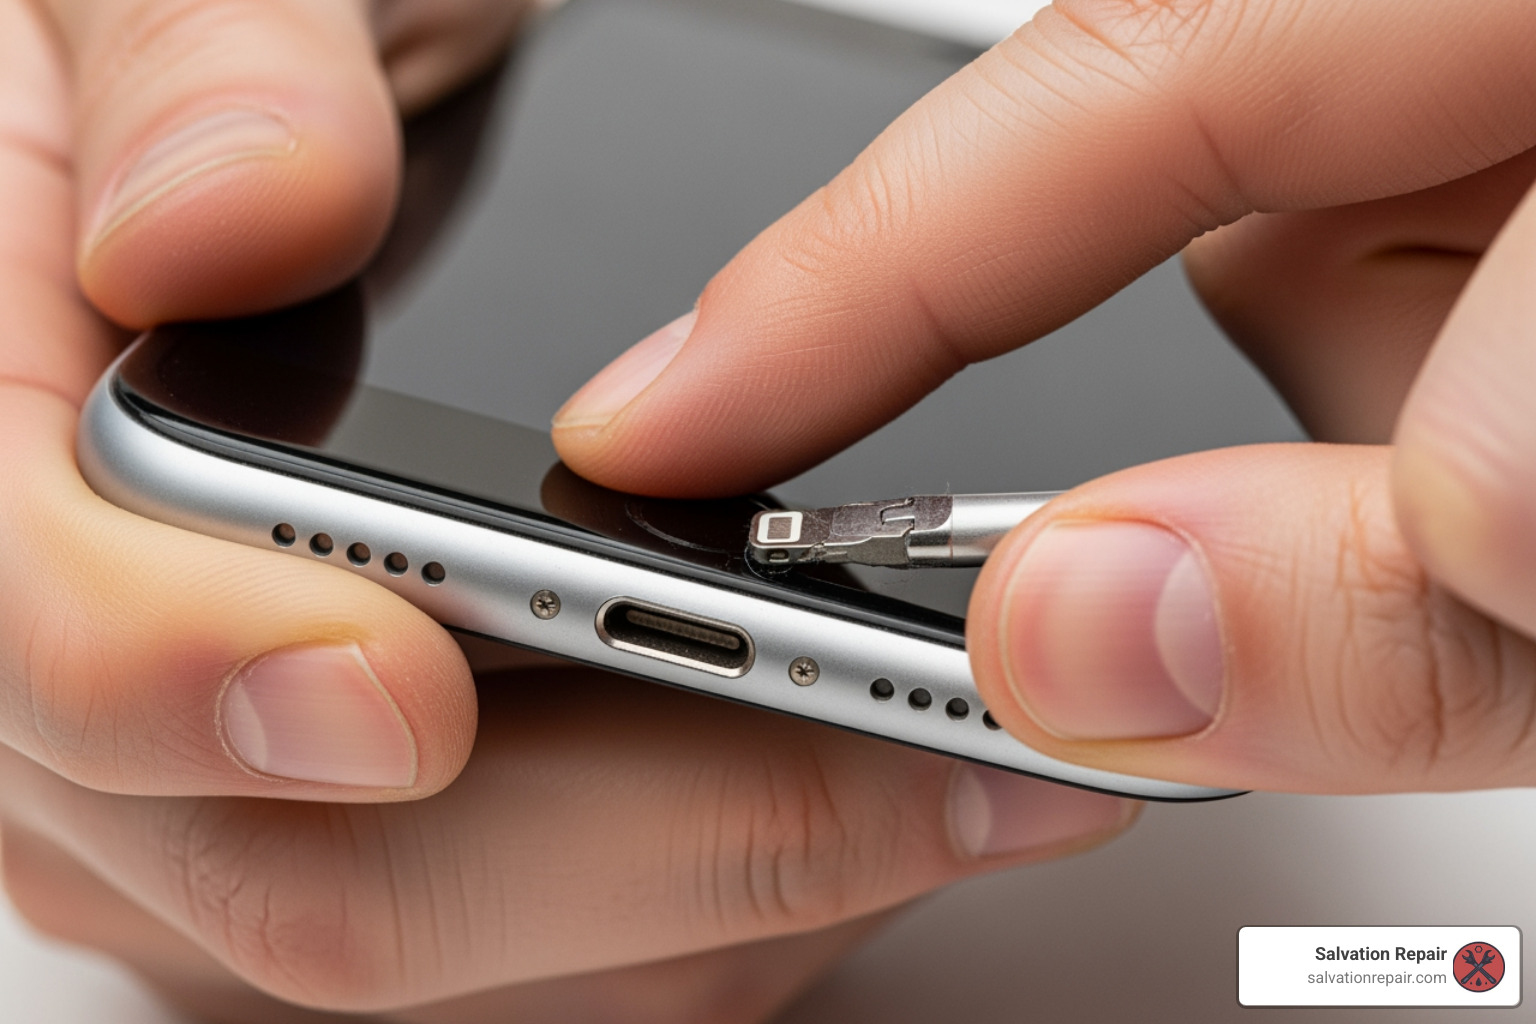
Another tell-tale sign is a loose charging cable. Does your Lightning cable wiggle excessively when inserted into the port? Does it easily fall out with the slightest nudge? This looseness often indicates wear and tear or debris preventing a snug connection. Similarly, you might experience an intermittent connection, where your iPhone charges, then stops, then charges again, perhaps only if you hold the cable at a specific, awkward angle. It’s like your iPhone is playing hard to get!
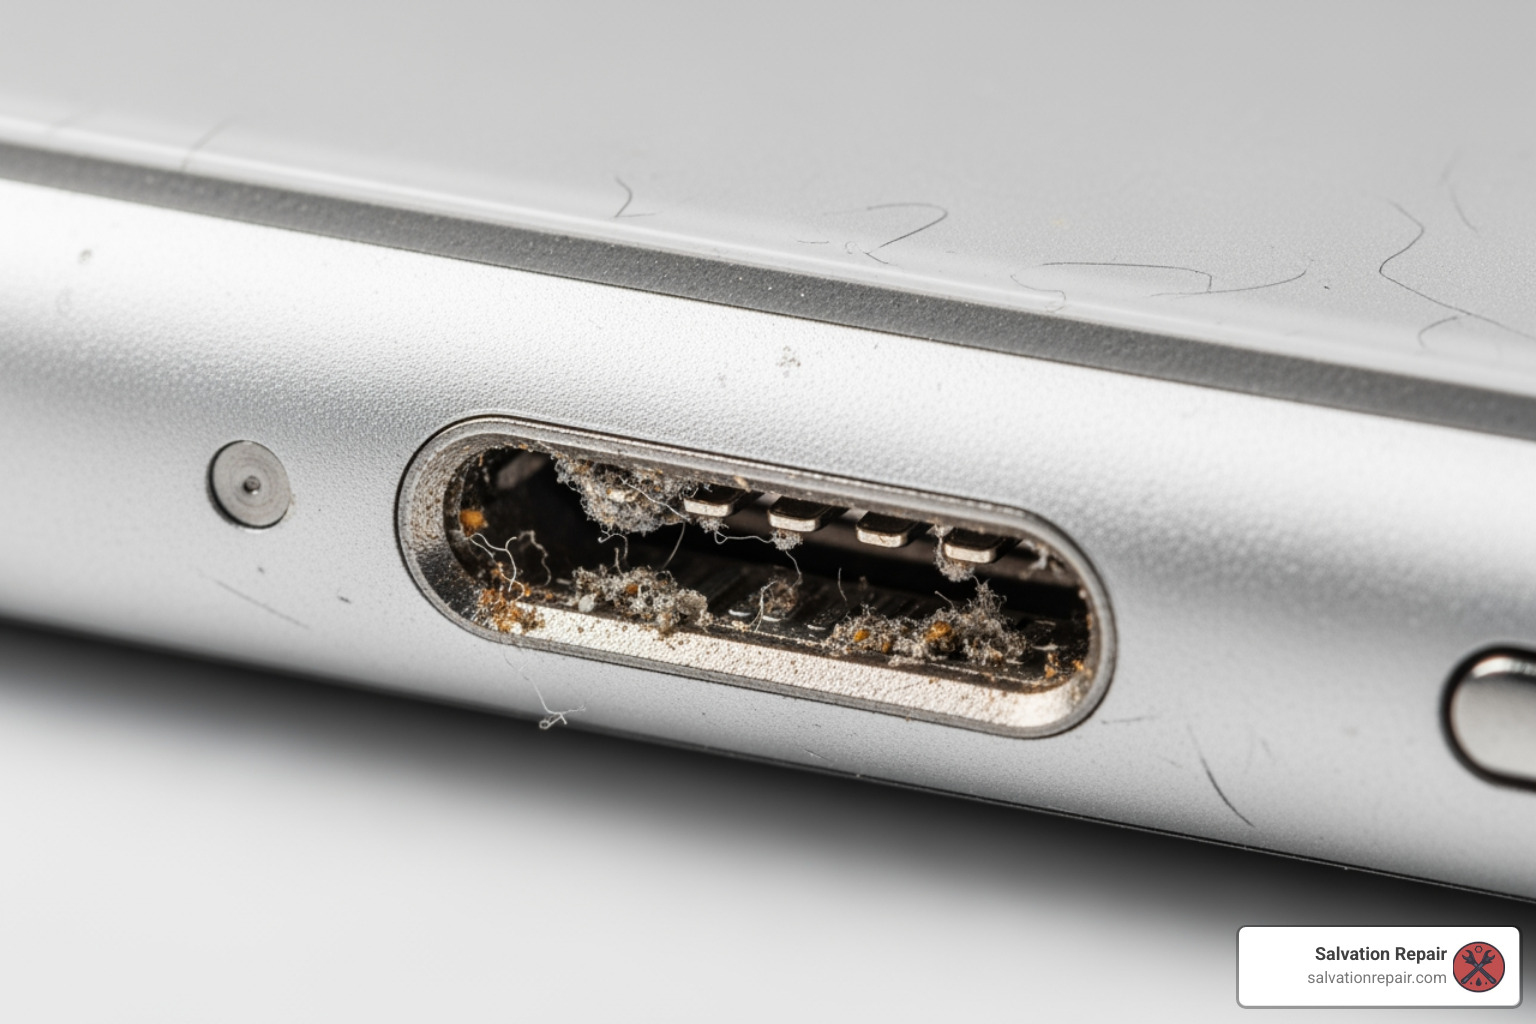
Sometimes, you can even spot the problem with your own eyes. Visible debris, such as lint, dust, or dirt, can accumulate inside the port, blocking the connection pins. In more severe cases, you might notice physical damage, like bent or broken pins, which can happen if the cable is inserted incorrectly or if the phone takes a fall.

Simple Troubleshooting Steps to Try First
Before you rush off to a repair shop for iPhone charging port repair in Laurel MS, we recommend trying a few simple troubleshooting steps. You’d be surprised how often a quick fix can save you a trip!
First, check your charging cable. Cables, especially well-loved ones, can fray or break internally. Try using a different, known-good charging cable. If a new cable solves the problem, then congratulations, you just saved yourself some time and money! Similarly, try a different power adapter or wall outlet. Sometimes the issue isn’t your phone, but the power source.
A classic troubleshooting step for almost any electronic device is to simply restart it. A soft reset can sometimes clear minor software glitches that might be interfering with the charging process.
Finally, and this is a big one: safely clean the port. Over time, lint, pocket fluff, and other debris can pack tightly into your iPhone’s charging port, preventing the cable from making a proper connection. We’ve seen phones brought in for “broken ports” that just needed a good cleaning! Use a non-metallic tool, like a wooden or plastic toothpick, to gently scrape out any compacted debris. Be very careful not to damage the delicate pins inside. Avoid using anything metal, as this can short-circuit the port and cause more serious damage. If you’re unsure or uncomfortable, that’s perfectly fine – leave it to the professionals.
Common Causes of iPhone Charging Port Damage
Understanding what causes charging port issues can help you prevent them in the future. In Laurel, MS, and everywhere else, the causes are generally pretty consistent.
The most frequent culprit we encounter is lint and debris buildup. Your iPhone spends a lot of time in your pocket, purse, or bag, gathering all sorts of tiny particles. Over time, these can get compressed into the charging port, creating a barrier between your charging cable and the phone’s internal connectors. It’s like a tiny, fuzzy dam preventing the flow of electricity!
Beyond everyday pocket dust, liquid or moisture damage is a serious threat. Even a small amount of liquid getting into the charging port can corrode the delicate internal components, leading to charging failures. This is especially true in our humid Mississippi climate. Physical damage from drops or impacts can also bend or break the internal pins of the charging port, making a connection impossible.
Lastly, general wear and tear from daily use is inevitable. Constantly plugging and unplugging your charging cable, especially if done carelessly or forcefully, can gradually loosen the port’s internal connections. Using non-certified or damaged cables can exacerbate this problem, as they might not fit perfectly or could have exposed wires that cause issues.

Why Professional iPhone Charging Port Repair in Laurel, MS is the Best Choice
When your iPhone charging port gives up the ghost, it’s tempting to look for the quickest, cheapest fix. For many, that might mean a DIY attempt. But when it comes to delicate electronics like your iPhone, we strongly advise against it. Choosing professional iPhone charging port repair in Laurel MS isn’t just about convenience; it’s about making an informed, safe, and ultimately more cost-effective decision.
The Risks of a DIY Fix
We get it – the internet is full of “how-to” videos for everything. But attempting to fix your iPhone’s charging port yourself comes with significant risks. First and foremost, you could cause permanent damage to your phone’s logic board. The charging port is intricately connected to other vital components, and a wrong move with a screwdriver or a misplaced tool can short-circuit the entire device, turning a fixable problem into a phone beyond repair.
Another major concern is voiding your device warranty. Most manufacturers’ warranties become null and void if you open your device yourself or if unauthorized repairs are attempted. While your iPhone might be past its warranty period, this is still something to consider for newer devices.
Furthermore, you likely lack the specialized tools and expertise that professional technicians possess. iPhones are designed with precision; tiny screws, delicate connectors, and specific adhesive require specialized tools and a steady hand. Without them, you risk stripping screws, tearing ribbon cables, or damaging the device’s exterior. There’s also the risk of personal injury, as handling small, sharp tools and delicate electronics can lead to cuts or even electrical shock if you’re not careful. Finally, if you do manage to replace a part, you might end up using low-quality, non-OEM parts that can lead to further issues down the line. It’s a gamble that, in our experience, rarely pays off.
Why Choosing Salvation Repair for iPhone Charging Port Repair in Laurel, MS is a Smarter Choice
This is where professional services like ours at Salvation Repair shine. When you choose us for your iPhone charging port repair in Laurel MS, you’re choosing expertise, efficiency, and peace of mind.
Our team provides expert diagnosis. We don’t just guess; we use specialized equipment to pinpoint the exact cause of your charging issue, ensuring we address the root problem, not just the symptoms. This means we can differentiate between a faulty port, a bad battery, or even a software glitch.
We only use high-quality replacement parts. Unlike some DIY solutions, we ensure that any replacement components meet stringent quality standards, meaning your repaired iPhone will function as it should. We specialize in fixing faulty charging ports to ensure phones charge properly and stay powered throughout the day.
Perhaps one of the biggest benefits is our fast turnaround time. We understand you can’t be without your phone for long. Salvation Repair offers same-day service for most repairs, meaning you can often drop off your iPhone and pick it up fully functional within a few hours. We even offer mobile repair services, bringing the fix directly to you!
Finally, and crucially, we offer a repair warranty. Salvation Repair provides fast, warranty-backed repairs for charging ports in Laurel, MS. This means if something goes wrong with the repaired component, you’re covered. This peace of mind is invaluable and simply not available with a DIY attempt. Our commitment to quality and customer satisfaction is paramount.
Finding the Best iPhone Charging Port Repair in Laurel, MS
When your iPhone’s charging port is acting up, you need a reliable, efficient, and trustworthy repair service. In Laurel, MS, you have options, but knowing what to look for can help you make the best decision for your device and your wallet. We’re here to guide you through finding the best iPhone charging port repair in Laurel MS.
Key Qualities of a Top-Rated Laurel Repair Service
A top-rated repair service stands out for several reasons. First, look for positive customer reviews. What are other people saying about their experience? Testimonials like “Best cell phone repair experience ever!” from Jaret Duvall, who praised a difficult iPhone 14 Pro repair, or “Excellent service and quick turnaround time” from Eddie White, speak volumes. Amberjena93 highlighted “super quick and very reasonable price” and Trinity Williamson noted “very genuine about prices and is honest.” These real-world experiences are invaluable. You can read more customer experiences here: Excellent service and quick turnaround time.
Another critical factor is a strong warranty. At Salvation Repair, we offer a limited lifetime warranty on all parts and labor, which demonstrates our confidence in our work and the quality of our parts. This is a significant differentiator and offers you long-term protection for your repair.
Price matching is also a great indicator of a customer-focused business. We pride ourselves on price matching any local competitor’s published price for the same repair, ensuring you get the best value.
Speed and convenience are paramount. Look for services that offer same-day repairs or quick turnaround times. We know you rely on your iPhone, and being without it for days is simply not an option. Salvation Repair offers same-day service, often completing repairs within hours.
Finally, experienced and certified technicians are non-negotiable. Our technicians are experts in iPhone repairs, ensuring your device is in capable hands. We also offer free estimates, so you know exactly what to expect before any work begins.
What to Expect: Cost, Time, and Warranty for your iPhone Charging Port Repair in Laurel, MS
Let’s talk about the practical aspects of getting your iPhone fixed.
The typical cost of iPhone charging port repair in Laurel MS can vary depending on your specific iPhone model. Newer models or those with more complex designs might cost a bit more than older ones. However, a professional repair is almost always significantly cheaper than replacing your entire iPhone, especially if it’s otherwise in great condition. We offer free price estimates, so you can always get a clear quote before committing to any service. You can easily Request a Free Estimate from us.
Regarding how long an iPhone charging port repair typically takes, speed is one of our top priorities. Most charging port repairs can be completed within the same day, often within a few hours. At Salvation Repair, our goal is to get your iPhone back in your hands as quickly as possible, minimized downtime for you.
As mentioned, warranty is a huge factor. We stand by our work with a limited lifetime warranty on all parts and labor. This means if the repaired charging port experiences issues due to our workmanship or a faulty part, we’ll make it right. This kind of guarantee is a hallmark of a reputable repair service and provides you with ultimate peace of mind.
iPhone Models Commonly Repaired in Laurel
At Salvation Repair, we pride ourselves on being able to repair “any device with a power button,” and that certainly includes a wide range of iPhones! We commonly service all makes and models for charging port issues. This includes the latest generations like the iPhone 14 Pro, iPhone 13, iPhone 12, and iPhone 11 series, as well as earlier models like the iPhone X series, iPhone 8, iPhone 7, and even older devices.
Whether you have a brand-new iPhone that accidentally took a tumble or an older, beloved model that’s just starting to show its age, we have the expertise and parts to get its charging port functioning perfectly again. Our goal is to ensure that no matter what iPhone you own, you have access to reliable and efficient iPhone charging port repair in Laurel MS.
Frequently Asked Questions about iPhone Charging Port Repair
We often get asked a lot of questions about charging port repairs. Here are some of the most common ones we hear from our customers in Laurel, MS:
How do I know if it’s the battery or the charging port?
This is an excellent question and a common point of confusion. While both can lead to charging issues, their symptoms often differ.
A failing battery typically manifests as:
- Rapid battery drain: Your phone dies quickly even after a full charge.
- Unexpected shutdowns: Your phone turns off suddenly, even when showing a decent battery percentage.
- Slow performance: Your iPhone might feel sluggish as the operating system tries to conserve battery life.
- Inaccurate battery percentage: The battery percentage might jump around erratically.
- Swelling: In rare but serious cases, the battery might swell, causing the screen to lift or the back to bulge.
A failing charging port, on the other hand, usually presents with:
- No charging at all: The phone doesn’t react when plugged in.
- Intermittent charging: It charges only if you wiggle the cable or hold it at a specific angle.
- Loose cable connection: The charging cable doesn’t sit snugly in the port.
- Visible damage or debris: You can see lint, dirt, or bent pins inside the port.
- Charging icon appears but battery percentage doesn’t increase: This can sometimes indicate a very weak connection or internal port damage.
A professional diagnosis is the surest way to determine if it’s your battery or charging port. We have the tools to test both components accurately.
Will getting my charging port repaired erase my iPhone’s data?
No, generally, getting your charging port repaired will not erase your iPhone’s data. The charging port is a hardware component, and its replacement does not typically involve accessing or modifying your phone’s internal storage or software. Your photos, apps, contacts, and other personal information should remain untouched.
However, as a best practice, we always recommend backing up your iPhone before any repair. While data loss during a charging port repair is extremely rare, unforeseen circumstances (like another unrelated component failing during the process) can happen with any electronic device. A quick backup to iCloud or your computer ensures that all your precious memories and important information are safe, just in case. It’s better to be safe than sorry!
Can a water-damaged charging port be fixed?
A water-damaged charging port can sometimes be fixed, but it’s often more complex than a simple replacement. When water enters the charging port, it can cause corrosion to the delicate metal pins and connections. This corrosion can spread to the logic board if not addressed quickly and properly, leading to more extensive damage.
If your iPhone has water damage affecting the charging port, we recommend bringing it in for professional assessment immediately. The sooner we can inspect it, the better the chances of a successful repair. We’ll need to open the device to clean any corrosion and assess the extent of the damage. In some cases, only the port needs replacement. In others, there might be secondary damage to the logic board that requires more intricate repairs.
It’s crucial not to try charging a water-damaged phone, as this can short-circuit components and worsen the damage. Turn it off, don’t try to power it on, and bring it to us for expert evaluation. We’ll be honest about the repairability and cost implications.
Get Your iPhone Charging Again in Laurel, MS
A non-charging iPhone is a headache, turning your indispensable device into an expensive paperweight. From frustratingly slow charging to a completely unresponsive port, these issues are common but, thankfully, often fixable. We’ve explored the common signs, the typical causes, and why a professional approach to iPhone charging port repair in Laurel MS is always the best route.
Choosing a professional repair service like Salvation Repair means opting for expert diagnosis, high-quality parts, and the peace of mind that comes with a solid warranty. You avoid the risks of costly DIY mistakes and benefit from fast, efficient service that gets your iPhone back in your hands quickly. We pride ourselves on our same-day service, lifetime warranty, and commitment to customer satisfaction, ensuring your device charges properly and stays powered throughout your day.
Don’t let a faulty charging port disrupt your life in Laurel, MS. If you’re experiencing any of these charging issues, we’re ready to help. Visit us at 1503 Lakeview Rd for fast, warranty-backed service, or check out more information about our phone repair services: More info about phone repair services in Laurel, MS. Let us get your iPhone charging again so you can get back to what matters most!
