HP laptop repair near me: Fast & Expert 2025
When Your HP Laptop Stops Working: What You Need to Know
When you search for hp laptop repair near me, you’re likely dealing with one of these situations:
Quick Options for HP Laptop Repair:
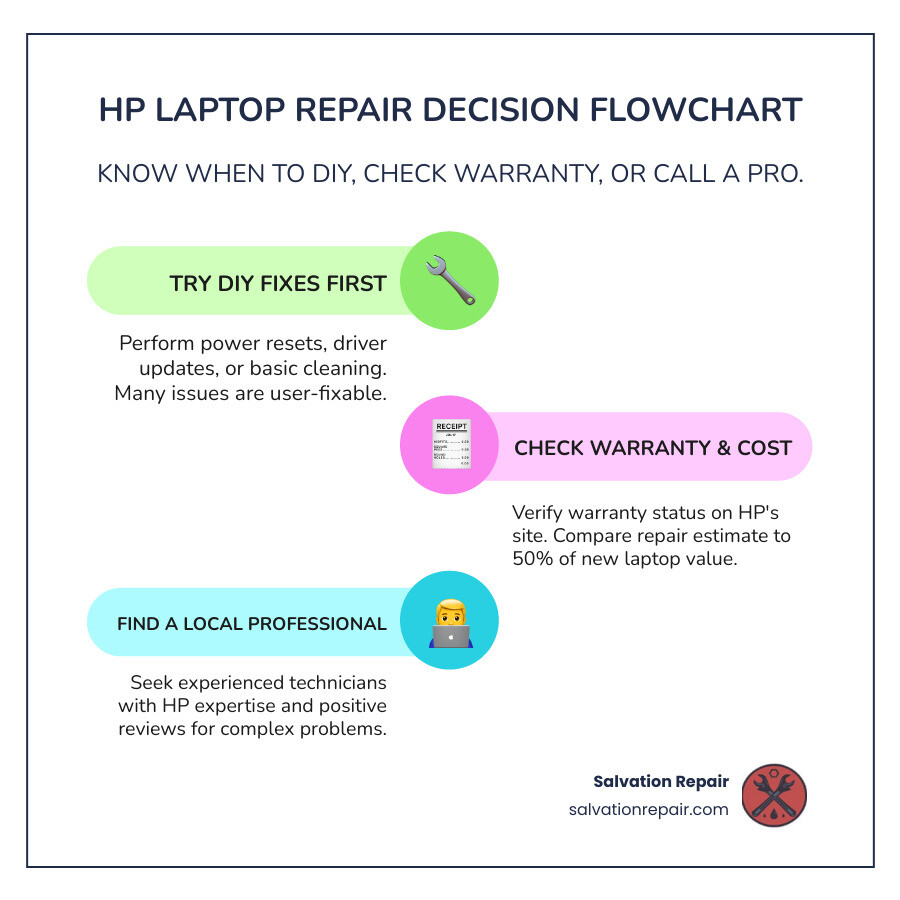
- Try DIY Fixes First – Power reset, driver updates, or basic cleaning can resolve 30-40% of common issues
- Check Your Warranty – Visit support.hp.com/us-en/checkwarranty with your serial number
- Find Local Repair Shops – Look for experienced technicians with HP expertise and positive reviews
- Expect to Pay – Average costs range from $60/hour for service, $100 for virus removal, or $150-400 for screen replacement
- Same-Day Service Available – Many local shops complete repairs within hours for simple issues
Your HP laptop is essential for work, school, and staying connected. When it suddenly won’t turn on, displays a cracked screen, or runs painfully slow, every minute counts. The good news? Many common HP laptop problems have simple solutions you can try at home before spending a dime on repairs.
However, knowing when to DIY and when to call a professional can save you both time and money. Some issues like software glitches or slow performance respond well to basic troubleshooting. Others—like physical damage, liquid spills, or hardware failures—require expert attention right away.
The average computer repair costs $60 per hour, with specific repairs ranging from $100 for virus removal to $320 or more for screen replacement. But these costs vary widely based on your location and the extent of damage. Understanding your options helps you make smart decisions about whether to repair or replace your device.
This guide walks you through everything you need to know about HP laptop repair. You’ll learn which problems you can fix yourself, how to recognize when professional help is necessary, what repair services should cost, and how to find trustworthy technicians in your area.
I’m Ralph Harris, and with over 20 years of experience in electronics repair and 500+ Apple repair certifications, I’ve diagnosed and fixed thousands of laptop issues including specialized hp laptop repair near me requests from customers seeking local, reliable service. My background in computer science and hands-on technical work has taught me that most laptop problems fall into predictable patterns—and many have straightforward solutions.

First Steps: DIY Troubleshooting and Maintenance
Before you search for hp laptop repair near me, try some DIY troubleshooting. Many common HP laptop problems are simple to fix at home, potentially saving you $50-200 in service fees. These steps can resolve 30-40% of common issues. Here are some quick fixes and preventative maintenance tips.
What are the most common HP laptop issues that can be fixed by a user?
Here are the most frequent HP laptop issues you can often tackle yourself:
- Power Reset: A go-to for mysterious issues like freezing or failure to boot. A power reset clears temporary system glitches. Shut down, unplug, remove the battery (if possible), hold the power button for 30 seconds, then reconnect everything.
- Display Issues: For a black screen, first try adjusting brightness, closing and reopening the lid, or connecting an external monitor. The Windows + Ctrl + Shift + B shortcut can also reset the graphics driver.
- Battery Problems: If your battery drains fast or won’t charge, inspect the power adapter, try a new outlet, and check battery health in HP Support Assistant. Using adapter power alone helps determine if the battery is the culprit.
- Wi-Fi Connectivity: Can’t connect to the internet? Restart your router, run the Windows Network Diagnostic tool, and update your network drivers. A driver update often solves the problem.
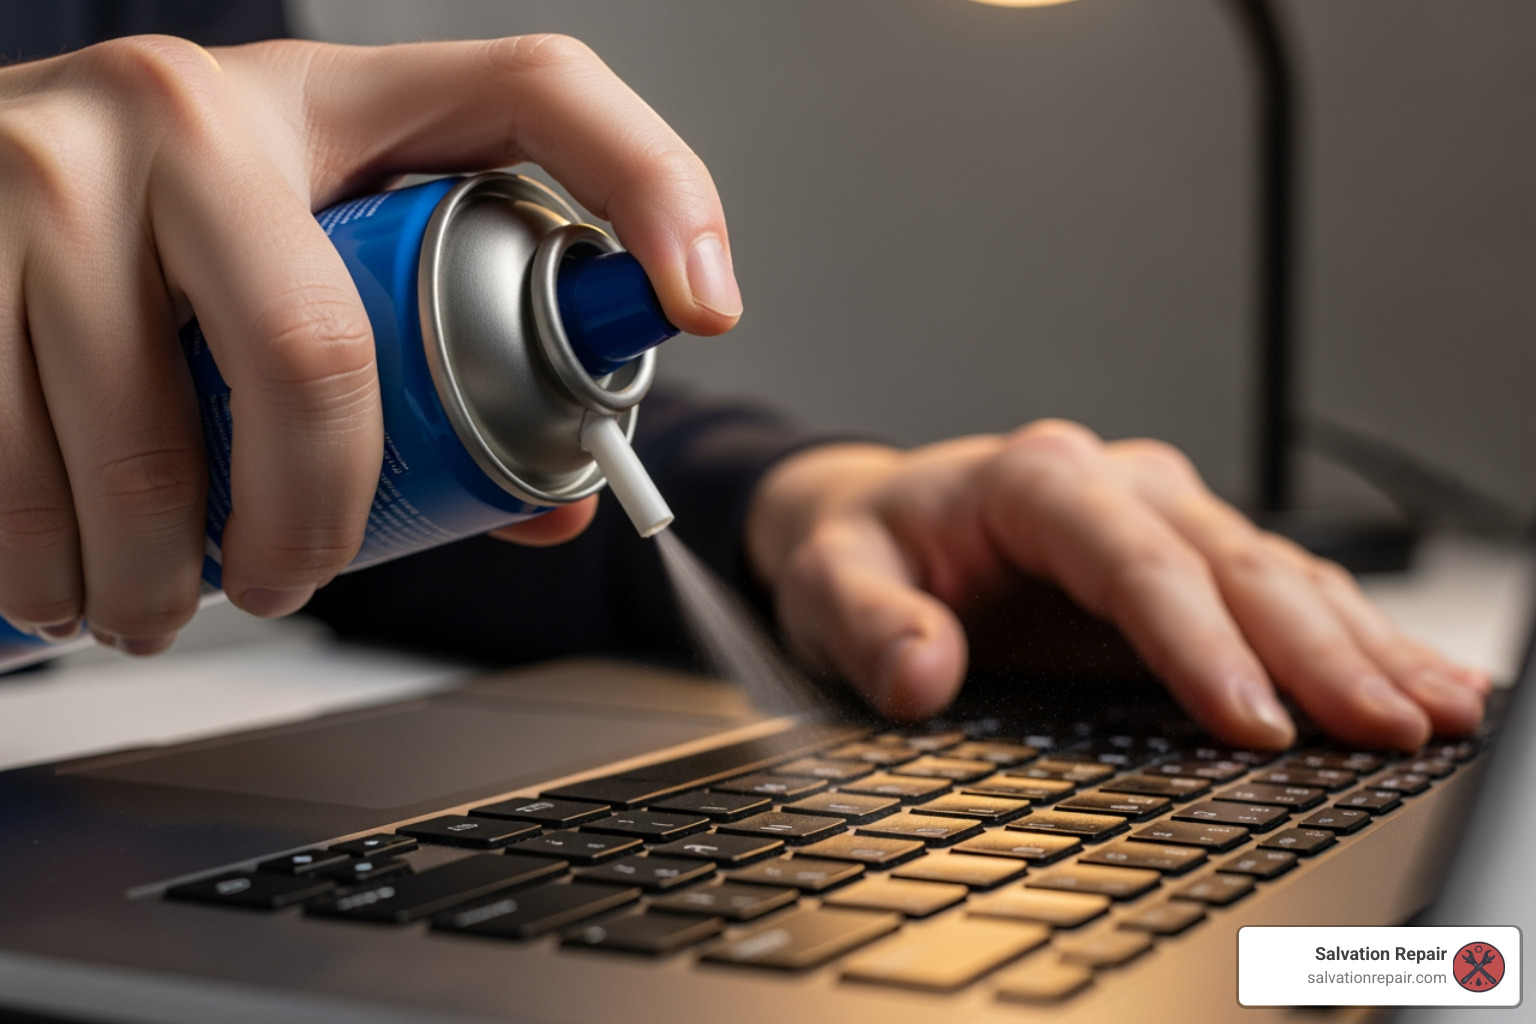
- Keyboard Cleaning: Sticky or unresponsive keys are often caused by debris. With the laptop off, use compressed air to clear out dust and a slightly damp cloth to clean the keycaps.
- Updating Drivers: Outdated drivers cause performance and compatibility problems. Regularly install the latest drivers for graphics, network, and chipset to fix software glitches. HP Support Assistant can automate this.
- Removing Malware: A sluggish laptop with pop-ups may have malware. Run a full scan with reputable antivirus software to remove threats and restore performance and security.
What are some preventative maintenance tips to avoid HP laptop issues?
Preventative maintenance is key to avoiding issues and extending your HP laptop’s lifespan, which can be up to seven years.

Here’s our recommended schedule:
- Weekly:
- Routine Restarts: A simple restart clears temporary files and memory, helping your system run smoother.
- System Updates: Check for and install Windows and HP driver updates to ensure optimal performance and security.
- Antivirus Scans: Run a quick scan to catch any potential malware early.
- Monthly:
- Physical Cleaning: Use compressed air to clear dust from keyboard, vents, and ports. Gently wipe down the screen and exterior. Keeping things clean prevents overheating and extends component life.
- Driver Updates: Beyond Windows updates, manually check for specific driver updates for your graphics card, touchpad, and other components.
- Backup Verification: Ensure your data backups (which we’ll discuss later) are running correctly and are accessible.
- Quarterly:
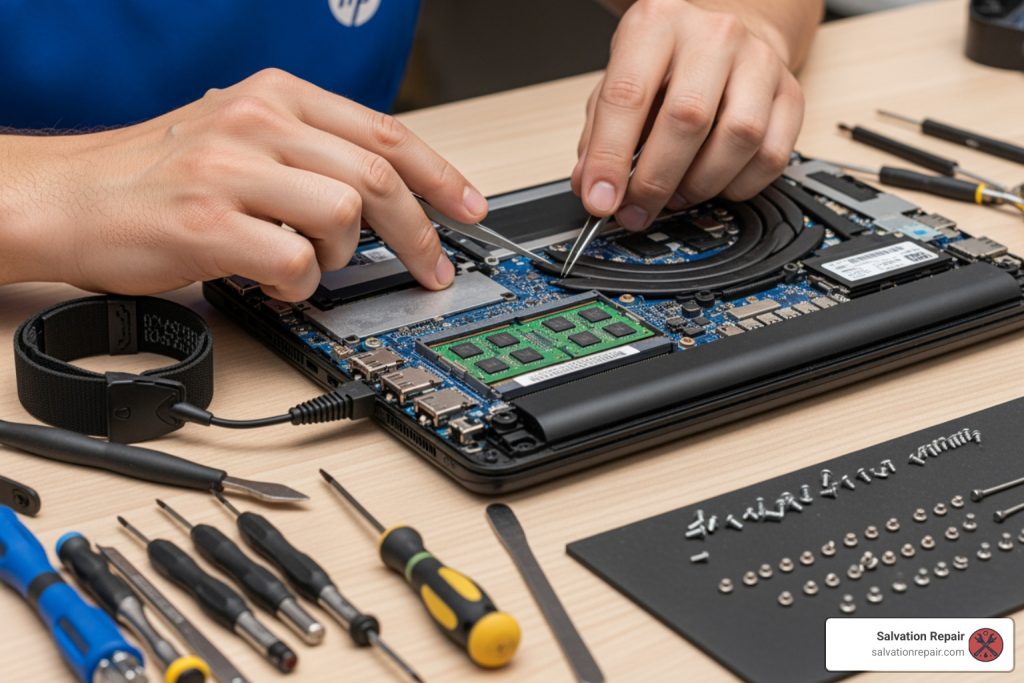
- Deep Cleaning: If you’re comfortable, consider opening up your laptop (if it’s out of warranty) to clean internal fans and heatsinks. Otherwise, a professional cleaning can work wonders.
- Hardware Diagnostics: Use HP PC Hardware Diagnostics to run comprehensive tests on your battery, hard drive, memory, and other components. This can catch issues before they become critical.
- Performance Optimization: Defragment your hard drive (if it’s an HDD), optimize startup programs, and uninstall unused software.
- Battery Calibration: For optimal battery health, perform a full discharge and recharge cycle periodically. This helps your laptop’s battery gauge remain accurate.
When to Call a Pro: Signs Your HP Laptop Needs Expert Help
While we love empowering you with DIY solutions, there comes a point when waving a magic wand (or a can of compressed air) simply won’t cut it. Knowing when to stop troubleshooting and search for hp laptop repair near me is crucial. Ignoring serious symptoms can lead to further damage or even data loss.

Here are the unmistakable signs that your HP laptop needs professional intervention:
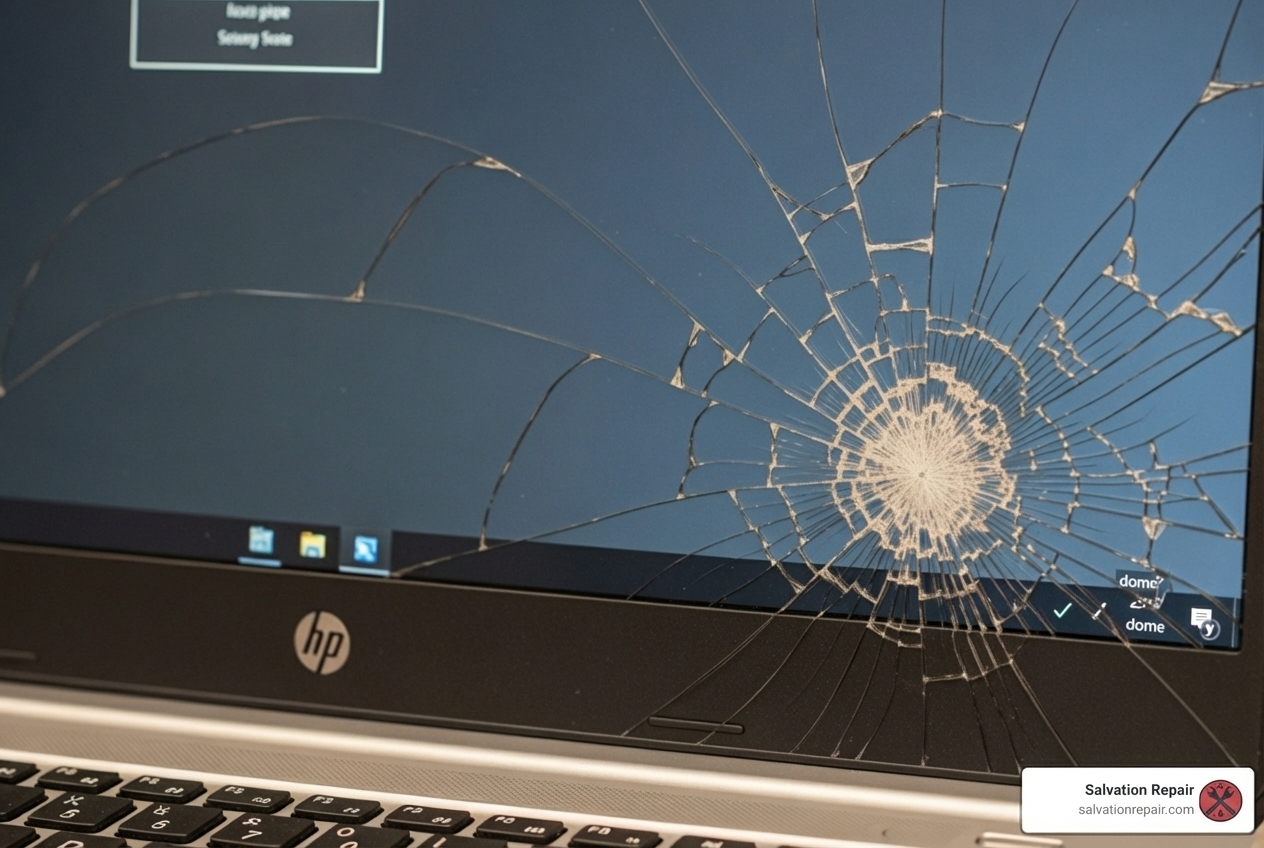
- Physical Damage: A cracked screen, broken hinges, a malfunctioning trackpad after a fall, or damaged ports are almost always beyond DIY repair. While a broken screen might just be an eyesore, it can lead to further internal damage or even electrical hazards.
- Liquid Spills: This is the arch-nemesis of all electronics. Even if your laptop seems to work after a spill, corrosion can silently spread, causing intermittent issues or total failure down the line. Immediate professional attention is vital to minimize damage.
- Laptop Won’t Turn On (After DIY Attempts): If you’ve tried the universal power reset, checked your charger, and it’s still playing dead, it’s a strong indicator of a deeper hardware issue, possibly with the motherboard or power supply.
- Strange Noises: Grinding, clicking, or loud whirring sounds often point to a failing hard drive or fan. A failing hard drive is a ticking time bomb for your data, so back it up immediately and seek professional help.
- Overheating: While some warmth is normal, excessive heat, especially with fans running at full blast, can damage internal components. If cleaning the vents doesn’t help, there might be an internal cooling system failure.
- Persistent Blue Screens of Death (BSODs): Occasional blue screens can be driver-related, but if they’re frequent, random, and prevent you from using your laptop, it suggests critical software corruption or, more seriously, hardware failure.
- Failed Hardware Diagnostics: If you’ve run HP PC Hardware Diagnostics and it reports failures for components like the hard drive, memory, or processor, those issues typically require part replacement and expert installation.
When faced with these symptoms, it’s time to find a local expert who specializes in hp laptop repair near me. They have the tools, expertise, and genuine parts to diagnose and fix the problem safely and effectively.
Finding HP Laptop Repair Near You: Your Options
When your HP laptop throws in the towel, finding a trustworthy repair service quickly is key. For those of us in Laurel, Jackson, and Oxford, Mississippi, we know the importance of reliable local experts. We pride ourselves on being that trusted partner for hp laptop repair near me.
How can I find a trusted HP laptop repair service near me?
Finding the right repair service isn’t just about proximity; it’s about trust, expertise, and quality. Here’s what we recommend:
- Search for Local Specialists: Use online search engines with terms like “HP laptop repair Laurel MS,” “HP repair Jackson MS,” or “laptop repair Oxford MS.” Look for businesses with a strong local presence.
- Check Reviews and Ratings: Customer reviews on platforms like Google, Yelp, or Thumbtack offer invaluable insights into a shop’s reliability, customer service, and repair quality. Look for consistent positive feedback and specific mentions of expertise with HP laptops.
- Ask About Experience with HP Laptops: Not all technicians are equally skilled with every brand. A good repair shop will have technicians experienced with HP’s specific architecture and common issues. We at Salvation Repair, for example, handle all major brands, including HP, so you can be confident in our expertise.
- Pros of Choosing a Local Expert:
- Personalized Service: You get to speak directly with the technician, explain your issue in detail, and build a relationship.
- Fast Turnaround: Local shops often offer quicker repair times than sending your device away. Many simple fixes can even be done the same day.
- Warranty Policies: Reputable local shops, like us, offer warranties on their repairs, giving you peace of mind. Our lifetime warranty is something we’re particularly proud of!
What are the benefits of using a professional HP repair service?
While DIY fixes are great for minor glitches, professional repair services offer significant advantages, especially for complex or hardware-related issues. Here’s a comparison:
| Factor | DIY (User Attempt) | Local Professional Service (e.g., Salvation Repair) |
|---|---|---|
| Cost | Potentially $0 (if successful), or cost of parts | Average $60/hour, plus parts. Often saves money compared to replacement. |
| Speed | Immediate (if simple), or indefinite (if complex) | Many repairs same-day; 2-5 business days for more complex issues. |
| Warranty | None | Lifetime warranty on repairs (at Salvation Repair). |
| Part Quality | Varies (can be low if ordering cheap online) | High-quality, often OEM-standard parts. |
| Technician Expertise | Basic troubleshooting knowledge | Certified, experienced technicians with specialized tools. |
| Risk | High (can cause further damage or data loss) | Low (professional, insured service). |
How long does HP laptop repair usually take?
The repair time for your HP laptop can vary significantly based on the issue and the availability of parts. We know you need your laptop back quickly, and we strive to provide efficient service.
- Same-Day Repairs: For common issues like software glitches, virus removal, or minor component replacements (e.g., a simple battery swap if the part is in stock), many repair services, including ours, can complete repairs as soon as the same day. This is especially true for our on-site services in Laurel, Jackson, and Oxford, MS.
- Simple Fixes: Issues that require minimal diagnostic time and no special parts can often be resolved within a few hours.
- 2-5 Business Days: For more complex hardware repairs, like screen replacements, motherboard repairs, or issues requiring specific parts to be ordered, you can typically expect a turnaround time of 2-5 business days. This allows for thorough diagnosis, ordering of quality parts, and proper installation and testing.
The goal is always to get your HP laptop back to you as quickly as possible without compromising on the quality of the repair.
The Financials: Repair Costs and Making the Right Choice
“How much will this cost?” is often the first question on anyone’s mind when their HP laptop breaks. Understanding the typical costs and weighing them against the value of your device is crucial for making an informed decision.
What is the typical cost of HP laptop repair services?
The cost of hp laptop repair near me depends heavily on the extent of the damage, the specific parts needed, and the labor rates in your area. However, we can give you a good idea of what to expect:
- Average Hourly Rate: Computer repair technicians typically charge an average of $60 per hour, with rates generally ranging from $45-$90. This covers diagnostic time and labor for repairs that aren’t fixed-price.
- Screen Replacement Cost: A cracked or damaged screen is one of the most common physical damages. Repair services may charge anywhere from $150-$400, sometimes even up to $320, depending on the HP model and the type of screen (e.g., touchscreen vs. non-touch, resolution).
- Battery Replacement Cost: If your HP battery is no longer holding a charge, a replacement can cost between $60-$150. This is often a straightforward repair that can significantly extend the usable life of your laptop.
- Motherboard Repair Cost: This is one of the more expensive repairs, often ranging from $300-$600. Motherboard issues can be complex and sometimes lead to the “repair vs. replace” dilemma.
- Virus Removal Cost: Dealing with pesky malware? A repair service may charge around $100 to thoroughly clean your system and ensure your data is safe.
- Hard Drive Upgrade/Replacement: If your hard drive is failing or you want to upgrade to a faster SSD, costs can range from $100-$300, plus the cost of the new drive itself. This is almost always cheaper than buying a new computer.
At Salvation Repair, we offer free diagnostics and a low price guarantee, meaning we’ll match any local competitor’s price for the same repair.
What is the difference between repairing and replacing an HP laptop?
This is the age-old question: fix it or get a new one? It’s a decision that balances cost, performance, and sentimental value.
- The 50% Rule: A good rule of thumb is to consider replacing your HP laptop if the repair cost is 50% or more of the current value of a new, comparable device. Some experts even suggest if repair costs exceed 60% of the replacement value, it’s time to replace.
- Repair Cost vs. New Laptop Value: Always get a repair quote first. Compare this cost to what you’d spend on a new HP laptop that meets your needs. If the repair is significantly cheaper and addresses the core issue, it’s often the better choice.
- Laptop Lifespan: An average laptop may last anywhere from a few years up to seven years, depending on its quality, age, condition, and how well it’s maintained. If your HP is nearing the end of its typical lifespan (e.g., 5+ years old) and requires an expensive repair, replacement might offer better long-term value.
- Performance Needs: Is your current HP laptop still meeting your performance needs? If it was already slow and inefficient before it broke, or if you need more power for new software or tasks, a new laptop might be a more sensible investment, even if the repair is affordable.
- Future-Proofing: A new laptop often comes with updated technology, better processors, more RAM, and improved battery life. If your repair budget can stretch to a new device that will serve you well for the next 3-5 years, it might be worth considering.
For example, replacing a hard drive is almost always cheaper than buying a new computer. However, if your motherboard is severely damaged on an older laptop, the repair cost might push you towards a new purchase. We can help you assess the situation at our Laurel, Jackson, or Oxford, MS locations.
Preparing Your Laptop for a Professional Repair
Before handing over your beloved HP laptop to anyone, even trusted professionals like us, there are a few critical steps you should take. These steps protect your data, ensure your privacy, and help the repair process go smoothly.
How can I check if my HP laptop is still under warranty?
Knowing your warranty status can save you a significant amount of money, as covered repairs won’t cost you a dime.
- Visit HP’s Official Warranty Check Page: Go directly to HP Warranty Check.
- Enter Serial Number: You’ll find your laptop’s serial number on a sticker on the bottom of the device, inside the battery compartment (if removable), or by using system information tools within Windows.
- Review Coverage Details: The page will display your warranty type, expiration date, and what services are covered.
- Save Warranty Status: Take a screenshot or print out the warranty information for your records. This can be very helpful if you need to make a claim.
You can also use the HP Support Assistant for automated troubleshooting, which often displays warranty information.
What should I do before bringing my HP laptop for repair?
These steps are non-negotiable for your peace of mind and data security:
- Back Up All Data: This is the golden rule! Before any repair, assume the worst-case scenario (data loss) and back up everything important.
- Cloud Storage: Use services like Google Drive, Dropbox, or OneDrive.
- External Hard Drive: Transfer all critical documents, photos, and videos to an external drive.
- Erase Sensitive Information (if possible): If your laptop won’t turn on, this might not be an option. But if it’s functional, consider securely erasing any highly sensitive files you don’t need backed up.
- Log Out of All Accounts: Log out of all personal accounts (email, social media, banking, etc.) in your web browser and any installed applications.
- Write Down the Problem Details: Provide a clear, detailed description of the issue. When did it start? What were you doing? Are there any error messages? The more information you provide, the quicker and more accurate the diagnosis will be.
- Remove Peripherals: Take off any USB drives, external mice, or other accessories.
- Charge the Battery: If your laptop still charges, make sure it has some battery life.
Taking these steps ensures your data is safe, your privacy is protected, and our technicians can focus solely on fixing your HP laptop efficiently.
Frequently Asked Questions about HP Laptop Repair
We hear a lot of questions from our customers about their HP laptops. Here are some of the most common ones we address at our locations in Laurel, Jackson, and Oxford, MS.
Is it worth fixing a 5-year-old HP laptop?
It’s a common dilemma! The answer is, “it depends.” We generally recommend considering these factors:
- Consider the Repair Cost: If the cost to fix your 5-year-old HP laptop is 50% or more of the price of a new, comparable laptop, it might be more economical in the long run to replace it. For example, if a new HP laptop costs $800, and the repair is $400 or more, you’re at that threshold.
- Assess Performance Needs: Does your current 5-year-old HP laptop still meet your performance requirements? If it was already struggling with everyday tasks before it broke, a repair might just extend its life for a short period before other components start to fail. If it’s still snappy and you only need a specific part replaced, then repairing can be a great option.
- Laptop Lifespan: While some laptops can last up to seven years, many start showing their age around the 3-5 year mark. If your laptop is running well and only needs a single, affordable repair (like a battery or hard drive), it’s often worth it. If multiple components are failing, or it’s an expensive repair like a motherboard, then buying new might be the smarter move.
We’re always happy to provide a free diagnostic and honest advice on whether repair or replacement is the best path for your specific HP model.
How do I know if a repair shop is trustworthy?
Finding a reliable repair shop for your hp laptop repair near me is crucial. Here’s what we suggest:
- Check Reviews: Look for online reviews on Google, Yelp, and other local directories. Pay attention to what people say about their experience, professionalism, and the quality of repairs.
- Ask for Certifications: Inquire if their technicians are certified or have specialized training for HP products or general laptop repair. Experience with your specific brand is a huge plus.
- Inquire About Their Warranty Policy: A trustworthy shop will stand behind their work. We, for instance, offer a lifetime warranty on our repairs because we’re confident in our quality. Be wary of shops that offer no warranty or very short ones.
- Request a Written Estimate: Always ask for a written estimate before any work begins. This ensures transparency and prevents unexpected charges. A reputable shop will provide free diagnostics and clear pricing.
- Avoid Red Flags: Be cautious of shops that demand upfront payment for diagnostics, pressure you into expensive repairs, or refuse to provide details about the repair process or parts used.
Can a cracked HP laptop screen be fixed?
Absolutely! A cracked HP laptop screen is one of the most common repairs we perform. It’s a very fixable issue, and in most cases, replacing the screen is far more cost-effective than buying a new laptop.
- Common Repair: Screen replacement is a routine procedure for experienced technicians.
- Costs: As mentioned, the cost for screen replacement typically ranges from $150 to $400. This price can vary depending on your specific HP laptop model, screen size, resolution, and whether it’s a touchscreen or not.
- Quality Parts: A professional service will use high-quality replacement screens that match your HP’s original specifications, ensuring optimal display quality.
So, if your HP laptop has a broken screen, don’t despair! Bring it to us in Laurel, Jackson, or Oxford, MS, and we’ll get it looking as good as new.
Conclusion: Get Your HP Laptop Back in Action
Dealing with a malfunctioning HP laptop can be incredibly frustrating, but as we’ve seen, you have many options to get it back up and running. We’ve walked through the key steps: starting with DIY troubleshooting, knowing when to call in the professionals, understanding the costs involved, and preparing your device for repair.
Remember to always try the simple fixes first – a power reset or a quick clean can often resolve 30-40% of common issues. But when faced with physical damage, persistent errors, or complex hardware failures, don’t hesitate to seek expert help. It’s about making an informed decision that saves you time, money, and stress in the long run.
For reliable, local hp laptop repair near me with a lifetime warranty, it’s crucial to choose experienced technicians who prioritize quality and transparency. At Salvation Repair, serving Laurel, Jackson, and Oxford, MS, we specialize in same-day, on-site repairs for all devices with a power button, including your HP laptop. We’re here to offer free diagnostics, price matching, and peace of mind.
Don’t let a broken laptop disrupt your life. We’re ready to help you get your HP laptop back in action! Explore our PC and Laptop Repair Guides for more information.
