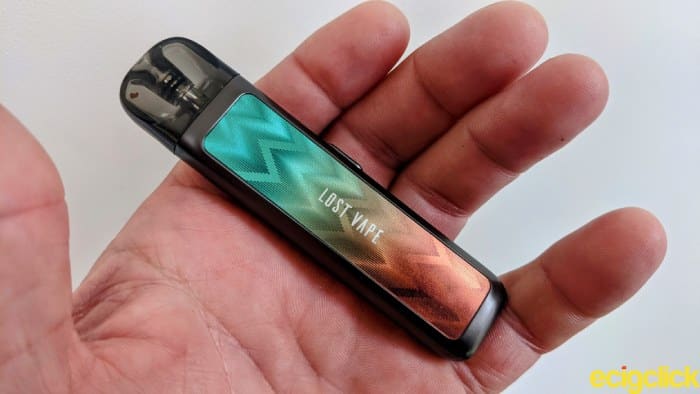
Lost Vape Ursa Nano (1st generation) Teardown
Duration: 45 minutes
Steps: 4 Steps
This guide walks you through disassembling your Ursa Nano 1st gen step by step. Ready to get started? Let’s carefully take it apart and bring your device back to life. If you hit a snag or need extra hands, you can always schedule a repair with the pros. Stay patient and follow along—you’re doing great!
Step 1
– Time to peel off that sticker! Hit it with a hair dryer first—trust me, it makes things way easier and keeps the sticker in one piece.
Step 2
– Now it’s time to grab your screwdriver and loosen up two small screws to free the base and the electronics inside. Easy peasy!
Step 3
– We’re about to tackle the trickiest part. Carefully insert a set of thin tweezers or a needle into the USB port at the bottom to gently push the electronics out. (Be cautious—using something too thick could crack the charging port!) If things get tricky, remember you can always schedule a repair with Salvation Repair.
Tools Used
Step 4
– Awesome, you’ve disassembled your inhaler! Now it’s time to fix anything that needs attention and simply follow the steps in reverse to get everything back in place. You’ve got this!


