Gaming laptop repair: 2025’s Best Expert
Why Gaming Laptops Need Specialized Repair Expertise
Gaming laptop repair requires specialized knowledge that goes beyond standard computer fixes. If you’re having issues with your gaming laptop, here’s what you need to know.
Quick Guide to Gaming Laptop Repair:
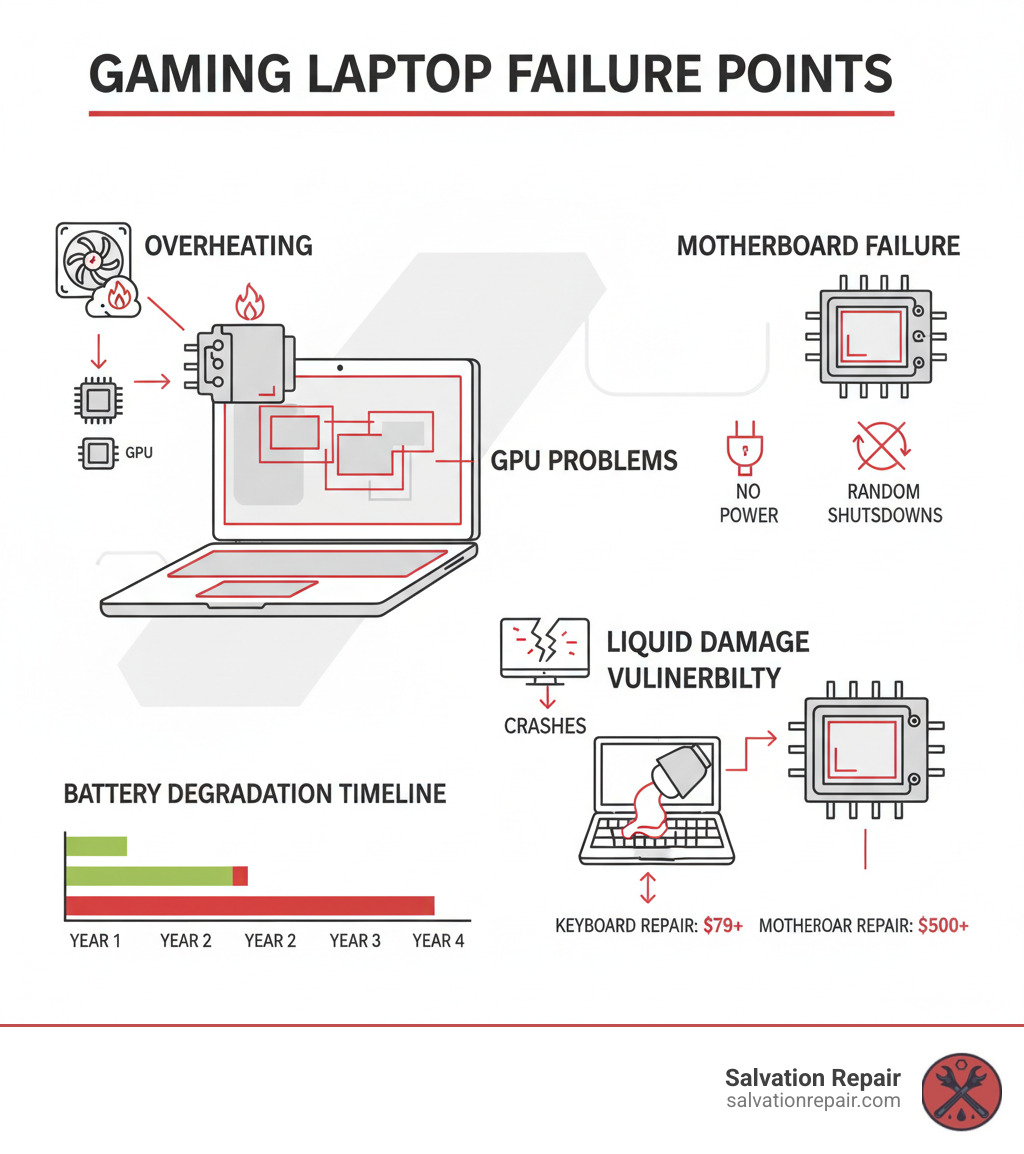
- Most Common Failures: Overheating, motherboard failures, GPU artifacts, and battery degradation.
- Average Repair Costs: Diagnostic fees range from $29-$84.95, motherboard repairs cost $200-$500+, and screen replacements start at $179-$250+.
- Expected Lifespan: 3-5 years with proper maintenance.
- Repair vs. Replace: When repair costs exceed 50-60% of a new laptop’s value, replacement often makes more sense.
- Key Warning Signs: Random shutdowns, failure to power on, Blue Screen of Death (BSOD), and overheating.
Gaming laptops pack desktop-level performance into a portable chassis, but this compact design means components run hotter and can fail faster than in standard laptops. Overheating is the leading cause of failure, often damaging the motherboard and GPU.
When something goes wrong, local repair shops might say the device is “disposable” or that motherboard repairs are impossible. This isn’t always true. For example, one user was told by a big-box store’s service that their laptop had a “fried motherboard” needing a $500 repair, but the actual fix was just reseating a RAM module. The reality is that gaming laptops are complex machines that require diagnostic skills and component-level repair expertise that many general shops lack.
Specialized repair shops, however, can perform component-level repairs, including micro-soldering, that others consider impossible. The key is finding a service with the right expertise and tools to properly diagnose the issue and give you honest guidance.
I’m Ralph Harris, and with over 20 years in electronics repair, I’ve seen every type of gaming laptop challenge. Through my work at Salvation Repair, I’ve helped countless gamers make informed decisions about gaming laptop repair versus replacement, and this guide is here to help you do the same.
Quick Gaming laptop repair terms:
- Laptop RAM upgrade
- Laptop upgrade service
Common Ailments: Why Gaming Laptops Fail and How to Prevent It
Gaming laptops push their components to the absolute limits, and this high-octane performance has consequences.
The number one villain in gaming laptop failures is heat. When we open these laptops for repair, the story is almost always the same: overheating has been slowly cooking the internals. As the CPU and GPU work overtime, they generate tremendous heat. When cooling systems can’t keep up, things start to break.
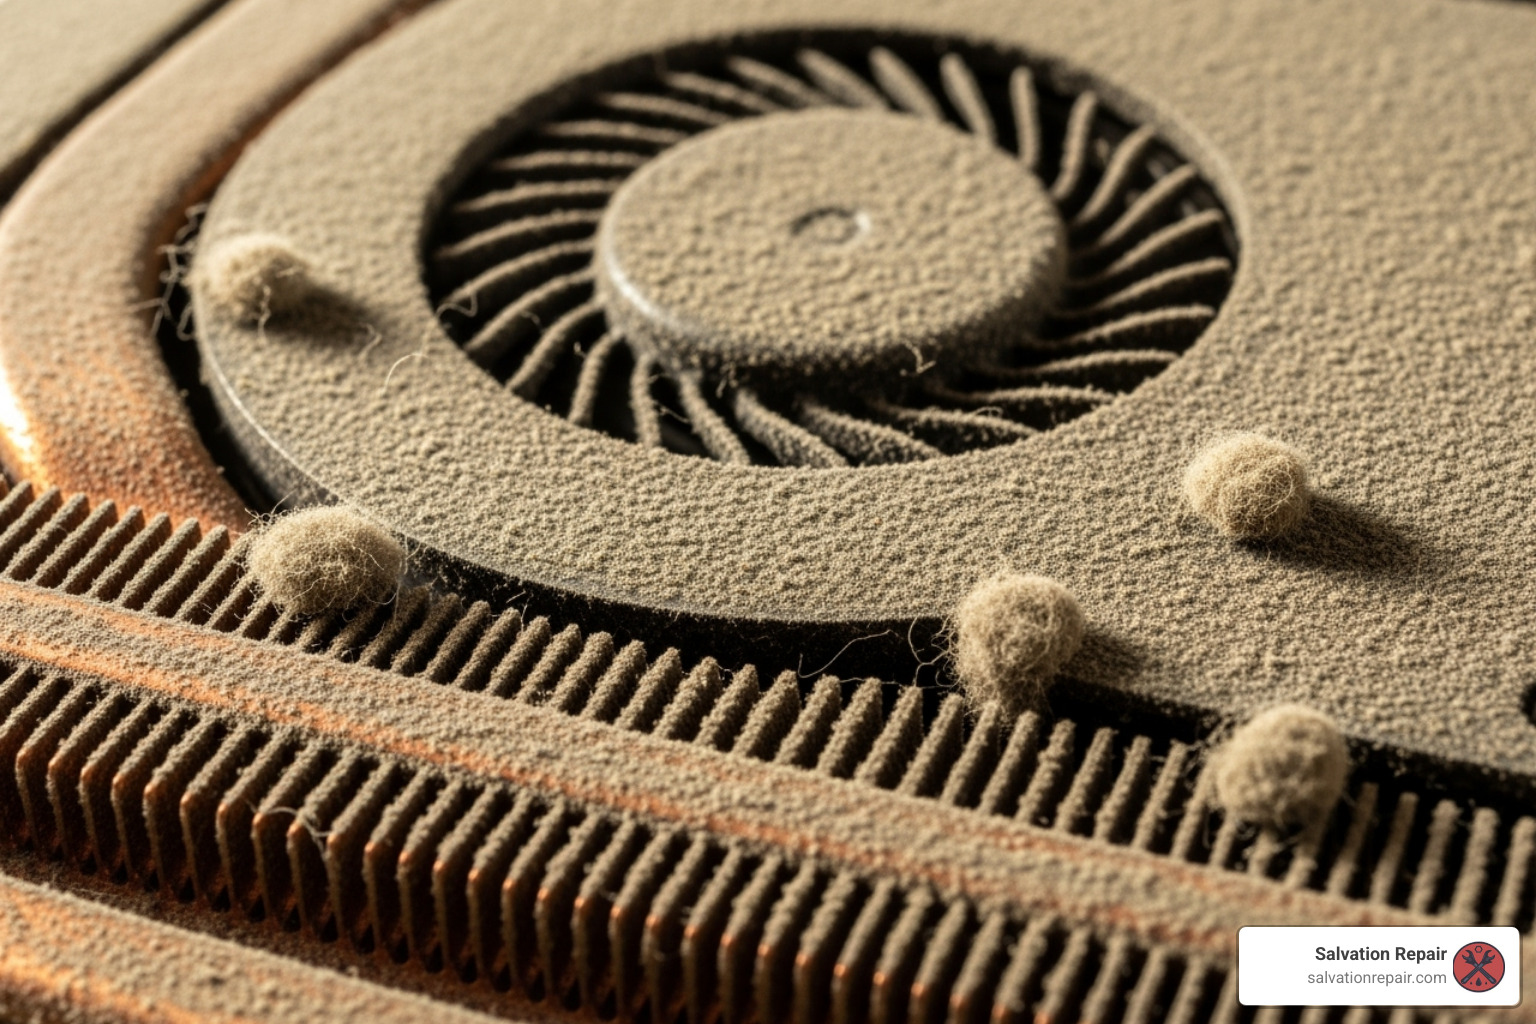
First, you’ll notice thermal throttling—your laptop slows down to prevent damage, causing frame rates to drop. If the heat continues, real damage begins. GPU artifacts (strange colors, flickering textures) are a visible warning that the graphics card is struggling. CPU failure is less common but equally devastating, causing instability or preventing the laptop from booting. Finally, there’s motherboard failure. Extreme temperatures can crack delicate solder joints and cause chips to fail. Many shops will declare the laptop dead, but sometimes the issue is simpler, which is why proper diagnosis matters.
Beyond heat, we also regularly handle liquid damage and physical damage from drops or worn-out hinges.
Signs of a Failing Gaming Laptop Motherboard
Recognizing these signs early can save you money and heartache.
- No power: You press the power button and get nothing. Always check the charger first, as a failed power adapter is a common culprit.
- Random shutdowns: The laptop turns off mid-game without warning. This could be overheating, but if temps are normal, it may be a motherboard power delivery issue.
- Blue Screen of Death (BSOD): Frequent crashes pointing to hardware errors often indicate motherboard problems.
- Peripherals not detected: USB ports, Wi-Fi, or other integrated components stop working, even after driver updates.
- Failure to POST: The laptop powers on, but nothing appears on screen, and it never boots to the operating system.
- Beeping codes: A series of beeps on startup can indicate specific hardware failures, sometimes related to the motherboard.
Remember the story about the “fried motherboard” that was actually just loose RAM? That perfectly shows why thorough diagnostics matter. At Salvation Repair, we always perform free diagnostics to find the actual problem before recommending any repairs.
Preventative Measures to Extend Laptop Life
Most major failures can be prevented or delayed with proper care.
- Regular cleaning: Dust clogs fans and traps heat. Use compressed air on external vents, but let professionals handle internal cleaning to avoid accidental damage.
- Proper ventilation: Always use your laptop on a hard, flat surface. Gaming on a bed or couch blocks air vents and causes overheating.
- Repasting your CPU and GPU: The thermal paste that transfers heat from your processors to the heatsinks dries out over time. Replacing it every few years can significantly lower temperatures.
- Use a cooling pad: A quality cooling pad provides extra airflow to your laptop’s underside, helping during long gaming sessions.
- Avoid physical shocks: Treat your laptop with care. Drops and impacts can damage delicate internal components.
- Software maintenance: Keep your operating system and drivers updated. Outdated drivers can sometimes cause issues that mimic hardware failure.
Navigating Your Gaming Laptop Repair: From Diagnosis to Decision
When your gaming laptop acts up, the big question is: “Should I fix this or buy a new one?” The decision comes down to cost, time, and your laptop’s value to you.
At Salvation Repair, we start with a free diagnostic because we can’t give an honest recommendation without knowing what’s wrong. We’ll examine your laptop and provide a clear estimate for parts and labor.
The repair-versus-replace decision often hinges on cost. Repairing a gaming laptop motherboard typically costs between $200 and $500+, while a new mid-range gaming laptop is $1,000 to $1,500. Repairing saves money and keeps your familiar machine and data, but you’re still using older tech. Buying new gets you the latest performance and a warranty but comes with a major financial hit and the hassle of setting up a new device.
We’ll be honest with you. If repair costs exceed 50-60% of a replacement’s cost, and your laptop is several years old, we’ll tell you. Our goal is to help you make the smartest decision for your wallet.
Can Gaming Laptop Motherboards Be Repaired?
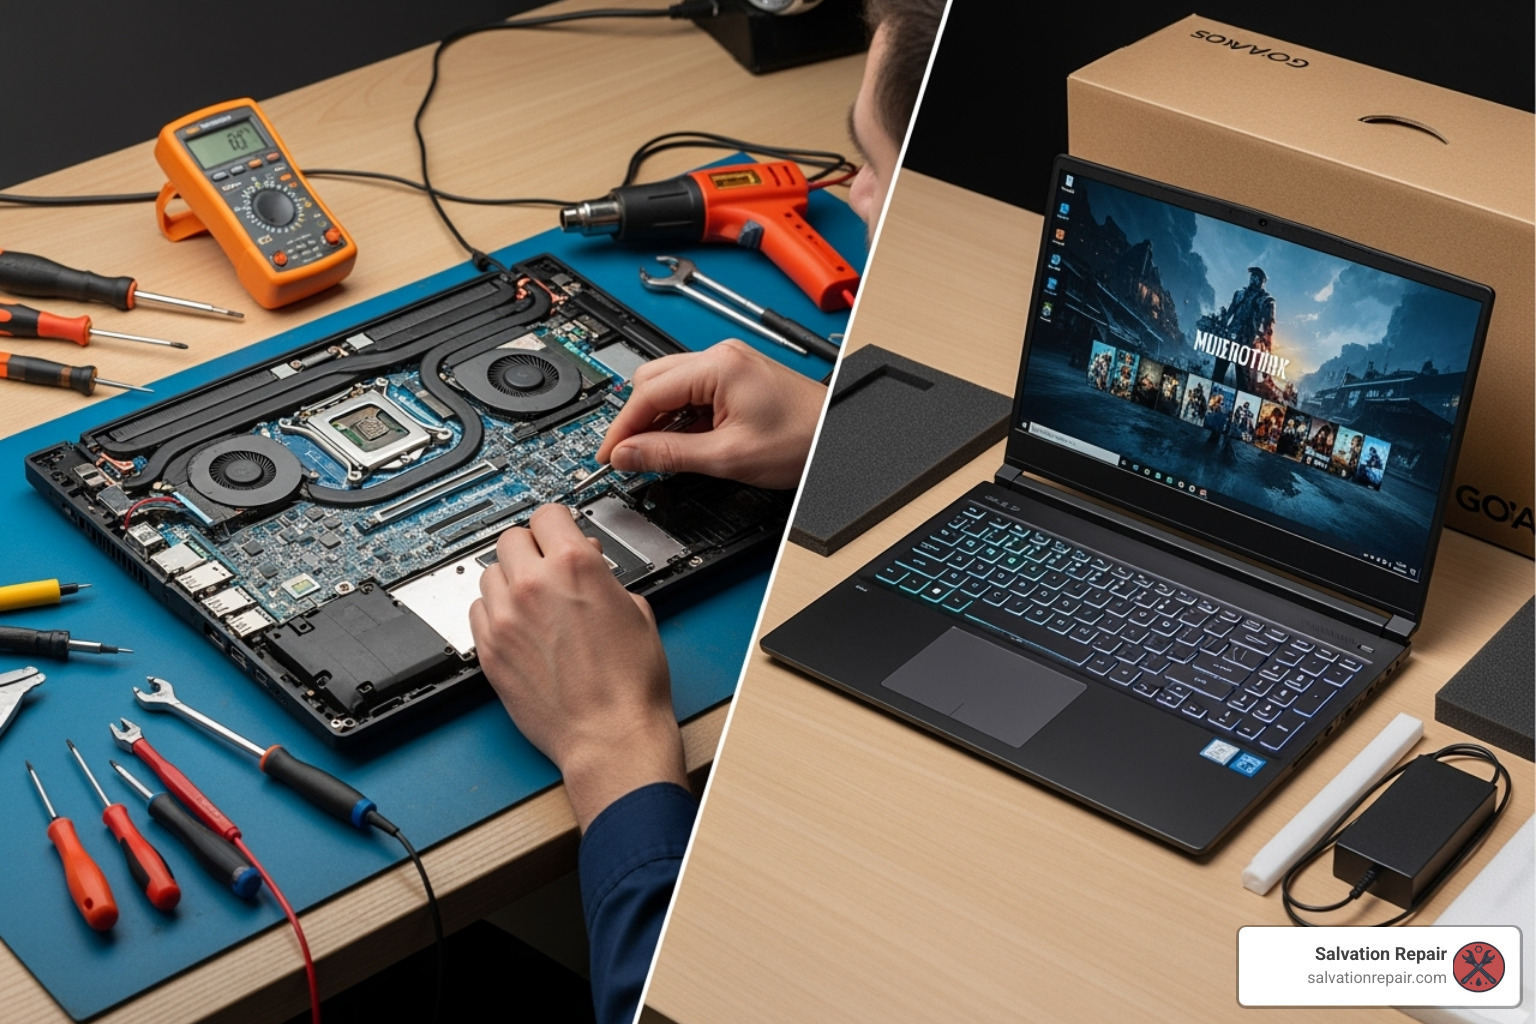
Yes, gaming laptop motherboards absolutely can be repaired, despite what many general repair shops might tell you. Motherboard repair requires specialized skills and equipment that most shops don’t possess.
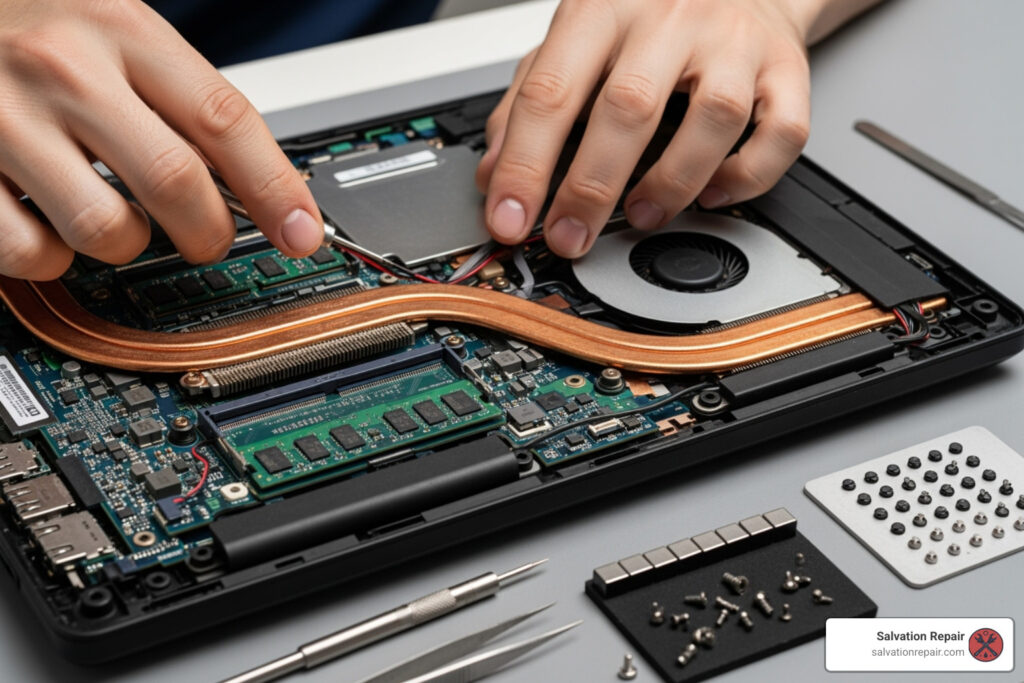
We perform component-level repair, meaning we identify and replace the specific faulty component on the motherboard—like a single capacitor or chip—rather than the entire board. This is dramatically cheaper. Our technicians are trained in micro-soldering to work on components smaller than a grain of rice and perform BGA (Ball Grid Array) rework to fix the solder connections for your GPU or chipset. This advanced work can bring a “dead” laptop back to life for a fraction of the replacement cost.
While not every board can be saved—especially with extensive liquid damage or physical cracks—we will always give you an honest assessment. This is the kind of complex gaming laptop repair that sets specialized shops apart.
Understanding the Cost of Gaming Laptop Repair
Transparency is key when it comes to repair costs. Here’s a general breakdown:
- Motherboard Repairs: Typically $200 to $500+, depending on the complexity. This wide range is why a free, accurate diagnostic is so important.
- Screen Replacements: High-refresh-rate gaming panels usually run $179 to $250+ for replacement.
- GPU Repairs: Since most GPUs are soldered to the motherboard, these repairs often fall into the higher end of the motherboard repair cost range.
- Keyboard Replacement: Usually runs around $79 and up, with RGB keyboards costing more.
At Salvation Repair, you should never be surprised by a bill. We provide clear, upfront estimates after our free diagnostic. We back our work with a lifetime warranty and offer price matching. Our goal is to provide reliable repairs at fair prices so you can get back to gaming.
If you want to learn more about our approach, check out our PC and laptop repair services. We’re here to help you make the best decision for your situation.
Built to Last or Built to Trash? The Truth About Gaming Laptop Lifespan
The average gaming laptop lasts between 3 to 5 years. This might seem short compared to a desktop, but it’s reasonable considering the intense workload these machines handle in a compact, heat-prone chassis.
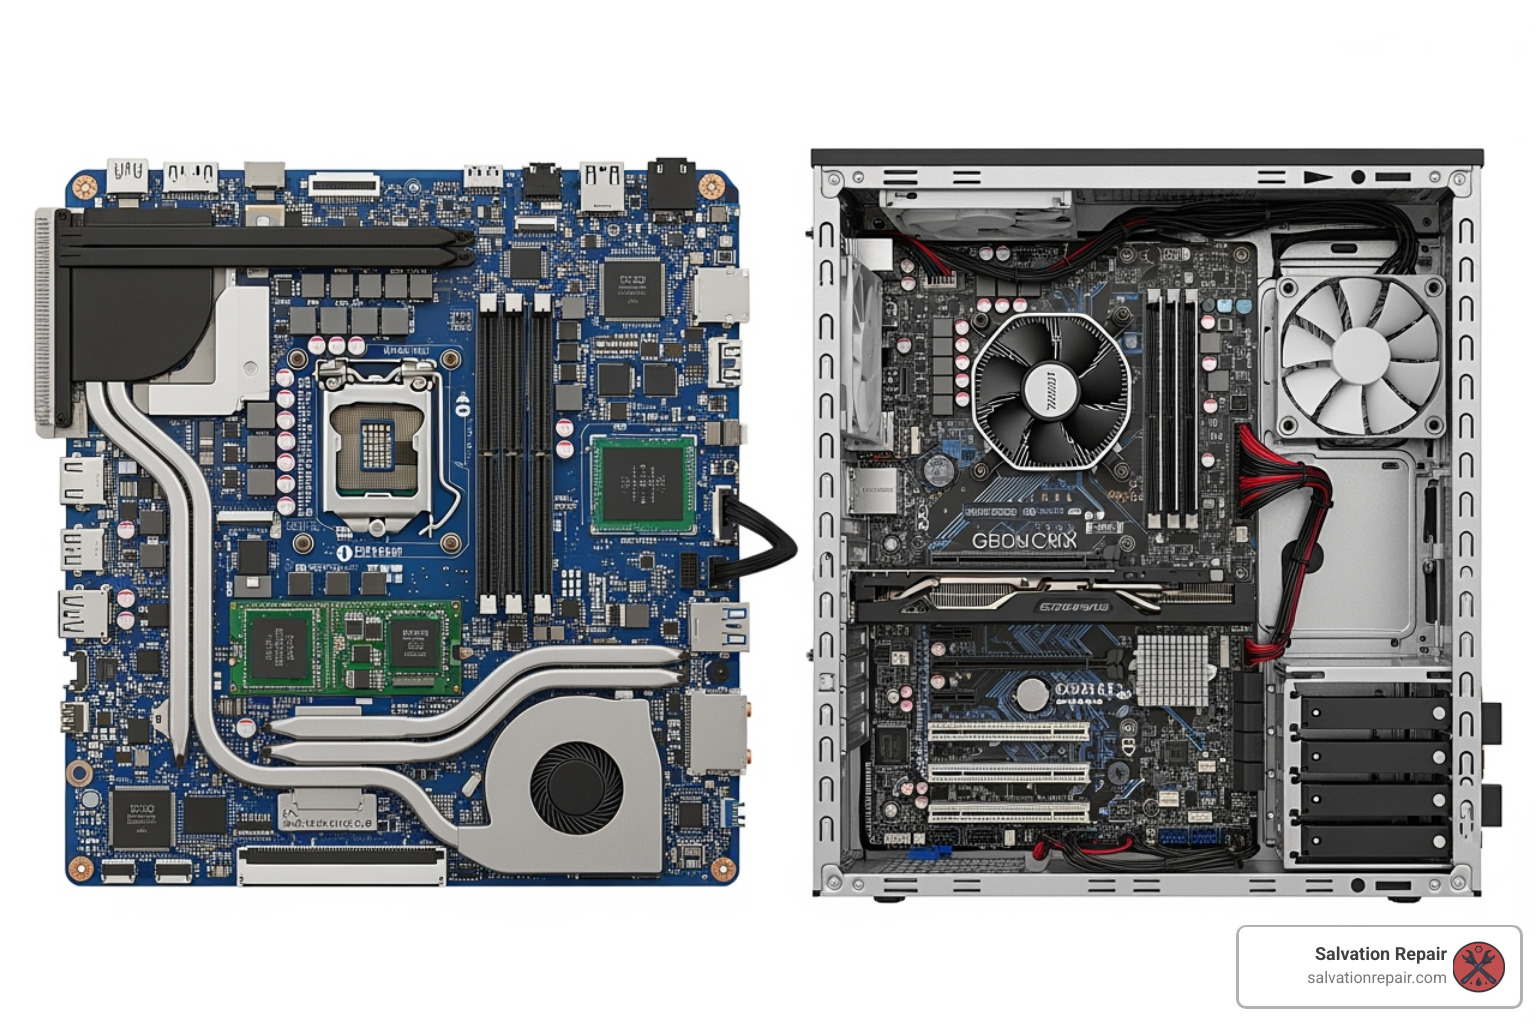
What frustrates gamers is that many manufacturers use soldered components (RAM, CPUs, GPUs) and custom form factors. This makes upgrades and repairs difficult, as you can’t simply swap out a failing part like you could on a desktop. When a critical component fails, it can feel like the entire laptop is useless, feeding the myth that they are “disposable.”
How Repairability Differs from Standard Laptops and Desktops
The repairability gap between device types is massive.
- Gaming Laptops: Incredibly complex and dense. Reaching a single component can require extensive disassembly, making repairs challenging and time-consuming.
- Standard Laptops: Generally more straightforward. Key components like RAM and batteries are often easily accessible.
- Desktop PCs: The gold standard for repairability. Nearly every part is modular and follows industry standards, allowing for easy swaps and upgrades.
This difference is why gaming laptop repair requires specialized expertise. When we can repair a specific component rather than replacing a whole proprietary assembly, we can save you significant money.
Are Gaming Laptops Designed to Be Disposable?
While not maliciously designed to be throwaway devices, certain factors contribute to a shorter practical lifespan. The constant high stress on components from gaming naturally accelerates wear and tear. Additionally, the industry’s push for thinner and lighter designs often leads to compromises in repairability, such as soldering components to save space.
This is where the role of repair specialists becomes crucial. We refuse to accept that a failed component means a dead laptop. Through micro-soldering and component-level diagnostics, we can often repair what others consider unrepairable. The right to repair movement is gaining momentum precisely because of these issues, pushing for a world where devices are repairable, not disposable.
At Salvation Repair, we believe that with the right expertise, gaming laptops can have longer, more sustainable lives. Our lifetime warranty reflects our confidence that quality gaming laptop repair can extend your device’s lifespan well beyond expectations.
After the Warranty: Your Next Move When Trouble Strikes
It’s a common scenario: your gaming laptop fails right after the one-year manufacturer’s warranty expires. This warranty typically only covers defects, not wear and tear or accidental damage. But being out of warranty doesn’t mean you’re out of options. This is where independent repair specialists shine.

Don’t let anyone convince you your laptop is worthless just because the warranty is up. We’ve helped countless customers who were told their only option was to buy a new device when a cost-effective repair was possible.
The Role of Extended Warranties in Gaming Laptop Ownership
Extended warranties, which can cost $100 to $300, are like insurance for your laptop. Given that a single motherboard repair can cost $200-$500+, an extended warranty can easily pay for itself. When considering one, read the fine print. Does it cover accidental damage like spills and drops? What are the deductibles and the claims process? For many gamers, the peace of mind alone is worth the cost.
What to Do if Your Laptop Fails Just After Warranty
If your gaming laptop fails post-warranty, don’t panic. Here’s what to do:
- Seek a free diagnostic. You shouldn’t have to pay just to find out what’s wrong. A proper diagnosis will identify the exact failure, preventing you from paying for unnecessary repairs.
- Get a clear quote. Compare estimates, but ensure you’re looking at the repair warranty, turnaround time, and the shop’s reputation. We offer a lifetime warranty and price matching for peace of mind.
- Ask about component-level repair. Skilled technicians can often repair specific parts on a motherboard, saving you hundreds compared to a full board replacement.
- Evaluate repair vs. replace. If the repair cost is under 50-60% of a new, comparable laptop, fixing your current machine is usually the smarter financial choice.
- Back up your data. If your laptop is still functional, back up your files immediately. If not, ask about data recovery services during your diagnosis.
Whether you’re in Laurel MS, Jackson MS, Oxford MS, or anywhere else in Mississippi, we’re here to give you honest answers and expert repairs for your gaming laptop repair needs. Learn more about our PC and laptop repair services to see how we can help get you back in the game.
Conclusion
When your gaming laptop fails, it’s easy to feel overwhelmed. But remember: gaming laptop repair is a viable and often cost-effective option. These complex machines are not destined for the trash heap the moment something goes wrong. With the right expertise, even seemingly catastrophic issues like motherboard failures can be fixed for a fraction of the cost of a new device.
Making an informed decision starts with a free, accurate diagnostic. Knowing whether you have a simple loose connection or a major component failure can save you hundreds. This is why finding expert technicians who specialize in gaming laptop repair is crucial. Not every shop has the micro-soldering and component-level skills required for these advanced jobs.
At Salvation Repair, we’ve built our reputation on fixing devices that others write off. We repair any device with a power button and back our work with a lifetime warranty. Whether you’re in Laurel MS, Jackson MS, or Oxford MS, we’re here to help with transparent pricing and expert service.
Your gaming laptop is a significant investment. Before you replace it, let us see if we can bring it back to life. Get back to gaming faster and more affordably.
Find more expert PC and laptop repair guides.

One thought on “Don’t Get Gamed: How to Pick the Best Gaming PC and Laptop Repair Service”
Comments are closed.