Computer Power Supply Repair: Ultimate PC Fix 2025
When Your Computer Won’t Boot: Understanding Power Supply Failures
Computer power supply repair is often the solution when your PC refuses to turn on, randomly restarts, or shows other signs of instability. This guide will walk you through what you need to know.
Quick Answer: Common PSU Problems and Solutions
| Symptom | Likely Cause | Quick Fix |
|---|---|---|
| PC won’t turn on at all | Dead PSU or tripped breaker | Check outlet, try paperclip test |
| Random restarts/crashes | Failing capacitors or insufficient wattage | Test voltages, consider replacement |
| Burning smell or smoke | Shorted component | Unplug immediately, replacement needed |
| Loud fan noise | Dust buildup or failing fan | Clean with compressed air, lubricate or replace fan |
| System instability/BSOD | Voltage regulation issues | Test rail voltages with multimeter |
When a computer suddenly dies, many people suspect a failed motherboard or processor. However, the power supply unit (PSU) is often the real culprit. This component converts AC power from your wall into the stable DC voltages your PC needs, and when it fails, everything stops.
Fortunately, PSU problems are often fixable, and a replacement costs far less than a new motherboard or CPU. Learning the basics of computer power supply repair can save you money and reduce e-waste.
With over 20 years of experience in electronics repair, I’m here to help you determine whether your PSU can be fixed or needs to be replaced.
Basic computer power supply repair terms:
- computer repair laurel
- MacBook logic board repair
- device repair near me
Is Your Power Supply the Culprit? Common Symptoms and Initial Checks
When your computer acts up, computer power supply repair is often the answer. The PSU works quietly to power your components, but when it fails, the symptoms can be dramatic or frustratingly subtle. Let’s walk through the warning signs and simple checks to determine if your PSU is the problem.
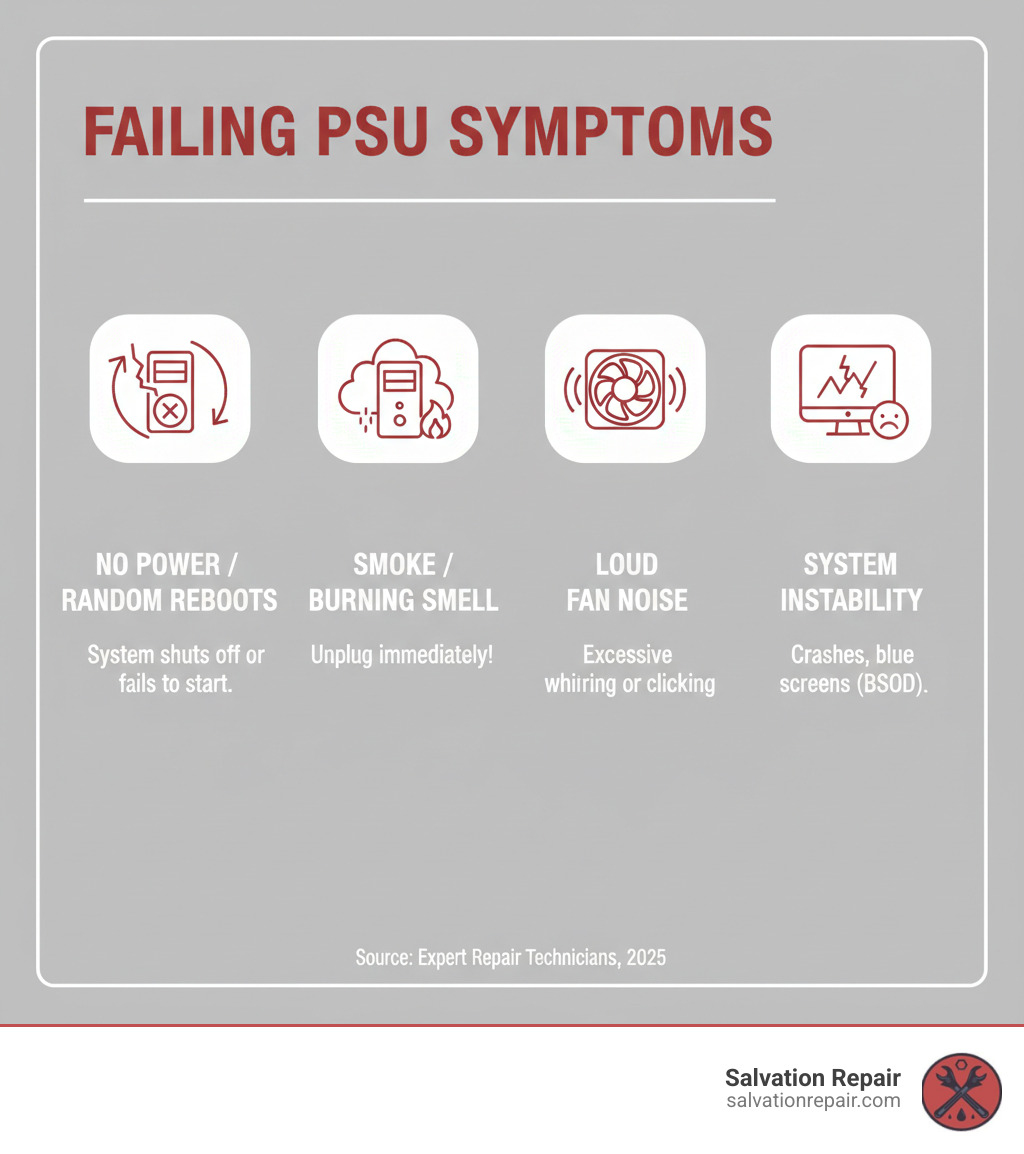
Signs of a Failing PSU
A dying PSU rarely fails without warning. Look for these common signs:
- No Power: The most obvious symptom is a completely dead computer. You press the power button, and nothing happens—no lights, no fans, no signs of life.
- Random Crashes and Reboots: Your computer may freeze or restart without warning. While this can also indicate RAM or software issues, a PSU struggling to deliver stable voltage is a common cause.
- Burning Smell or Smoke: This is a critical failure. Unplug your computer immediately. A component has likely shorted, posing a fire risk and potentially damaging other parts of your system.
- Loud or Failing Fan: A healthy PSU fan is quiet. Grinding, rattling, or a fan that has stopped spinning means the PSU is overheating and heading for failure.
- Performance Issues: Strange visual glitches or performance throttling during demanding tasks can occur when the PSU can’t supply enough clean power under load.
It’s important to know that a faulty PSU can damage other components through unstable voltages or short circuits. Diagnosing PSU problems early is crucial. If you need help diagnosing the full extent of any damage, our computer fixing services can provide a comprehensive check.
Basic Troubleshooting: Ruling Out External Issues
Before opening your PC, check for simple external problems:
- Check the Power Cord: Ensure it’s firmly plugged into both the PSU and the wall outlet.
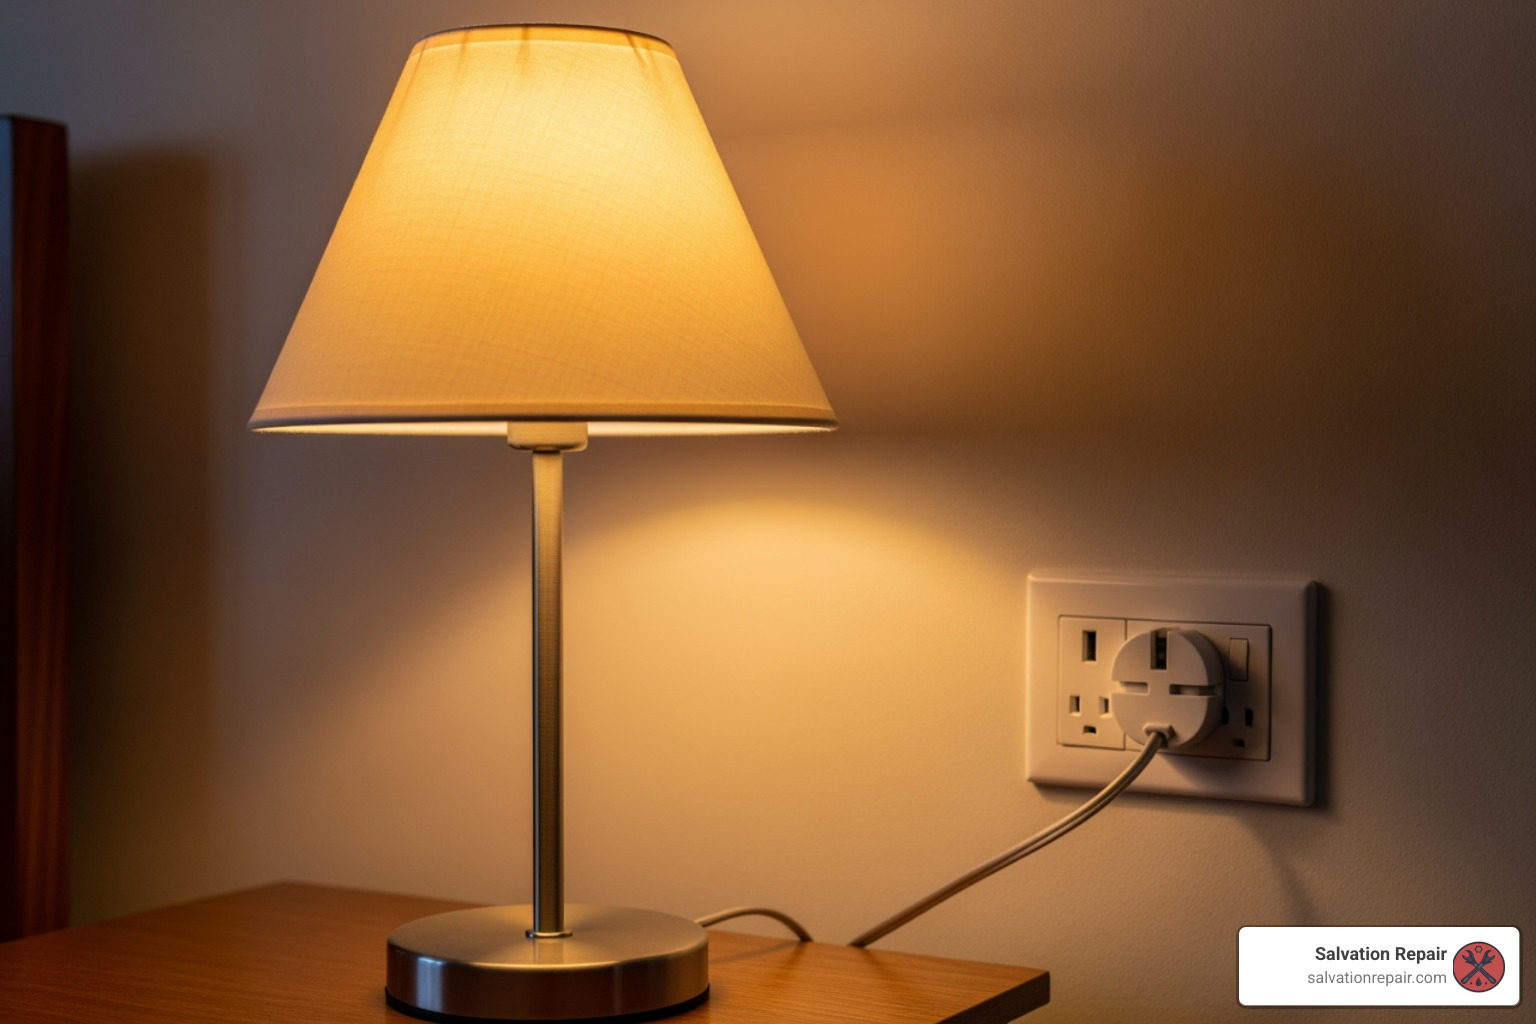
- Test the Wall Outlet: Plug a working lamp or charger into the same outlet to confirm it has power.
- Check the Circuit Breaker: If the outlet is dead, check your electrical panel for a tripped breaker.
- Bypass Power Strips: Plug the computer directly into the wall outlet to rule out a faulty power strip.
Isolating the PSU as the Problem
After ruling out external issues, the “paperclip test” can determine if the PSU is functional. This test forces the PSU to turn on without being connected to the motherboard.
Safety Warning: This test involves a live electrical connection. Proceed with caution. If you are uncomfortable, seek professional help.
- Unplug Everything: Disconnect the main power cord and all internal PSU cables from your computer’s components.
- Prepare the Jumper: Bend a metal paperclip into a U-shape.
- Locate the Pins: On the large 20/24-pin ATX connector, find the single green wire (PS_ON) and any adjacent black wire (ground).
- Jumper the Connection: Insert one end of the paperclip into the green wire’s pin and the other end into a black wire’s pin.
- Test the PSU: Plug the PSU’s power cord back into the wall. If the fan spins, the PSU has power. If nothing happens, or if you see sparks or smoke, the PSU is likely dead. Unplug it immediately.
- Remove Jumper: Always unplug the PSU and remove the paperclip after testing.
For more technical details on pin layouts, you can reference this guide to ATX PSU connectors and pinouts. A failed paperclip test confirms you need a computer power supply repair or replacement.
Safety First: Essential Tools and Precautions for PSU Repair
Working inside a power supply is dangerous. PSUs contain capacitors that can store a lethal electrical charge long after being unplugged. Attempting a computer power supply repair requires respect for electrical safety to avoid shock, fire, and damage to your components. Opening the PSU case will also void its warranty.
Essential Tools for the Job
Using the right tools is crucial for safety and success.
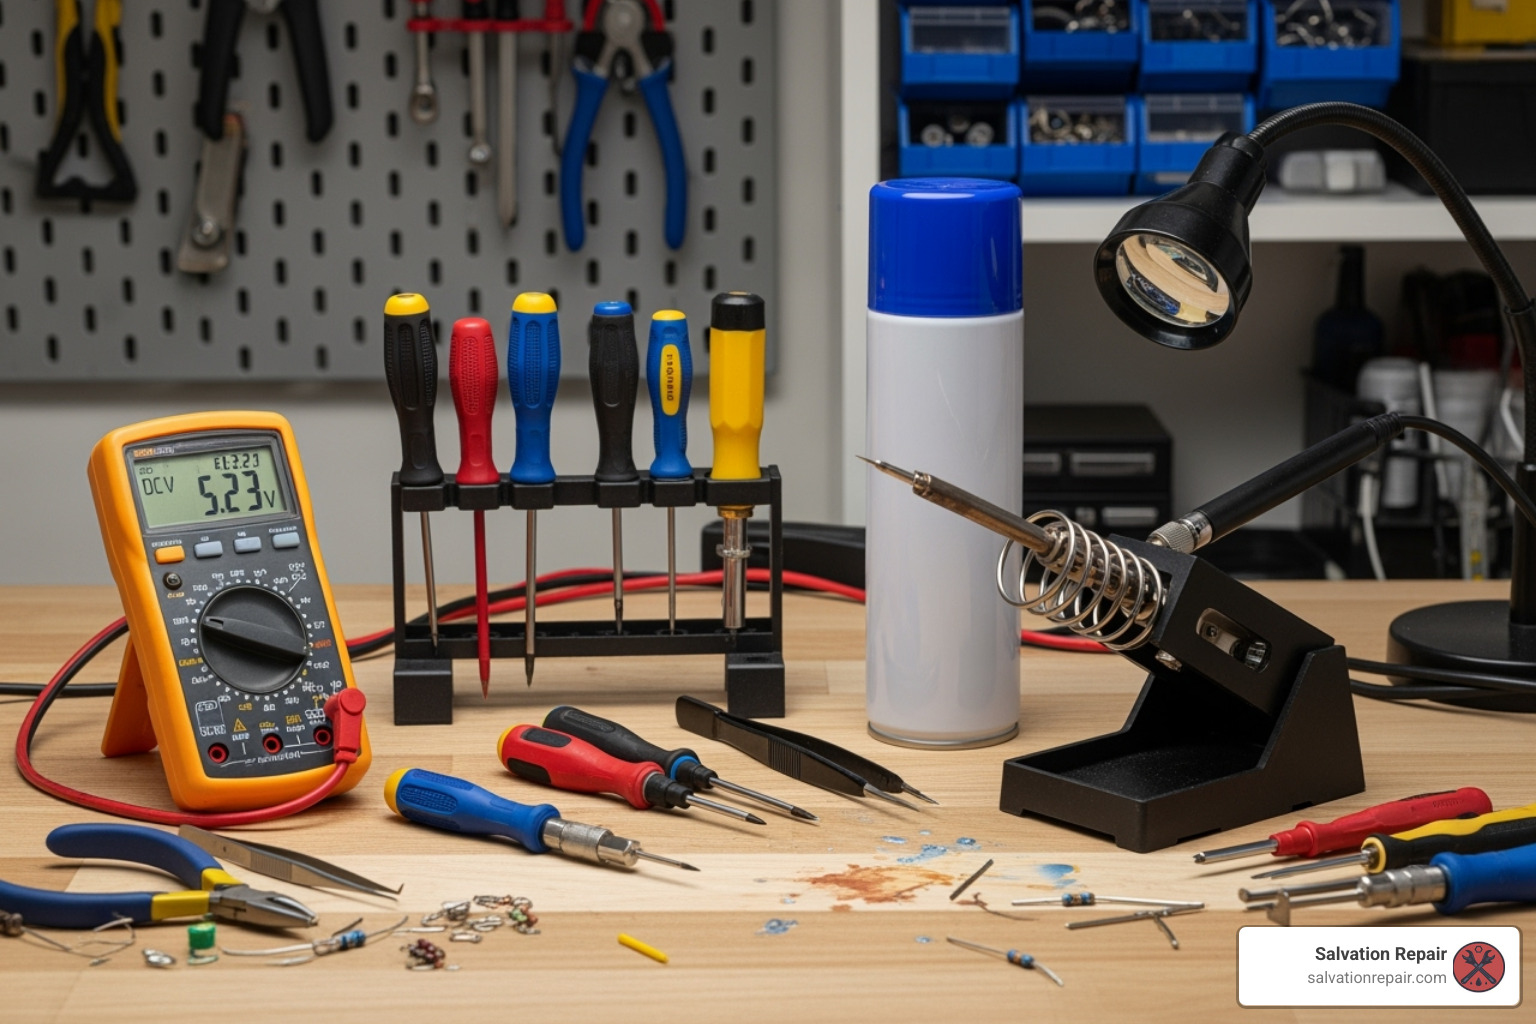
- Multimeter: Essential for measuring voltage and continuity.
- Screwdrivers: A set of Phillips and flat-head screwdrivers.
- Anti-static wrist strap: Protects components from electrostatic discharge.
- Compressed air or soft brush: For cleaning dust and debris.
- Soldering iron and solder: For advanced, component-level repairs.
- Wire strippers and zip ties: For wire and cable management.
For proper testing, a dummy load (like a 4.7 ohm, 10-watt resistor) may be needed, as some PSUs require a load to provide stable voltages.
Critical Safety Precautions
Follow these rules without exception:
- Unplug the PC: Always disconnect the power cord from the wall before opening the case.
- Discharge Capacitors: After unplugging, wait at least 15-30 minutes for the internal capacitors to discharge before touching any components.
- Work in a Safe Area: Choose a dry, well-lit workspace. Avoid carpeted floors to minimize static electricity.
- Wear Safety Glasses: Protect your eyes from sparks or flying debris.
- Never Touch Internal Components While Plugged In: Switching power supplies have a “hot ground” that can be live. For advanced live-circuit diagnostics, an isolation transformer is mandatory.
- When in Doubt, Stop: If you feel unsure at any point, do not proceed. Your safety is more important than any repair.
Understanding Your PSU: Wattage and Types
Most desktops use a standard ATX form factor PSU, while smaller PCs may use a compact SFX unit. PSUs can be non-modular (all cables attached) or modular (detachable cables for better cable management).
The 80 Plus rating (Bronze, Silver, Gold, etc.) indicates energy efficiency—higher ratings mean less wasted energy as heat. While this doesn’t affect repairability, higher-rated units often use better quality components.
Before a repair or replacement, you must know your system’s wattage needs. An underpowered PSU causes instability and component damage. Use an online tool like the Cooler Master Power Supply Calculator or Seasonic Wattage Calculator to determine your requirements. As a rule of thumb, choose a PSU with 20-30% more wattage than your calculated need to ensure stability and longevity.
A Step-by-Step Guide to Computer Power Supply Repair
Successfully repairing your computer power supply saves money, reduces e-waste, and builds valuable technical skills. For other tech issues, you can explore our general repair services.
Simple Fixes: Cleaning and Fan Maintenance
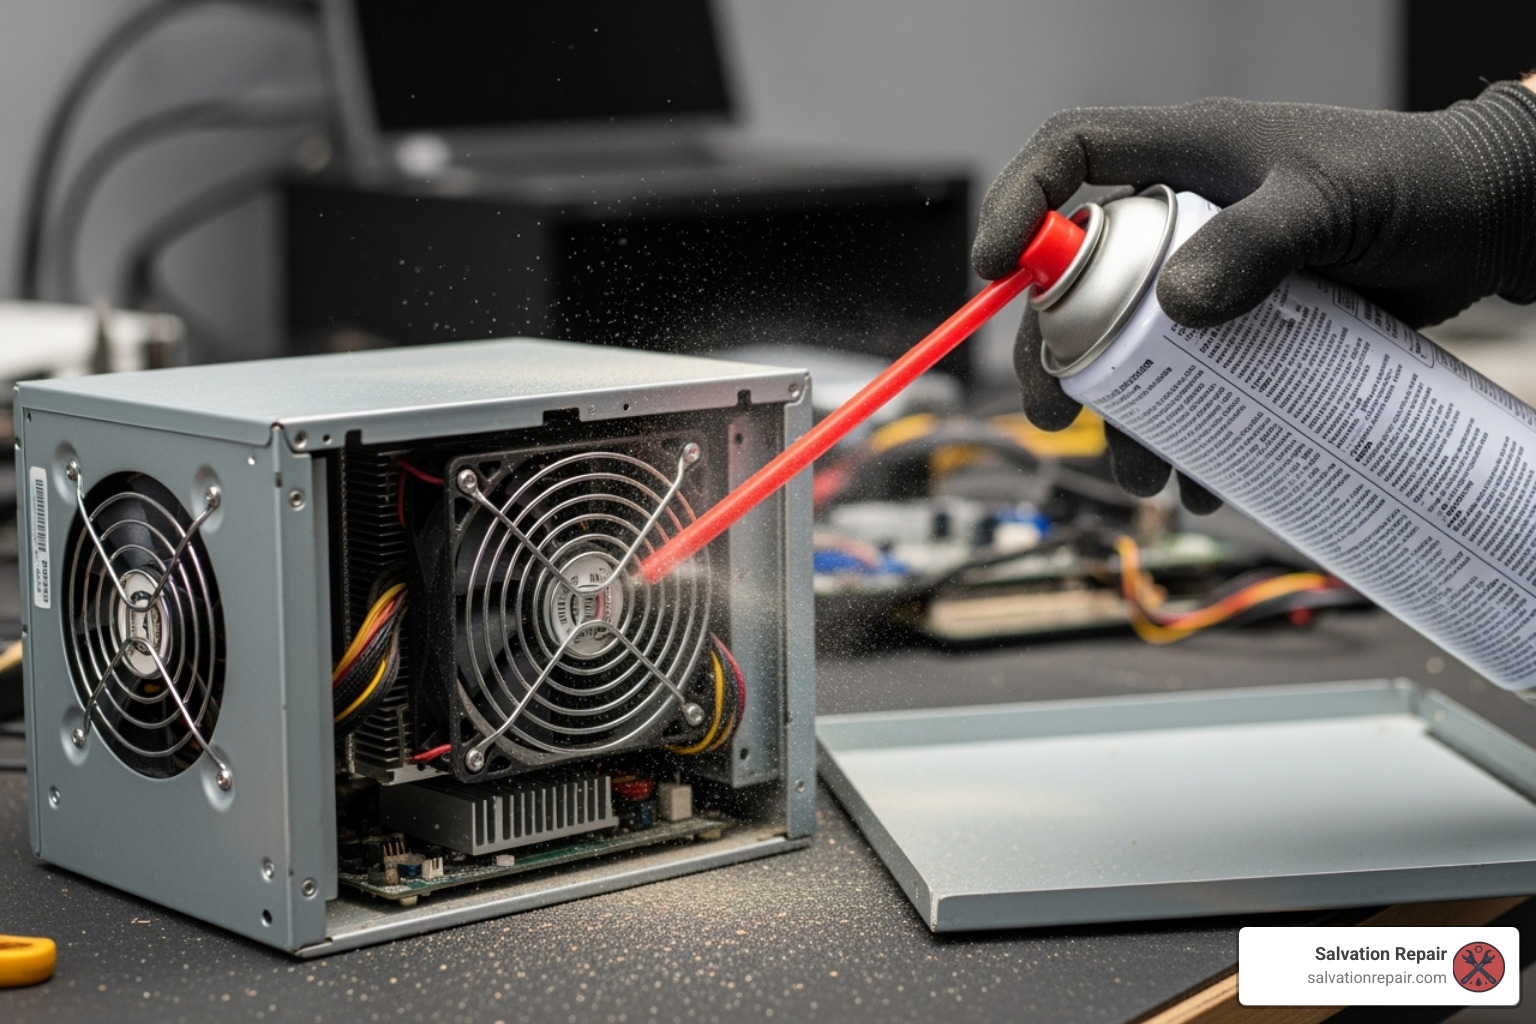
Often, a “dead” PSU is just clogged with dust. After ensuring the PSU is unplugged and discharged, open the case by removing the screws (this will void your warranty).
1. Clean the Interior: Use compressed air to blow dust off the circuit board, components, and fan. Important: Hold the fan blades still while cleaning to prevent them from over-spinning, which can damage the fan’s motor or control circuit.
2. Address Fan Issues: A grinding or rattling fan bearing may be fixed with lubrication. Peel back the sticker on the fan’s hub, remove the rubber stopper, and apply a single drop of light machine oil. If the fan is dead or still noisy, it needs replacement. Match the new fan’s voltage (usually 12V), physical size, and ensure its amperage is equal to or less than the original.
Essential Steps for a DIY Computer Power Supply Repair
This phase requires a multimeter to test the PSU’s electrical output. First, turn the PSU on outside the case using the paperclip test.
Testing Output Voltages: Set your multimeter to DC voltage mode. Connect the black probe to a ground pin (any black wire on the ATX connector). Touch the red probe to the other colored pins and check the readings against these standards:
- Yellow Wires: Should be +12V (powers CPU, GPU, motors)
- Red Wires: Should be +5V (powers drives, USB ports)
- Orange Wires: Should be +3.3V (powers RAM, motherboard chipsets)
- Purple Wire: Should be +5VSB (standby voltage, always on when PSU is plugged in)
Voltages should be within +/- 5% of their target (e.g., a 12V rail should be between 11.4V and 12.6V). Readings outside this range indicate a failing PSU. Some PSUs require a dummy load (like a power resistor) to stabilize their output for accurate testing. For more technical context, see this overview of computer power supplies.
Advanced Computer Power Supply Repair: Component-Level Diagnostics
Warning: This requires soldering skills and electronics knowledge. If you are not confident, seek professional help.
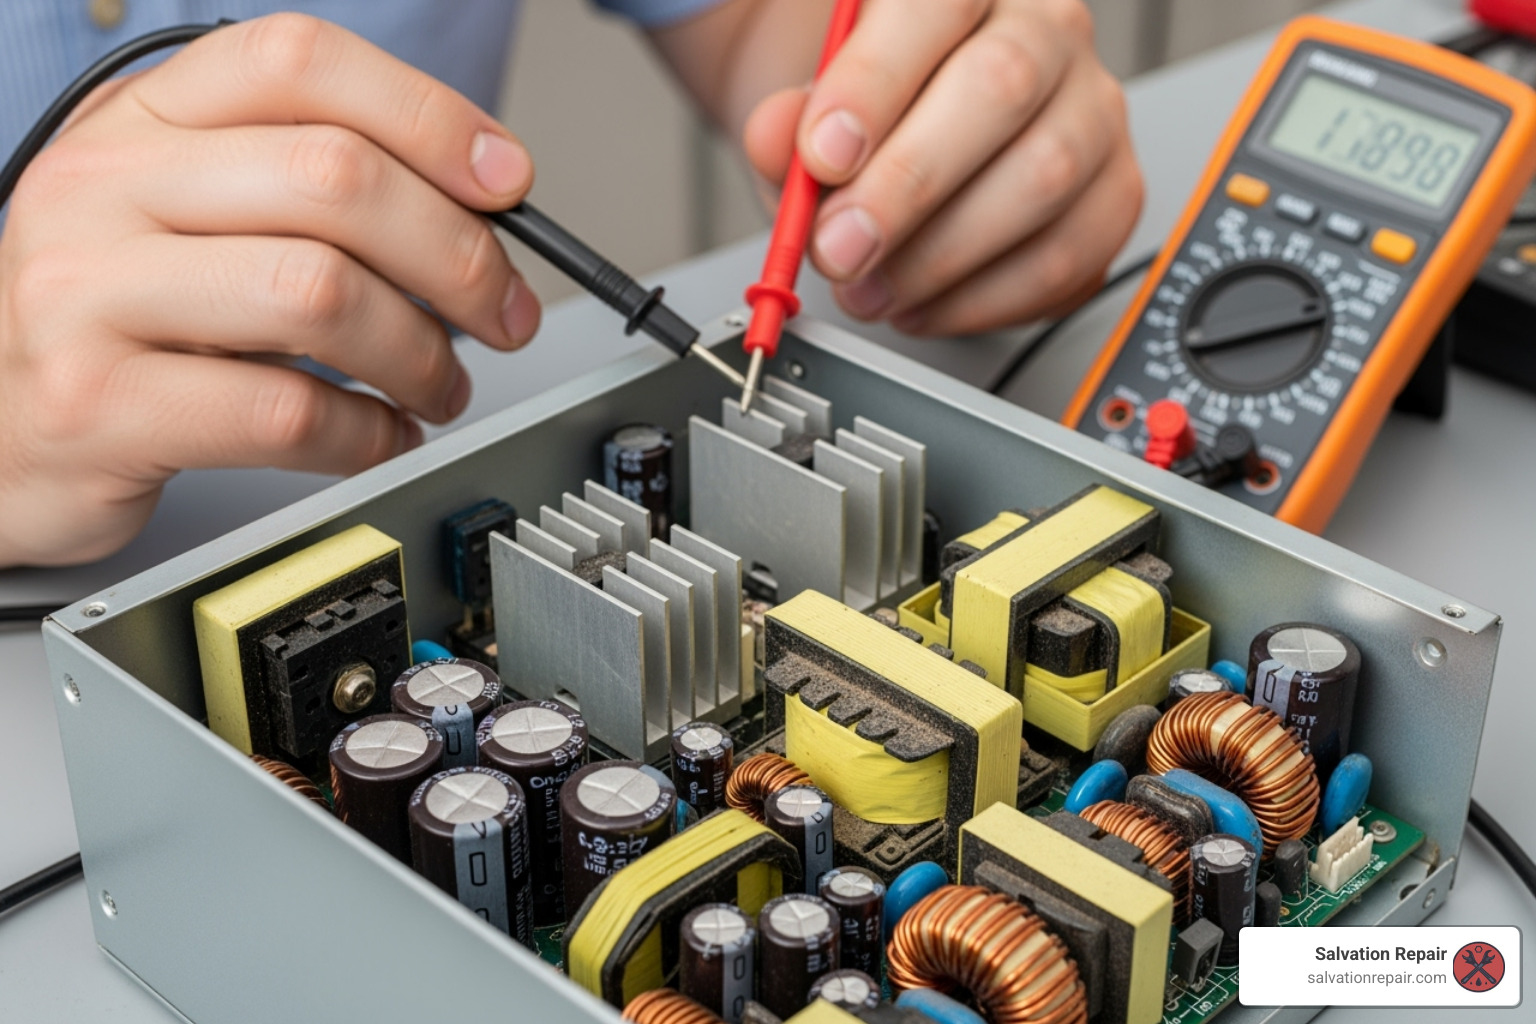
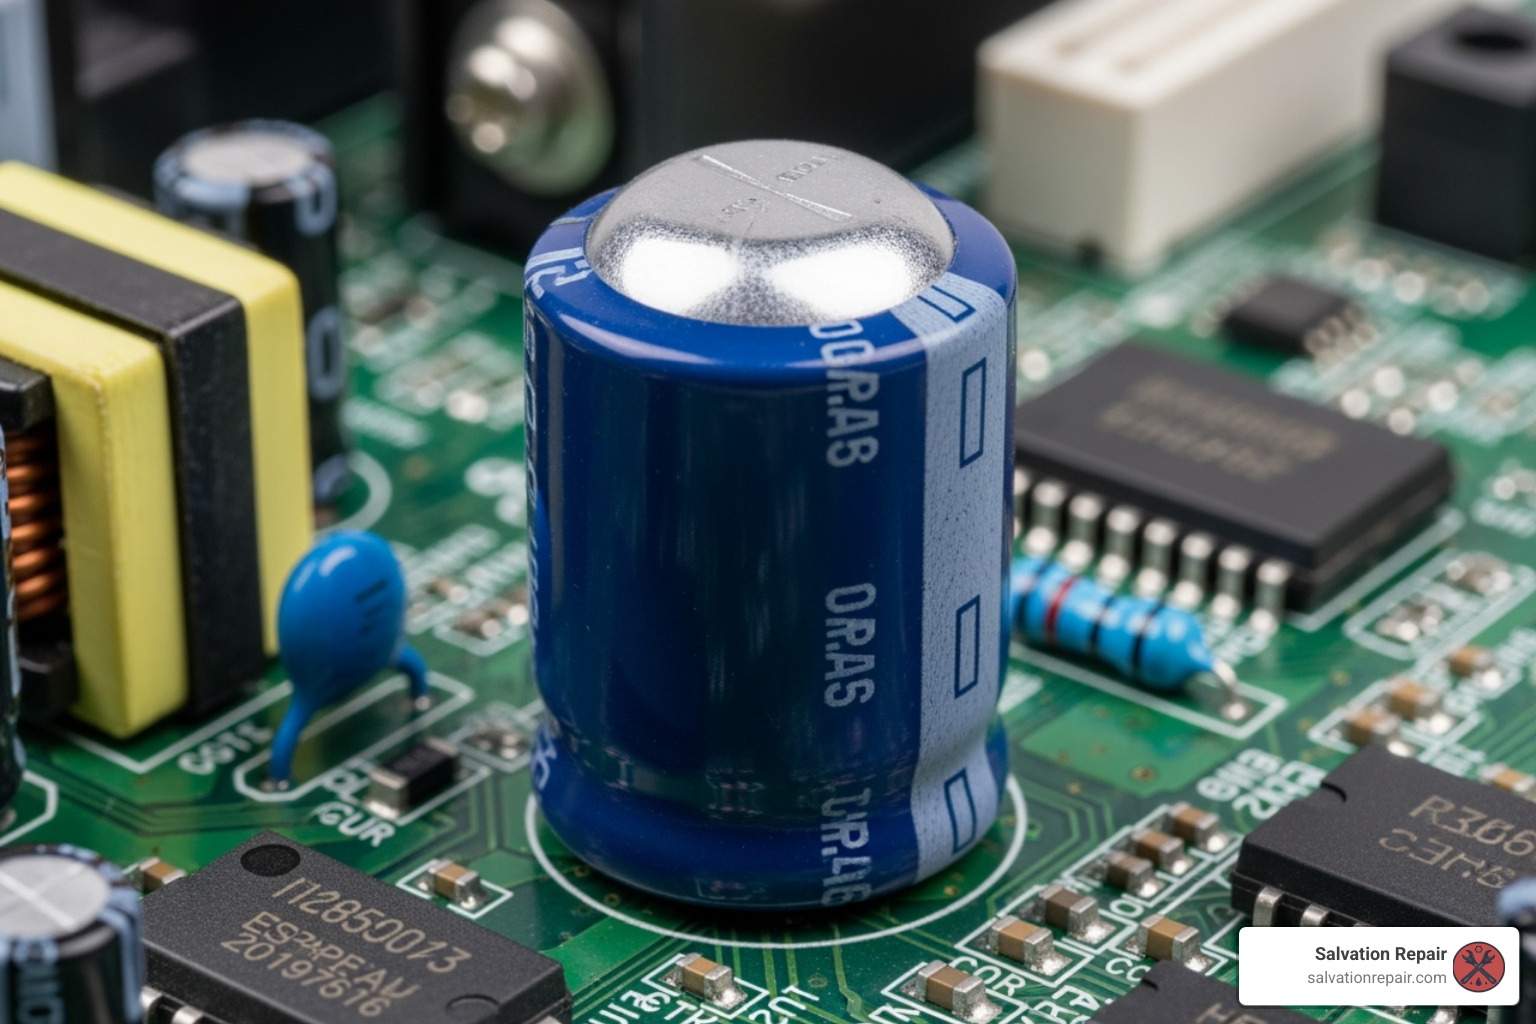
With the PSU unplugged and discharged, perform a visual inspection of the circuit board. Look for burnt areas, discoloration, or physically damaged components.
- Bulging or Leaking Capacitors: This is a very common failure. Capacitors with bulging tops or leaking brown fluid must be replaced.
- Blown Fuse: Test the main fuse near the AC input with your multimeter’s continuity mode. A beep means it’s good; silence means it’s blown. A blown fuse often indicates another component has failed, so find the root cause before replacing it with one of the exact same rating.
- Other Failed Components: Use your multimeter’s diode test to check for shorted diodes or transistors. Look for visibly burnt resistors. Failed PWM controller ICs can also cause instability.
- Bad Solder Joints: Look for cracked or dull “cold solder joints” and re-flow them with a soldering iron.
When replacing components, use identical or equivalent parts and pay close attention to the orientation of polarized parts like capacitors. This intricate work is similar to our MacBook Logic Board Repair services, where precision is key.
Repair or Replace? When to Call in the Professionals
At some point in your computer power supply repair journey, you must decide whether to continue, buy a new PSU, or call a professional. Here’s how to make the right choice.
The DIY vs. Professional Repair Dilemma
Consider these factors before committing to a complex repair:
- Age and Efficiency: If your PSU is over five years old, it’s likely less efficient than modern units. A repair might only be a temporary fix, while a new PSU will save on your electricity bill.
- Cost-Benefit: A new, reliable 500-600W PSU can cost as little as $40-60. If the cost of replacement parts and your time exceeds this, replacement is more economical.
- Extent of Damage: If multiple components are burnt or the failure is hard to diagnose, a repair can be difficult and time-consuming.
- Safety and Warranty: A new PSU is the safest option and comes with a manufacturer’s warranty, typically 5-10 years. A DIY repair carries risk and has no warranty.
Repair makes more sense for high-end, expensive PSUs (e.g., a 1200W unit) where the replacement cost is high. For most standard units, replacement is the smarter choice. If you’re unsure, you can check our repair pricing to compare costs.
What to Expect from Professional Repair Services
Choosing a professional service like Salvation Repair offers significant advantages:
- Expertise and Tools: Technicians use advanced diagnostic tools and have the experience to pinpoint failures quickly and accurately.
- Fast Turnaround: Professional shops understand downtime is costly and aim to complete repairs within a few days.
- Repair Warranties: Reputable services back their work with a warranty, giving you peace of mind that a DIY fix can’t offer.
- Thorough Testing: Professionals perform full-load testing to ensure the repaired PSU is stable and reliable under stress, preventing repeat failures.
- In-House Service: Companies that perform repairs on-site, like Salvation Repair, offer better communication, quality control, and transparency.
At Salvation Repair, we specialize in same-day, on-site repairs in the Laurel, MS area. Our expertise extends to all electronics, including desktop power supplies. We back our work with a lifetime warranty and price matching, ensuring you get the best value and quality.
Frequently Asked Questions about Computer Power Supply Repair
Here are answers to the most common questions we receive about computer power supply repair.
Can a faulty PSU damage other computer components?
Yes, absolutely. A failing PSU can deliver unstable voltage or sudden power surges, which can permanently damage or “fry” your motherboard, CPU, RAM, and storage drives. This is why it’s critical to address suspected PSU issues immediately to avoid more expensive repairs.
How long do computer power supplies typically last?
A quality PSU from a reputable brand typically lasts 5 to 10 years. Lifespan is affected by build quality, how heavily it’s used, and operating conditions like heat and dust. Signs of aging include increased fan noise and random system instability. High-end units often come with warranties of 7 years or more, reflecting their expected longevity.
Is it worth repairing a cheap or old power supply?
Usually not. For most users, buying a new PSU is a better option. A new unit is often more affordable than the time and parts required for a repair. Furthermore, modern PSUs are significantly more energy-efficient, include better safety protection circuits, and come with a multi-year warranty. Repair may be cost-effective for very expensive, high-wattage, or specialized power supplies, but for a standard desktop PSU, replacement is almost always the smarter choice. If you’re unsure, check our repair pricing or call us for honest advice.
Conclusion: Powering Up Your Decision
This guide to computer power supply repair has equipped you with the knowledge to diagnose issues and make an informed decision. A simple fix like cleaning out dust or replacing a fan can save you money and reduce e-waste. You have the skills to tackle many common problems yourself.
However, not every PSU issue is a simple DIY project. When dealing with complex circuit failures or high voltages, the smartest and safest choice is often to seek professional help or purchase a new, warrantied PSU.
That’s where we come in. At Salvation Repair, we provide expert Computer Repair for any device with a power button. Whether your desktop won’t boot or you need a professional opinion on a failing power supply, we offer transparent pricing and quality workmanship you can trust.
A reliable power supply is the foundation of your PC. Don’t let a failing unit disrupt your work or gaming. Ready to get your system running again? Contact us for a repair quote or explore our other helpful repair guides to keep all your tech in top shape.


