iPhone no power repair: Top 5 Quick Fixes
Why Your iPhone Won’t Power On and What You Can Do About It
An iPhone no power repair is one of the most common issues users face. When you press the power button and see only a blank screen, it’s easy to panic. However, most iPhone power problems have straightforward solutions you can try yourself before seeking professional help.
Quick Solutions for iPhone No Power Issues:
- Charge your iPhone for at least 1 hour with a known-good cable and wall adapter.
- Force restart your device by pressing Volume Up, then Volume Down, then holding the Side button.
- Check your charging equipment by trying a different cable, adapter, and outlet.
- Use Recovery Mode if your iPhone is stuck in a boot loop.
- Seek professional repair if you suspect physical damage or hardware failure.
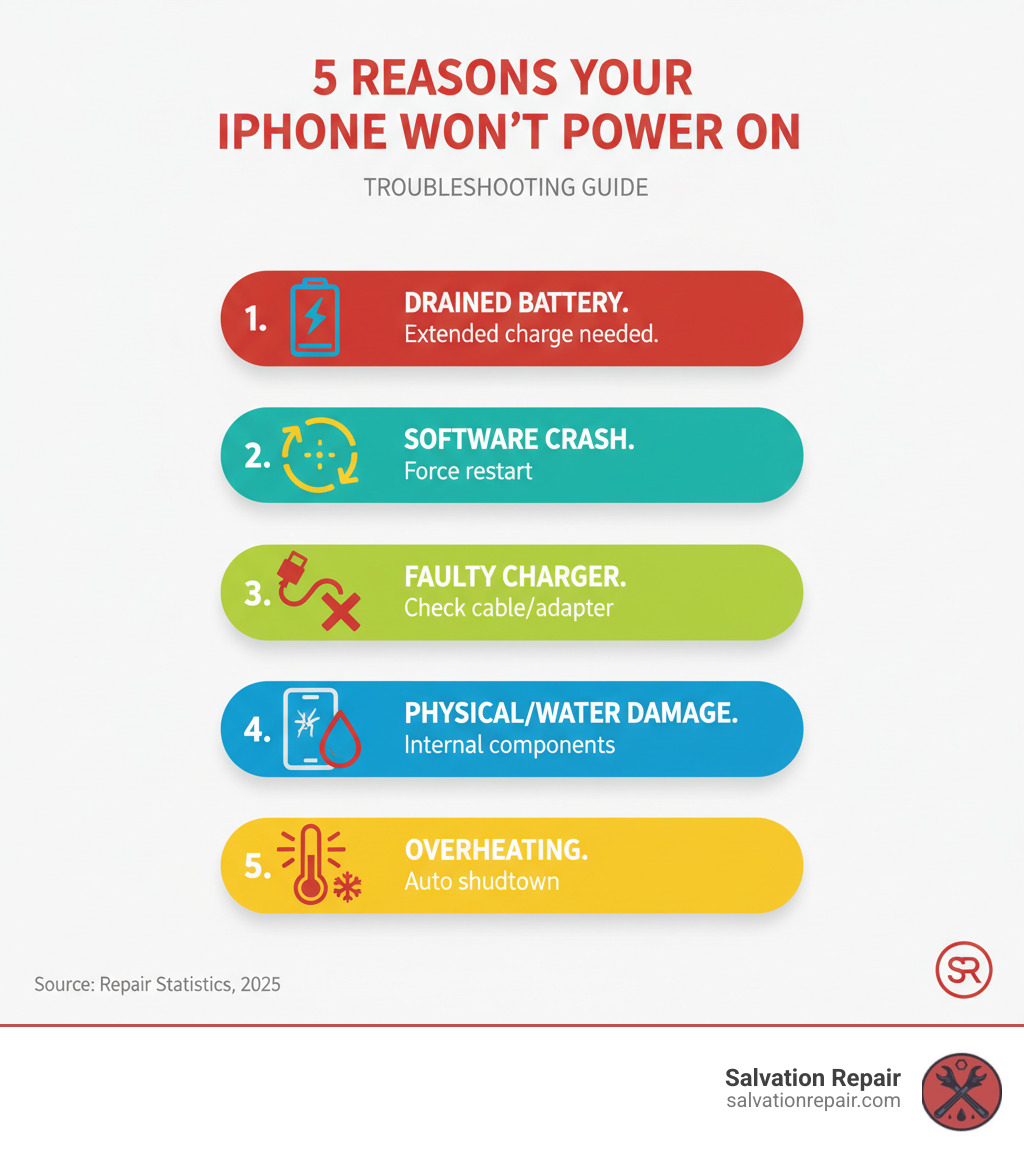
The most frequent causes for an iPhone not turning on are a drained battery, software crashes, faulty charging gear, or physical damage. The “black screen of death”—where the screen is black but the phone may still be on—is a very common symptom. As an electronics repair expert with over 20 years of experience, I’ll guide you through the troubleshooting process to get your iPhone running again.

Easy iPhone no power repair glossary:
- MacBook logic board repair
- iPhone unresponsive screen repair
- device repair near me
Start with the Basics: Simple Fixes for a Dead iPhone
When your iPhone shows no signs of life, the cause is often simpler than you think. A drained battery or a minor software glitch can make the phone appear dead. First, let’s determine if your phone is truly dead (no power at all) or experiencing the “black screen of death,” where the screen is off but you might still hear sounds or feel vibrations. These initial steps work for both scenarios.
Check Your Charging Equipment
Charging issues are the most common reason for a seemingly dead iPhone. A faulty cable, adapter, or even lint in the charging port can prevent your device from getting power.
Start by trying a different charging cable and wall adapter, as they can fail without any visible damage. Also, test a different power outlet. Next, inspect your iPhone’s charging port for lint or debris. You can gently clean it with a wooden toothpick, but be extremely careful not to damage the delicate pins inside.
After checking your equipment, plug your iPhone in and let it charge for at least one full hour. A completely drained battery needs time to build up enough power to even display the charging screen. If you suspect your charging port is damaged, our team offers expert charging port services with a lifetime warranty.
How to Force Restart Different iPhone Models
If an hour of charging does nothing, a software glitch might be the culprit. A force restart clears the iPhone’s temporary memory without deleting any of your data. The method varies by model:
For iPhone 8, SE (2nd/3rd gen), and newer models (X, 11, 12, 13, 14, 15 series): Press and quickly release the Volume Up button, press and quickly release the Volume Down button, then press and hold the Side button until the Apple logo appears.
For iPhone 7 and 7 Plus: Press and hold both the Volume Down button and the Sleep/Wake button simultaneously until you see the Apple logo.
For iPhone 6s and earlier models (including original SE): Press and hold both the Home button and the Sleep/Wake button at the same time until the Apple logo appears.
If the force restart works, you’ve likely fixed a software crash. If it shows a low battery icon, let it continue charging. You can always reference the official steps to force restart your device from Apple for more guidance.
Advanced Software Troubleshooting: Recovery Mode
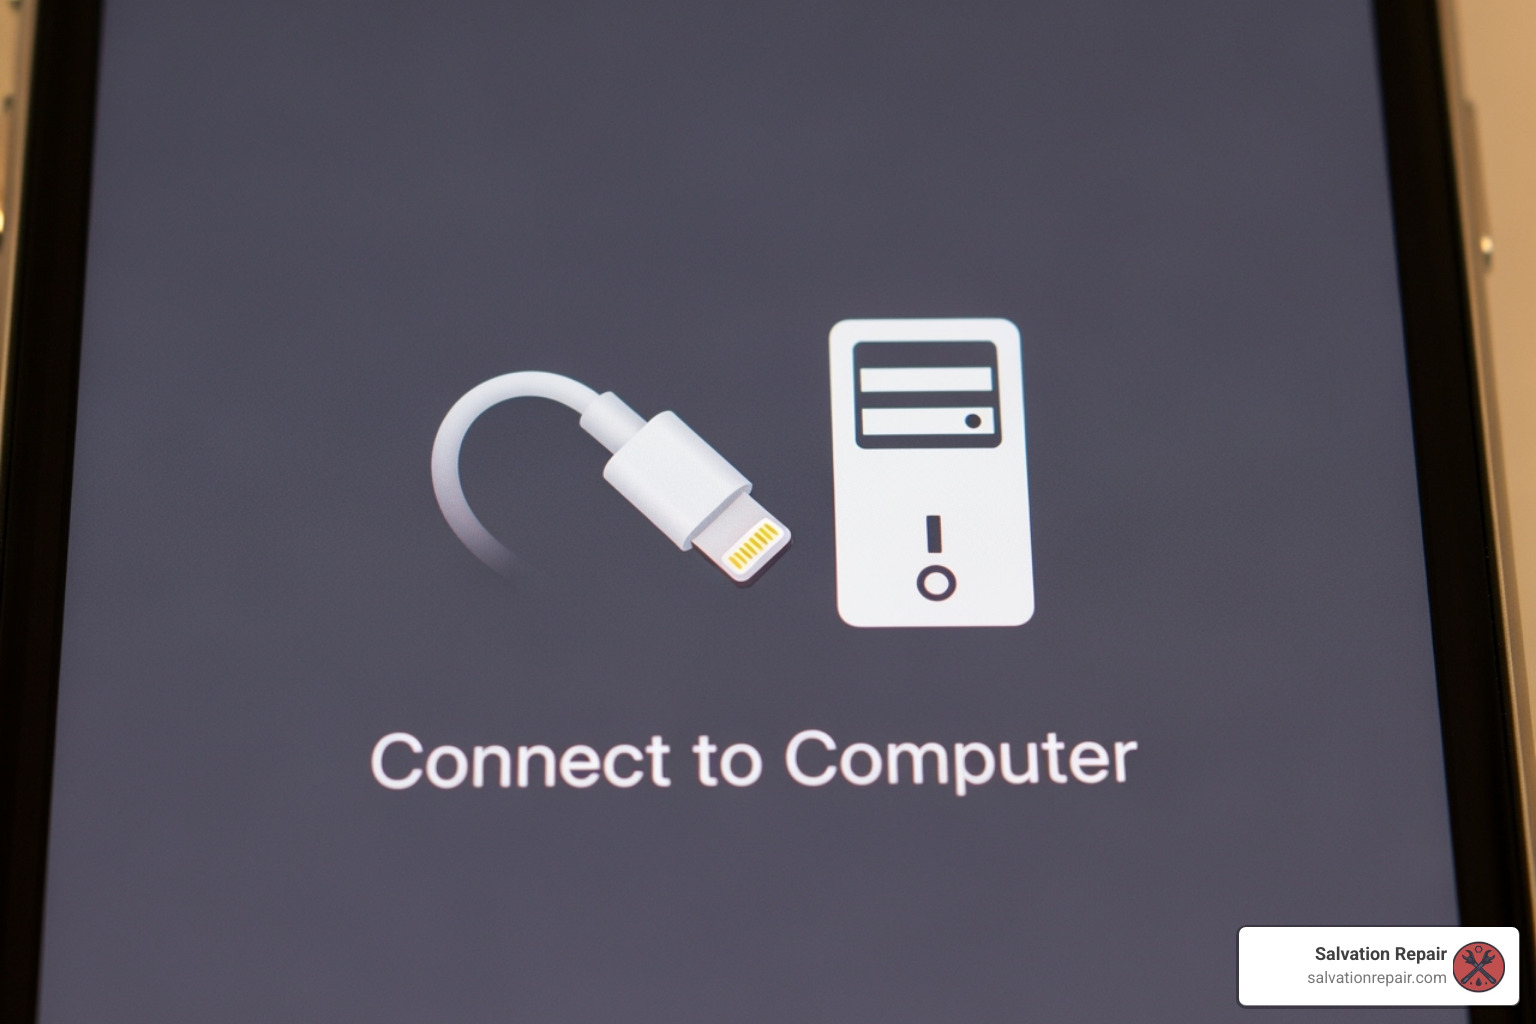
If a force restart fails, it’s time for a more advanced step. If your iPhone is stuck in a boot loop (repeatedly showing the Apple logo) or won’t get past the startup screen, you’re likely facing a deeper software issue, such as a corrupted iOS update. Recovery mode is a special state that lets your iPhone communicate with a computer to repair the operating system.
Warning: Using recovery mode can erase all your data. A recent iCloud or computer backup is your only safeguard against losing photos, messages, and apps. If you don’t have a backup, you risk permanent data loss. Once your phone is working, make setting up automatic backups a top priority.

How to Enter and Use Recovery Mode
To use recovery mode, you need a Mac or Windows PC with the latest version of Finder or iTunes. The button sequence to enter this mode is similar to a force restart, but you must continue holding the final button even after the Apple logo appears, until you see a screen with a computer and cable icon.
- For iPhone 8 and newer: Press and release Volume Up, press and release Volume Down, then press and hold the Side button until the recovery screen appears.
- For iPhone 7 models: Press and hold the Volume Down and Side buttons together until you see the recovery screen.
- For iPhone 6s and earlier: Press and hold the Home and Top (or Side) buttons together until the recovery screen appears.
Once connected, your computer will detect the iPhone in recovery mode. For more details, you can follow a guide to running your phone in recovery mode from Apple’s support site.
Update vs. Restore: What’s the Difference?
Your computer will present two options for your iPhone no power repair: Update and Restore.
-
Update: This is the option you should always try first. It attempts to reinstall iOS without deleting your personal data. It’s the best way to fix the software issue while keeping your files safe.
-
Restore: This is the “nuclear option.” It completely erases your iPhone and installs a factory-fresh version of iOS. After a restore, you must set up the device from scratch or from a backup. Only choose this if the Update option fails and you have a backup or are willing to lose your data.
Identifying Hardware Failure: When Software Fixes Aren’t Enough
If you’ve tried charging, force restarting, and recovery mode with no success, it’s time to consider hardware failure. This means a physical component inside your iPhone is broken due to a drop, water exposure, overheating, or simple wear and tear. While this usually requires professional repair, most hardware failures are fixable.

The Role of Battery Health in Your iPhone No Power Repair
A degraded battery is a primary suspect in iPhone no power repair cases. All batteries weaken over time. If your iPhone is a few years old, shuts down unexpectedly, or its battery Maximum Capacity is below 80% (in Settings > Battery), it may lack the power to boot up. Often, a new battery is all that’s needed. Our iPhone battery replacement service can quickly solve this.
Physical and Liquid Damage Complications
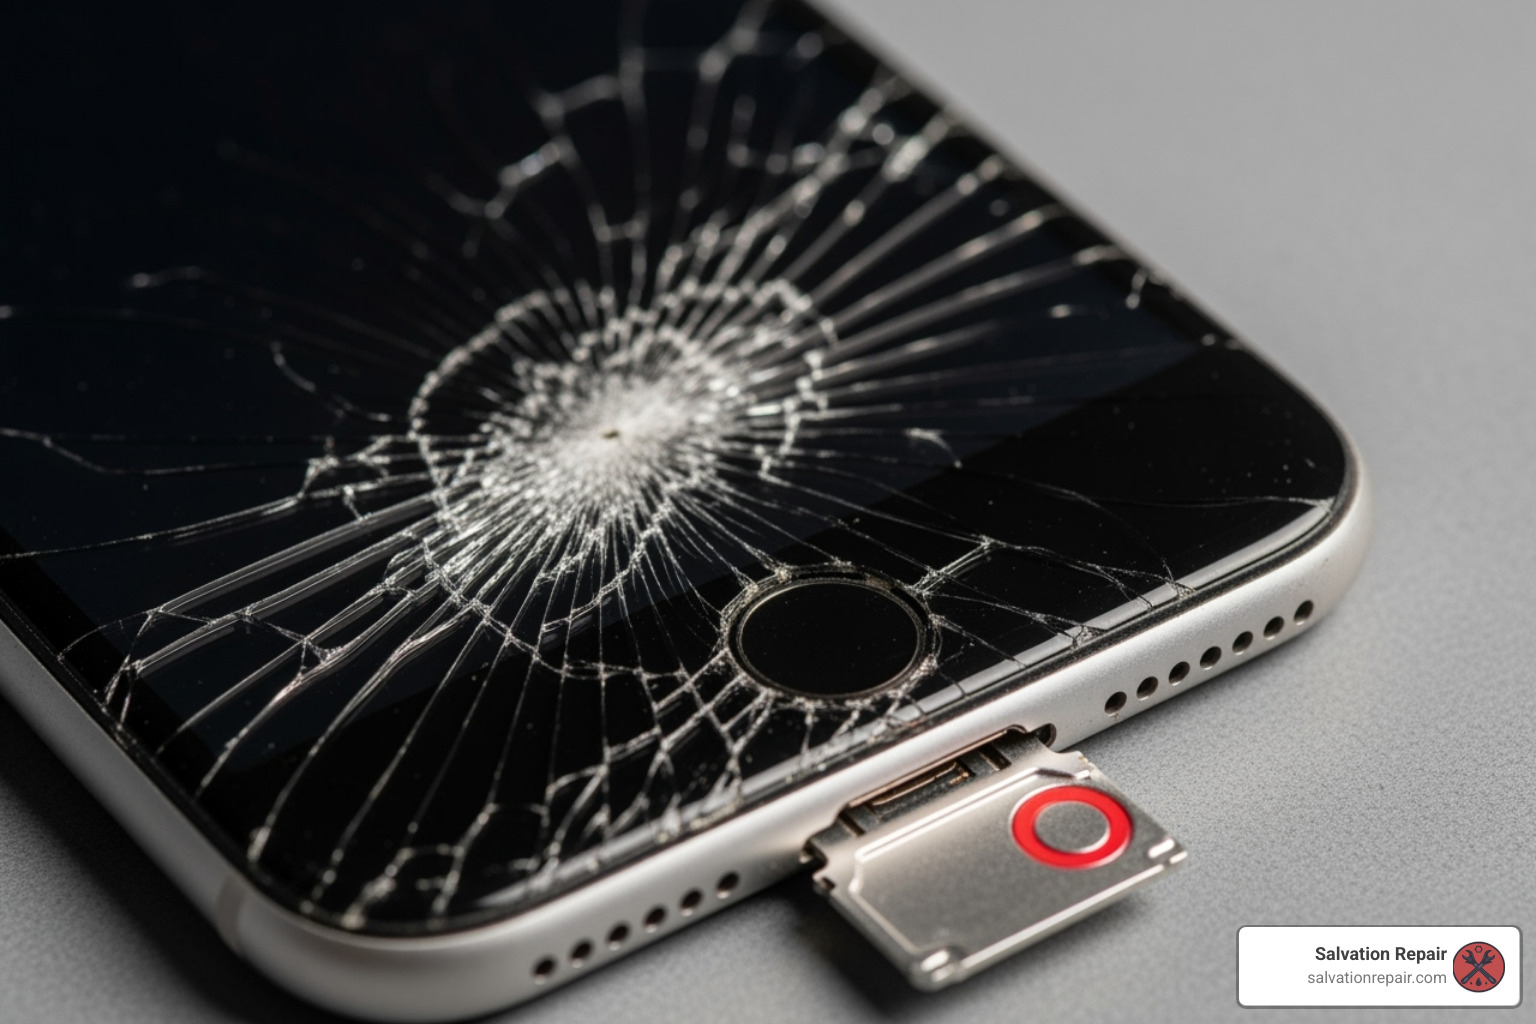
Drops and spills can cause unseen internal damage. A hard fall can disconnect cables or damage the logic board, even if the cracked screen is the only visible sign. Water resistance also fades over time, and liquid can seep past old seals, causing corrosion on internal components. This can lead to a delayed failure days or weeks after exposure. Your phone has internal Liquid Contact Indicators (LCI) that turn red to confirm moisture damage. If you suspect a drop or spill caused the issue, a professional screen repair or internal cleaning may be necessary.
Pro Tip: Never put a wet or hot phone in a refrigerator or freezer. The rapid temperature change creates condensation, causing more water damage.
Other Common Hardware Failure Points for an iPhone No Power Repair
Beyond the battery and screen, other components can fail and cause a no-power issue.
- Charging Port: The port itself can be internally damaged, preventing power from reaching the battery even with a good cable. Our charging port services can fix this.
- Logic Board Failure: This is the most complex problem, involving short circuits or failed power management chips on the phone’s main board. Diagnosing and fixing this requires specialized micro-soldering skills.
- Overheating: An iPhone will shut down to protect itself from heat. It will not turn on again until it has cooled down naturally.
- Jailbreaking: Modifying iOS with a jailbreak can cause software instability that mimics a hardware failure, preventing the phone from booting.
Frequently Asked Questions about iPhone Power Issues
When your iPhone won’t turn on, you’re bound to have questions. Here are straightforward answers to the most common ones we hear about iPhone no power repair.
What is the ‘black screen of death’?
The ‘black screen of death’ is when your iPhone’s screen is black and unresponsive, but the phone itself may still be on. You might hear notification sounds, feel vibrations, or have a computer recognize it. This is typically a software crash or a display connection issue, not a completely dead phone. A force restart often fixes it.
How long should I charge my iPhone if it won’t turn on?
You should charge your iPhone for at least one full hour using a reliable wall charger and cable. If the battery was completely drained, it might take 5-15 minutes before the charging screen even appears. Be patient.
Can overheating cause my iPhone to not turn on?
Yes. If your iPhone gets too hot, it will automatically shut down to protect its internal components. It will not turn back on until it has cooled down to a safe operating temperature. Let it cool naturally in a shaded, ventilated area. Never put it in a refrigerator or freezer, as this can cause condensation and permanent water damage.
When to Seek Professional Help for Your iPhone No Power Repair
You’ve put in the effort to troubleshoot your iPhone. But sometimes, a device needs more than a DIY fix. Recognizing when to call a professional isn’t giving up—it’s the smart way to avoid causing more damage.
It’s time to call in the experts for an iPhone no power repair if:
- You’ve exhausted all troubleshooting steps (charging, force restart, recovery mode) and the phone is still dead.
- You suspect hardware damage from a drop, bend, or liquid exposure, even if there’s no visible damage.
- You lack the proper tools and expertise for internal repairs. Attempting to open an iPhone without experience can lead to stripped screws, a punctured battery, or a cracked screen, turning a fixable problem into a total loss.
Continuing to troubleshoot a hardware issue can make it worse. The best way to prevent further damage is to stop and let an expert take over.

At Salvation Repair, we know your iPhone is your lifeline. That’s why we offer same-day, on-site repairs throughout the Laurel, Jackson, and Oxford, MS areas. We come to you, diagnose the problem, and get your phone working again.
Our certified technicians can fix everything from batteries and charging ports to complex logic board failures and water damage. We’re so confident in our work that every repair comes with a lifetime warranty and a price matching guarantee. If it has a power button, we can fix it.
Don’t let a dead iPhone disrupt your life. You’ve done your part—now let us handle the rest. Schedule your repair with our experts today and let’s get your iPhone back to full power.


