DIY Samsung Galaxy S8 Active Camera Glass Replacement Guide
Duration: 45 minutes
Steps: 6 Steps
Hey there! If you need assistance, you can always schedule a repair
Hey there tech whiz! The camera glass covers on your device take a beating from all that action. Whether it’s rough handling or wild environments, those camera parts can sure suffer. Fear not! This quick and easy guide will help you swap out the camera glass on your trusty Samsung Galaxy S8 Active. Before you dive in, remember to unplug your device from any power sources and switch it off. Let’s get this repair party started!
Step 1
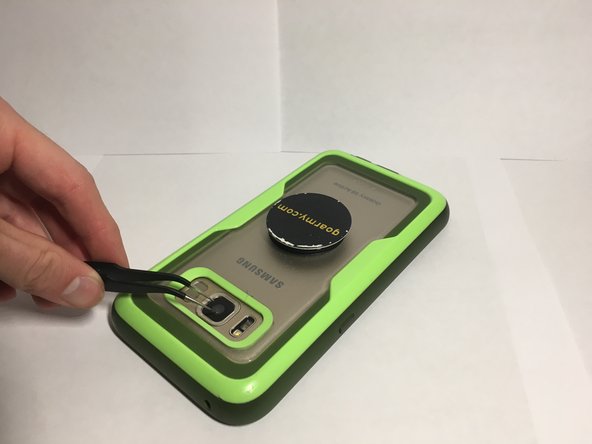
– Place your phone screen-side down and carefully take off any covers that might be blocking the camera area. This ensures a clear path for your repair adventure!
Step 2
Pro tip: Keep the case on during this step to prevent overheating the adhesive on the back panel. If you need help, you can always schedule a repair
Step 4
– Take a moment to inspect the surface for any leftover residue or shards of glass from the previous cover. Let’s make sure we start with a clean slate before diving in!
Step 5
– Gently place the new glass directly over the camera lens, then carefully lower it onto the phone, making sure not to disturb the exposed camera lens.
Step 6
– Gently press around the edge of the glass to create a solid connection between the glass and the phone—just enough to stick, but not so hard that you risk shattering it!


