How to Replace MacBook Pro 14″ (Late 2023) Screen
Duration: 45 minutes
Steps: 43 Steps
HEADS UP: You can totally swap out the screen with this guide, but just so you know, some replacement screens might show funky colors or weird lines.
Note:
Ready to give your MacBook Pro 14″ from late 2023 a fresh new vibe with a screen swap? Dive into this guide to seamlessly replace your screen. Heads up though, while swapping out the screen is totally doable with these steps, some replacement screens might show funky visual artifacts. Right now, the only cool fix to this is through Apple’s System Configuration tool, which you can snag by grabbing a genuine screen from Apple. If you’re feeling adventurous, you can also try transferring two tiny chips between the screen controller boards. Just a little side note: swapping out your screen will say goodbye to True Tone functionality. Also, some snapshots here might be from another model, but no worries, they still match up with the steps perfectly. If you hit a snag, don’t sweat it, just schedule a repair and we’ll take it from there!
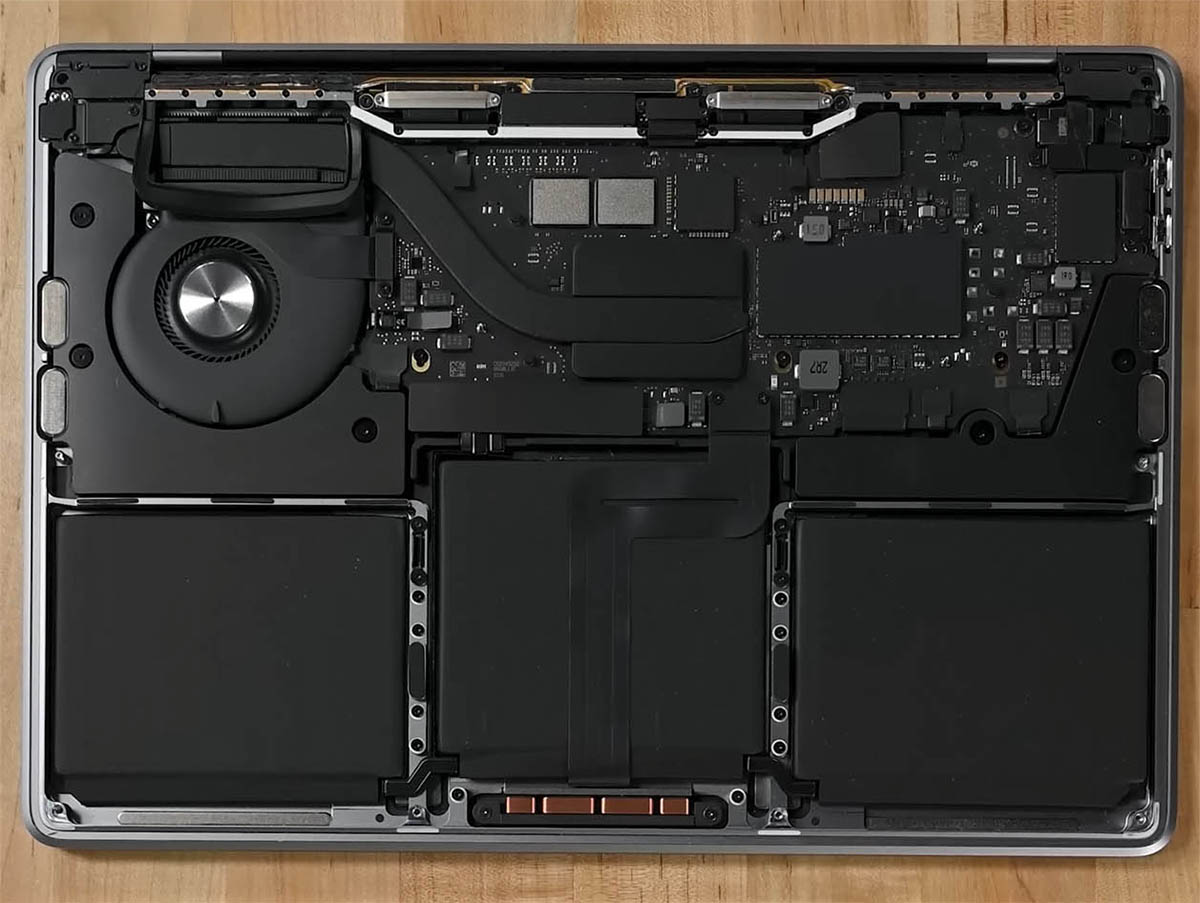
Step 1


– Alright, let’s power down your MacBook, close its lid, and flip it like a pancake! Make sure the lid stays shut until you’ve completely disconnected the battery.
– Unhook the MagSafe cable and any gadgets hitching a ride on your MacBook.
Step 2


– Grab your P5 Pentalobe driver and unleash your skills on those eight screws holding the lower case tight. Let’s get them all out!
Before you jump into the repair, make sure your MacBook Pro is completely powered off and unplugged. Close the lid, flip it over, and let’s get started on the fun part!
As you dive into this repair, make sure to keep a sharp eye on each screw and pop them back exactly where they came from. It’s like a puzzle, and getting it right ensures your gadget stays happy and healthy!
Step 3


– Stick a suction cup near the front edge of the lower case, right between those pesky screw holes.
– Give that suction handle a hearty tug upwards to pop open a small gap beneath the lower case.
Tools Used

Step 4


– Pop in an opening pick into the space you’ve just created.
– Whizz the opening pick around the nearest corner and glide it halfway up the side of the MacBook Pro.
Step 5


– Just like a pro, tackle the other side now! Use your opening pick to pop the second clip free. You’ve got this!
Step 6


The back edge of your MacBook has some sly clips that might need a bit of muscle to separate. Don’t be shy—feel free to suit up with gloves to keep those knuckles safe from the MacBook’s sharp attire!
– Gently tug the lower case away from the back edge, one corner at a time, to pop those sneaky sliding clips free.
Step 7


– Pop off that lower case, champ!
– Slap that lower case back on when you’re done!
Step 8


– Gently peel away any tape that’s hiding the battery board data cable connector on the logic board. It’s like uncovering a secret message—exciting!


Step 10


– Slide out the battery board data cable from its cozy home on the logic board to disconnect it. Just like magic, but you’re the wizard!
Step 11

Hey there! While your MacBook plays cool with some Torx Plus screws, your regular Torx bits will do just fine. Just keep a steady hand and press down firmly to avoid any oopsies with stripping!
– Grab your T3 Torx driver and show those two 2.1 mm-long 3IP Torx Plus screws who’s boss! Unscrew them to free up the trackpad cable bracket from the logic board. You’re doing great!


Step 13


When re-attaching press connectors, make sure to align and press down gently on one side until it clicks into place. Repeat on the other side without pressing on the middle. Avoid misalignment to prevent bending the pins, which could lead to permanent damage.
– Grab the flat end of a spudger and give a gentle pry to unplug the trackpad cable’s press connector from the logic board. Easy does it!
Tools Used


Step 15


– Gently shimmy off any sticky tape hiding around the battery board data cable connector right under the big pancake screw.


Step 18


The battery board data cable is gently stuck to the device, so give it a little love and care when you’re working with it!
Step 19

– Grab your T5 Torx driver and show that 3.8 mm 5IP Torx Plus wide-head screw who’s boss by removing it from the battery power connector. You’ve got this!
Step 20


Pop that connector up just enough to keep it from touching anything during your repair adventure—aim for no more than a 45-degree angle to avoid a hinge-tragedy!
For a touch of extra safety, slip a piece of a playing card between the connector and the board—it’s like a mini shield!
Step 21


– Grab your T3 Torx driver and whisk away those three 2.1 mm-long 3IP Torx Plus screws that are keeping the antenna connector cover and bracket in place. Let’s get that cover off, shall we?
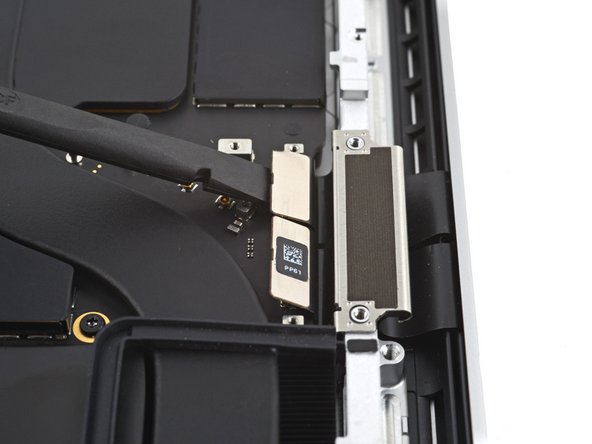
Step 22


– Grab your tweezers or just use your fingers to whip off the cover from those snazzy antenna bar’s coaxial cables.
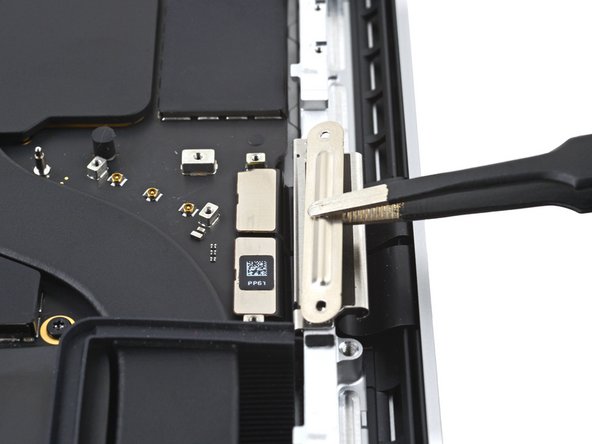
Step 23


– Grab your spudger and gently lift up to disconnect the antenna bar’s coaxial cable. It’s like coaxing a little critter out of hiding!
– Do the same dance with the other two cables.
– Putting them back together? It’s a bit like a mini puzzle. Just position each connector right above its socket and press it down with your spudger’s flat end. You’ll know you’ve got it when it clicks—sweet success!
Tools Used
Step 24


– Grab your T5 Torx screwdriver and show those six 5IP Torx Plus screws who’s boss by removing them from the antenna bar attached to the frame.
– Switch to your trusty P2 Pentalobe driver and tackle the nine 1.5 mm screws holding down the antenna bar to the frame with ease.
Tools Used


Step 26


– Yank that antenna bar straight up and wave it goodbye as it leaves the frame!
Step 27


– Grab your T3 Torx driver and remove those four 2.1 mm 3IP Torx Plus screws holding down the screen cable covers. Let’s get those little troublemakers out of the way!
Step 28

– Grab your tweezers or just use your fingers to whisk away those two pesky screen cable covers off the logic board. Easy peasy!
Step 29

– Grab the flat end of your spudger and gently pry up to disconnect the two right-most screen cable press connectors from the logic board. It’s like unplugging a tiny, delicate treasure chest!
Tools Used
Step 30


– Do the same dance with the left-most press connector as you did before. Keep the groove going!


Step 32


Hey there! If by chance you’ve already taken out the two screen cable bracket buffers and their trusty brackets, then feel free to skip right over this step. And remember, if you need some assistance, you can always schedule a repair with us!
Step 33


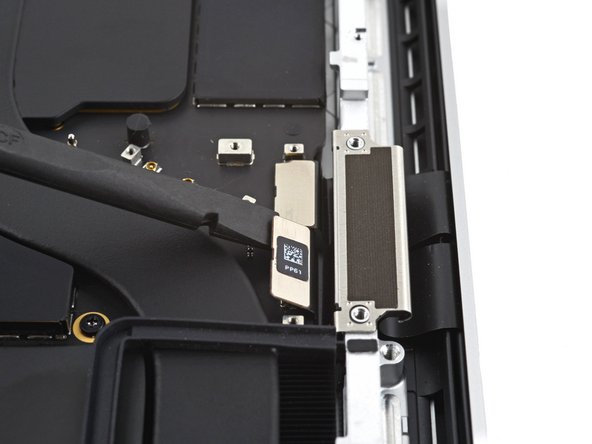
– Grab your T3 Torx driver and unscrew the two snazzy 2.1 mm 3IP Torx Plus screws that are chilling near the right hinge, keeping that lid angle sensor cover in place. Let’s get those little guys out!
Step 34

– Grab your tweezers or just use your fingers to whisk away the lid angle sensor cover. You got this!


Step 36


– Grab your T5 Torx driver and get ready to show those four 2.5 mm-long 5IP Torx Plus screws who’s boss! Unscrew the two screws holding each hinge cover in place (that’s four screws total) and feel like a screw-removing superhero!
Step 37
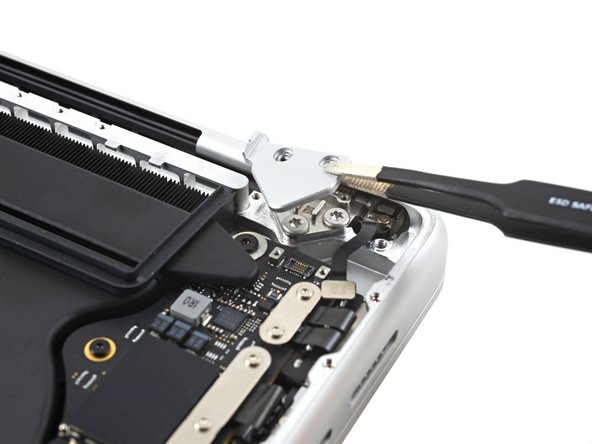

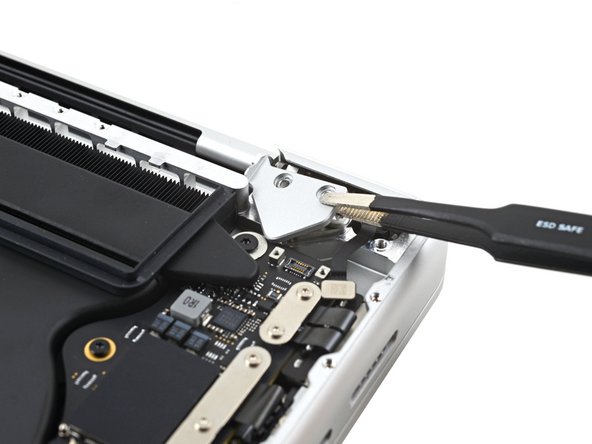
– Grab your tweezers and give those hinge covers a gentle tug horizontally. Slide them away from the hinge like you’re moving them offstage for their grand exit!
– Now, simply whisk away those hinge covers.
Step 38


Hold up! Each hinge is chilling with a third screw. Let’s leave that little guy untouched for the moment, alright?
– Grab your T8 Torx driver and show those four 5.2 mm hinge screws who’s boss – two screws per hinge, hero!
Step 39

Step 40


– Grab your T8 Torx driver and unscrew the two 5.2 mm screws, one from each hinge. Let’s get those tiny rebels out!
Step 41
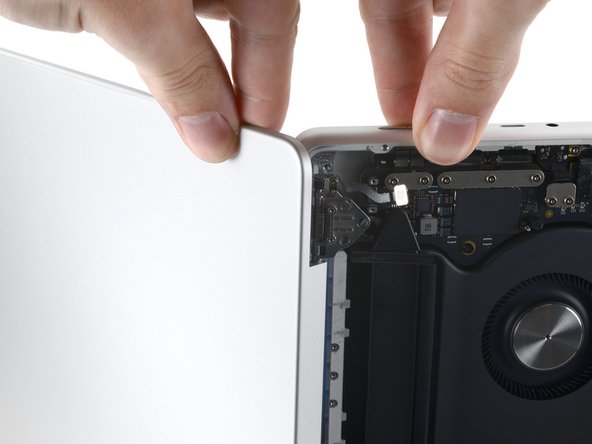


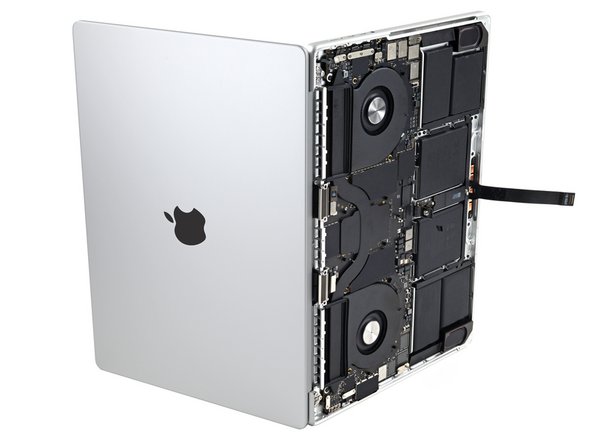
Hold onto the screen and main body like they’re your favorite dance partners—either one might decide to take a sudden dip!
– Squish both halves of your MacBook Pro like a sandwich so the hinges pop out of their hidey-holes in the chassis.
– Give the main body a gentle shove away from you while pulling the screen towards you to lovingly detach it.
Step 42

– Time to wave goodbye to that old screen! Let’s pop it off and get groovy with the fix.
Step 43


– When you’re putting it all back together, jam out to some tunes and follow these steps to line up those screen hinges just right!