The Ultimate Samsung Charger Port Repair Walkthrough
Why a Failing Charging Port Can Derail Your Whole Day
Samsung phone charger port repair is something millions of Galaxy owners need every year — and the good news is it’s often fixable without buying a new phone.
Quick answer: How to fix a Samsung charging port
- Clean it first — Use a wooden toothpick to remove compacted lint or debris
- Test your cable — Try an official Samsung charger before assuming hardware failure
- Restart your phone — Rule out a simple software glitch
- Replace the daughterboard — If cleaning and troubleshooting fail, the charging board assembly needs to be swapped out
- Go professional — For same-day service with a warranty, visit a certified repair shop
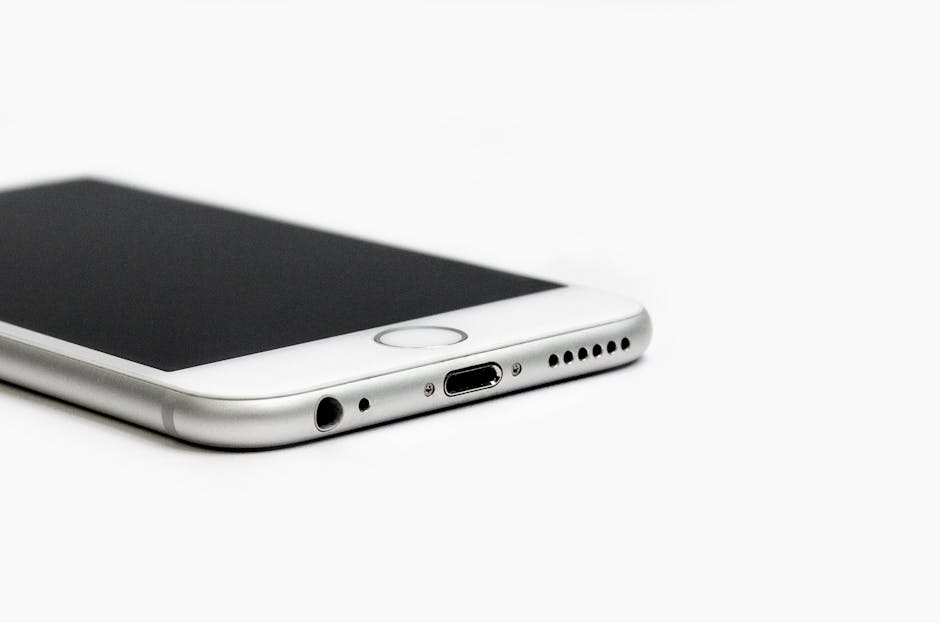
Your Samsung Galaxy’s charging port takes a beating. Plug it in once a day for three years and you’re looking at over 1,000 insertion cycles — that’s a lot of wear on a tiny connector. Toss in pocket lint, the occasional drop, or a splash of water, and it’s no surprise that charging ports are one of the most common repair needs for Galaxy devices.
The problem feels urgent because it is. A dead port means a dead phone. No calls, no navigation, no work — nothing.
Whether your phone won’t charge at all, charges slowly, or keeps showing a “moisture detected” error, this guide walks you through everything: diagnosing the problem, cleaning the port, replacing the daughterboard on popular models like the S20, S21, S22, and S24, and knowing when to hand it off to a pro.
I’m Ralph Harris, a device repair technician with over 20 years of experience and more than 500 repair certifications — samsung phone charger port repair is something I’ve handled hundreds of times across nearly every Galaxy model. Let’s get your phone charging again.

Samsung phone charger port repair vocab explained:
Identifying the Need for Samsung Phone Charger Port Repair
Before we start cracking open your expensive Galaxy S22 or S24, we need to be sure the port is actually the culprit. Sometimes the “broken” port is just a “dirty” port. In our shops in Laurel and Jackson, MS, we see dozens of phones a week where the owner thinks they need a full samsung phone charger port repair, but they really just need a deep clean.

Common signs your port is failing include:
- The “Wiggle” Test: You have to hold the cable at a specific angle to get the “Charging” icon to appear.
- Slow Charging: Your phone says “Cable Charging” instead of “Fast Charging,” taking 5+ hours for a full cycle.
- Moisture Detected Error: A persistent water drop icon that won’t go away, even if the phone hasn’t been near water. This is often caused by corrosion or conductive debris inside the port.
- No Connection to PC: Your phone charges but won’t transfer data or connect to Android Auto.
- Visible Damage: If you look inside with a flashlight and see bent or missing gold pins, cleaning won’t save you.
Before you proceed with any physical fix, we always recommend you how to backup samsung phone before repair to ensure your photos and data are safe in case of a mishap.
When to Clean vs. When to Replace
If your cable doesn’t click into place or feels “mushy” when you plug it in, you likely have compacted lint. Every time you put your phone in your pocket, a tiny bit of lint gets pushed into the port. When you plug in your charger, you crush that lint into a hard puck at the bottom of the port.
How to clean it safely:
- Power off the device.
- Use a wooden toothpick. Never use a metal needle or safety pin; metal can short out the pins or scrape off the protective coating.
- Gently pick around the center “tongue” of the USB-C port. You’d be surprised how much “pocket felt” can come out of there.
- Use compressed air to blow out the loosened dust.
If the port is clean but the pins are green (corrosion) or the “tongue” is wiggling inside the phone, it’s time for a replacement.
Troubleshooting Software Before Hardware
Sometimes the phone thinks the port is broken when it’s just confused.
- Force Restart: Hold Volume Down and Power for 10 seconds.
- Try a Different Cable: We recommend using an official Samsung 25W or 45W USB-C cable. Third-party cables often have slightly different tolerances that can wear out the port faster.
- Clear USB Cache: Go to Settings > Apps > Filter (show system apps) > USBSettings > Storage > Clear Data. This can sometimes fix “Moisture Detected” bugs.
Tools and Parts for a Successful Repair
If you’ve decided on a DIY samsung phone charger port repair, you’re going to need more than just a screwdriver. Modern Samsung phones are held together with incredibly strong adhesive and tiny, fragile ribbon cables.
Essential Tools for Samsung Phone Charger Port Repair
To do this right, we suggest gathering the following:
- iOpener or Heat Gun: To soften the adhesive on the back glass.
- Suction Handle: To pull the glass up safely.
- Opening Picks (Plastic): To slice through the glue without scratching the frame.
- Phillips #000 Screwdriver: Most Samsung internals use this standard size.
- Spudger (Nylon): For safely disconnecting the battery and ribbon cables.
- Tweezers: For handling the tiny daughterboard screws.
- Isopropyl Alcohol (90%+): To clean off old adhesive residue.
- ESD-safe gloves: To prevent static electricity from frying your motherboard.
If you don’t want to invest in all these tools for a one-time fix, we offer samsung phone repair mobile services where we bring the tools and the expertise directly to you in the Laurel and Ellisville areas.
Sourcing the Correct Daughterboard
This is the most critical part of the DIY process. In most Samsung models (from the S8 through the S24), the charging port isn’t just a port; it’s part of a daughterboard assembly. This board often houses the primary microphone, cellular antenna connectors, and sometimes the SIM card reader.
Warning on Regional Variants: A daughterboard for a European (Exynos) Galaxy S21 will not work in a US (Snapdragon) model. You must match your specific model number (e.g., SM-G991U for a US S21) exactly. Using the wrong part can lead to “No Service” issues because the antenna paths won’t match.
| Part Type | Pros | Cons |
|---|---|---|
| Genuine Samsung OEM | Guaranteed fast charging, perfect signal, mic works great. | More expensive ($40 – $70), harder to find in stock. |
| Third-Party Assembly | Cheap ($10 – $20), widely available. | May lack fast charging, poor microphone quality, weak signal. |
Step-by-Step Walkthrough for Popular Galaxy Models
Ready to dive in? This walkthrough covers the general process for the S20 through S24 series. While the internal layout changes slightly, the “logic” of the repair remains the same.
Replacing the Daughterboard: Samsung Phone Charger Port Repair for S-Series
- Safety First: Discharge your battery to below 25%. If you puncture a fully charged lithium-ion battery, it can catch fire. Power the device off completely.
- Heat the Back Glass: Use an iOpener or heat gun (set to about 65°C/150°F) for 2 minutes around the edges.
- Create a Gap: Apply the suction cup to the bottom edge and pull up firmly. Slide a plastic pick into the gap.
- Slice the Adhesive: Carefully move the pick around the perimeter. Note: On the S24, don’t insert the pick more than 4mm on the left side to avoid hitting the cameras.
- Disconnect the Battery: Once the back is off, remove the screws securing the wireless charging coil/loudspeaker. Lift them out and immediately disconnect the battery flex cable using a nylon spudger.
- Access the Port: Remove the screws (usually 3 to 7) securing the bottom loudspeaker and the daughterboard itself.
- Swap the Board: Disconnect the large interconnect cables and the tiny coaxial antenna cables. Pry up the old daughterboard, put the new one in, and reconnect everything.
For a more general look at how these repairs differ from other brands, check out our iphone charging port repair complete guide.
Restoring Water Resistance and Reassembly
Once you’ve swapped the port, don’t just slap the glass back on.
- Clean the Frame: Use isopropyl alcohol to remove every bit of old, stringy glue.
- Apply New Adhesive: Use a pre-cut adhesive gasket for your specific model. This is the only way to get close to the original factory seal.
- Test Before Sealing: Plug the phone in and ensure it shows “Fast Charging” before you press the back glass down.
Once you open a Samsung phone, it loses its official IP68 water resistance rating. While we use professional-grade adhesives at Salvation Repair, we always tell our customers in Jones County to treat the phone as “water-resistant,” not “waterproof” after a charging port repair.
Risks, Costs, and Professional Alternatives
DIY repair isn’t for everyone. It requires a steady hand and a lot of patience.
Risks of DIY Repair
- Cracking the Back Glass: This is the #1 mistake. Replacement glass can add $30-$50 to your repair cost.
- Tearing Ribbon Cables: One slip of a metal tool can slice the display cable or the fingerprint sensor flex.
- Losing Signal: If those tiny “pigtail” antenna cables aren’t snapped on perfectly, your phone will have zero bars.
Comparing DIY Costs to Professional Service
If you go the DIY route for a Galaxy S22:
- Genuine Part: ~$65
- Tool Kit: ~$25
- Total: ~$90 + 2 hours of your time.
A professional samsung phone charger port repair typically costs between $70 and $110 depending on the model. When you consider that we offer a lifetime warranty and price matching, the professional route often ends up being cheaper and much safer.
Why Choose Professional Samsung Phone Charger Port Repair
At Salvation Repair, we specialize in phone repair laurel ms and serve the surrounding Jackson and Meridian areas. Choosing us means:
- Same-Day Service: Most port repairs take under an hour.
- Lifetime Warranty: If the port fails due to a part defect, we replace it for free.
- Expertise: We know the subtle differences between an S21 and an S21 Ultra daughterboard.
- Specialized Equipment: We use professional heating platforms and precision presses to ensure your back glass stays on tight.
For more local info, see our cell phone repair laurel ms guide or our laurel phone repair page.
Frequently Asked Questions about Samsung Charging Issues
How long does a Samsung charging port replacement take?
For a DIYer, expect it to take about 87 minutes to 2 hours. You have to be very slow with the heat application to avoid cracking the glass. In our shop, we typically have it done in about 30 to 45 minutes.
Can I use wireless charging instead of repairing the port?
Yes! If your port is dead but you don’t want to fix it yet, any Samsung Galaxy from the S6 onwards supports Qi wireless charging. It’s a great workaround, but keep in mind that wireless charging is slower, generates more heat, and won’t allow you to use wired Android Auto or transfer photos to a computer.
What if my phone still won’t charge after the repair?
If a new daughterboard doesn’t fix it, the issue might be:
- The Interconnect Cable: The long ribbon cable connecting the port to the motherboard might be torn.
- The Battery: If the battery is completely “flat” (0V), it might not have enough kick to start the charging circuit.
- Motherboard IC: The “Tristar” or Power Management Chip on the mainboard could be fried, which requires micro-soldering.
Conclusion
A broken charging port doesn’t have to mean the end of your Samsung Galaxy. Whether you decide to tackle a samsung phone charger port repair yourself with a toothpick and a steady hand, or you want the peace of mind that comes with a professional fix, there are options for every budget.
If you’re in Laurel, Jackson, Ellisville, Soso, or Meridian, MS, don’t let a dead battery hold you back. At Salvation Repair, we live by our motto: “We repair any device with a power button.” With our price matching and lifetime warranty, you can rest easy knowing your Galaxy is in good hands.
Ready to get your phone back to 100%? Schedule your repair online at Salvation Repair or stop by one of our locations today!