Smartphone repair Laurel MS: Amazing 1-Hour Fixes!
Why Your Broken Phone Doesn’t Have to Ruin Your Day
Smartphone repair Laurel MS is essential for anyone dealing with a cracked screen, dead battery, or malfunctioning device. Here’s what you need to know:
Top Smartphone Repair Options in Laurel, MS:
- Salvation Repair – Same-day service at 1503 Lakeview Rd, lifetime warranty, walk-ins welcome
- iFixandRepair – Located inside Walmart at 1621 Highway 15 N, repairs in under an hour
- C Spire Repair Centers – Apple-certified technicians, most repairs done in 20-30 minutes
- Smart Phone Repair – Local service at 803 N 16th Ave, open Monday-Saturday 9am-7pm
Common Repairs Available:
- Screen replacements (iPhone and Android)
- Battery replacements with extended capacity options
- Charging port repairs
- Water damage restoration
- Camera and speaker fixes
Average Costs: Free estimates available, with most shops offering price matching and same-day service for common issues.
We all depend on our phones for everything from work emails to staying connected with family. When your device breaks, it’s more than an inconvenience—it disrupts your entire day. The good news? Laurel has multiple repair options that can get you back online fast, often in under an hour.
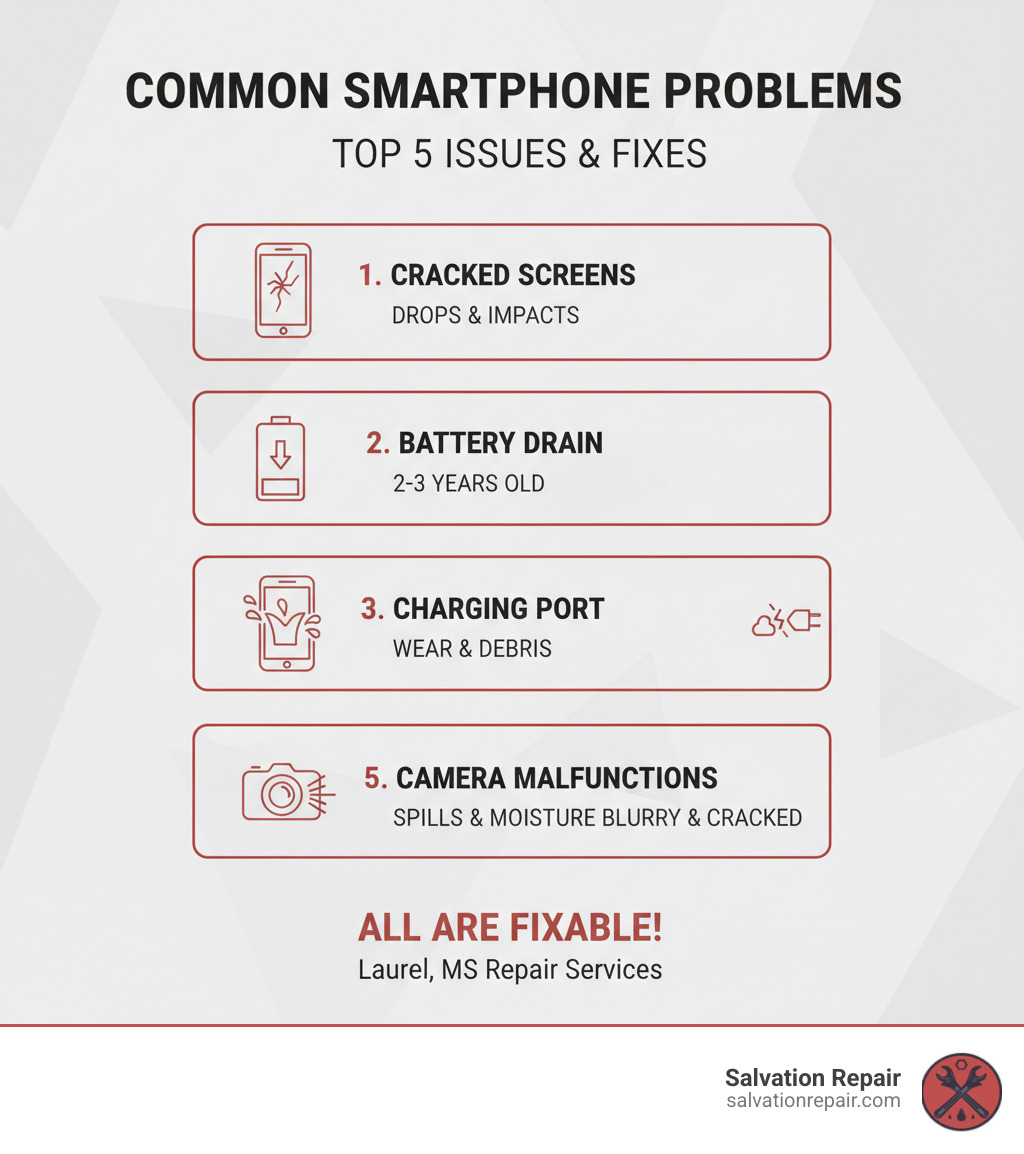
Most smartphone problems fall into a few predictable categories. Cracked screens affect millions of devices every year. Batteries lose their charge after 34 months of use on average. Charging ports wear out from daily plugging and unplugging. Water damage happens despite our best efforts. The silver lining is that all of these issues are fixable—and usually faster and cheaper than buying a new phone.
In Laurel, you’ll find repair shops offering same-day service, lifetime warranties, and certified technicians who work on everything from iPhones to Samsung Galaxy devices. Some shops even come to you with mobile repair services. Whether you cracked your screen this morning or your battery has been dying for weeks, local repair is almost always your fastest and most affordable option.
I’m Ralph Harris, and with over 20 years in electronics repair and more than 500 Apple repair certifications, I’ve seen every type of smartphone repair Laurel MS residents bring through our doors at Salvation Repair. I’ve also written over 2,000 repair guides to help people understand their options and make informed choices about fixing their devices.
This guide will walk you through everything you need to know about getting your phone repaired in Laurel—from identifying common problems to choosing the right repair shop, preparing your device, and understanding what to expect in terms of cost and turnaround time.
Smartphone repair Laurel MS glossary:
- Samsung cracked screen repair
- iPhone no power repair
- computer repair laurel
Common Smartphone Problems and the Repairs You Need
Let’s talk about what actually brings phones through our doors at Salvation Repair. After fixing thousands of devices across Laurel, I can tell you that most problems fall into a handful of predictable categories—and that’s actually good news for you. It means we’ve seen your issue before, we know exactly how to fix it, and we can usually get it done fast.
The big three issues we see daily are cracked screens, batteries that won’t hold a charge, and charging ports that have given up the ghost. But we also regularly handle water damage rescues, camera repairs for blurry or broken lenses, and software glitches that make your phone feel like it’s thinking through molasses.
Here’s what matters most: these problems are fixable. You don’t need a new phone. You need a good technician and quality parts. Whether you’re dealing with a shattered screen or a phone that won’t turn on, local smartphone repair Laurel MS shops have the tools and experience to get you back up and running—usually the same day.
For specific issues, our Screen Repair and Charging Port Repair pages have detailed information about what to expect during those repairs.
Cracked Screens and Broken Glass
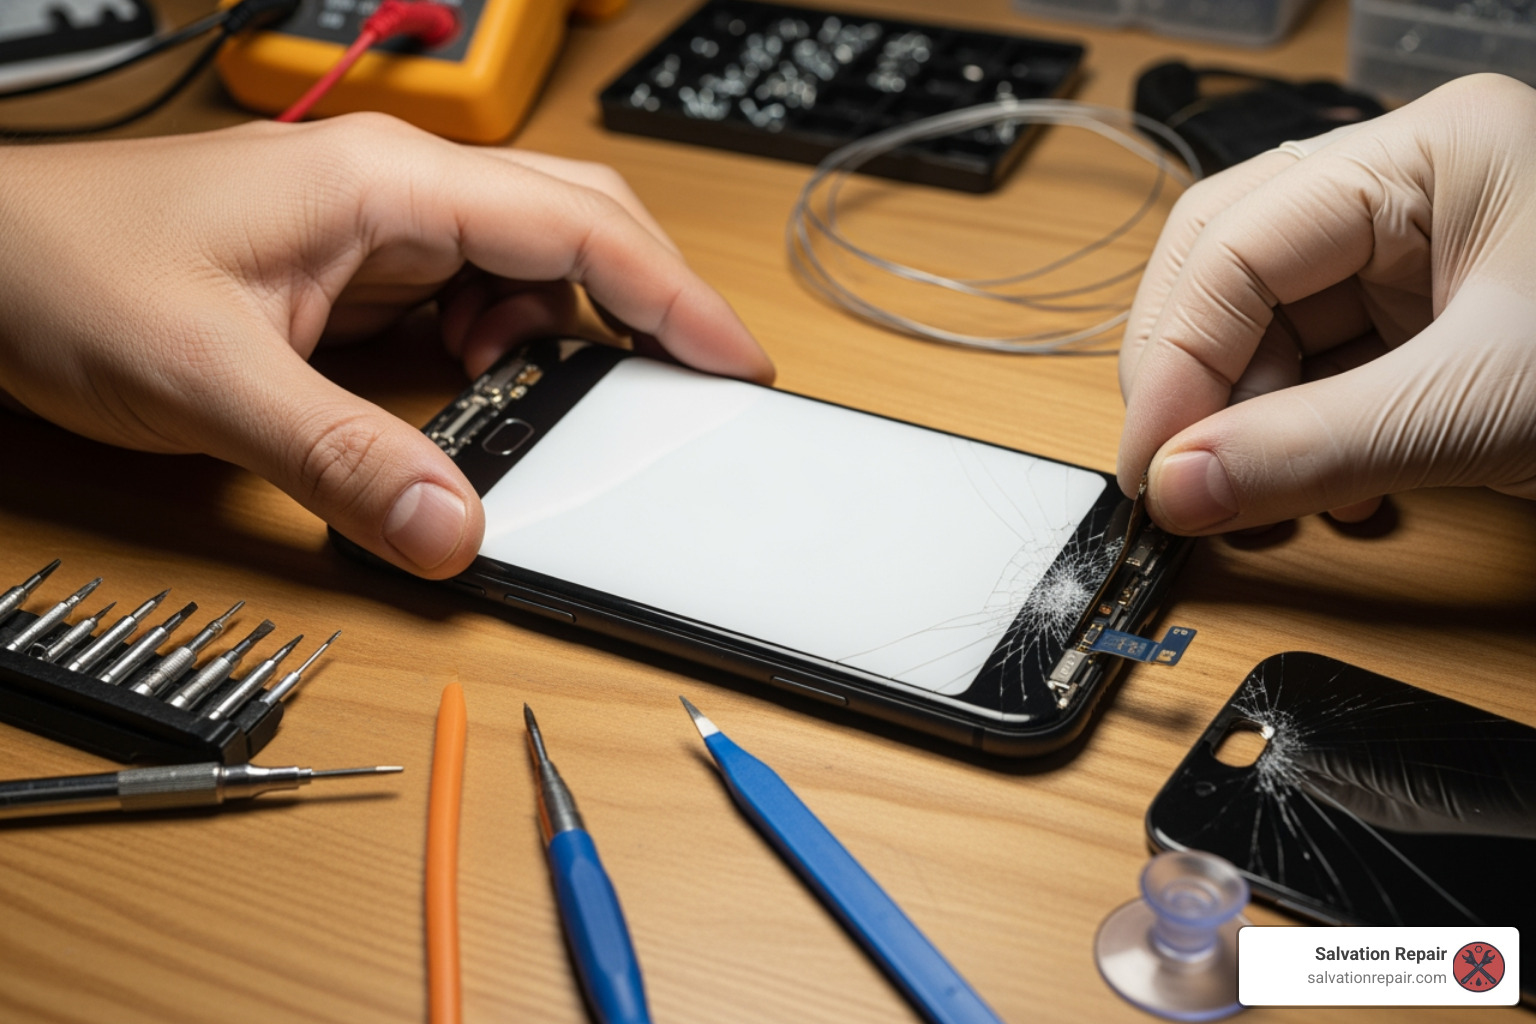
We’ve all been there. One second your phone is in your hand, the next it’s face-down on the pavement, and your heart sinks before you even flip it over. Screen damage is far and away the most common repair we handle, and it’s not just about looks.
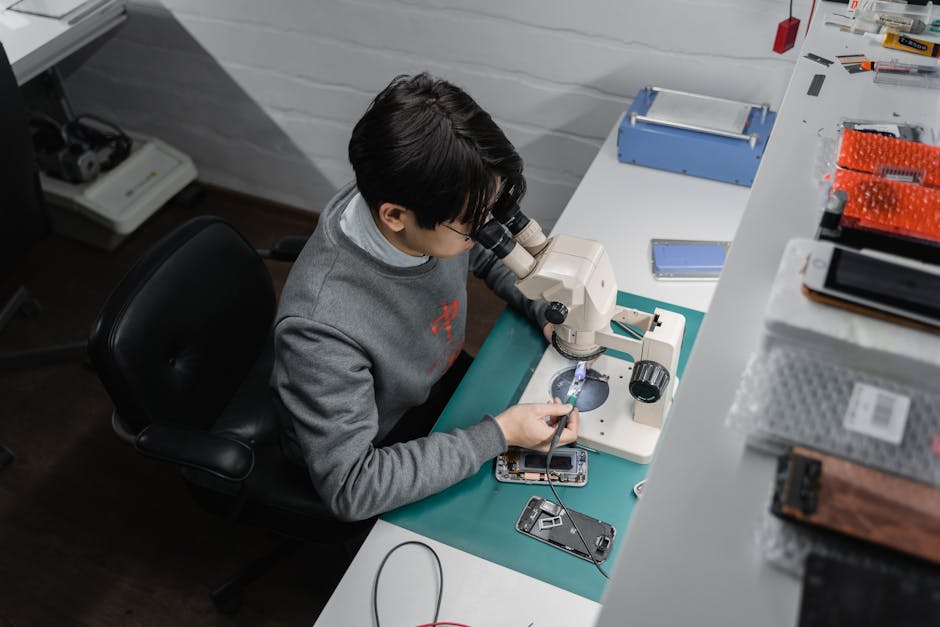
A cracked screen can make your touch response wonky or stop working entirely in certain spots. Those cracks can spread over time. Worse, they expose your phone’s internal components to dust, moisture, and further damage. A screen replacement is straightforward for experienced technicians—we do them all day, every day.
Don’t forget about back glass either. Newer iPhone and Samsung models have glass on both sides, and that back panel does more than look pretty. It’s part of your phone’s structural integrity and helps keep everything sealed against the elements. When it breaks, you’re inviting trouble inside.
We handle both iPhone repair and Samsung repair at Salvation Repair, and other shops in Laurel like iFixandRepair specialize in quick screen fixes too—often finishing in under an hour so you’re not stuck without your phone all day.
Power and Battery Woes
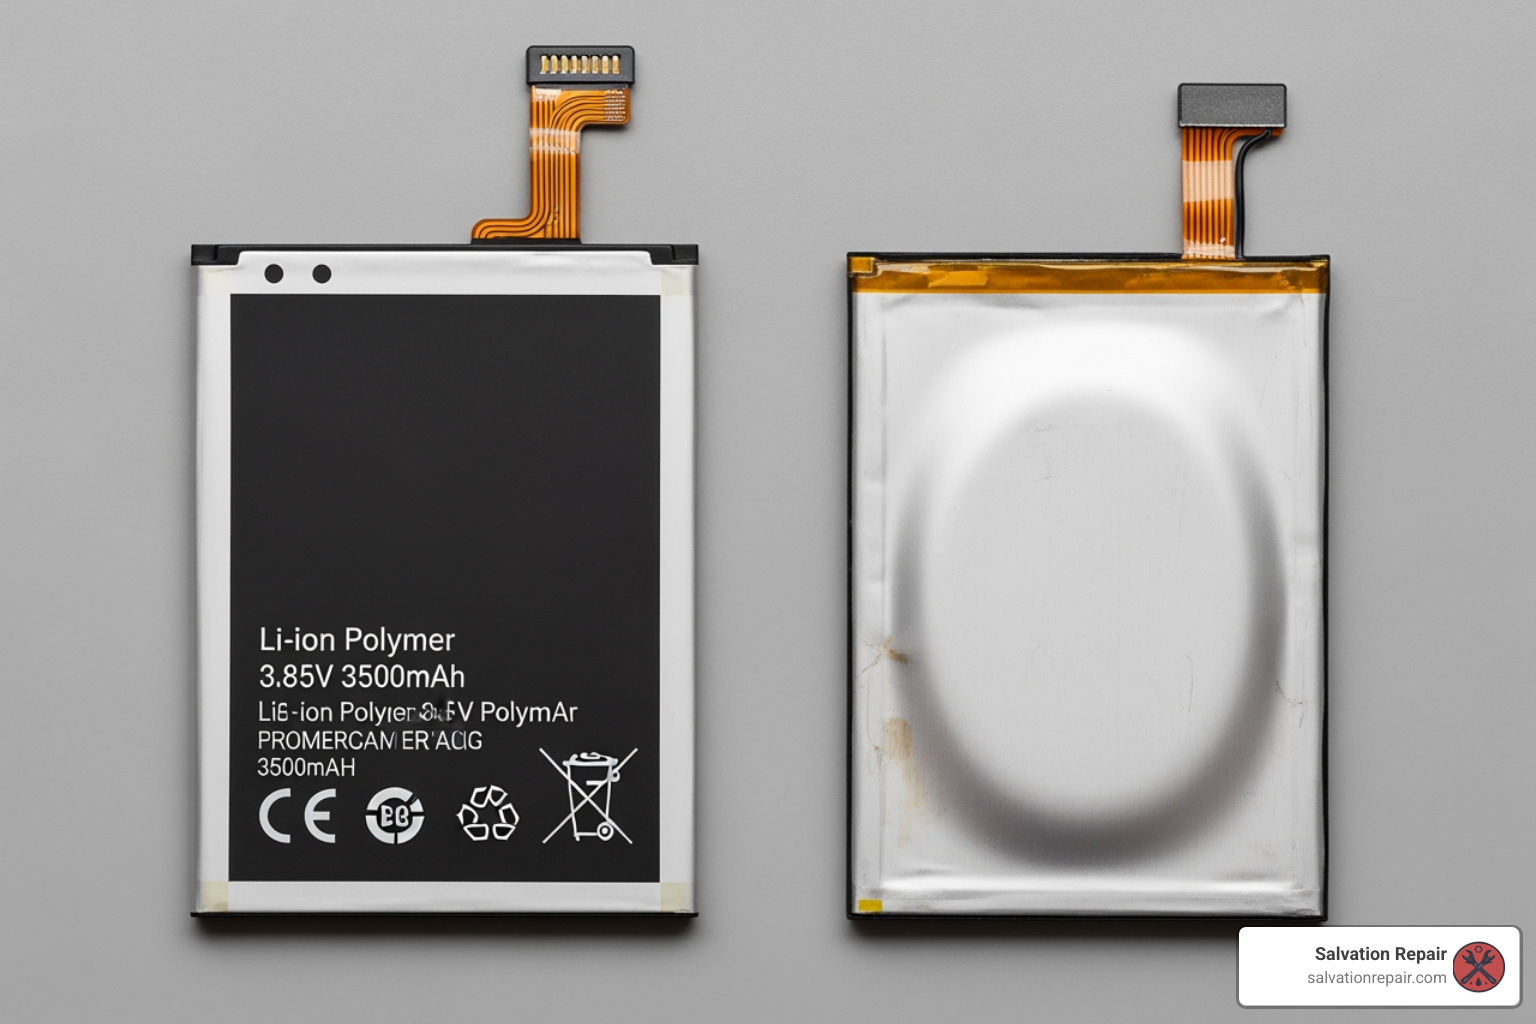
If your phone dies at 30% battery, or you’re charging it three times a day just to make it through, your battery is trying to tell you something. Smartphone batteries naturally degrade over time—it’s just chemistry. After a couple of years of daily charging cycles, that battery simply can’t hold what it used to.
The fix? Battery replacement. It’s one of the most dramatic improvements you can make to an older phone. Customers tell us all the time that it feels like they got a brand new device again.
At Salvation Repair, we offer both standard and Extended capacity batteries. Those extended options can give you up to 25% more juice between charges—perfect if you’re a heavy user or just tired of battery anxiety. And if your phone won’t turn on at all, that’s often (but not always) battery-related. Our iPhone No Power Repair service can diagnose the real issue, whether it’s the battery, charging system, or something deeper on the logic board.
Connectivity and Component Failures
Sometimes it’s not the obvious stuff. Maybe your phone charges fine one day and refuses the next. Maybe people keep saying they can’t hear you on calls. These smaller component failures can be just as frustrating as a cracked screen—maybe more, because they’re harder to explain to people who ask why you’re not answering texts.
Charging port repair is incredibly common. Think about how many times you plug and unplug your phone—hundreds of times, maybe thousands. Add in pocket lint, dust, and the occasional too-forceful connection, and those ports wear out. If your cable only works at a certain angle, or charging has become unreliable, the port is usually the culprit.
Speaker issues and microphone problems are next on the list. You might hear crackling during calls, or your voice sounds muffled to others. Sometimes water damage is the hidden cause, other times it’s just a component that’s failed. Either way, we can swap out those parts and restore clear audio.
We also fix button repair issues—power buttons that stick, volume controls that don’t respond, home buttons that have given up. And for those worst-case scenarios where your phone suffered serious damage, we offer data recovery services to rescue your photos, contacts, and messages before they’re lost forever.
Choosing the Best Smartphone Repair Laurel MS: What to Look For
When your phone breaks, you’re suddenly faced with a decision that feels more important than it should: where do I take this thing to get fixed? You want someone who knows what they’re doing, won’t charge you an arm and a leg, and can get your device back to you quickly. But with several repair options in Laurel, how do you choose the right one?
The truth is, not all repair shops are created equal. The best smartphone repair Laurel MS services share a few important qualities that set them apart. First, look for technician expertise—you want someone who’s actually trained and certified to work on your specific device, not just someone who watched a YouTube video. Second, parts quality matters tremendously. Cheap replacement parts might save you a few dollars today, but they’ll cost you more when they fail in a few months. Third, check customer reviews. What are real people saying about their experience? And finally, understand the difference between local repair shops and manufacturer service centers—each has its place, but for most repairs, local is faster and more affordable.
At Salvation Repair, we’ve built our reputation on expertise, quality parts, and genuine care for our customers. You can learn more about our story and what drives us on our About Us page.
Speed and Convenience: Same-Day Service
Let’s be honest: being without your phone for even a few hours feels like losing a limb. We use our devices for everything—work emails, family photos, navigation, banking, entertainment. When your phone breaks, you need it fixed yesterday, not next week.
That’s why same-day repairs have become the gold standard in Laurel. Most common issues like screen replacements and battery swaps can be completed in 20-30 minutes at shops like C Spire Repair Centers. iFixandRepair, located inside the Walmart on Highway 15 N, gets most devices repaired in under an hour—perfect if you need to run errands while you wait.
At Salvation Repair, we’ve taken convenience even further. Not only do we offer express service for common repairs, but we also provide on-site mobile repair for those times when you simply can’t make it to our shop. Maybe you’re stuck at work, or you’ve got kids at home, or you just don’t want to drive across town. We get it. That’s why we come to you. Check out our Phone Repair Same Day service or learn more about Mobile On-Site Phone Repair to see how we can work around your schedule.
Walk-ins are always welcome at our shop too. No appointment necessary—just bring your device in, and we’ll assess it on the spot and get to work as quickly as possible.
The Importance of a Good Warranty
Here’s something most people don’t think about until it’s too late: what happens if the repair fails? What if that new screen stops working a month from now? A repair is an investment, and like any investment, you want protection.
This is where a solid warranty becomes absolutely crucial. A shop that stands behind their work with a strong warranty is telling you something important—they’re confident in their repairs and they’re not going to disappear if something goes wrong.
At Salvation Repair, we back every repair with a lifetime warranty on both parts and labor. That means if the component we replaced fails or if there’s an issue with the repair work itself, we’ll fix it again at no charge. No hassles, no fine print, no questions asked. It’s our way of showing you that we’re committed to quality that lasts.
For those concerned about manufacturer warranty preservation, it’s worth noting that C Spire Repair Centers use certified technicians who work with manufacturer-approved parts, which can help maintain certain warranties on newer devices. However, for most phones that are already out of warranty, what really matters is the warranty the repair shop gives you on their specific work.
Always ask about warranty coverage before agreeing to any repair. If a shop hesitates or offers only a 30-day warranty, that’s a red flag.
Understanding Repair Costs in Laurel, MS
The big question everyone asks: “How much is this going to cost me?” It’s a fair question, especially when you’re already having a bad day because your phone is broken.
The good news is that smartphone repair Laurel MS is almost always significantly cheaper than buying a new device. A screen replacement might run you $100-200, while a new phone could cost $800 or more. The math is pretty simple.
That said, repair costs do vary based on several factors. The type of device makes a difference—iPhones typically cost more to repair than many Android models because parts are pricier. The specific model matters too; newer flagship phones with specialized components cost more to fix than older or budget models. The severity of damage obviously plays a role, and so does the quality of replacement parts. Higher-quality parts cost more upfront but last longer and perform better.
Most reputable shops, including Salvation Repair, offer free estimates. This means you can bring your device in, get a diagnosis, and know exactly what you’ll pay before committing to anything. We believe in complete transparency—no surprise charges, no hidden fees.
We also offer price matching. If you find a competitor’s published price for the same repair, we’ll match it. This ensures you’re getting competitive, fair pricing without having to shop around endlessly. Ready to find out what your repair will cost? Request a Quote and we’ll get you an answer quickly.
Don’t let cost anxiety keep your phone broken. In most cases, repair is the smart, affordable choice that gets you back to your life without breaking the bank.
How to Prepare Your Phone for a Successful Repair
Getting your phone repaired doesn’t have to be stressful. With just a few simple steps, you can protect your personal information, help our technicians work more efficiently, and ensure you get your device back in perfect working order. Think of it as getting ready for a doctor’s appointment—a little preparation makes everything go smoother.
Step 1: Back Up Your Data
Let’s start with the most important thing: your data. We’re talking about all those photos from your last vacation, your contacts, text messages, and any apps you can’t live without. While reputable smartphone repair Laurel MS shops take every precaution to protect your information, unexpected things can happen during repairs. Sometimes a device needs to be reset to factory settings, or in rare cases, data might be affected by the original damage.
The solution is simple: back everything up before you come in. iPhone users can use iCloud backup, which automatically stores your data in Apple’s cloud when connected to WiFi. Just go to Settings, tap your name, then iCloud, and make sure iCloud Backup is turned on. Android and Samsung users can rely on Google Drive backup, which works similarly and keeps your photos, contacts, and app data safe.
If you prefer keeping things local, you can also connect your phone to a computer and create a backup there. Whatever method you choose, just make sure it’s done before you hand over your device. It’s one of those “better safe than sorry” moments that can save you from heartbreak later.
Step 2: Secure Your Device and Accessories
Before you walk into our shop, take a moment to remove a few things from your phone. Your SIM card is one of the most important—it’s small, easy to lose, and contains your phone number and carrier information. Pop it out and keep it somewhere safe. The same goes for any memory cards or SD cards you might have inserted.
Don’t forget to take off your phone case and screen protector too. We need to access your device directly, and removing these beforehand prevents them from getting misplaced during the repair process. Plus, if you’ve got a fancy case you love, you’ll want to make sure it stays safe while we work on your phone.
Here’s something that really helps speed things along: if possible, disable your screen lock or passcode temporarily, or be ready to share it with your technician. We completely understand if you’re uncomfortable doing this, and we can work around it. But providing access allows us to fully test your phone after the repair—checking that the screen responds correctly, the buttons work, and everything functions as it should. It’s all about making sure you walk out with a fully working device.
Step 3: Document the Problem
You know your phone better than anyone, and that knowledge is incredibly valuable to our technicians. Before your repair appointment, take a few minutes to write down exactly what’s wrong with your device. The more specific you can be, the better.
Think about when the problem started. Was it right after you dropped your phone in the parking lot? Did the battery suddenly start draining after a software update last week? Maybe your charging port has been getting progressively worse over the past month. Note when the issues began and what you were doing when you first noticed them.
Also jot down any unusual symptoms or patterns. For example, “My phone randomly shuts off when the battery shows 30%” or “The screen only glitches when I open the camera app” or “Water got in the charging port when I was caught in the rain on Tuesday.” These details might seem small to you, but they give our technicians crucial clues for diagnosing the problem quickly and accurately. The faster we can pinpoint the issue, the faster we can get your phone back in your hands.
Frequently Asked Questions about Smartphone Repair in Laurel, MS
When your phone breaks, you probably have a dozen questions racing through your mind. We get it—you need answers fast, just like you need your phone fixed fast. Let’s tackle the most common questions we hear from folks in Laurel who are dealing with broken devices.
How quickly can I get my phone fixed in Laurel, MS?
Here’s the good news that usually surprises people: you probably won’t be without your phone for more than a few hours, and sometimes not even that long. For common issues like cracked screens, dead batteries, or charging port problems, same-day service is the standard in Laurel, not the exception.
C Spire Repair Centers can knock out most cell phone repairs in just 20-30 minutes—that’s barely enough time to grab lunch. iFixandRepair typically gets devices back to customers in under an hour, so you can literally shop at Walmart while you wait. At Salvation Repair, we also offer same-day service, and for many repairs, you’ll have your device back within a few hours.
If you can’t make it to a shop, our mobile repair service brings the fix to you, whether you’re at home, at work, or anywhere else in the Laurel area. The bottom line? You won’t be stuck scrolling through old magazines in a waiting room or spending days without your essential device.
How much should I expect to pay for smartphone repair Laurel MS?
This is always the million-dollar question—or hopefully not quite that much! The truth is that repair costs vary based on what’s wrong with your phone, what model you have, and what parts are needed. But here’s what you should know: fixing your phone is almost always cheaper than replacing it.
Every reputable shop in Laurel offers free estimates, so you’ll know exactly what you’re looking at before committing to anything. At Salvation Repair, we believe in total transparency—no surprise charges, no hidden fees. You can even Request a Quote online before you come in, which helps you plan and budget.
We also offer price matching, which means if you find a competitor’s published price for the same repair, we’ll match it. This ensures you’re getting fair, competitive pricing without having to drive all over town comparing quotes. Several factors affect the final cost—your phone’s make and model, the severity of the damage, and the quality of replacement parts—but you’ll always know what those factors are upfront.
Can I get my iPhone and Samsung phone repaired locally?
Absolutely, yes! Laurel has you covered whether you’re team iPhone, team Samsung, or really any other brand. All the major repair shops here work on both Apple and Android devices regularly.
For iPhone repairs, shops like Salvation Repair, iFixandRepair, and C Spire Repair Centers all have experience with Apple devices. C Spire even uses Apple-certified technicians and parts, which can be important for maintaining certain features and functionality. For Samsung repairs and other Android phones, our technicians are equally skilled and use quality manufacturer-certified parts for everything from screen replacements to battery swaps.
But here’s where it gets even better: at Salvation Repair, we don’t just fix phones. We repair “any device with a power button”—and we mean it. That includes iPads, tablets, laptops, computers, gaming consoles like PlayStation and Xbox, smartwatches, and more. If it’s electronic and it’s broken, we can probably fix it. Check out our full range of Services to see everything we handle.
So whether you dropped your iPhone 14, your Samsung Galaxy has a charging issue, or your kid’s gaming console stopped working, local smartphone repair Laurel MS shops have the expertise to help. No need to mail anything off to a distant repair center and wait weeks—we’re right here in your community, ready to help.
Conclusion: Get Your Device Fixed Today!
Your phone is more than just a device—it’s your connection to work, family, and everything that matters in your daily life. When it breaks, every minute without it feels like an eternity. The good news? You don’t have to suffer through another day with a cracked screen, dying battery, or frustrating charging port issues.
Here in Laurel, MS, you have access to fast, reliable, and genuinely affordable smartphone repair Laurel MS services that can get you back online quickly. Whether you’re dealing with a shattered iPhone screen, a Samsung battery that won’t hold a charge, or any other device malfunction, local experts are standing by to help.
At Salvation Repair, we’ve built our reputation on three simple promises: speed, quality, and value. Our same-day mobile repair service means we can often come to you, fixing your device where you are. Every repair we complete is backed by our limited lifetime warranty on parts and labor—because we believe in standing behind our work. And with our price match guarantee, you can rest assured you’re getting exceptional service at a fair price.
We don’t just fix phones, either. Our experienced technicians repair any device with a power button, from iPads and laptops to gaming consoles and smartwatches. Whatever your tech emergency, we’re here to solve it.
Ready to get your life back on track? Schedule Repair with us today, or Contact Us if you have questions about your specific issue. Our friendly team is always happy to walk you through your options and provide a free estimate.
And if you’re the DIY type or just want to learn more about caring for your devices, be sure to check out our extensive collection of repair guides and tips. Find more repair guides on our blog to become a more informed device owner.
Don’t wait another day with a broken phone. Let’s get your device—and your peace of mind—restored today!

2 thoughts on “The Amazing Smartphone Repair Laurel MS You Need to Try Today”
Comments are closed.