Ralph Harris
With over 20 years of experience in electronics repair and technical writing, his background reflects both expertise and a strong dedication to the field. Credentials include a Bachelor’s degree in Computer Science from USM, Wise Level 2 Technician certification as a phone repair tech, certified apple repair technician, and experience in dozens of phone repair stores and tech shops spanning across the full spectrum of device and cell phone repair.
Posts by Ralph Harris
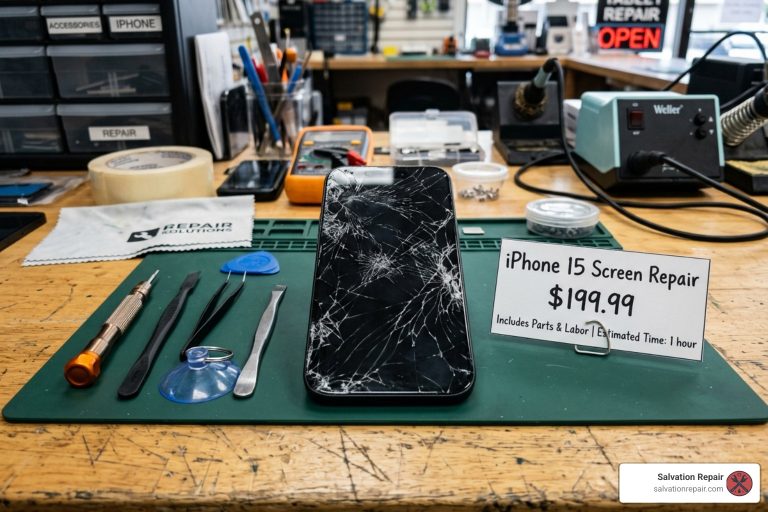
Fixing Your iPhone 15 Screen Without Breaking the Bank
April 13, 2026
Discover iPhone 15 screen replacement cost: Apple vs third-party prices, AppleCare+ savings, DIY risks & 2026 repair value guide. Save…
Read more
The True Cost of Repairing an iPhone 14 Screen
April 12, 2026
Discover iPhone 14 screen replacement cost: Apple ($279-$379), third-party ($229+), DIY risks. Compare options, save money now!
Read more
The Ultimate Guide to iPhone 11 Screen Replacement Costs
April 9, 2026
Discover how much does it cost to repair iPhone 11 screen: Apple $199, third-party $80-150, DIY $40-80. Compare options, risks…
Read more
Same Day iPhone Screen Repair: Where to Go and What to Expect
April 8, 2026
Get same day iPhone repair for screens, batteries & more. Compare Apple vs. third-party, costs, timelines & FAQs in Laurel,…
Read more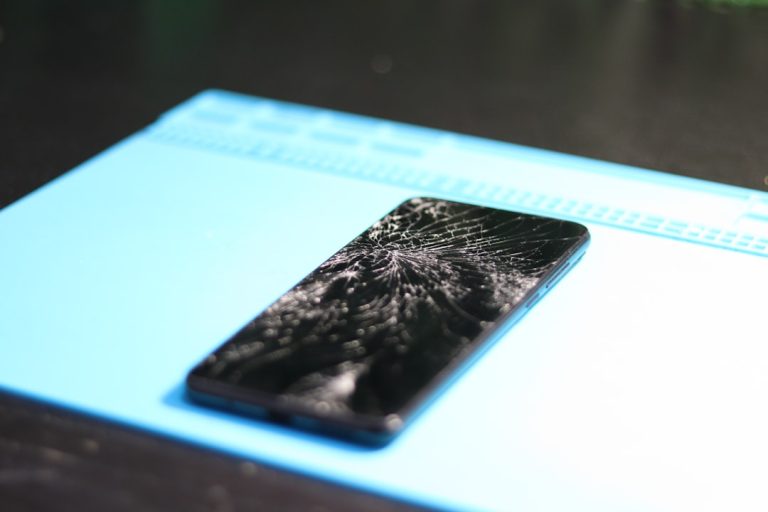
The Ultimate iPhone 12 Screen Repair Manual
April 6, 2026
Fix your iPhone 12 cracked screen with our ultimate guide: DIY steps, pro vs DIY costs, OLED options, Face ID…
Read more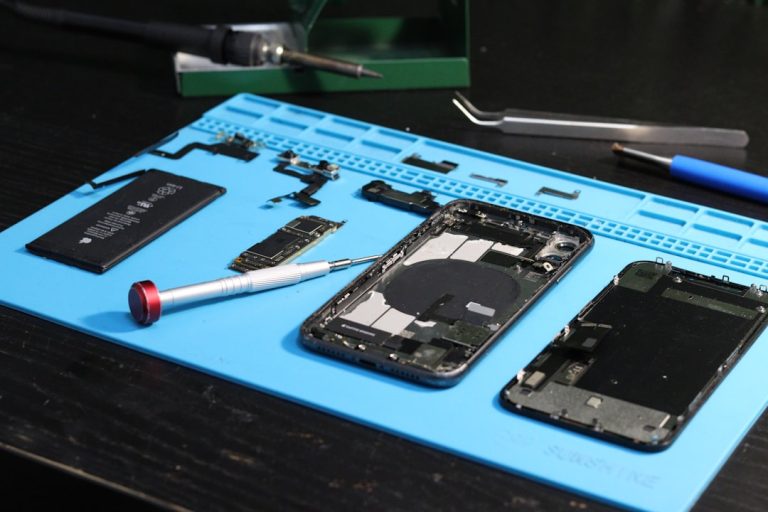
Don’t Let a Broken Screen Ruin Your Day in Laurel
April 4, 2026
Fix your broken screen fast with Laurel phone repair at Salvation Repair. Same-day service, lifetime warranty, and top ratings in…
Read more
The Ultimate Laurel Guide to Fixing Tablet Hardware Woes
March 26, 2026
Get fast tablet battery replacement Laurel service. Fix swollen batteries, shutdowns & more with same-day repairs, lifetime warranty at Salvation…
Read more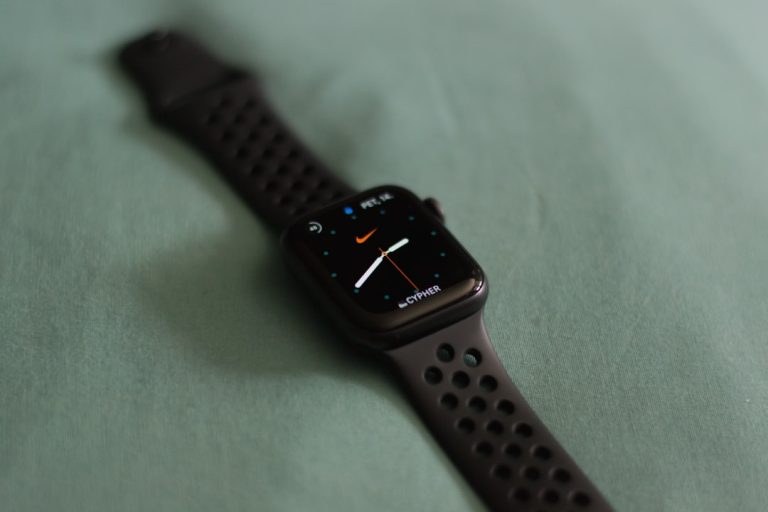
Time for a Change with the Apple Watch Battery Replacement Guide
March 25, 2026
Is your Apple Watch battery failing? Get expert apple watch battery replacement at Salvation Repair in Laurel MS. Fast, affordable,…
Read more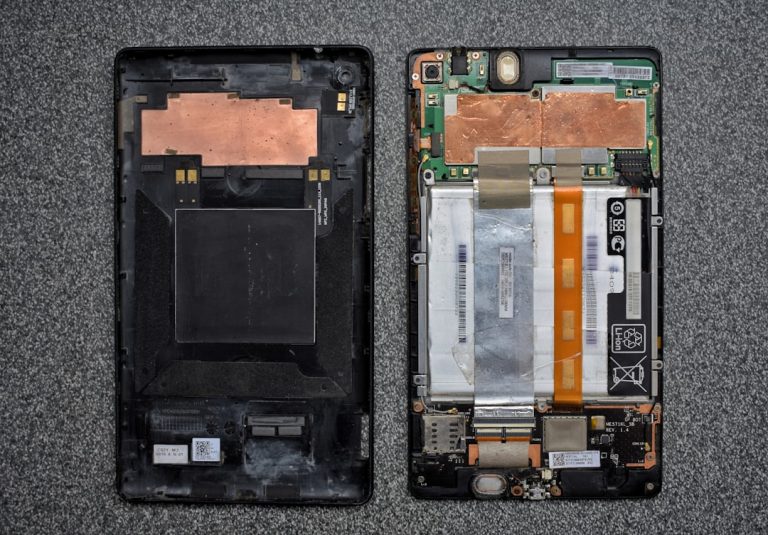
The Ultimate Guide to iPhone Battery Replacement and Costs
March 22, 2026
Discover iPhone battery replacement cost by model, Apple vs third-party options, DIY risks, and when to replace. Save money with…
Read more
Where to Get a Samsung Tablet Screen Fixed in Laurel MS
March 19, 2026
Get fast Samsung screen repair Laurel MS at Salvation Repair. Same-day fixes, OEM parts, lifetime warranty. Book now!
Read moreJoin our mailing list for the latest updates and special offers.
Sign up for our newsletter to receive exclusive promotions and repair tips straight to your inbox.