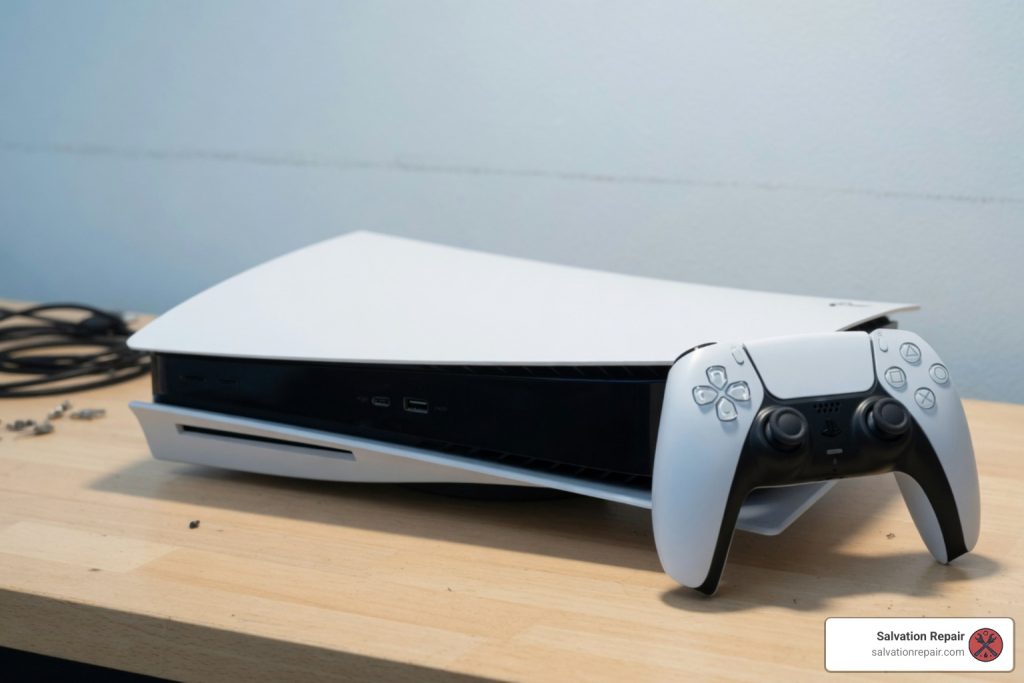
How to Fix a Broken PlayStation in 5 Easy Steps
What to Do With a Broken PlayStation (Quick Answer)
If you have a broken PlayStation, here is what you need to know right away:
| Problem | Likely Cause | First Step |
|---|---|---|
| No picture on TV | HDMI port or encoder chip | Try a different cable and TV |
| Console won’t turn on | Power supply or motherboard | Power cycle (unplug 60 sec) |
| Overheating/shutdowns | Dust buildup or dried thermal paste | Clean vents with compressed air |
| Disc won’t read | Laser wear or disc drive failure | Test a different disc |
| Blue Light of Death | Software glitch or hardware fault | Boot into Safe Mode |
| Crashes and freezes | Corrupted data or solder joint damage | Rebuild database in Safe Mode |
The good news? Most broken PlayStations are fixable — and even if yours isn’t, it still has real cash value.
Whether your PS4 suddenly shut down mid-game, your PS5 is showing a blank screen, or your console took a tumble off the TV stand, you are not alone. HDMI port failure alone accounts for roughly 35% of all PS5 repairs, and disc drive problems make up another 25%. These are the most common console issues technicians see every single day.
This guide walks you through exactly what is wrong, what you can fix yourself, and when it makes more sense to hand it off to a pro — so you can stop guessing and start gaming again.
I’m Ralph Harris, a Wise Level 2 certified repair technician and Apple-certified repair specialist with over 20 years of hands-on experience fixing electronics — including a broken PlayStation of just about every model. My work at Salvation Repair in Laurel, MS gives me a front-row seat to the most common console failures and the fastest ways to solve them. Let’s get into it.
Similar topics to broken playstation:
Common Hardware and Software Issues with a Broken PlayStation
When your gaming console starts acting up, it can feel like your entire weekend has been cancelled. But before you start looking for a replacement, it helps to understand what is actually going wrong inside that plastic shell. Over our years of performing Gaming Console Repair in Laurel and Jackson, MS, we have noticed that hardware failures usually fall into very predictable patterns.
If you are rocking a PS4 Slim, you are dealing with a console that has four major design bottlenecks. First, the thermal paste on the APU (Accelerated Processing Unit) degrades rapidly after 3 to 5 years of heavy use. Because the Slim has a much tighter chassis than the original PS4, it has very little thermal headroom. Once that paste dries out, your console will suffer from extreme overheating and unexpected shutdowns.
Second, the KES-496A laser lens inside the disc drive is highly prone to wear and tear, leading to “Cannot Read Disc” errors. Finally, the Slim is notorious for single-rail power supply unit (PSU) failures and easily damaged HDMI ports.
On the other hand, if you upgraded to the PlayStation 5, you traded those issues for a brand-new set of engineering quirks. According to a detailed repair breakdown by Common PS5 Issues: Troubleshooting Tips You Need – kasynparts , HDMI port failures and disc drive issues dominate the service benches.
The PS5 also replaced traditional thermal paste with a liquid metal thermal interface on the APU. While liquid metal is incredibly efficient at transferring heat, it can oxidize or shift over time, leading to localized dry spots on the APU and sudden thermal shutdowns during graphic-intensive game play.
Diagnosing a Broken PlayStation: HDMI Port vs. Encoder Chip
One of the most frustrating phone calls we get sounds like this: “My PS5 turns on, the light goes white, but my TV screen is pitch black. Is my console toast?”
The short answer is no, but diagnosing why you have no display requires a little bit of detective work. The issue is almost always localized to one of two components on the motherboard: the physical HDMI port or the HDMI encoder IC chip (specifically the Panasonic MN86471A chip).
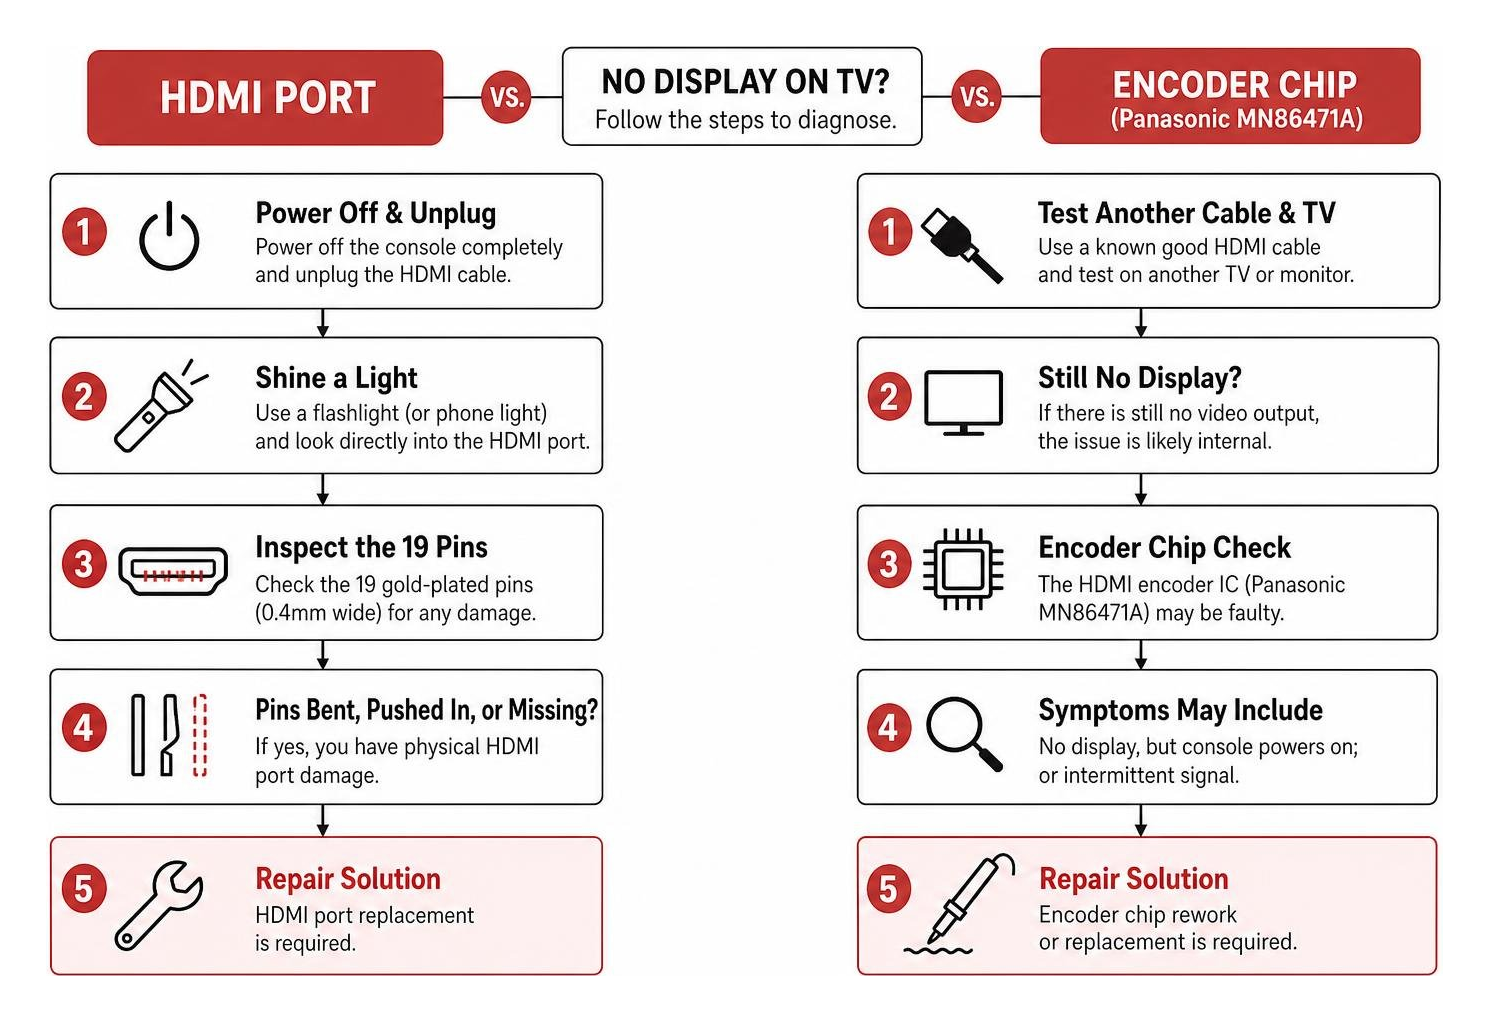
To figure out which one is causing your broken PlayStation display issues, try the flashlight test:
- Power off the console completely and unplug the HDMI cable.
- Grab a flashlight (or your phone light) and look directly into the HDMI port on the back of the console.
- Inspect the 19 gold-plated pins. These pins are only 0.4mm wide and incredibly delicate. If you see any pins bent backward, pushed in, or completely missing, you have physical HDMI port damage. This usually happens when the console is dropped backward or the cable is yanked sideways.
- Check for a “blank” port. If all 19 pins look perfectly straight, uniform, and clean, but you still get absolutely no signal on a known-working TV and cable, the culprit is likely the Panasonic MN86471A encoder chip. This chip acts as the traffic cop routing the video signal from the APU to your TV. It runs hot and can degrade or burn out over time, especially after a power surge.
For a deeper dive into these microscopic fixes, check out our guide on PS5 Damaged HDMI Port Your Guide to Quick Fixes and Repairs or see the technical breakdown in the PS5 No Display? HDMI Port Repair Guide (2026) .
Signs of a Failing Power Supply or Motherboard
When a console refuses to show any signs of life, the issue is typically rooted deep within the power delivery system.
If your console is completely dead — meaning no lights, no beep, and absolutely no fan spin when you press the power button — you are likely dealing with a failed internal power supply unit (PSU). Power surges from summer storms in Mississippi are a common cause of blown internal capacitors.
However, there is another symptom that strikes fear into the hearts of PS5 Slim owners: the “single beep” mystery. You press the power button, the console lets out a quick, sad beep, and then… nothing. No blue light, no fan, just instant silence.
This symptom often points to a short circuit on the motherboard. When the motherboard detects a short, its built-in safety fuses (like the F3501 or F7501 fuses on the PS5 board) trip instantly to prevent the console from catching fire.
If you’re dealing with this specific headache, our article on PS5 Slim Power Issues Fixing the Single Beep Mystery explains how to track down the root cause.
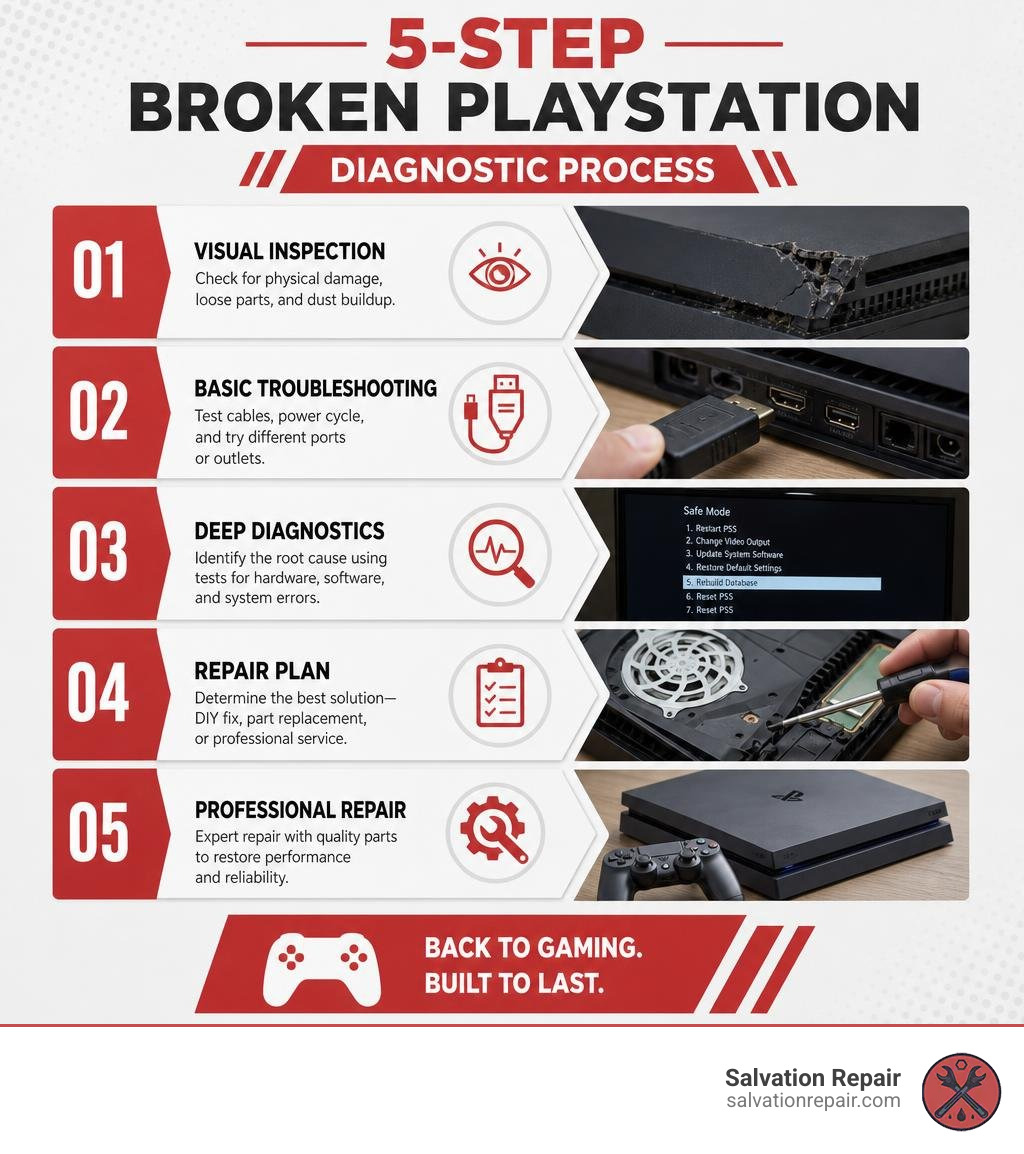
How to Fix Your Console in 5 Easy Steps
If your PlayStation is misbehaving, don’t panic. Before you assume the worst, follow our systematic 5-step diagnostic and repair process to rule out the simple stuff first.
Step 1: Immediate Post-Drop Action and Visual Inspection
We have all been there. A dog trips over the controller wire, a child bumps into the entertainment stand, or a cable snags during a move. You hear a sickening thud, and your heart sinks. Your PlayStation is on the floor.
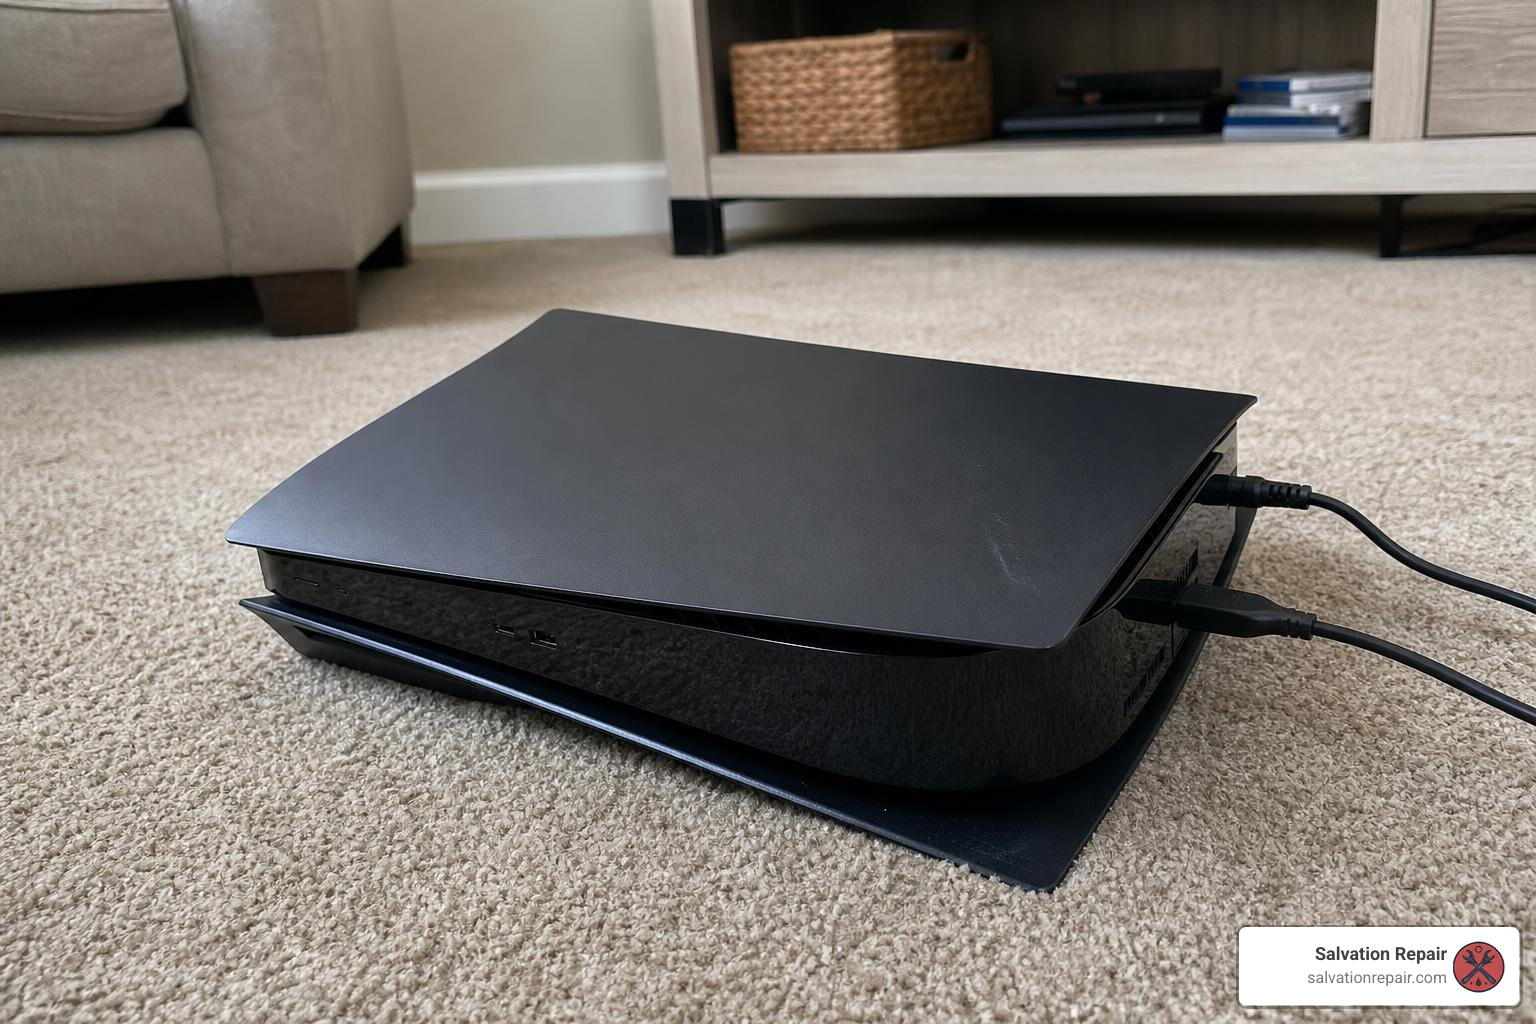
If you have a dropped console, your immediate actions in the first 60 seconds are critical:
- DO NOT turn it on immediately. If internal metal brackets or shielding have shifted during the fall, powering on the console could cause an immediate, catastrophic short circuit on the motherboard.
- Unplug all cables. Carefully remove the power cable, HDMI cable, and any external storage drives.
- Perform a thorough visual inspection. Set the console on a flat surface. Inspect the plastic housing for cracks. Look closely at the back panel. Did the console land on the HDMI cable? If so, the physical impact likely fractured the solder joints holding the HDMI port to the motherboard.
- Listen for loose parts. Gently tilt the console side to side. Do you hear anything rattling inside? If so, do not plug it in.
Even if the console turns on and works fine immediately after a drop, hairline fractures in the BGA (Ball Grid Array) solder joints under the main APU can worsen over time. As the console heats up and expands during a gaming session, these tiny cracks widen, leading to random freezing or crashes weeks down the road.
For a complete checklist of what to look for, read Dropped Console? What to Check First | Console Service Centre .
Step 2: Software Troubleshooting and Safe Mode Diagnostics
Before we start pointing fingers at physical hardware, we need to rule out operating system corruption. PlayStations are essentially specialized computers, and their software can crash, corrupt, or get stuck in boot loops.
If your console is acting laggy, showing error codes like CE-108255-1, or showing a padlock icon next to your digital games, try these software troubleshooting steps:
- Boot into Safe Mode. Turn off your console completely. Press and hold the power button down. You will hear one beep when you first press it, and a second beep about 7 seconds later. Release the button.
- Connect your controller. You must plug your controller directly into the console using a USB cable to navigate the Safe Mode menu.
- Rebuild the Database. Select “Rebuild Database” (Option 5 on most models). This scans your drive and creates a new database of all content. It won’t delete your saved games, but it is incredibly effective at clearing out system lag and fixing corrupted game files.
- Restore Licenses. If you see a padlock icon next to your games, it means the console cannot verify your digital ownership. Go to Settings > Users and Accounts > Other > Restore Licenses.
For more official software tips, check out the PlayStation guide on How to troubleshoot issues when starting a game (US) .
Step 3: Cleaning and Thermal Maintenance
If your PlayStation sounds like a jet engine taking off, or if you keep seeing a “Your console is too hot” warning on your screen, your system is crying out for a deep clean.
Dust is the ultimate silent killer of gaming consoles. It cakes onto the fan blades, clogs the dense fins of the heatsink, and chokes off the air intake.
On the PS4 Slim, the thermal paste on the APU dries out to a chalky, useless powder after 3 to 5 years. When this happens, heat cannot escape the APU, forcing the fan to spin at maximum speed to keep up.
If you are comfortable popping off the outer plastic covers, you can use a can of compressed air to blow dust out of the fan and power supply vents. Just be sure to hold the fan blades in place so they don’t spin freely and generate reverse voltage, which can damage the motherboard.
If your older PS4 is screaming for help, check out our step-by-step guide on PS4 Loud Fan Repair or learn more about thermal degradation from the PS4 Slim Problems: Repair Guide (2026) | Console Service Centre .
Step 4: Checking the Warranty Before Opening the Console
Before you grab a screwdriver and start tearing your console apart, stop and ask yourself: Is this thing still under warranty?
Sony provides a standard 1-year manufacturer warranty from the original date of purchase. If your console is less than a year old and hasn’t suffered physical damage (like a drop or liquid spill), Sony will repair or replace it for free.
However, you need to be aware of a few strict rules:
- Do not break the seals. If you damage, alter, or remove the official serial number or warranty stickers on the back of the console, Sony will reject your warranty claim.
- Be prepared for data loss. Sony’s official repair process almost always involves completely reformatting or swapping out your hard drive/SSD. All your local save files, screenshots, and downloaded games will be wiped clean. Always back up your data to the cloud first!
- Remove custom SSDs. If you added an extra M.2 SSD to your PS5, take it out before shipping the console to Sony.
- Expect delays. Official manufacturer repair centers frequently experience service delays, sometimes leaving you without a console for up to 3 to 4 weeks.
To read the fine print yourself, consult the official PLAYSTATION ®5 WARRANTY document.
Step 5: Professional Micro-Soldering and Hardware Replacement
If you have ruled out software glitches, cleaned out the dust, verified that your warranty is expired, and your console is still broken, you have reached the hardware repair phase.
This is where DIY fixes usually end. Modern consoles are incredibly complex, highly integrated machines. For example, replacing a damaged HDMI port isn’t as simple as plugging in a new wire — it requires a professional micro-soldering station, hot air rework tools running at 380–420°C, a microscope, and steady hands to solder 19 microscopic pins back onto delicate motherboard pads.
Furthermore, components like the PS5 disc drive are digitally paired to the motherboard. If your disc drive dies, you cannot simply buy a cheap replacement drive online and swap it in. The console will refuse to read discs because the security keys don’t match. A technician must physically desolder the original logic board from your old drive and transplant it onto the new mechanical drive.
Whether you need a complex board-level repair or a PS5 HDMI Port Replacement, or you are tackling power issues using The Ultimate PS5 Slim Power Supply Switch Repair Guide, professional tools and experience are non-negotiable to avoid turning your console into an expensive paperweight.
Is It Worth Repairing Your Console or Buying a New One?
When your console breaks, you have to do some quick math. Is it smarter to fix the machine you have, or should you cut your losses and buy a brand-new system?
At Salvation Repair, we use the 60% Rule: If the cost of the repair is less than 60% of the cost of buying a replacement console of the same model, repairing is almost always the better economic choice.
Let’s look at the numbers as of July 2026:
| Console | Market Value (Working) | Typical Repair Cost (HDMI/PSU) | Cost of Replacement | Verdict |
|---|---|---|---|---|
| PS4 Slim | ~$118.00 | $80 – $120 | ~$150 (Refurbished) | Borderline (Repair if saves are crucial) |
| PlayStation 5 | ~$517.00 | $120 – $200 | ~$450 – $550 (Refurbished) | Highly Worth Repairing |
Repairing your console also keeps highly toxic electronic waste out of our Mississippi landfills. E-waste is a massive environmental hazard, and repairing your console extends its lifespan, giving you more bang for your buck while protecting the planet.
Where to Sell or Trade In a Broken PlayStation
If you decide that your console isn’t worth repairing, do not throw it in the trash! Even a completely dead, physically smashed, or broken PlayStation holds real monetary value.
Specialist electronics buyers and refurbishing companies are always looking for broken consoles. They harvest the working components — like the optical drive motors, power supplies, fan assemblies, and intact casing parts — to repair other consoles.
Using trade-in comparison platforms like SellCell, you can easily get cash for your broken gear. Here is what some legacy broken or faulty PlayStation devices are fetching in July 2026:
- PS Vita: Up to $79.00
- PSP (PlayStation Portable): Up to $45.00
- PS Vita Slim: Up to $39.75
- PSP Street: Up to $25.80
- PSP Go: Up to $25.00
Frequently Asked Questions about PlayStation Repairs
Does opening my PlayStation void the official Sony warranty?
Yes. If your console is still within its 1-year manufacturer warranty window, opening the outer casing or breaking the warranty seals on the back will immediately void your coverage. If you are past that 1-year mark, however, those stickers don’t matter anymore, and you are free to open it for dust cleaning or take it to a third-party shop.
How much does it cost to repair a PS5 HDMI port?
A professional HDMI port replacement on a PS5 typically costs between $120 and $200, depending on whether there is secondary damage to the motherboard pads. Beware of ultra-cheap quotes; proper micro-soldering requires expensive equipment and high-quality replacement ports to ensure your console can still output a true 4K/120Hz signal.
Can a dropped PlayStation be repaired if it won’t turn on?
Absolutely. If a dropped console won’t turn on, it is usually because the power supply has cracked internally, a connector has popped loose from the motherboard, or a component has shorted out. A skilled technician can run a full diagnostic, repair the fractured joints, and get the console booting safely again.
Conclusion
A broken PlayStation doesn’t have to mean the end of your gaming journey. By following a logical diagnostic process — checking your cables, testing Safe Mode, and inspecting your ports — you can easily rule out the simple software glitches before deciding on a hardware fix.
If your console is out of warranty, or if you accidentally broke the seals and need a fast, reliable repair, we are here to help. At Salvation Repair, we specialize in fixing “any device with a power button.” Whether you are located in Laurel, Jackson, Ellisville, Soso, or Meridian, MS, our team brings top-tier technical expertise right to your doorstep.
We don’t just fix game consoles. We are also your local experts for rapid smartphone, tablet, and computer repairs. Check out our quick turnaround times:
- iPhone Screen Repairs: iPhone screen repairs take 10-15 minutes in front of the customer! We offer multiple screen options: standard LCD repairs are quoted at $129.95, aftermarket OLED at $129.95, and OEM at $149.95. For the iPhone 16 Pro, we quote LCD at $149.95 and OLED at $199.95. For the iPhone 16 Pro Max, we quote AQ7 LCD at $129.95, aftermarket OLED at $219.95, OEM refurbished at $399.95, and new OEM at $469.95.
- Samsung Repairs: We handle complex screen swaps in no time. For the Galaxy S22 Ultra, our labor-included screen repair prices are $219.95 for aftermarket OLED, $309.95 for refurbished OEM, and $339.95 for new OEM.
- Battery Repairs: Our battery repairs take 30 minutes.
- Charging Port Repairs: Our charging port repairs take 1 hour.
Every single repair we perform comes backed by our industry-leading lifetime warranty and local price matching.
Ready to get your console fixed by the pros? Head over to our Console Repair Guides Page or stop by one of our Mississippi locations today to get your game back on!
