The Ultimate Guide to iPhone 16 Screen Replacement Costs
Introduction
An iPhone 16 screen replacement typically costs between $79 and $379 for professional repair depending on the component tier, or a flat $29 deductible with AppleCare+. Sourcing raw parts for a DIY replacement ranges from $35 for aftermarket Incell LCDs to over $175 for new OEM genuine assemblies. Professional repair pricing generally spans budget LCDs ($79–$129), premium soft OLEDs ($149–$199), OEM refurbished screens ($220–$310), and brand-new OEM displays ($279–$379).
While Ceramic Shield glass provides enhanced drop resistance, high-impact drops on concrete can still crack the outer glass, damage the touch digitizer, or cause internal OLED bleeding. As of August 2026, Apple repair architectures incorporate direct software calibration alongside tight hardware tolerances. Whether you plan to fix your device on your workbench or explore local repair services, this comprehensive guide covers everything from diagnostic signs to component tiers, teardown steps, and calibration workflows.
Diagnosing iPhone 16 Screen Damage: Glass vs. OLED Failure
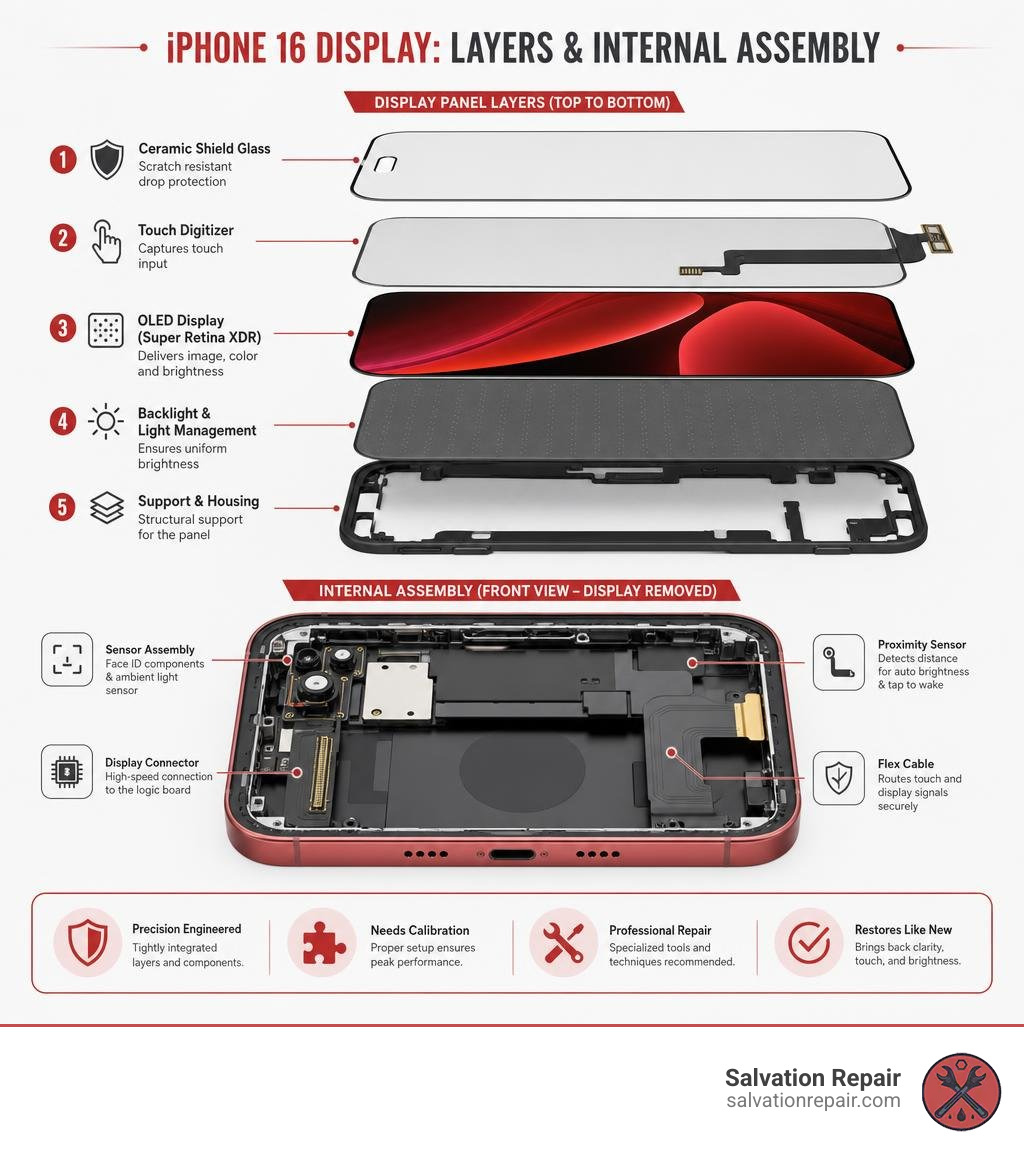
Before ordering parts or picking up tools, it is essential to diagnose whether the damage is limited to the exterior glass layer or extends deep into the display assembly. The screen assembly consists of three primary bonded layers: the outer protective glass, the capacitive touch digitizer, and the Super Retina XDR OLED panel.
If your device took a spill, look for these specific failure symptoms:
- Top Glass Damage: Hairline fractures or spiderweb cracks across the surface where the underlying display remains clear, vibrant, and fully responsive to touch input.
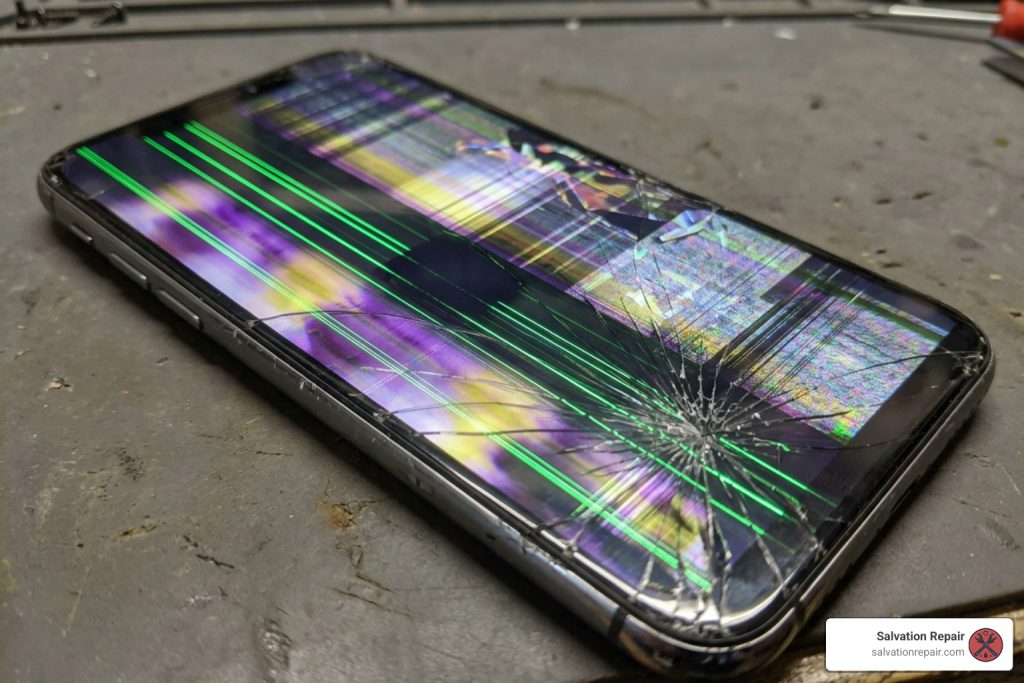
- OLED Panel Bleeding: Dark, ink-like black or purple blotches spreading across the screen, dead pixel clusters, or persistent vertical and horizontal colored lines (frequently neon green or pink).
- Digitizer Failure and Ghost Touch: Unresponsive dead zones where taps register erratically, or “ghost touch” issues where the phone opens apps and types characters on its own.
- Complete Blackout: The phone vibrates, rings, and receives notifications normally, but the display remains completely black due to an electrical failure in the display flex circuit.
If you are navigating the repair process for the first time, our guide From Cracked to Pristine: Navigating Your iPhone 16 Screen Repair Journey outlines how to protect your personal data and prepare your phone before opening the chassis.
iPhone 16 Screen Replacement Pricing and Component Tiers
When planning a repair, component selection dictates both the final visual quality and the overall cost. For detailed market context, review our iPhone Screen Repair Cost Guide 2026.
When evaluating screen options, it helps to distinguish between the primary part categories:
- LCD (including AQ7 LCD): Budget aftermarket screens utilizing liquid crystal displays with backlighting rather than self-emissive pixels. These are thicker and consume slightly more power, but provide an economical repair solution.
- Aftermarket OLED (Soft OLED / COF): Premium aftermarket panels built on flexible substrates that match original factory bezel dimensions, contrast ratios, and color gamuts.
- OEM Refurbished: Original Apple display panels that suffered broken glass but retained intact factory OLED sheets, professionally laminated with fresh glass.
- New OEM: Brand-new genuine displays manufactured strictly to factory specifications, providing peak brightness (up to 2000 nits) and native iOS pairing support.
Salvation Repair iPhone 16 Series Pricing Breakdown
| iPhone Model | Screen Tier / Type | Repair Price |
|---|---|---|
| iPhone 16 (Standard) | Standard LCD | $129.95 |
| iPhone 16 (Standard) | Aftermarket OLED | $129.95 |
| iPhone 16 (Standard) | Genuine OEM | $149.95 |
| iPhone 16 Pro | LCD | $149.95 |
| iPhone 16 Pro | OLED | $199.95 |
| iPhone 16 Pro Max | AQ7 LCD | $129.95 |
| iPhone 16 Pro Max | Aftermarket OLED | $219.95 |
| iPhone 16 Pro Max | OEM Refurbished | $399.95 |
| iPhone 16 Pro Max | New OEM Genuine | $469.95 |
iPhone 16 Screen Replacement Cost by Service Provider
Understanding the landscape of service providers helps you weigh convenience, speed, and warranty coverage against out-of-pocket costs. For a broader breakdown of pricing across models, check our iPhone Screen Repair Cost overview.
- Apple Store / Apple Authorized Service Providers (AASPs): If you carry an active AppleCare+ plan, an official screen replacement costs a flat $29 deductible. Out-of-warranty screen service directly through Apple typically runs between $279 and $379 depending on the model tier, backed by a 90-day service guarantee.
- National Retail Chains (e.g., Best Buy, uBreakiFix by Asurion): Authorized chains offer same-day repairs using genuine Apple parts or certified aftermarket alternatives. Screen repairs through third-party franchise networks often start around $79 for legacy devices and scale upward for current-generation OLED models.
- Specialized Independent Repair Shops: Independent shops offer fast turnaround and flexible component options. At Salvation Repair in Laurel, MS, iPhone screen repairs take just 10–15 minutes and are performed directly in front of the customer, so you never lose sight of your device. Battery repairs take 30 minutes, and charging port repairs are completed within 1 hour.
- DIY Replacement: Sourcing raw parts and doing the labor yourself costs between $35 for entry-level Incell panels and $180+ for original display assemblies, though you assume all personal liability for accidental component damage.
Genuine OEM Displays vs. Aftermarket OLED and Incell Panels
Choosing the right screen tier depends on how you use your phone and your budget.
An Original Display iPhone 16 guarantees 1000 nits typical brightness, 2000 nits peak outdoor brightness, HDR10, Dolby Vision compliance, and factory color saturation. It pairs directly with Apple’s calibration software without extra steps.
Conversely, a high-quality aftermarket option like the REPART iPhone 16 Screen Assembly Replacement (Select Incell) utilizes Chip-on-Film (COF) packaging and TDDI touch integration to deliver narrow bezels, 460 ppi resolution, and reliable touch response at a fraction of the cost. However, Incell LCDs cannot match OLED contrast ratios and consume slightly more battery power when displaying darker interfaces.
Step-by-Step iPhone 16 Screen Replacement Walkthrough
Replacing the screen requires patience, steady hands, and adherence to safety protocols. For detailed community teardowns, you can reference the iPhone 16 Screen Replacement – iFixit Repair Guide.
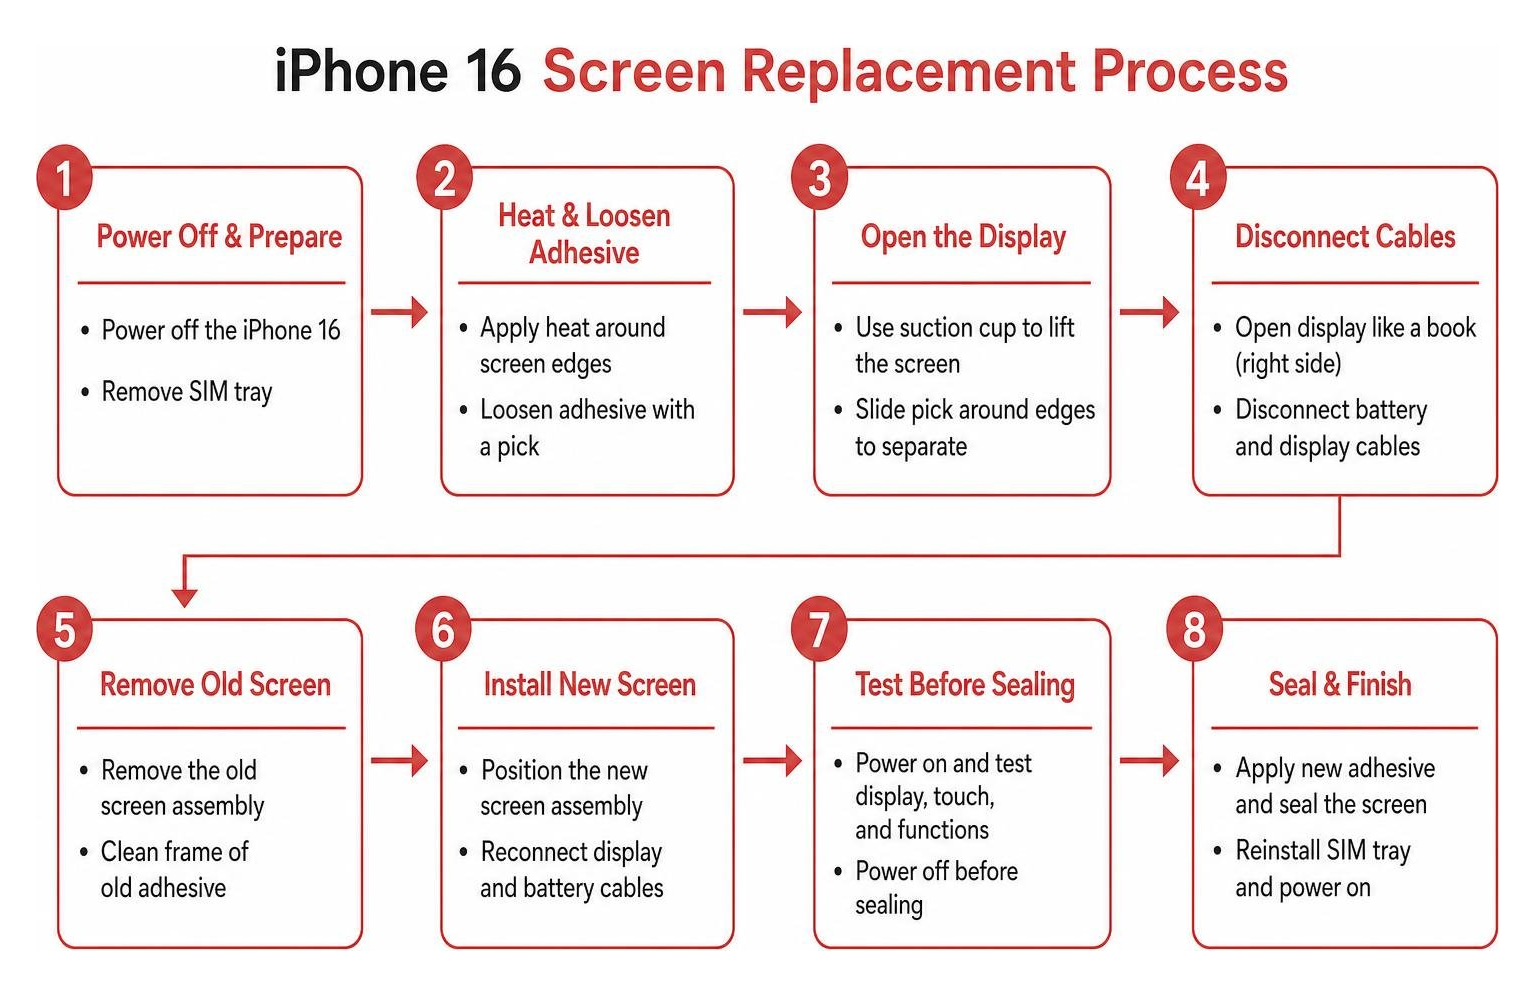
Follow this step-by-step procedure to complete the repair safely:
Essential Tools for iPhone 16 Screen Replacement
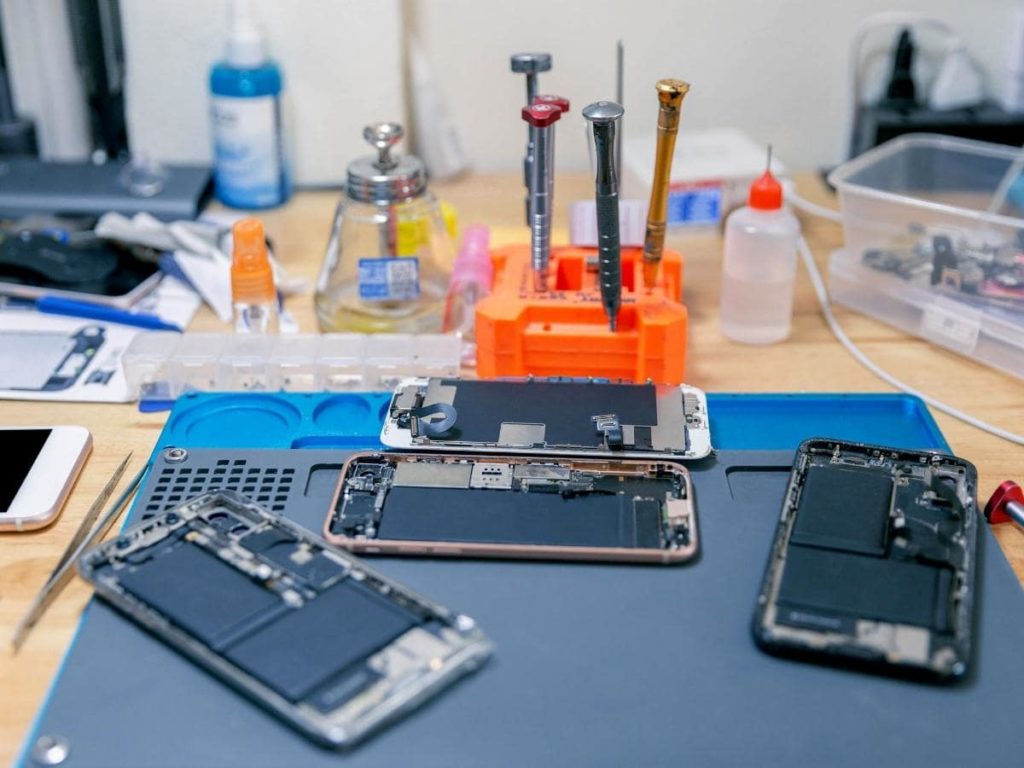
Before starting, organize the necessary precision tools on a clean, anti-static workspace. To review complete teardown toolkits, refer to The Ultimate iPhone 16 Pro Screen Replacement and Kit Guide.
- P2 Pentalobe Screwdriver: For removing the two bottom chassis screws.
- Tri-Point (Y000) Screwdriver: For removing the logic board connector shield screws.
- Phillips #00 / 1.3 mm Driver: For securing the ambient light sensor bracket.
- Heavy-Duty Suction Handle: To apply upward tension on the display glass.
- Plastic Opening Picks: Marked at 3 mm depth to slice perimeter adhesive safely.
- Plastic Spudger / Tweezers: Non-conductive tools for disconnecting press connectors.
- Heating Pad or Heat Gun: To soften factory perimeter adhesive (60°C–70°C).
- >90% Isopropyl Alcohol: For cleaning frame adhesive residue.
- Pre-Cut Waterproof Adhesive Gasket: To restore water and dust resistance.
Disassembly and Ambient Light Sensor Transfer
Safety first: Discharge the iPhone battery below 25% before disassembly to minimize thermal runaway risks if the battery is accidentally nicked.
- Power Down & Remove Screws: Turn off the phone completely. Remove the two 7.7 mm P2 pentalobe screws located on either side of the USB-C charging port.
- Apply Heat: Heat the lower perimeter of the display using a heat pad or heat gun at 65°C for approximately 2 to 3 minutes to soften the internal waterproof gasket.
- Create a Gap and Slice Adhesive: Place your suction handle near the bottom edge. Pull upward firmly and insert a plastic pick no deeper than 3 mm.
⚠️ CRITICAL CLEARANCE WARNING: Never insert opening picks deeper than 3 mm along the left or right edges. Inserting tools too deep will sever the display ribbon cables near the Action and volume buttons, or bend delicate perimeter grounding spring contacts.
- Open the Chassis: Slice the adhesive along the right, top, and left edges. Swing the display open smoothly from right to left, like opening a book. Do not exceed a 90-degree angle.
- Disconnect Display Connectors: Remove the tri-point Y000 screws (0.9 mm) securing the connector covers. Use a non-conductive plastic spudger to pry up the screen press connectors and ambient light sensor cable.
- Transfer the Ambient Light Sensor: On the top of the old screen assembly, unscrew the 1.3 mm Phillips screw securing the sensor bracket. Apply gentle localized heat to the front glass to soften the sensor tape, then lift the ambient light sensor and flex cable carefully using non-marring tweezers. Align and install the sensor into the new display assembly, securing it with the bracket. Professional technicians can cross-reference the iPhone 16 Screen Replacement Guide: Step-by-Step for Technicians – PhoneRepair.co.uk for micro-clearance tips.
Waterproof Adhesive Installation and Chassis Resealing
- Clean the Housing: Strip all old adhesive residue from the aluminum frame using a lint-free cloth dampened with >90% isopropyl alcohol. Always wipe in a single direction to prevent spreading residue onto internal board components.
- Apply Replacement Adhesive: Align the pre-cut perimeter adhesive gasket onto the chassis, press it firmly along the perimeter edges, and peel off the primary backing liner.
- Reconnect Cables: Reconnect the sensor and display flex cables to the logic board. Press down on the outer edges of the connectors until you feel a firm click—avoid pressing the center to prevent bending delicate pins. Reinstall the metal connector covers and Y000 screws.
- Seat the Display: Align the top edge of the screen into the frame, ensuring the top alignment tabs slide beneath the housing lip. Lower the screen and press down firmly around the perimeter until all internal retention clips snap into place.
- Level and Cure: Modern iPhones have a protruding rear camera bump that prevents the phone from resting flat during clamping. Place the device face-up inside the lid of its original retail packaging box (or set it face-down with coin stacks supporting the perimeter) and place a moderate weight on top for 30 minutes to cure the adhesive. Reinstall the bottom P2 pentalobe screws.
Post-Repair Configuration, Calibration, and Troubleshooting
Once the physical installation is complete, power on the device to test touch sensitivity, display brightness, and proximity sensor operation.
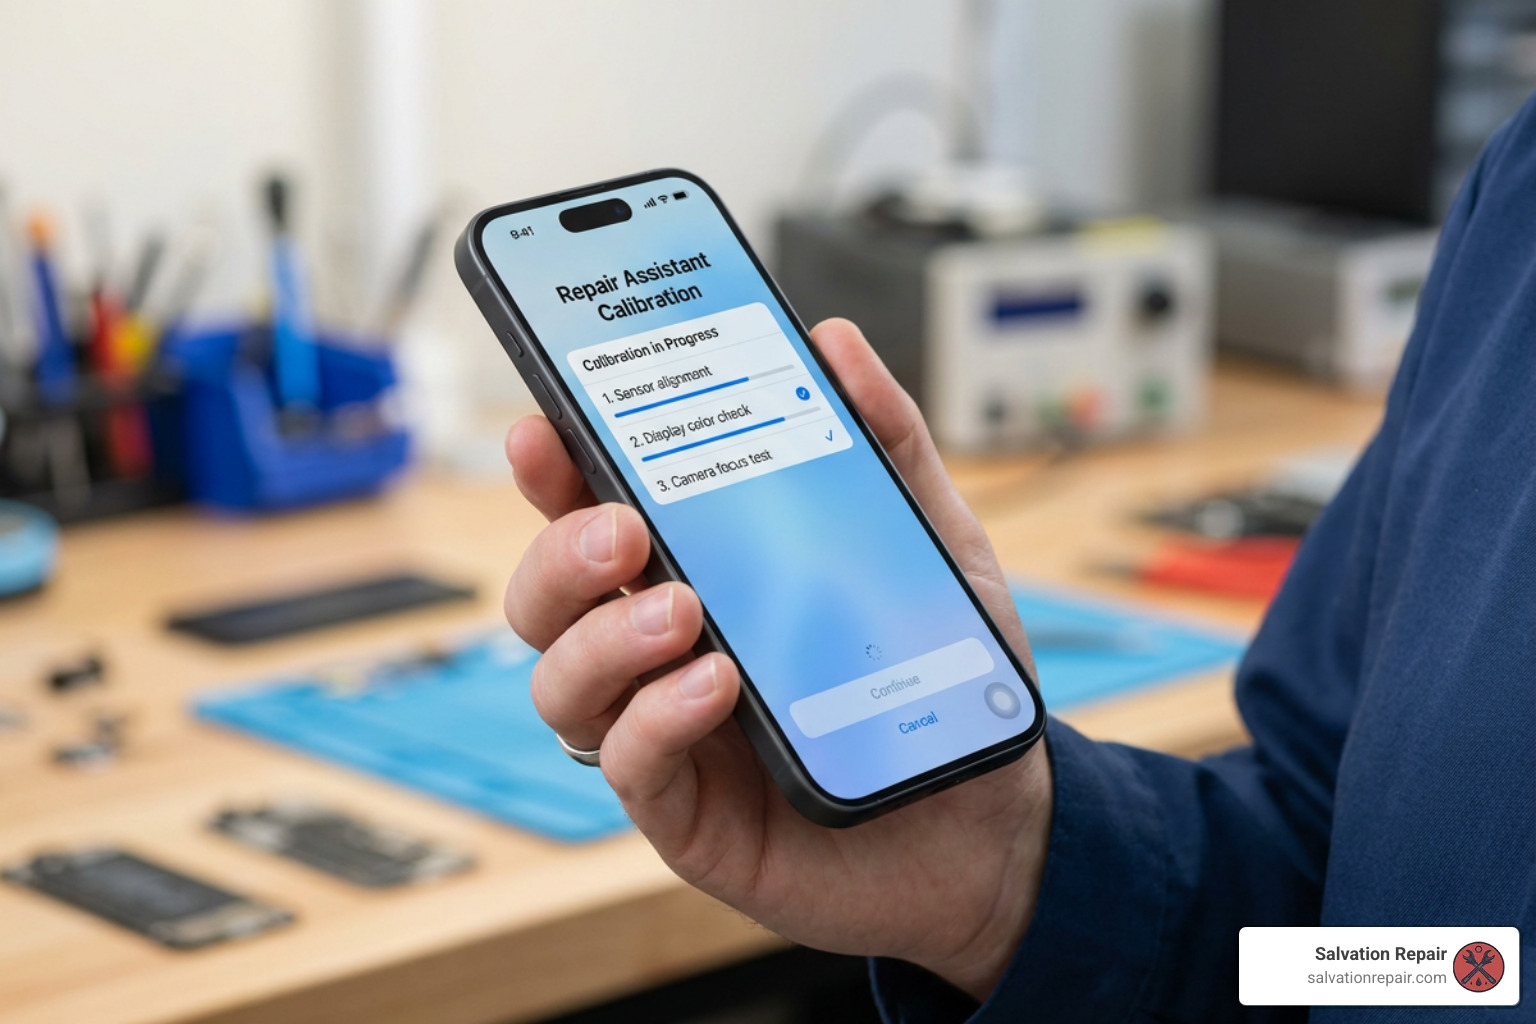
With modern iOS releases, Apple provides on-device calibration directly within the operating system:
- Connect your iPhone to an active Wi-Fi network.
- Navigate to Settings > General > About > Parts & Service History.
- Tap Restart & Finish Repair under the display section.
- Follow the on-screen prompts within the native Apple Repair Assistant to pair the genuine display and configure True Tone, ambient light auto-brightness, and touch digitizer mapping.
For complex micro-soldering or board diagnostics, seeking Professional iPhone Repair ensures your device maintains optimal performance without risking damage to motherboard circuits.
Resolving ‘Unknown Part’ Alerts and Preserving Face ID
If you install an aftermarket display or an un-paired display assembly, iOS may display an “Important Display Message” or “Unknown Part” badge under Settings.
- Will the screen still work? Yes. An “Unknown Part” notification does not affect standard touch operation, display refresh rates, or general device functionality.
- Removing the Message: For independent repairers, transferring the original Touch IC chip via micro-soldering or pairing OEM panels through Apple’s System Configuration tool clears the alert.
- Preserving Face ID: Face ID biometrics rely entirely on the TrueDepth camera sensor array housed inside the phone chassis and the ear speaker/sensor flex assembly. As long as you transfer the original sensor cable carefully without tearing the flex circuit or scratching the dot projector, Face ID will continue functioning normally.
Frequently Asked Questions About iPhone 16 Screen Repairs
Can you disconnect the iPhone 16 battery before replacing the screen?
During standard screen removal on the base iPhone 16, the battery connector sits beneath lower structural brackets that are difficult to access prior to lifting the display. Because the battery often remains connected, you must never use metal prying tools near live logic board components. Always use non-conductive nylon spudgers to prevent electrical shorts and protect internal fuses.
How do you calibrate True Tone after an iPhone 16 screen swap?
If you install an original genuine screen, run Apple’s native Repair Assistant in iOS under Settings > General > About. On modern iOS versions, True Tone is restored automatically through system calibration. For certain aftermarket panels, technicians transfer the serial data (MtSN) from the original display’s EEPROM chip to the replacement screen using an external programming tool (such as QianLi or JC ID).
Will replacing the iPhone 16 screen affect Face ID functionality?
No, provided the original front sensor assembly is handled with care. Face ID hardware is tied directly to your device logic board. As long as the sensor ribbon cable is transferred without physical tears or electrostatic damage, Face ID biometric unlocking will continue to work seamlessly.
Conclusion
A shattered screen does not mean your device is at the end of its lifespan. Whether you choose to perform an iphone 16 screen replacement on your own workbench using quality aftermarket parts or opt for an OEM display installation, following proper teardown protocols protects your investment and restores your device to pristine condition.
If you prefer professional service without the long wait, visit Salvation Repair at 1503 Lakeview Rd, Laurel, MS 39440. We specialize in same-day, on-site repairs for any device with a power button. Our skilled technicians complete iPhone screen repairs in just 10–15 minutes right in front of you, backed by a comprehensive lifetime warranty and price-matching guarantee.
For additional details on repair costs, check our comprehensive guide to iPhone 16 Screen Repair Cost 2026 or stop by our Laurel shop today!
