Cracked HP Screen? Here is Your Ultimate Repair and Cost Guide
What You Need to Know About HP Laptop Screen Repair
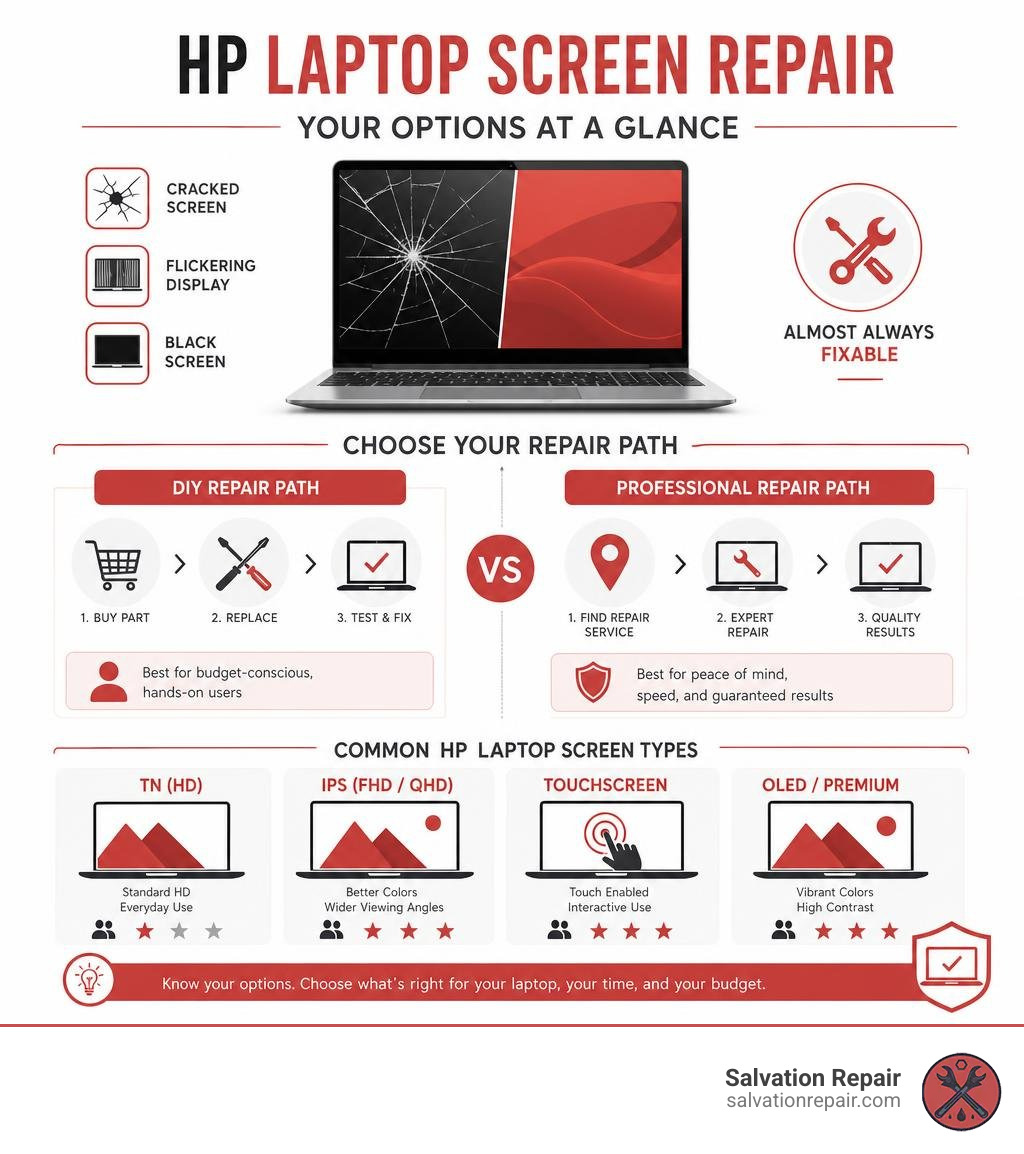
If you’re dealing with a laptop screen repair HP situation — whether it’s a cracked panel, flickering display, or a completely black screen — here are your main options at a glance:
| Repair Option | Best For | Typical Turnaround |
|---|---|---|
| HP Official Service | Warranty-covered issues | Several business days |
| Authorized Service Center | Out-of-warranty professional repair | 1–3 business days |
| Local Repair Shop (e.g., Salvation Repair, Laurel MS) | Fast, affordable fix | Same day or next day |
| DIY Replacement | Budget-conscious, hands-on users | A few hours |
| Mail-In Service | No local shop available | 3–7 days including shipping |
A broken HP laptop screen is one of the most common repair requests we see. The damage can range from a small crack in one corner to a completely shattered panel that makes the laptop unusable. The good news? It is almost always fixable — and often for less than you might expect.
What makes this repair tricky is that HP laptops come in dozens of models — Pavilion, Envy, Spectre, EliteBook, and more — and each can have different screen types, connector layouts, and assembly designs. The right fix for one model may be completely wrong for another. That’s why knowing your options before you act can save you time, money, and frustration.
I’m Ralph Harris, a Wise Level 2 certified technician and certified Apple repair technician with over 20 years of hands-on experience in electronics repair, including countless laptop screen repair HP jobs across nearly every major model. I’ve seen what goes wrong with DIY attempts and what makes a professional repair worth every penny, and I’ll walk you through both so you can make the smartest call for your situation.
Diagnosing HP Laptop Screen Issues
Before you order replacement parts or rush to a repair shop, it is crucial to diagnose the exact issue. Sometimes, what looks like a shattered or dead screen is actually a software glitch, a loose internal connection, or a failing graphics card.
Getting a proper diagnosis prevents you from wasting money on a screen replacement when a simpler fix might do. If your display is acting up, running through a few quick isolation steps can help you determine if you need an HP Laptop Screen Fix or if the root cause lies deeper within the hardware.
Common Signs of a Failing HP Laptop Screen
A failing or damaged screen doesn’t always break all at once. Often, it gives off warning signs before failing completely. According to the HP Damaged Screen Guide, physical damage and internal component failures present distinct visual symptoms:
- Flickering Display: If your screen flashes or flickers rapidly, it could point to a loose video cable (EDP/LVDS cable) inside the hinge, a failing backlight, or driver issues.
- Dead Pixels: These appear as tiny black, white, or colored dots that never change. While a single dead pixel is a minor annoyance, clusters of them indicate physical degradation of the liquid crystals.
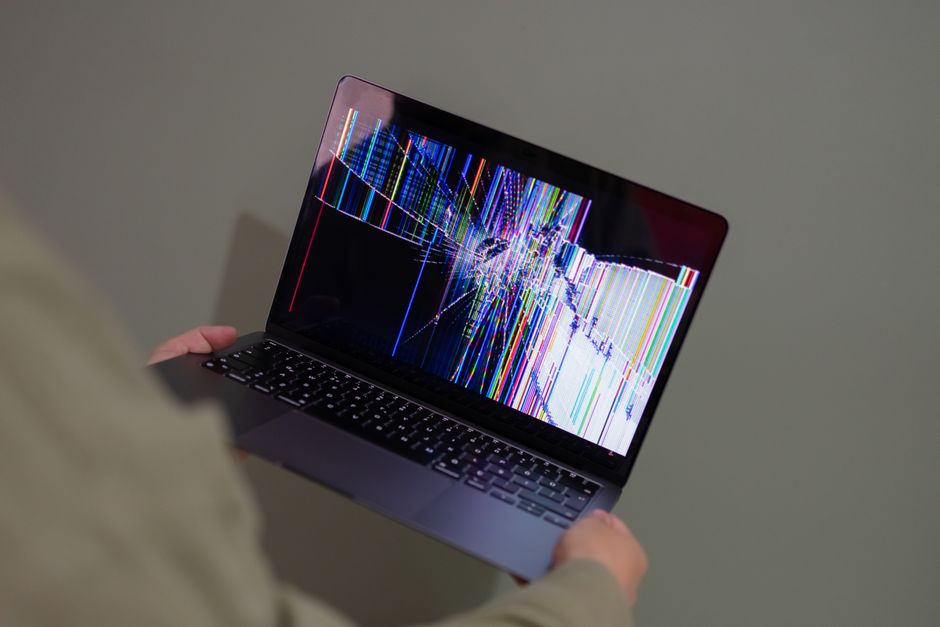
- Vertical or Horizontal Lines: Solid colored lines running across your screen usually indicate that the gate drivers or the glass panel’s connection to the control board has been severed. This is almost always a physical hardware failure requiring replacement.
- Discolored or Dim Areas: Dark spots, white splotches, or uneven backlighting are often caused by localized pressure damage, liquid ingress, or failing LED backlights.
- Ink-Like Splotches: Large black or bleeding splotches across your display mean the internal LCD matrix has ruptured. Even if the outer glass feels smooth, the liquid crystal layer is compromised.
Using HP Support Tools vs. Third-Party Diagnostics
To pinpoint whether the issue is physical or software-related, HP provides built-in testing utilities.
When booting up your laptop, you can repeatedly press the F2 key to access the HP PC Hardware Diagnostics menu. From here, you can run a “Component Test” on your video and display hardware. If the tool detects an internal hardware failure, it will generate a 24-digit Failure ID code. This code is incredibly helpful because it tells technicians exactly what is broken.
However, built-in diagnostics can’t always detect a physically cracked screen or shattered glass. This is where third-party diagnostics and manual isolation tests come into play:
- The External Monitor Test: Connect your HP laptop to an external monitor or TV using an HDMI or USB-C cable. If the external display looks perfectly fine while your laptop screen remains black or distorted, your graphics card (GPU) and motherboard are working perfectly. The issue is strictly isolated to your laptop screen or its internal cable.
- The Flashlight Test: If your screen is completely black but you can faintly hear the laptop running, shine a bright flashlight directly at the glass. If you can see the faint outline of your desktop or open windows, your screen’s backlight has failed, meaning the LCD panel must be replaced.
Screen Replacement Options: LCD, OLED, and OEM
If your diagnosis confirms that the screen is indeed broken, your next step is choosing the right replacement part. Just like when you are looking through a Laptop Repair Complete Guide, you will find that the replacement market offers several different tiers of screens. Choosing the right one depends on your budget, your laptop model, and how you use your computer.
Understanding LCD and AQ7 LCD Screens
The vast majority of HP laptops, especially budget-friendly Pavilion and ProBook models, utilize Liquid Crystal Displays (LCDs) with LED backlighting.
- Standard LCD Screens: These are the reliable workhorses of the laptop world. They offer great brightness, decent color accuracy, and are highly cost-effective to replace.
- AQ7 LCD Screens: This is a premium sub-category of LCD panels designed for enhanced color reproduction, wider viewing angles, and better energy efficiency. If you use your HP laptop for photo editing, office work, or streaming, upgrading to or replacing with an AQ7 LCD panel ensures you don’t lose out on display quality.
For budget-conscious users, standard LCD and AQ7 LCD screens are the go-to options because they offer the best balance of price and performance.
Aftermarket OLED vs. OEM Screen Repair Options
For high-end HP laptops like the Spectre x360 or the Envy series, you may have to choose between OLED panels and official OEM parts.
- Aftermarket OLED Screens: OLED displays offer perfect contrast ratios, vibrant colors, and true blacks because each individual pixel generates its own light. However, high-quality aftermarket OLEDs can be expensive and require precise calibration to prevent screen burn-in.
- OEM Refurbished Screens: These are original HP screens that have been reclaimed from recycled laptops, thoroughly tested, and restored to factory standards. They offer the exact same display quality as a brand-new screen but at a fraction of the cost.
- New OEM Screens: These are brand-new, original parts sourced directly from authorized HP distributors. They guarantee perfect compatibility, original brightness levels, and color accuracy, but they carry the highest price tag.
To put these screen technology tiers into perspective, consider how we handle display repairs for other premium electronics. For standard iPhone repairs, standard LCD repairs are quoted at $129.95, aftermarket OLED at $129.95, and OEM at $149.95. For iPhone 16 Pro, we quote LCD at $149.95 and OLED at $199.95. For the larger iPhone 16 Pro Max, the tiers are even more distinct:
- AQ7 LCD: $129.95
- Aftermarket OLED: $219.95
- OEM Refurbished: $399.95
- New OEM: $469.95
Just like with iPhones, matching the right screen technology to your HP laptop is essential to maintaining its original performance. If you put a low-quality, cheap panel on a high-end Spectre x360, you will immediately notice dull colors and poor viewing angles.
DIY Guide: How to Perform a Laptop Screen Repair HP
If you are comfortable working with small electronics, replacing your own laptop screen can be a rewarding weekend project. However, DIY laptop repair requires patience, a steady hand, and the correct tools. Before diving in, check out the HP DIY Screen Repair Guide to understand the risks, such as voiding any active warranties.

Finding the Right Replacement Screen for Your Laptop Screen Repair HP
You cannot simply search online for “HP laptop screen” and buy the first result. HP uses hundreds of different screen designs. To find the exact match:
- Identify Your Model Number: Look at the bottom casing of your laptop for a small sticker containing the model number (e.g., HP Pavilion 14-v062us). If the sticker is worn off, press
Windows Key + R, typemsinfo32, and hit Enter to view your System Model. - Find the Screen Part Number: The safest way to get the exact replacement is to disassemble the screen bezel first, unscrew the broken LCD panel, and read the manufacturer’s part number printed on the white sticker on the back of the panel (e.g., LP156WF6).
- Verify the Specifications: Make sure the replacement screen matches your original screen’s resolution (FHD vs. HD), connector pin count (usually 30-pin or 40-pin), and mounting bracket locations.
Step-by-Step Instructions for Laptop Screen Repair HP
Once you have your replacement screen and a basic precision screwdriver set, follow these steps to perform the repair:
- Step 1: Safety First. Shut down your laptop completely, unplug the charger, and disconnect any external devices.
- Step 2: Disconnect the Battery. This is the most critical step. If you work on a screen while the battery is connected, you risk shorting out the motherboard. Remove the bottom cover of your laptop and carefully unplug the battery connector from the motherboard.
- Step 3: Remove the Bezel. Use a plastic pry tool or spudger to gently release the plastic clips holding the screen bezel in place. Start at the top corners and work your way around. Be gentle, as the plastic bezel can easily crack. If you are working on a specific model, refer to the iFixit HP Pavilion Screen Replacement guide or your model’s official Maintenance and Service Guide for exact screw locations hidden under rubber covers.
- Step 4: Unscrew the LCD Panel. Once the bezel is removed, you will see the small screws securing the screen to the metal hinges. Carefully remove these screws and lay the screen flat onto the keyboard.
- Step 5: Disconnect the Video Cable. Locate the wide, flat video cable on the back of the screen. Peel back the adhesive tape, release the tiny metal locking latch, and gently pull the cable out of its connector.
- Step 6: Install the New Screen. Connect the video cable to your new screen, secure the locking latch, and lay down the adhesive tape. Screw the screen back onto the hinges.
- Step 7: Test Before Reassembly. Plug the battery back into the motherboard, turn on the laptop, and verify that the new screen displays a clean, flicker-free picture. Once verified, shut the laptop down again.
- Step 8: Snap the Bezel Back On. Carefully snap the plastic bezel back into place, ensuring all the clips click shut, and replace any hidden screws.
Troubleshooting Common Issues After Screen Replacement
If things don’t go perfectly on your first try, don’t panic. Here are the most common post-repair issues and how to resolve them:
- No Display / Black Screen: This usually means the video cable is not fully seated in the back of the new screen. Disassemble the screen again, unplug the video cable, and reconnect it firmly, ensuring the locking latch is secured.
- Flickering or Lines on Screen: Check the video cable connection at both the back of the screen and where it plugs into the motherboard. A slightly crooked connector will cause data transmission errors.
- Touchscreen Not Working: If your HP laptop has a touchscreen, make sure you connected the secondary digitizer cable. Many touch models use a dual-cable assembly.
- Backlight Bleeding: If you see bright spots around the edges of your screen, the bezel or mounting screws may be too tight, putting uneven pressure on the LCD panel. Loosen the screws slightly to relieve the pressure.
Professional Repair Services and Warranty Coverage
While DIY repairs can save money, they also carry risks of accidental damage to delicate internal components. If you don’t feel comfortable taking your laptop apart, seeking out professional repair services is the safest path forward. It ensures the job is done right and backed by a warranty.
Checking Your HP Warranty and ADP Coverage
Before paying for a repair out of pocket, check if your laptop is still covered under its manufacturer warranty. You can visit HP’s official support website and enter your serial number to check your coverage status.
- Standard Limited Warranty: This covers manufacturing defects, such as a failing backlight or sudden screen death. However, it does not cover physical damage like cracks, drops, or liquid spills. HP classifies these as Customer Induced Damage (CID).
- Accidental Damage Protection (ADP): If you purchased an ADP plan when you bought your laptop, you are in luck! This plan covers cracked screens, liquid spills, and accidental drops, allowing you to get a free or highly discounted screen replacement directly through HP.
Fast Local Repair Services in Laurel, MS
If your laptop is out of warranty or you don’t want to wait weeks for mail-in manufacturer repairs, we at Salvation Repair are here to help. We provide fast, reliable, and professional screen repair services across the local Mississippi area, including Laurel MS, Jackson MS, Ellisville, Soso, Meridian, and throughout Jones County.
We understand how essential your computer is to your daily life, which is why we specialize in same-day, on-site repairs. Whether you need a standard laptop display replacement, a complex Gaming Laptop Repair, a quick Laptop RAM Upgrade, or a full Laptop Upgrade Service, our experienced technicians have you covered.
We also service other major brands. If you or someone in your family uses a different machine, you can check out our guides for Dell Computer Laptop Repair or find us directly by searching for Dell Laptop Repair Near Me. Our goal is to make professional Computer Repair accessible, transparent, and affordable for our local community. For a complete look at all our local service offerings, take a look at our Computer Repair Laurel Complete Guide.
Frequently Asked Questions about HP Screen Repair
How much does it cost to repair an HP laptop screen?
The cost of an HP laptop screen repair depends heavily on the model and the type of display. A standard, non-touch HD screen replacement typically ranges from $100 to $180, including parts and labor. Premium screens, such as Full HD touchscreens or high-end OLED panels found on Spectre models, can range from $200 to $450.
Can I use my HP laptop with an external monitor if the screen is broken?
Yes! If your laptop’s internal screen is cracked or completely black but the computer still powers on, you can connect it to an external monitor, TV, or projector using an HDMI, DisplayPort, or USB-C cable. This is an excellent temporary workaround that allows you to back up your important files before bringing the laptop in for repair.
How long does a professional laptop screen repair take?
At Salvation Repair, we stock many common HP screen sizes and connector types, allowing us to complete most screen replacements on the same day or within 24 to 48 hours. In contrast, sending your laptop to a manufacturer mail-in service center can take anywhere from one to three weeks.
Conclusion
Dealing with a cracked or malfunctioning HP laptop screen can be incredibly frustrating, but it certainly doesn’t mean your computer is destined for the landfill. Whether you decide to take the hands-on DIY route using our step-by-step guide or prefer the peace of mind that comes with professional service, getting your display back to pristine condition is straightforward.
If you are located in the Laurel, MS or Jackson, MS areas, let us take the stress out of your repair. At Salvation Repair, we stand by our work with an industry-leading lifetime warranty and a price match guarantee on local competitor pricing. We proudly repair “any device with a power button.”
Need more than just a laptop fix? We also handle ultra-fast mobile repairs. Our professional iPhone screen repairs take 10-15 minutes in front of the customer, battery repairs take 30 minutes, and charging port repairs take 1 hour.
Don’t let a broken screen hold you back. Check out our Broken Laptop Screen Complete Guide to learn more, or bring your device by today to get it fixed fast!
