Top Replacement Screens for Your Acer Nitro 5 N20C1
What You Need to Know About Acer Nitro 5 N20C1 Screen Replacement
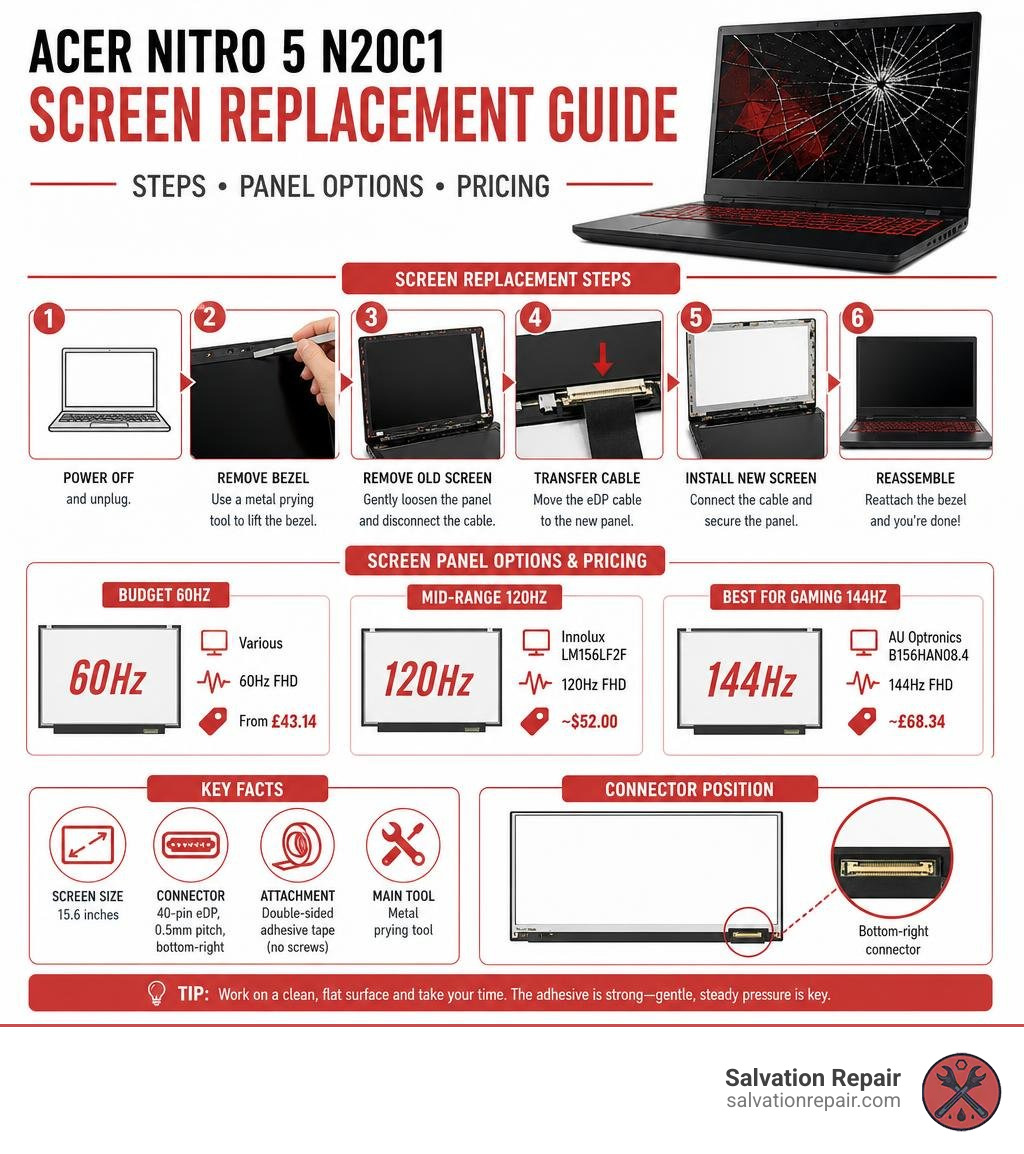
If you’re dealing with a damaged display, here’s a quick answer for your Acer Nitro 5 N20C1 screen replacement:
| Option | Panel Model | Refresh Rate | Approx. Price |
|---|---|---|---|
| Budget 60Hz | Various | 60Hz FHD | From £43.14 |
| Mid-range 120Hz | Innolux LM156LF2F | 120Hz FHD | ~$52.00 |
| Best for gaming 144Hz | AU Optronics B156HAN08.4 | 144Hz FHD | ~£68.34 |
Key facts at a glance:
- Screen size: 15.6 inches, 1920×1080 Full HD resolution
- Connector: 40-pin eDP, 0.5mm pitch, bottom-right position
- Attachment method: double-sided adhesive tape (no screws)
- Main tool needed: metal prying tool
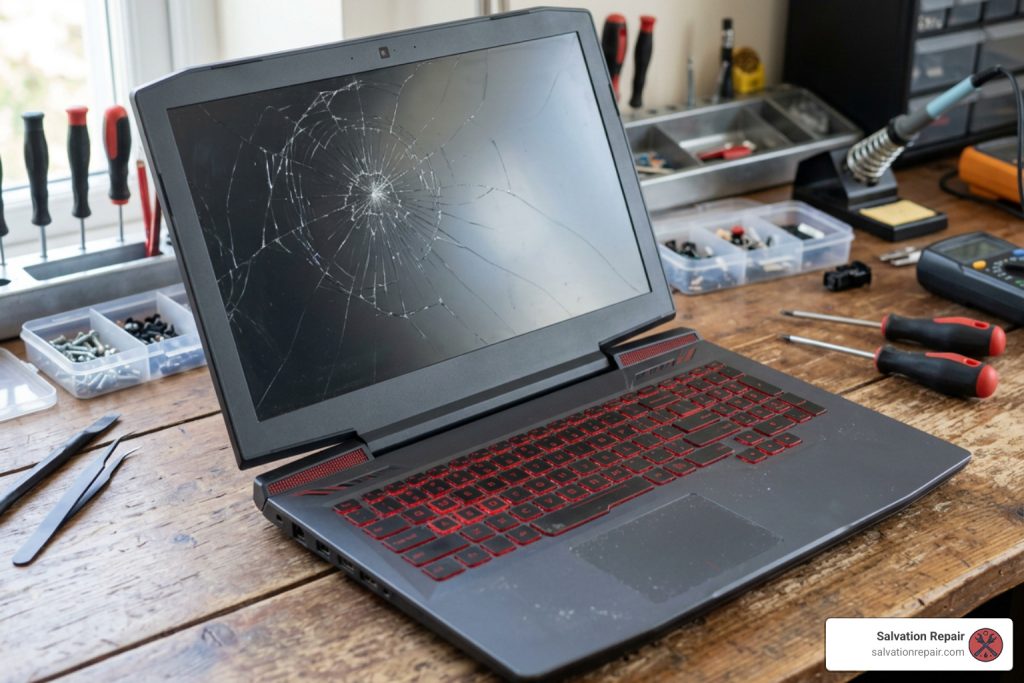
A cracked or pixelated screen on a gaming laptop is genuinely frustrating — especially when a hard knock is all it takes to turn your display into a mess of broken pixels and dark patches. The good news is that the N20C1 is a very DIY-friendly laptop, and replacement panels are affordable and widely available.
I’m Ralph Harris, and I’ve spent over 20 years repairing electronics — from phones to gaming laptops — and have written hundreds of repair guides to help people tackle Acer Nitro 5 N20C1 screen replacement and similar jobs with confidence. In the sections below, I’ll walk you through every option and step you need.
Understanding Your Acer Nitro 5 N20C1 Screen Specifications
To find the perfect display panel for your laptop, you must first understand the technical specifications of the screen inside your machine. The Acer Nitro 5 N20C1 is a highly popular gaming laptop, but Acer shipped this model with a few different display configurations over the years.
Whether your original display has given up the ghost or you are simply planning a screen upgrade as part of our gaming laptop repair services, you need to match these physical and electrical requirements:
- Screen Size: 15.6 inches (measured diagonally from corner to corner of the active viewing area, excluding the outer bezel).
- Resolution: 1920 x 1080 pixels (Full HD / 1080p).
- Connector Type: 40-pin eDP (embedded DisplayPort).
- Connector Pitch: 0.5 mm pitch.
- Connector Position: Bottom-right (when looking at the back of the LCD panel).
- Panel Type: IPS (In-Plane Switching), which ensures wide viewing angles and vivid color reproduction.
- Surface Finish: Matte (anti-glare), which is vastly superior for gaming under harsh indoor lighting compared to glossy alternatives.
The most common original equipment manufacturer (OEM) panels used in this laptop are the AU Optronics B156HAN08.4 and the Innolux LM156LF2F.
If you are hunting down a high-performance replacement, you will want to look at the Acer NITRO N20C1 Full-HD 144hz Replacement Laptop Screen options. Matching these exact specifications prevents compatibility headaches like a display that physically fits but won’t turn on, or worse, shorts out your motherboard’s display circuitry.
Top Options for an Acer Nitro 5 N20C1 Screen Replacement
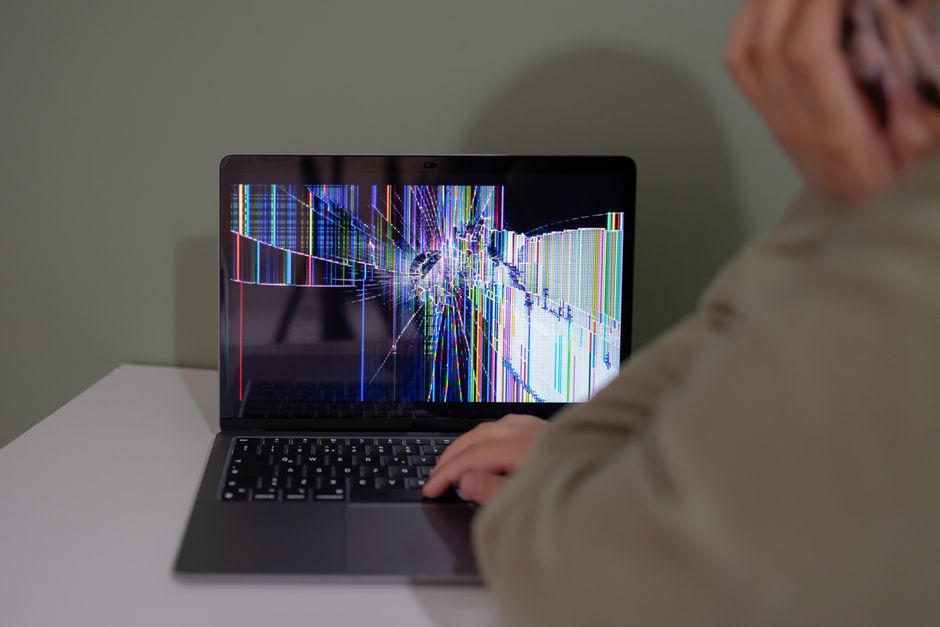
When shopping around for a new display, you will encounter several options ranging from affordable third-party screens to high-end OEM components. Understanding the differences in these screen options will help you make an informed buying decision.
- Standard LCD Panels: These are the default screens that match your laptop’s original specifications. They offer excellent color accuracy, standard response times, and are the most cost-effective option. Standard LCD repairs are quoted at $129.95. (For other devices like the iPhone 16 Pro, we quote LCD at $149.95).
- AQ7 LCD & Aftermarket Upgrades: Some specialty aftermarket manufacturers offer enhanced color gamut profiles (such as higher sRGB coverage) or faster response times. For the iPhone 16 Pro Max, we quote AQ7 LCD at $129.95.
- OLED vs. LCD: While high-end smartphones and some premium laptops feature aftermarket OLED or standard OLED configurations, the Acer Nitro 5 N20C1 is designed strictly for LCD panels. There are no direct plug-and-play OLED replacements that will fit the physical frame and 40-pin eDP connector configuration of this specific model. Stick to high-quality IPS LCDs. For devices that support them, aftermarket OLED repairs are quoted at $129.95. For the iPhone 16 Pro, we quote OLED at $199.95, and for the iPhone 16 Pro Max, aftermarket OLED is quoted at $219.95.
- OEM Refurbished vs. New OEM: New OEM displays (like those made by AU Optronics or Innolux) offer the exact same performance and longevity your laptop had out of the box. OEM refurbished panels are original screens that have been salvaged and tested, often saving you quite a bit of money while maintaining strict quality standards. Generally, OEM repairs are quoted at $149.95. For the iPhone 16 Pro Max, we quote OEM refurbished at $399.95 and new OEM at $469.95.
If you want a highly rated, reliable replacement that arrives with all the necessary specifications, the SCREENARAMA New Screen Replacement for Acer Nitro N20C1 is an incredibly popular choice. Alternatively, if your laptop originally shipped with a 120Hz display, you can opt for the Acer Nitro 5 N20C1 15.6″ FHD 120Hz LCD Screen Replacement – Innolux LM156LF2F to restore your system to its original glory.
If you aren’t comfortable handling the upgrade yourself, you can always rely on a professional laptop upgrade service to do the heavy lifting.
OEM vs Aftermarket Acer Nitro 5 N20C1 Screen Replacement
Choosing between an OEM screen and a third-party aftermarket screen usually comes down to budget and your gaming needs.
- The 144Hz Gaming Choice: If you play shooters or competitive games, a 144Hz refresh rate panel (costing approximately £68.34) is highly recommended. It refreshes 144 times per second, drastically reducing motion blur and screen tearing.
- The 120Hz Middle Ground: A 120Hz panel, such as the Innolux LM156LF2F, is often available for around $52.00. It offers a noticeable upgrade over standard 60Hz displays without breaking the bank.
- The Budget 60Hz Option: If you use your Nitro 5 primarily for school, office work, or casual gaming, you can find a Laptop LCD screen for ACER NITRO N20C1 15.6 Inches 1920×1080 60Hz starting at around £43.14 (or up to €80.75 on some European specialty sites).
While aftermarket screens are cheaper, OEM panels generally offer better color calibration, fewer instances of dead pixels, and a guaranteed fit. If you’ve never dealt with a cracked screen before, reading through our broken laptop screen complete guide can give you a better understanding of what to expect during the selection process.
How to Replace the Screen on Your Acer Nitro 5
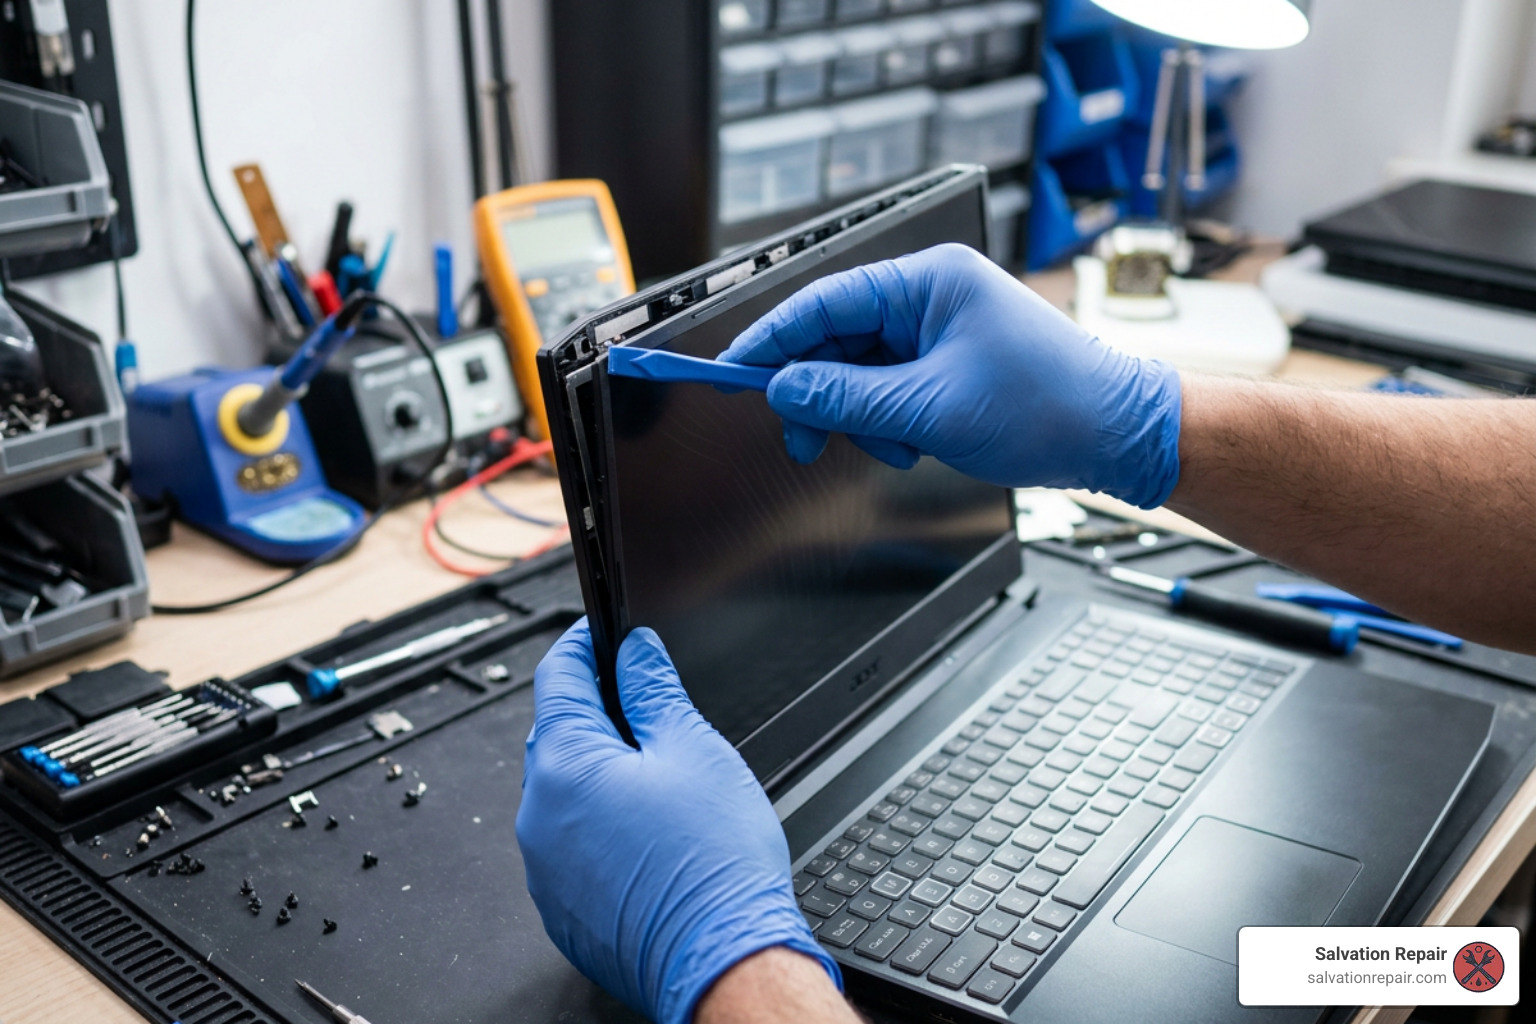
Unlike older laptops that used screws hidden behind rubber bumpers to hold the screen in place, the Acer Nitro 5 N20C1 uses a modern, screwless design. The screen is held securely inside the lid using strong, double-sided adhesive pull-tabs.
Because of this, the process requires patience and the right tools to avoid snapping the plastic bezel or cracking the new LCD panel during installation.
Required Tools and Materials:
- Metal Prying Tool or Plastic Spudger: Essential for safely popping the plastic bezel clips.
- 5mm Double-Sided Adhesive Tape: Used to secure the new screen to the lid assembly. (We highly recommend leaving a small pull-tab at the bottom of the tape so that if you ever need to replace the screen again, you can easily pull the adhesive out).
- Precision Screwdriver (Optional): Only needed to disconnect the laptop’s internal battery before starting the repair.
Before diving in, make sure to read the laptop repair complete guide to familiarize yourself with basic ESD (electrostatic discharge) safety. If you want to see how other users have tackled this or have questions about cross-compatibility, the community discussion on the acer nitro 5 n20c2 can I upgrade – Screen upgrade I need to replace broken screen – Acer Community is an excellent resource.
Step-by-Step DIY Acer Nitro 5 N20C1 Screen Replacement
Follow these steps carefully. Do not rush, especially when dealing with the delicate plastic bezel and the fragile eDP display cable.
Step 1: Power Down and Disconnect the Battery
Never attempt a screen replacement with the battery connected. Even if the laptop is turned off, there is still active standby power running through the motherboard. If you drop a metal tool or misalign the eDP cable while power is active, you can permanently blow the backlight fuse on your motherboard.
- Shut down the laptop completely and unplug the charger.
- Remove the bottom case screws and lift the cover off.
- Locate the battery connector and carefully pull it out of its slot on the motherboard. Press the laptop’s power button for 10 seconds to drain any residual charge.
Step 2: Remove the Front Bezel
- Open the laptop lid fully.
- Gently insert your metal or plastic prying tool into the seam between the plastic bezel and the outer metal cover at the top of the display.
- Slowly work your way around the perimeter, popping the plastic clips. Be extra gentle near the bottom hinge area, as the plastic is thinner and prone to snapping.
Step 3: Release the Old Screen
- The screen is secured by two stretch-release adhesive strips behind the panel.
- Locate the black adhesive tabs at the bottom corners of the LCD panel.
- Grab a tab with tweezers or your fingers and slowly pull it downward, parallel to the screen. The tape will stretch and release. Do not pull outward, or the tape will snap.
- Once both adhesive strips are removed, gently lay the LCD panel down onto the keyboard.
Step 4: Disconnect the eDP Cable
- Locate the 40-pin connector on the back of the panel.
- Peel back the clear adhesive tape covering the connector.
- Flip up the small metal safety clip that locks the cable in place.
- Gently slide the LCD cable straight out of the connector socket.
Step 5: Install the New Screen
- Place the new screen face down on the keyboard.
- Slide the eDP cable into the new connector, ensuring it is fully seated.
- Flip down the metal safety clip and reapply the clear adhesive tape to lock it in place.
- Apply new 5mm double-sided adhesive tape to the back cover of the laptop lid. Leave a small piece of the backing paper hanging out at the bottom so you can easily pull it out in the future.
- Carefully align the new screen within the lid frame and press it gently against the adhesive tape to secure it.
Step 6: Test and Reassemble
- Before snapping the bezel back on, plug the battery back into the motherboard.
- Turn on the laptop to verify that the screen displays the Acer logo correctly with no flickering.
- Once verified, power down the laptop, snap the plastic bezel back into place, and screw the bottom case back on.
Troubleshooting Common Screen Replacement Issues
Sometimes, things don’t go exactly to plan. If you’ve finished the installation and are experiencing display issues, don’t panic. Most problems are caused by minor alignment errors during assembly.
- The Black Screen of Death: If the laptop powers on (fans spin, keyboard lights up) but the screen remains completely black, you likely have a loose eDP connector. Even a microscopic misalignment of the 40 pins can prevent the screen from receiving power. Re-open the display and ensure the safety clip is locked down tightly. If you are experiencing this on another machine, check out The Black Screen of Death Quick DIY Fixes for Your Laptop for advanced diagnostics.
- Flickering or Lines Across the Screen: This is usually caused by a dirty or slightly damaged video cable. Dust or oils from your fingers can get inside the 40-pin connector. Clean the connector gently with 99% isopropyl alcohol and re-seat it.
- Touch Issues / Ghost Touch: If you have an advanced model or a modified digitizer, “ghost touch” (where the screen registers touches that aren’t happening) is usually caused by a faulty digitizer board or a pinched cable rather than the LCD panel itself.
- No Backlight (Very Dim Image): If you can see a faint image on the screen when shining a flashlight directly at it, your backlight isn’t working. This usually happens if the battery was not disconnected during the repair, which blows the backlight fuse on the motherboard. This requires professional computer repair to fix.
Frequently Asked Questions about Acer Nitro 5 Screens
Can I upgrade my Acer Nitro 5 screen to a higher refresh rate?
Yes! If your laptop originally shipped with a 60Hz panel, you can upgrade to a 120Hz or 144Hz panel. Because the Acer Nitro 5 N20C1 uses a standard 40-pin eDP connector, the physical connection is identical. However, make sure your specific graphics card can push enough frames to make the upgrade worthwhile!
Why is my new Acer Nitro 5 screen showing a black display?
A black display is almost always caused by a loose eDP video cable. The connector must be pushed perfectly straight into the socket. If it is inserted at an angle, or if the metal safety clip is not fully locked down, the screen will not turn on.
How do I find the exact model number of my original screen?
To find the exact model number, you must remove the screen from the laptop and look at the sticker on the back of the LCD panel. It will list the manufacturer (such as AU Optronics or Innolux) followed by a model code like B156HAN08.4 or LM156LF2F.
Conclusion
Replacing the screen on your Acer Nitro 5 N20C1 is an excellent way to breathe new life into your gaming rig without spending hundreds of dollars on a brand-new laptop. With a steady hand, a metal prying tool, and some quality double-sided tape, you can easily tackle this repair in under an hour.
However, if the thought of peeling fragile adhesive tape and handling sensitive eDP cables makes you nervous, we are here to help! At Salvation Repair, we specialize in high-quality, same-day electronic repairs. We proudly serve the communities of Laurel, MS, Jackson, MS, Ellisville, MS, Soso, MS, Meridian, MS, and Jones County, Mississippi.
We repair “any device with a power button” and back all of our work with an industry-leading lifetime warranty and price matching.
Need other repairs done? We also offer rapid, professional services for mobile devices:
- iPhone Screen Repairs: iPhone screen repairs take 10-15 minutes in front of the customer.
- iPhone Battery Repairs: iPhone battery repairs take 30 minutes.
- iPhone Charging Port Repairs: iPhone charging port repairs take 1 hour.
Whether you need a hand with your gaming laptop or want to check out our professional screen repair services, drop by or check out our computer repair Laurel complete guide to learn more about how we can help you get back in the game!
